
To install and run Kali Linux on the Raspberry Pi, make certain you’ve got a Raspberry Pi 4 or newer, a Class 10 microSD card (16GB minimum), and a reliable power supply. Download the appropriate Kali image, flash it to the SD card using tools like Balena Etcher, and boot up your Pi. Once logged in with the default credentials, configure your network and system settings. You’ll streamline your penetration testing tasks with effective setup strategies. Discover more essential tips ahead.
Key Takeaways
- Ensure you have a Raspberry Pi 4 with at least 16GB Class 10 microSD card and reliable power supply for optimal performance.
- Download the Kali Linux image suitable for your Raspberry Pi model from the official website and verify its integrity using SHA256 checksum.
- Use imaging software like Balena Etcher to flash the extracted Kali Linux image onto the microSD card; format it as FAT32.
- On the first boot, use default credentials ‘kali’/’kali’ to log in, and remember to change the password for security.
- Regularly update your system and install additional tools with ‘sudo apt update && sudo apt upgrade -y’ for enhanced functionality and security.
Hardware Requirements for Kali Linux on Raspberry Pi
When you’re planning to install Kali Linux on a Raspberry Pi, it’s important to take into account the specific hardware requirements to guarantee peak performance. Different Raspberry Pi models offer varying capabilities; for example, the Raspberry Pi 4 features a quad-core 1.5GHz processor and supports both 32-bit and 64-bit operating system compatibility. However, using a 32-bit image limits RAM usage to 4GB, while the 2Gb RAM or 8GB versions of the Raspberry Pi 4 are ideal. A fast microSD card with a minimum of 16GB capacity, preferably Class 10, is critical for installation. Additionally, verify you have a reliable power supply and basic peripherals like a keyboard and mouse for full functionality during your Kali Linux experience. This good connectivity allows for enhanced performance during your penetration testing tasks. For optimal performance, consider using the latest Raspberry Pi model which offers significant CPU performance gains with its quad-core Cortex-A76 CPU. Ensuring proper power supply specifications, such as those recommended for the Pi 4 (3A USB-C), is crucial to prevent damage and ensure performance.
Downloading the Kali Linux Image
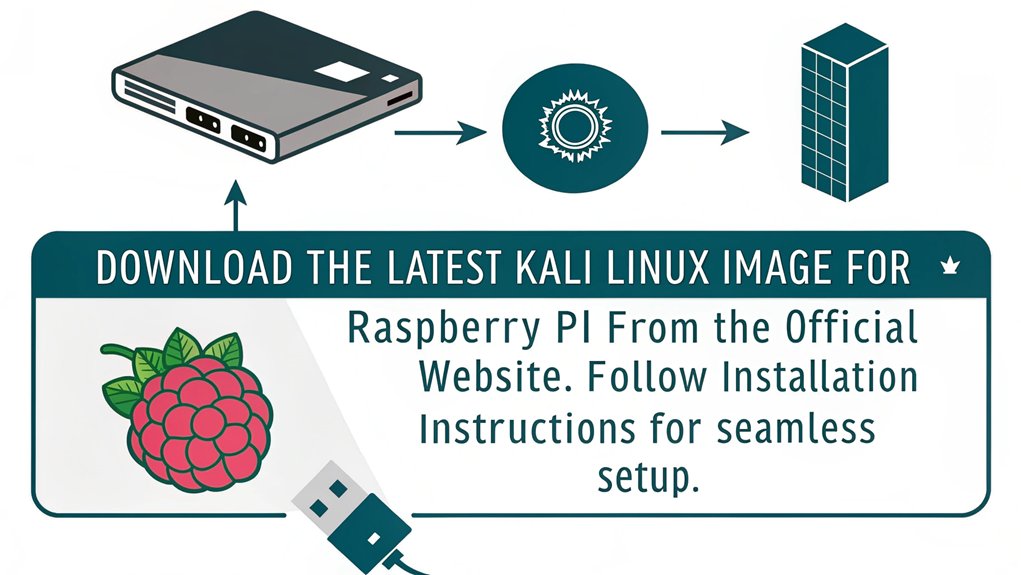
To start downloading the Kali Linux image, head to the official download page where you’ll find images tailored for various Raspberry Pi models. Kali Linux is compatible with Raspberry Pi to enhance its capabilities as a hacking kit. Make sure you select the appropriate format, typically compressed as ‘.img.xz’, and choose the correct extraction tool for unpacking the image after download. Understanding these requirements upfront will streamline the installation process for your Raspberry Pi. Additionally, ensure you follow the proper steps to create a Kali rootfs for a successful installation on your device.
Official Download Sources
You can download the Kali Linux image directly from the official Kali Linux website, which provides various options tailored for different platforms, including specific ARM images designed for Raspberry Pi. It is important to note that this distribution has been optimized for smooth operation on these devices. Additionally, the Raspberry Pi 2 v1.2 supports 64-bit images, which are offered alongside the 32-bit versions.
When accessing download locations, make sure you select the ARM image appropriate for your Raspberry Pi model. The site offers both 32-bit and 64-bit images, catering to diverse needs.
To maintain installation integrity, it’s essential to perform image verification after downloading. The verification process is outlined on the website, and utilizing the recommended tools guarantees the downloaded image is uncorrupted.
Image Format Requirements
Understanding the image format requirements is essential for successfully downloading and installing Kali Linux on your Raspberry Pi.
For ideal image compatibility, choose the 32-bit version: ‘Kali Linux RaspberryPi 2, 3, 4 and 400 (img.xz)’, as it’s extensively tested. Although the Raspberry Pi 4 supports 64-bit images, sticking with 32-bit guarantees better alignment with existing documentation. Additionally, using the Raspberry Pi Imager software will simplify the process of writing the Kali image to your storage device. It is important to note that Kali Linux is designed for penetration testing and security assessments.
Your microSD card must be at least 16GB, preferably Class 10, and remember that writing the image will erase existing data.
The default filesystem created may be ext3, which could hinder performance; consider the advantages of ext4 if you seek improved reliability and functionality.
Verify you refer to the format specifications carefully to avoid complications during installation.
Recommended Extraction Tools
Selecting the right tools for downloading and extracting the Kali Linux image is critical for the installation process.
Start by downloading the image from the official Kali Linux website, ensuring you choose the correct version for your Raspberry Pi model. You can opt for HTTP or torrent downloads for efficiency. Additionally, remember that Kali Linux is built specifically to optimize security assessments. To avoid issues during installation, ensure you have properly expanded the partitions before starting.
After downloading, use reliable extraction software like 7Zip or built-in tools compatible with your OS to extract the ‘.img.xz’ file.
Prioritize file integrity by verifying the SHA256 checksum both pre- and post-extraction. This step guarantees that the image is intact and prevents issues during installation.
Finally, use imaging software like Raspberry Pi Imager to write the extracted image to your SD card or USB drive seamlessly.
Preparing the SD Card for Installation
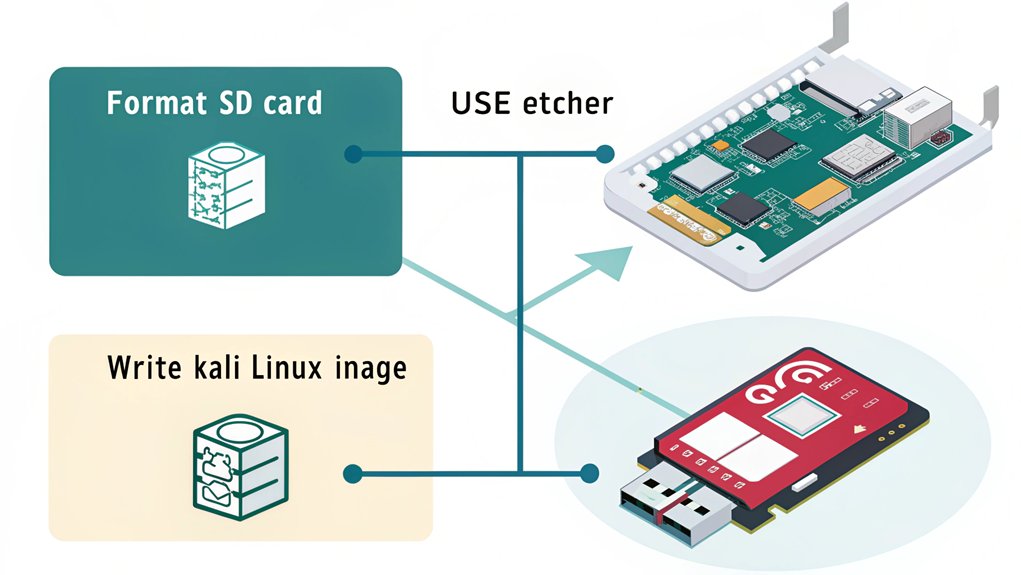
Preparing the SD card for installation involves several essential steps that guarantee a successful setup of Kali Linux on your Raspberry Pi. Start by ensuring your SD card meets the minimum capacity of 8GB (16GB recommended) and is Class 10 for peak performance. Remember, the writing process will wipe all content, so backup important data to avoid data loss. You’ll use reliable software tools like Etcher for image writing, ensuring you choose the correct image and drive. Kali Linux is a Linux distribution designed for digital forensics and software penetration testing, making it a powerful choice for security assessments. It is important to note that using a smaller SD card like 4GB may result in booting issues or insufficient space for required system files.
| Step | Description | Important Note |
|---|---|---|
| Download Image | Get the correct Kali Linux image for your Pi | Validate the image file |
| Write Image | Use Etcher or ‘dd’ to write the image | Select the right SD card |
| Prepare for Boot | Insert SD card and power on Raspberry Pi | Use default login credentials |
Ensure compatibility to avoid installation issues.
Installing Kali Linux on the Raspberry Pi

When installing Kali Linux on your Raspberry Pi, you’ll start with essential hardware preparation to guarantee compatibility. It’s important to ensure that your Raspberry Pi is set up to accommodate the use of Kali Linux for practical demonstrations. Additionally, ensure that you have the necessary Raspberry Pi components ready before proceeding to download the appropriate image and prepare it for installation on your SD card. Finally, you’ll use imaging software to flash the downloaded image, setting the stage for a successful setup.
Hardware Preparation Steps
As you prepare your hardware for installing Kali Linux on a Raspberry Pi, make sure you choose a compatible model such as the Raspberry Pi 4 or later for peak performance. Raspberry Pi devices have proven to be highly effective and versatile tools for penetration testing projects when combined with Kali Linux. Furthermore, availability issues guarantee robust power considerations to maintain stable operations.
Follow these hardware preparation steps:
- Select a Class 10 microSD card: At least 16GB is advisable, with 32GB offering a fuller installation. Ensure the microSD card is formatted using FAT32 for the boot partition and ext4 for the OS partition.
- Check connectivity options: A wired Ethernet connection is recommended for stability and speed.
- Choose necessary peripherals: A compatible keyboard and mouse are essential; consider a wireless USB combo.
- Assess display needs: Use a monitor with HDMI or micro-HDMI support for better visual output.
Adhering to these guidelines guarantees ideal hardware compatibility for an efficient installation experience. Proper heat management extends the lifespan of the Raspberry Pi.
Image Downloading Process
Downloading the Kali Linux image for your Raspberry Pi requires careful attention to guarantee compatibility and functionality.
Start by choosing an image from the official Kali Linux website, ensuring it’s for ARM architecture. Depending on your Raspberry Pi model and RAM—opt for the 32-bit or 64-bit version appropriately.
The image size typically ranges from 2.3 GB to 2.4 GB, so plan for sufficient download speed. You can either download it directly via HTTP or utilize torrent files for enhanced download speed.
Always prioritize image security by verifying the integrity of your downloaded file. Make sure the image isn’t corrupted before proceeding, and check for any updates that could improve functionality or security.
Flashing the SD Card
Having successfully downloaded the Kali Linux image tailored for your Raspberry Pi, it’s time to flash this image onto your SD card.
To do this efficiently and avoid flashing errors or verification issues, follow these steps:
- Choose a tool such as Balena Etcher, Rufus, or Raspberry Pi Imager.
- Confirm compatibility with your operating system (Windows, macOS, Linux).
- Select the downloaded Kali image and your SD card device, then initiate the writing process.
- Use the tool’s verification feature to confirm the image’s integrity.
Remember to use a high-quality SD card, ideally 16 GB or larger, for better performance, and confirm it’s SDHC compliant, as using a defective SD card can lead to boot failures.
Post-flashing, safely eject the card to prevent corruption, setting you up for a successful boot.
First Boot Experience and Login Credentials
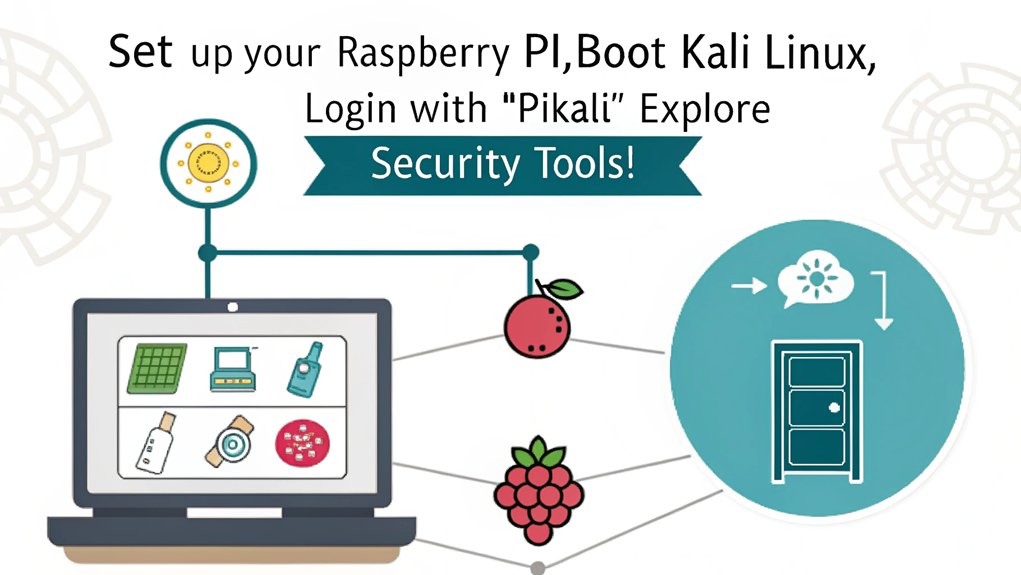
Once you’ve prepared the microSD card with the Kali ARM image, insert it into your Raspberry Pi and power on the device.
You’ll experience the system booting up, where first impressions can reflect the overall stability of the install. If you encounter any issues, such as error messages or a rainbow screen, double-check your connections and image integrity. Booting issues can often be resolved by checking the installation guide for your specific Kali Linux version.
Upon reaching the initial login screen, enter the default credentials: username ‘kali’ and password ‘kali’.
Login security is paramount, so change the password immediately using the ‘passwd’ command. This simple step fortifies your setup, enhancing the device’s resilience against unauthorized access.
With successful login, you’re ready to explore and innovate with the powerful tools Kali Linux offers.
Configuring Your Kali Linux Environment
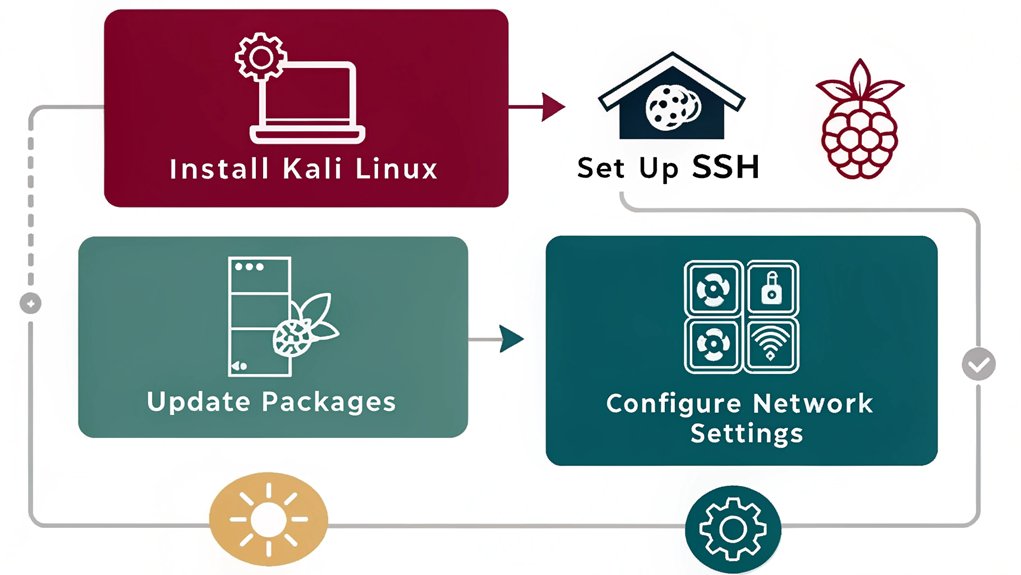
As you begin configuring your Kali Linux environment, you’ll want to establish a reliable network connection first. This is essential for effective system monitoring and network diagnostics. Without a proper connection to a Wi-Fi network, you may find it challenging to capture packets via WiFi interface wlan0.
Follow these steps to configure your network:
- Ethernet Connection: Verify your ethernet cable is connected and check the network icon for a status.
- Wireless Connection: Select the network icon, connect to Wi-Fi, and input your credentials.
- Update Packages: Regularly run ‘sudo apt update && sudo apt upgrade -y’ to keep the system secure.
- Install Tools: Enhance functionality by installing additional tools using ‘sudo apt install
‘.
Establishing a solid network foundation allows you to leverage Kali Linux’s capabilities effectively for security assessments.
Customizing Keyboard and System Settings
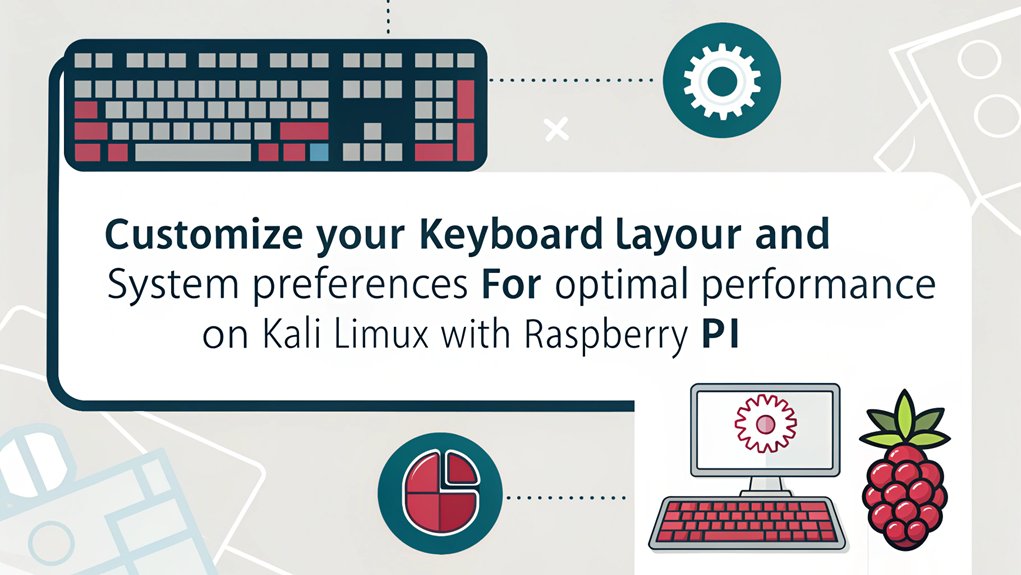
A well-set-up Kali Linux environment goes beyond just network connectivity; customizing your keyboard and system settings is essential for maximizing user experience and functionality.
You can change the keyboard layout via the command line using ‘sudo raspi-config’ or through the Desktop GUI in Preferences > Keyboard and Mouse. This flexibility guarantees ideal user accessibility.
Consider setting keyboard shortcuts with tools like ‘xbindkeys’ to enhance your productivity.
During installation, select your preferred language and guarantee that system configurations such as passwords are modified for security.
Keeping your system updated with the latest tools and features not only secures your environment but also provides numerous innovative options, improving your overall efficiency and system performance.
Performance Comparison of Raspberry Pi Models
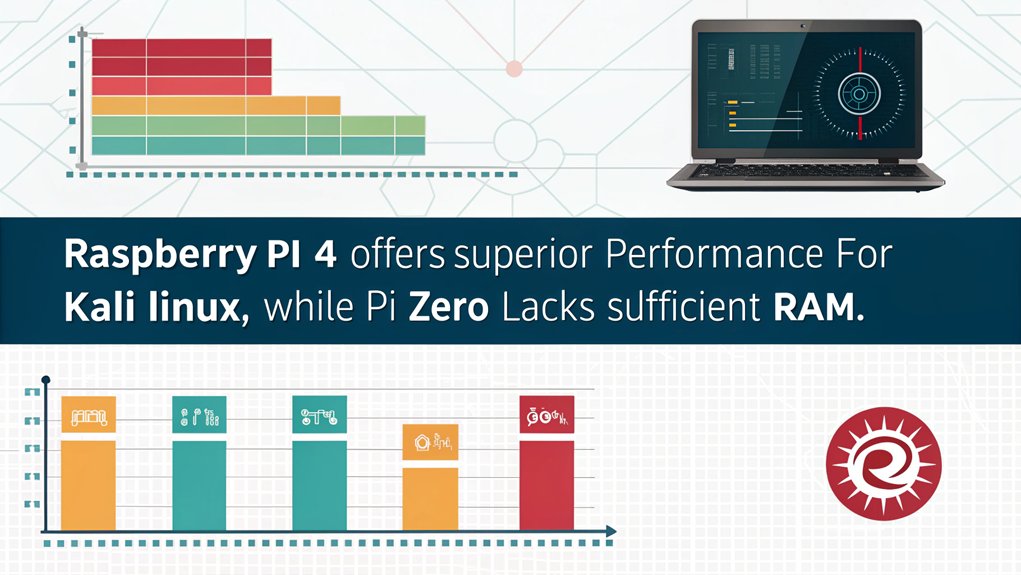
In recent benchmarks, the Raspberry Pi 5 has demonstrated significant performance gains over the Raspberry Pi 4, making it an attractive option for users requiring enhanced computing power.
Here’s a concise comparison of key metrics:
- CPU Performance: Raspberry Pi 5 achieves 1604 in multi-core scores, a 2.2x improvement over Raspberry Pi 4, and single-threaded performance reaches 1041 MBps, a 1.49x increase.
- Memory and Storage: Raspberry Pi 5’s LPDDR4X-4267 RAM allows for improved multitasking with up to 8GB of RAM, compared to the limited options on the Raspberry Pi 4.
- Thermal Efficiency: Raspberry Pi 5 features better heat dissipation and lower power draw during tasks, with recommendations for a 5V/5A power supply for optimal performance.
- Overall Speed: Average benchmark scores indicate Raspberry Pi 5 is 2-3 times faster than Raspberry Pi 4, with significant boosts in graphical performance due to its upgraded VideoCore VII GPU.
This analysis highlights the remarkable Raspberry Pi performance improvements, making the Model comparisons clear and compelling for potential users. The Raspberry Pi 5 also benefits from enhanced connectivity options, including dual-band Wi-Fi and multiple USB 3.0 ports.
Utilizing Network Boot for Installation
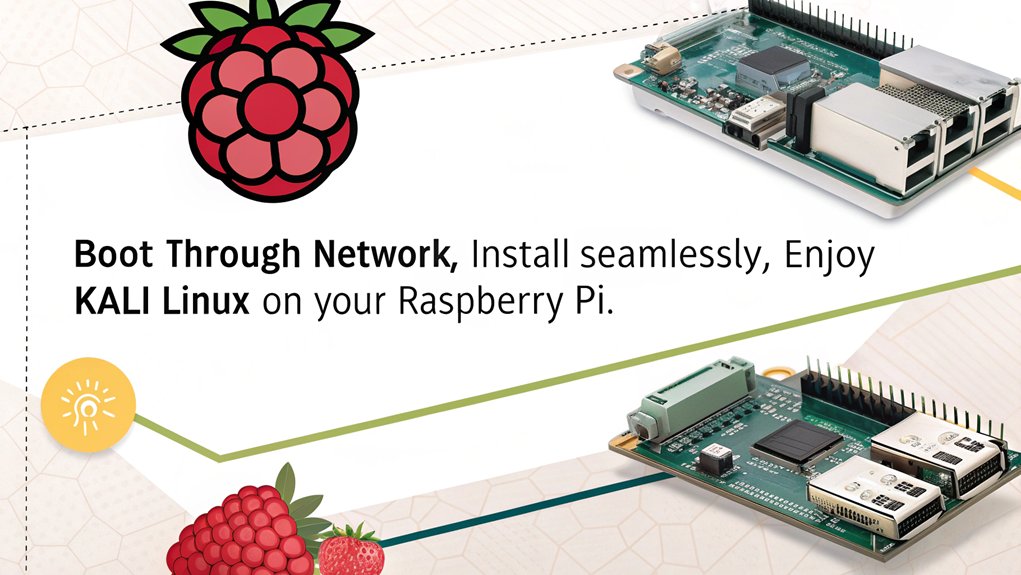
Building on the impressive performance of the Raspberry Pi 5, utilizing network boot for installing Kali Linux offers a streamlined approach that eliminates the need for a physical SD card. You’ll experience several network booting advantages, such as simplified setup and reduced hardware dependency. Confirm your Raspberry Pi is updated to support this feature and connect it to a stable Ethernet network, ensuring you have a compatible microSD card reader and verifying OS compatibility with your specific Raspberry Pi model microSD card requirements. The device will automatically prompt for a network installation when it detects the absence of an operating system. As you follow the imager tool’s directives, be prepared for troubleshooting network issues that may arise during the download and installation phases, especially considering the importance of Gigabit Ethernet for enhanced connectivity.
This innovative method empowers you to install Kali Linux efficiently and effectively, enhancing your Raspberry Pi experience.
Frequently Asked Questions
Can I Use a Different Operating System on My Raspberry Pi?
Yes, you can use alternative OS options on your Raspberry Pi. Operating systems like Ubuntu and Fedora can enhance system performance while providing diverse software access. Explore these alternatives to tailor your Pi to specific needs and tasks.
What Software Tools Are Compatible With Kali Linux on Raspberry Pi?
Most Kali Linux tools support network scanning and penetration testing on Raspberry Pi, though performance may vary. You’ll find efficient options for standard tasks, but resource-intensive tools might underperform on less powerful models.
How to Troubleshoot Boot Issues After Installation?
To troubleshoot boot issues, start by examining boot configuration closely. Investigate potential SD card issues, ensuring proper formatting and capacity. Update settings and firmware to resolve any compatibility or corruption problems hindering a successful boot.
Is It Possible to Upgrade Kali Linux After Installation?
Yes, you can upgrade Kali after installation using efficient methods. Utilize commands like ‘sudo apt update’ and ‘sudo apt full-upgrade’ to guarantee timely Kali upgrades, enhancing performance and security in your system.
Can I Run Graphical Applications on Raspberry Pi With Kali Linux?
Yes, you can run graphical applications on Raspberry Pi with Kali Linux, benefiting from performance optimization features. Remote access capabilities enhance your experience, allowing smooth operation of various tools tailored for innovative security tasks.xx
Conclusion
To sum up, installing Kali Linux on your Raspberry Pi opens up a world of powerful tools and possibilities. Once you’ve navigated through the setup and configuration, you’ll find yourself equipped to tackle cybersecurity tasks like a pro. Remember, the possibilities are vast, and, though some might say it’s not as simple as flipping a light switch, with practice, you’ll master it in no time. Embrace the challenge and enjoy your journey into ethical hacking and penetration testing with Kali!

I am a retired software engineer with experience in a multitude of areas including managing AWS and VMWare development environments. I bought a relative a mini-PC a year ago and have become passionate about the technology and its potential to change how we deploy software.