Building your own smart assistant is like crafting a key to your digital world. If you’re looking to add Alexa to a Raspberry Pi, you’ll need the right hardware and some setup steps. Whether you want voice control over your devices or simply enjoy tinkering, the process can be rewarding. Curious about what tools and configurations you’ll need to get started? Let’s explore the essentials to access your Raspberry Pi’s potential.
Key Takeaways
- Ensure you have a compatible Raspberry Pi model (Pi 2, 3, or 4) and a minimum 8 GB MicroSD card for installation.
- Create an Amazon Developer account, configure a security profile, and complete device registration on the Alexa developer dashboard.
- Update the Raspbian package manager and install the AVS Sample App along with necessary dependencies like PortAudio and GStreamer.
- Start the companion service for Alexa by running ‘npm start’ in the companion service directory, ensuring it listens on port 3000.
- Test voice capabilities by checking audio quality, command recognition, and performing basic functions like weather updates and music streaming.
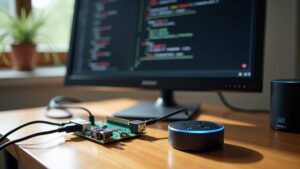
Hardware Requirements for Raspberry Pi and Alexa
To get started with adding Alexa to a Raspberry Pi, you’ll need some essential hardware. Recommended Raspberry Pi models include the Pi 2, Pi 3, and Pi 4 for peak performance. You’ll require a microSD card of at least 8 GB, although 16 GB is better. For audio input, use a USB microphone, while audio output can come from USB or Bluetooth speakers. Additionally, adding Alexa to a Raspberry Pi enhances its functionality by enabling voice control. Don’t forget a robust power supply with at least 2,000 mAh capacity. With Amazon Alexa regular updates, your setup can gain access to new features enhancing its usability and functionality. Make sure you have the right connectivity options; Wi-Fi is vital for internet access, and multiple USB ports accommodate your microphone and speakers. Installing Raspbian using tools like NOOBS can simplify software dependencies to run Alexa effectively on your setup.
Setting Up an Amazon Developer Account
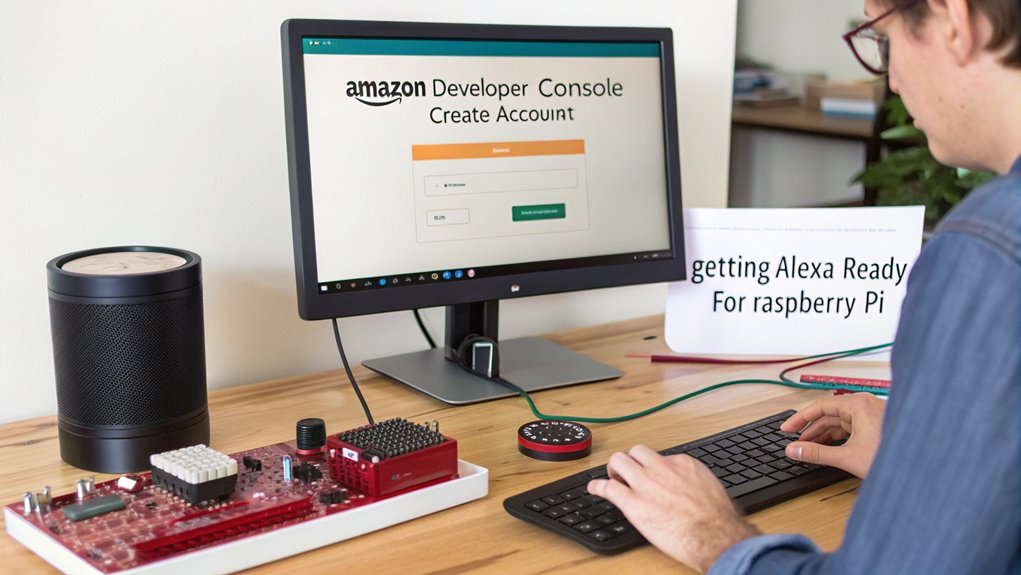
To start using Alexa on your Raspberry Pi, you’ll first need to set up an Amazon Developer account. Create your account by filling out the required information, and make sure to configure your security profile during registration. Once that’s done, you can move on to registering your device and preparing it for adding Alexa to a Raspberry Pi. Make sure to use a Raspberry Pi 3 for the best experience during setup. Additionally, having a voice-controlled speaker like the Echo can greatly enhance your understanding of how Alexa operates.
Account Creation Process
Creating an Amazon Developer account is a straightforward process that opens the door to building Alexa skills. Start by visiting the Amazon Developer Services website and click “Sign In” to create your account.
You’ll need to enter your name, email, and a password, then verify your email with the One Time Password (OTP).
Benefits of having a developer account include the ability to invite additional users with specific roles, like administrator or developer, which shapes their access rights. This collaborative feature enhances project development and efficiency. Additionally, as the first user in your Developer Account, you will be considered the account owner with full rights.
Once you complete your profile, including the Developer/Company name, you can begin exploring the console. Remember, registration is free, so immerse yourself in this innovative opportunity!
Security Profile Configuration
Once you’ve set up your Amazon Developer account, the next crucial step is configuring your security profile, which associates the necessary security credentials with your applications. This step is essential for secure interactions with Amazon services.
Remember the importance of your security profile, as it guarantees:
- Your application’s integrity remains intact
- Authorized access to essential APIs
- Enhanced protection against unauthorized use
- Streamlined profile management for future updates
To create your profile, log into the Developer Console, navigate to “Security Profiles,” and click “Create a New Security Profile.” Fill in the required details, guaranteeing strong hash management for added security.
With a configured profile, you’re one step closer to integrating Alexa with your Raspberry Pi!
Device Registration Steps
Before you can register your device for Alexa integration on Raspberry Pi, you need to set up an Amazon Developer account.
Start by entering your name, email, and password, then complete the registration process with your developer and company details.
Don’t forget to verify your email with the OTP sent to you.
Once verified, finish your profile by adding your interests and payment info, which is essential for product creation.
With your account ready, you can initiate device registration on the Alexa developer dashboard.
Here, select “Device with Alexa built-in” as your device type, providing necessary details like device name and category.
Enabling services is a key step for adding Alexa to a Raspberry Pi.
Installing Required Software on Raspberry Pi
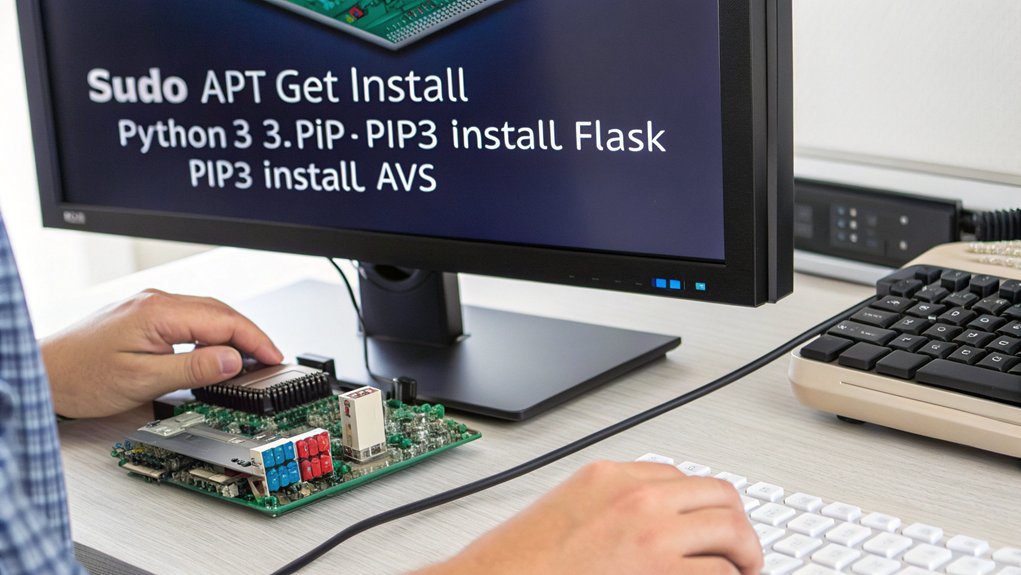
To add Alexa to a Raspberry Pi, you’ll need to start by updating the Raspbian package manager for the latest software. Once that’s done, install the AVS Sample App to get hands-on experience with Alexa functionalities. Additionally, make sure to install necessary packages to ensure smooth functionality and compatibility with the Alexa Voice Service. Finally, configure the companion service settings to guarantee everything runs smoothly. This includes registering an AVS Product with Amazon to successfully implement the service.
Update Raspbian Package Manager
Updating the Raspbian package manager is essential for keeping your Raspberry Pi responsive and secure, as it guarantees you have access to the latest software and security patches. By maintaining your system’s package management, you enhance its performance while assuring a worry-free experience. Here’s what you can do:
- Refresh your package index using ‘sudo apt update’
- Upgrade all installed packages with ‘sudo apt full-upgrade’
- Confirm prompts with ‘y’ to assure flawless installations
- Reboot the system when kernel updates occur with ‘sudo reboot’
Moreover, regular system maintenance through updates prevents vulnerabilities and keeps your projects running smoothly. Additionally, ensuring you have the latest Raspbian Bullseye OS installed can improve compatibility with new software.
Install AVS Sample App
When you’re ready to bring Alexa to life on your Raspberry Pi, installing the AVS Sample App is an important step in the process. First, verify you’re using Raspbian Stretch or Jessie along with the necessary dependencies like PortAudio and GStreamer. Clone the AVS Device SDK from GitHub to access essential AVS SDK features. The Alexa functionality is designed to bring a voice-activated digital home assistant experience to your project. Before executing the installer, ensure that all dependencies for the app are installed. Compile the SDK using the ‘cmake’ and ‘make SampleApp’ commands, confirming you’ve configured PortAudio for audio processing.
With everything set, you’ll be ready for Sample app usage, allowing you to test Alexa’s responsiveness and functionality. Don’t skip this step; it’s critical for enabling Alexa’s voice capabilities and leveraging its innovative features when adding Alexa to a Raspberry Pi.
Configure Companion Service Settings
Configuring the companion service settings on your Raspberry Pi is vital for integrating Alexa’s voice capabilities.
You’ll need to follow a few straightforward steps to set everything up correctly:
- Navigate to the companion service directory with ‘cd ~/alexa-avs-sample-app/samples/companionService’.
- Start the companion service using the command ‘npm start’, and keep that terminal open.
- Confirm the service listens on port 3000 for seamless operation.
- Finally, check your network connection because a stable internet is indispensable!
With the right service settings, you’ll access endless possibilities with your Raspberry Pi and Alexa.
Embrace innovation and make your smart home more interactive!
Configuring Alexa Voice Service Integration
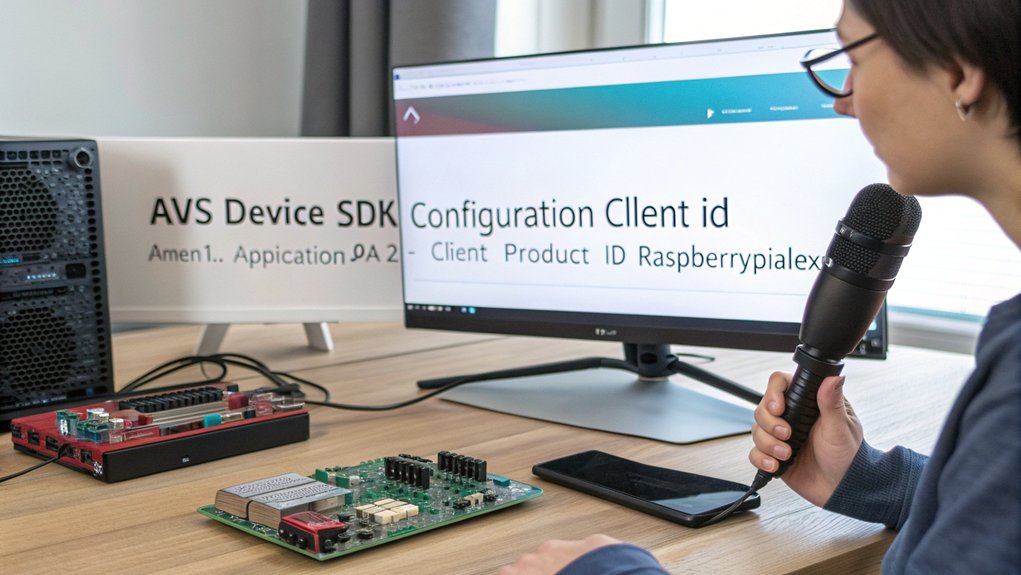
To successfully integrate Alexa Voice Service (AVS) with your Raspberry Pi, you’ll need to follow several essential steps that guarantee smooth communication between your device and Alexa.
First, verify your Raspberry Pi has a stable internet connection and that you’ve installed a USB microphone and speaker for effective voice interaction.
Next, create an Amazon Developer account to register your Raspberry Pi under AVS. Don’t forget to set up a security profile to obtain the necessary authentication tokens. These tokens are vital for service authentication. Additionally, you can leverage custom Alexa Skills to enhance the interaction capabilities of your Raspberry Pi projects.
Create an Amazon Developer account to register your Raspberry Pi, and set up a security profile for essential authentication tokens.
Remember that Raspberry Pi ownership is a prerequisite for building an AlexaPi, adding an extra layer of engagement to your learning experience.
Install the AVS SDK and complete the product details, selecting hands-free interaction.
Finally, get the Alexa Companion Service running in the background to maintain your connection with AVS seamlessly.
Running and Testing Alexa on Raspberry Pi
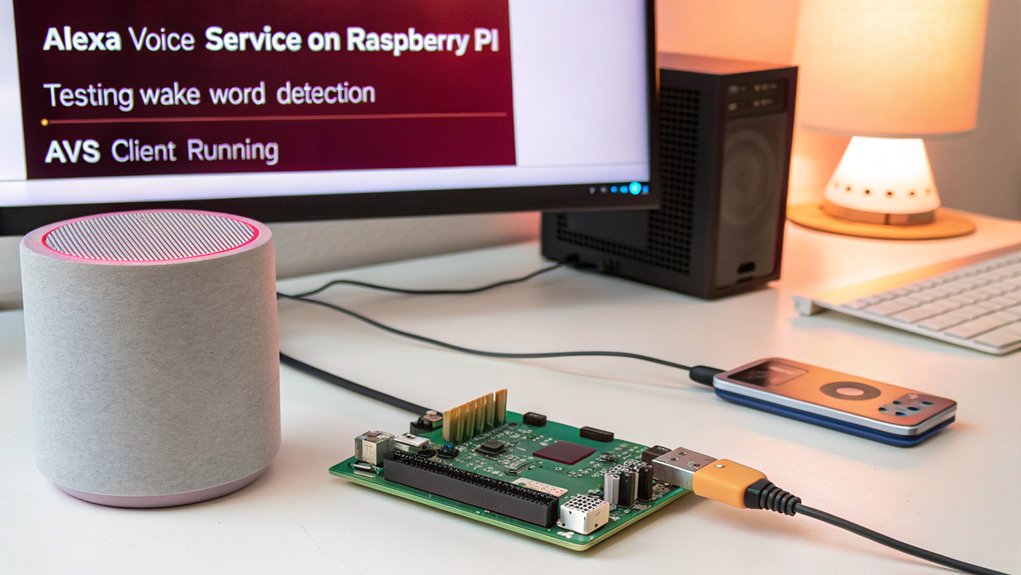
Once you’ve set up Alexa on your Raspberry Pi, running and testing the voice assistant becomes the next exciting step.
You’ll want to make certain everything works seamlessly, so start with these essential checks:
- Verify audio quality testing with your microphone and speakers.
- Confirm the wake word agent properly recognizes commands.
- Test basic functionality like weather updates or music streaming.
- Monitor voice command accuracy to make certain smooth interactions. Moreover, consider using local options like TensorFlow and DeepSpeech for more reliable processing while testing.
As you plunge into testing, pay attention to any errors and log outputs.
Troubleshooting issues at this stage can enhance your experience.
With careful testing, you’ll enjoy the innovative power of Alexa right on your Raspberry Pi, making it a fantastic addition to your tech-savvy home.
Customization Options for Your Alexa Setup
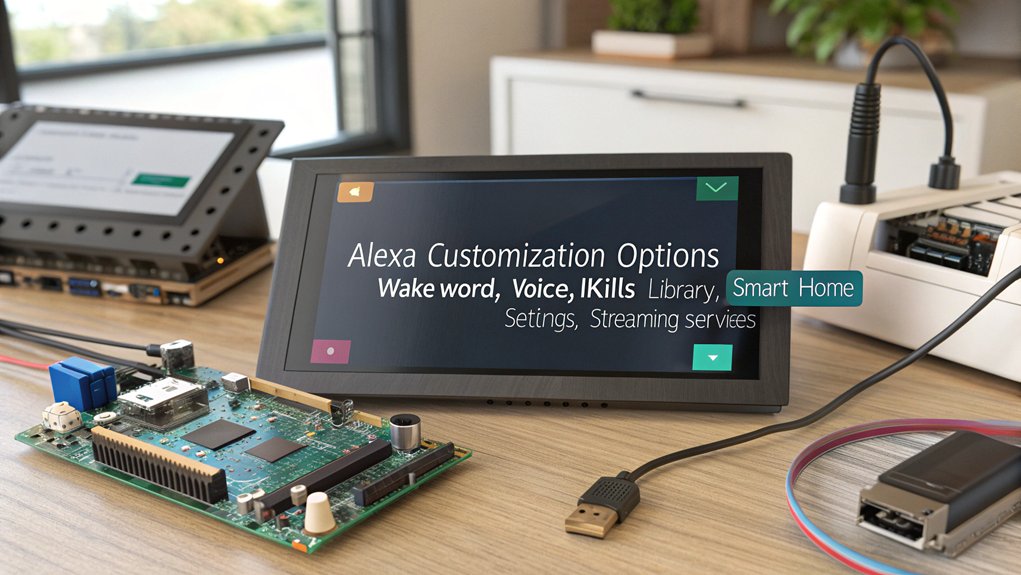
While setting up Alexa on your Raspberry Pi, you’ll discover numerous customization options that make your project uniquely yours. You can choose a name and description for your device, adding a personal touch.
Opt for “Device with Alexa built-in” to select the right product type, and consider hands-free interaction to improve user experience. Voice command integration is seamless with compatible USB microphones and speakers.
By enhancing device functionality, you can tailor your Alexa experience to fit your needs. Plus, future-proof your setup by updating configurations through the Developer Dashboard.
With access to scripts and community support, you’ll have the freedom to innovate and expand your Alexa capabilities beyond the basics.
Integrating Smart Home Devices With Alexa
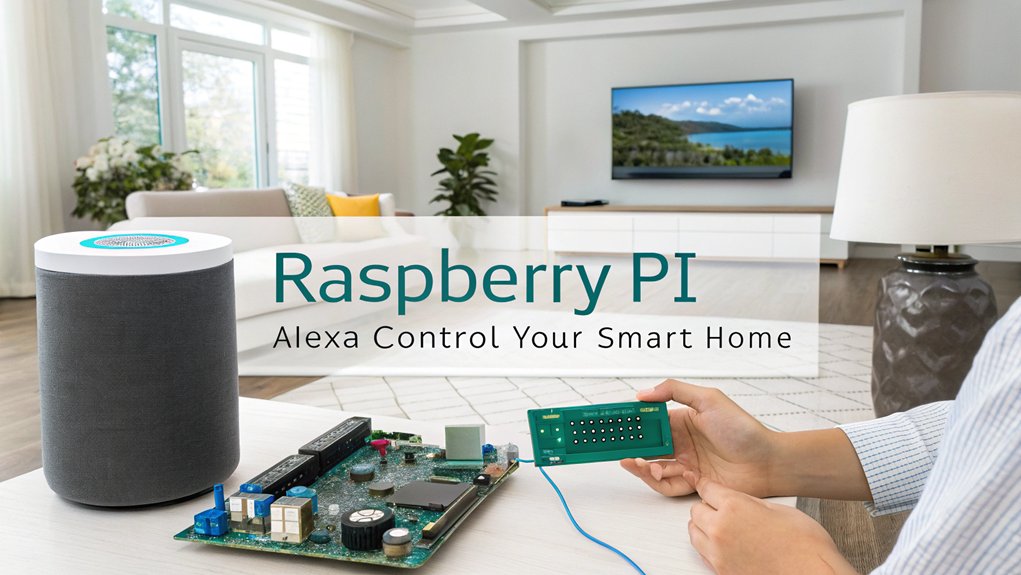
Integrating smart home devices when adding Alexa to a Raspberry Pi opens up a world of convenience and automation, allowing you to control various aspects of your home with just your voice.
By leveraging smart home integration, you can enhance your daily life in exciting ways:
- Control lighting systems effortlessly with simple voice commands.
- Adjust thermostats to create the perfect climate without lifting a finger.
- Secure your home with integrated security devices that alert you instantly.
- Stream your favorite music across devices using just your voice. Additionally, consider using BAZZ Smart Home devices that operate without a hub for enhanced functionality.
Make sure all devices are compatible, connected to the same Wi-Fi, and regularly updated. Additionally, ensure that your home setup includes a Home Assistant Cloud for smoother integrating Alexa to a Raspberry Pi.
Embrace the power of voice command automation to manage your home seamlessly and enjoy a tech-savvy lifestyle!
Developing Custom Skills for Alexa
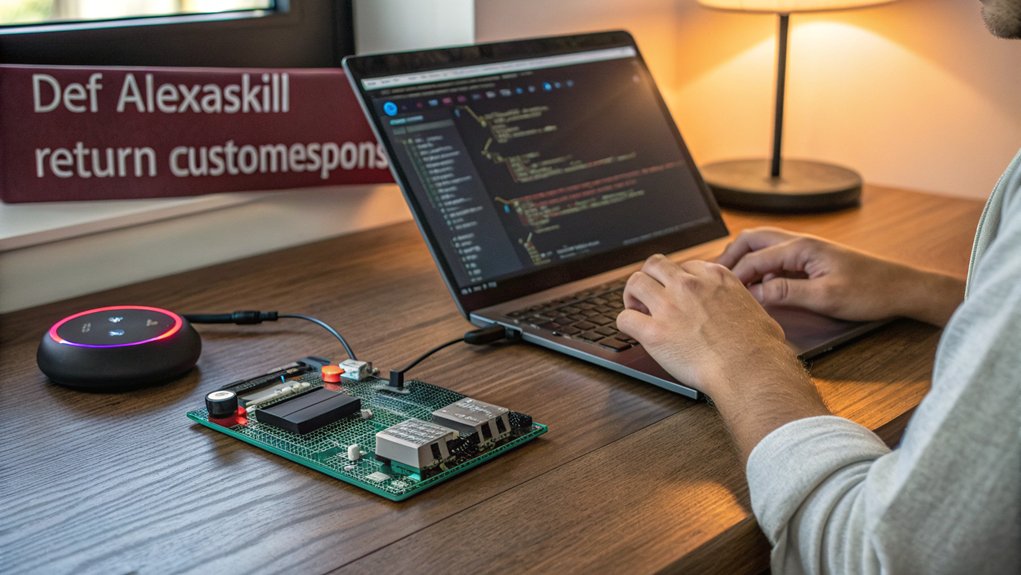
Developing custom skills for Alexa allows you to create unique voice experiences tailored to your users’ needs.
Start by defining your skill’s purpose, ensuring it delivers clear value through well-planned skill functionality.
Consider how users will interact with your skill by designing a voice user interface that facilitates smooth interactions. Each skill consists of an invocation name, intents, phrases mapping to each intent, and software for detecting intents. To create skills, you must have prior programming knowledge to effectively handle the development process.
Craft a clear invocation name and list intents with diverse sample utterances to capture various user speech patterns.
Utilize AWS Lambda for skill hosting and leverage its capabilities for executing code.
Test your skill rigorously using the Alexa simulator and actual devices, adjusting based on user feedback.
Once satisfied, submit your skill for certification to share your innovative creation with the world and enhance user interaction.
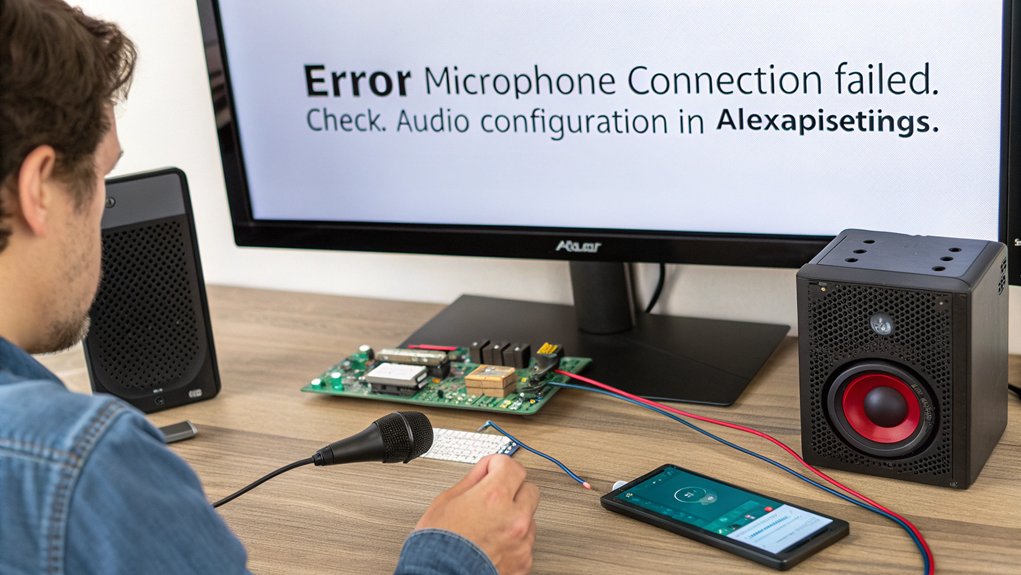
Troubleshooting Common Issues When Adding Alexa to a Raspberry Pi
Adding Alexa to a Raspberry Pi can sometimes present challenges that may impede your progress.
If you’re facing issues, here are common pitfalls to troubleshoot:
- Connection troubleshooting: Check your internet and verify your credentials for accuracy. It’s important to note that there may be repeated “Connection Failed” errors in the logs that can help identify issues.
- Audio issues: Adjust audio output settings and make certain your microphone is sensitive enough for voice recognition.
- Script permission: Use ‘chmod +x’ for executing setup scripts without errors.
- Device registration: Confirm you’ve registered your device correctly with Amazon Developer Services.
Frequently Asked Questions
Can I Use Python to Control Alexa on Raspberry Pi?
Yes, you can use Python libraries with the Alexa SDK for Raspberry Pi integration. By scripting voice commands, you’ll control various devices and create innovative projects that leverage Alexa’s capabilities for seamless interaction.
Is It Possible to Add More Than One Raspberry Pi Device?
Yes, you can add multiple Raspberry Pi devices in a multi-device setup. Their synchronization features allow seamless control, enhancing functionality. Just verify each device meets hardware requirements and configure them properly for peak performance.
How Do I Update the Alexa Voice Service on Raspberry Pi?
Updating the Alexa Voice Service on your Raspberry Pi is as essential as powering it up! Use reliable Alexa update methods like system updates, Git repositories, and check for Raspberry Pi compatibility for seamless functionality.
Can I Use Alexa Without an Internet Connection?
You can use Alexa’s offline functionality for basic tasks like setting timers and controlling compatible smart devices on your network. However, its voice recognition capabilities are limited without an internet connection for more advanced features.
What Audio Formats Are Supported by Raspberry Pi’s Alexa Setup?
Raspberry Pi’s Alexa setup supports audio formats like MP3, utilizing various supported codecs. For enhanced music playback, integrate skills that optimize streaming, but be cautious of limitations on certain streaming services and multi-room capabilities.
Conclusion
In summary, adding Alexa to your Raspberry Pi transforms it into a powerful voice assistant, breathing life into your projects. You’ve set up the hardware, registered your developer account, and installed the software—now the fun truly begins! With a bit of customization and integration, your Pi can not only respond to your commands but also control smart devices effortlessly. So, why wait? Immerse yourself in the world of voice interaction and release your creativity with Alexa!

I am a retired software engineer with experience in a multitude of areas including managing AWS and VMWare development environments. I bought a relative a mini-PC a year ago and have become passionate about the technology and its potential to change how we deploy software.