
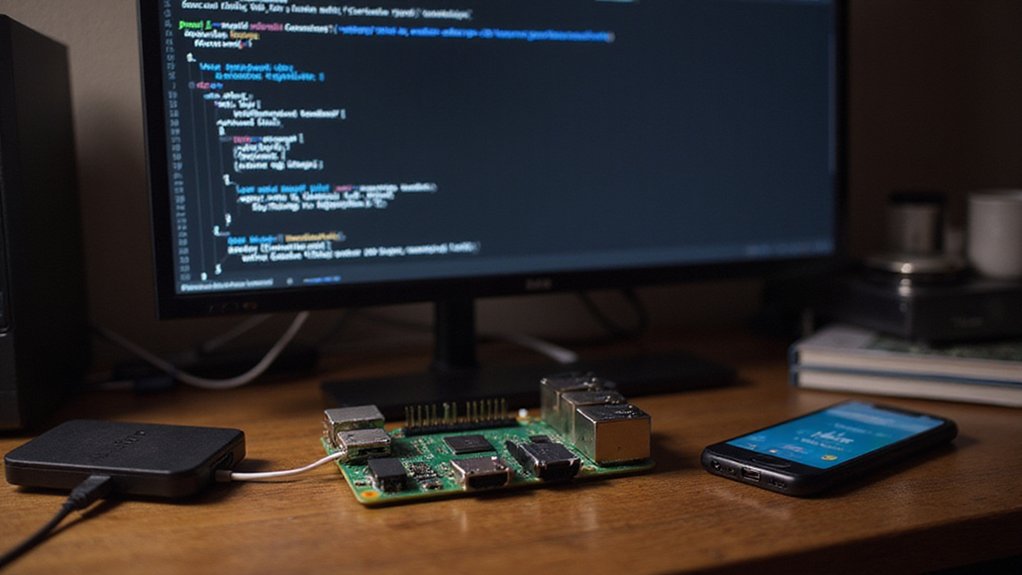
Have You Thought About Adding a Network Drive to Your Raspberry Pi?
Does your Raspberry Pi’s storage capacity feeling a bit under the weather? Then adding a network drive to your Raspberry Pi might be just the remedy you need. You’ll transform your Pi into a powerful file server by connecting it to shared storage across your home or office network. This guide will walk you through installing Samba, configuring shared folders, and setting up permanent mounts—whether you’re building a media center or need expanded storage for IoT projects.
Key Takeaways
- Use permanent fstab configuration for persistent network drive access by adding an entry like `//server/share /mount/point cifs credentials=/path/to/file 0 0`.
- Configure Samba by editing `/etc/samba/smb.conf` and restarting the service with `sudo systemctl restart smbd` to share local folders.
- Implement Autofs for dynamic mounting that only connects when accessing the drive and disconnects after inactivity.
- Mount network drives temporarily with `sudo mount //192.168.0.23/work /media/pishare -o username=USER,password=PASS` for quick access.
- Set proper permissions using mount options like `-o uid=,gid=` to ensure appropriate file access and security.
Adding a Network Drive to Your Raspberry Pi: Prerequisites and Hardware Setup
Before setting up a network drive on your Raspberry Pi, you’ll need to ascertain you have the right hardware components and configuration in place. For the best performance, choose a Raspberry Pi 4 or newer Pi 5 with at least 2GB RAM. More RAM will considerably improve your multitasking capabilities and overall system responsiveness.
Performance matters when building a Raspberry Pi network drive – choose newer models with sufficient RAM for responsive operation.
For Raspberry Pi specifications, verify you’re using a proper 5V/2.5A power supply and running Raspbian OS on an 8GB+ microSD card. Connect via Ethernet rather than Wi-Fi for stable networking.
For external storage options, consider connecting USB hard drives or SSDs for expanded capacity. If performance is critical, explore NVMe storage using M.2 HAT+ for Pi 5 or PCIe adapters for Compute Module 4. The Raspberry Pi 4’s USB3 ports significantly enhance transfer speeds compared to older models.
The Raspberry Pi 3 Model B+ would also work with its 300Mb/s Ethernet connection, though transfer speeds will be more limited than with newer models.
Consider exploring mini PC alternatives like the Beelink Mini S12 Pro with its Intel UHD Graphics support if you need additional processing power for your network applications.
For those seeking energy efficiency while maintaining performance, the KAMRUI AK1 PLUS offers improved power consumption compared to traditional desktop setups.
These high-speed storage solutions greatly improve data transfer rates for your network drive implementation.
Installing and Configuring Samba on Raspberry Pi
Let’s install Samba on your Raspberry Pi to create network-accessible shared folders. First, update your system and install the necessary packages:
“`bash
sudo apt update && sudo apt upgrade
sudo apt install samba samba-common-bin smbclient cifs-utils
“`
| Task | Command | Purpose |
|---|---|---|
| Edit Config | `sudo nano /etc/samba/smb.conf` | Configure Samba shares |
| Add Users | `sudo smbpasswd -a username` | Manage access control |
| Restart Service | `sudo systemctl restart smbd` | Apply configuration changes |
After editing the configuration file, add your desired share sections with proper path and security settings. You can create a shared directory using the mkdir command to specify where your network files will be stored. Remember that Samba passwords are separate from system passwords. For troubleshooting Samba connectivity issues, check network visibility, permissions, and log files at `/var/log/samba/`. For compatibility with certain devices like Sonos, you should include ntlm = yes in your configuration.
Mounting Network Drives Temporarily and Permanently
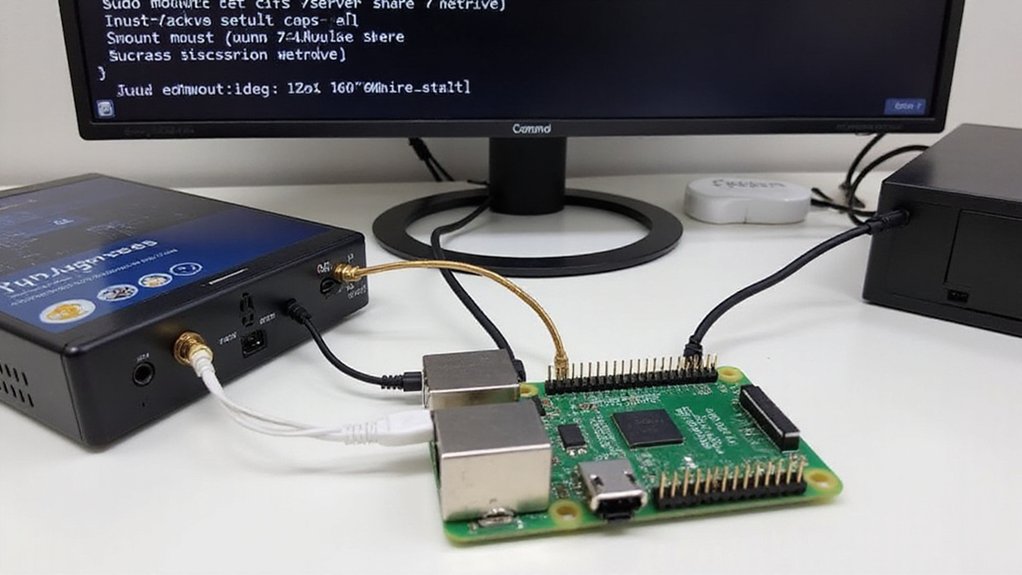
You can temporarily mount a network drive using the `mount` command with CIFS options to access shared folders without system reboot persistence.
For permanent mounting that survives reboots, you’ll need to configure entries in the `/etc/fstab` file with appropriate options for credentials, permissions, and mount behavior. This method ensures your network shares are accessible immediately after your Raspberry Pi boots up.
Adding the parameter vers=1.0 to your fstab configuration can resolve issues with network drives not mounting automatically on reboot.
Alternatively, you might implement autofs to automatically mount network shares only when accessed, reducing boot delays and avoiding connection timeouts when network resources are unavailable.
Temporary Mount Commands
When mounting network drives on your Raspberry Pi, you can choose to mount them temporarily for quick access or permanently for persistent availability.
For temporary network configurations, use the standard mount command with sudo permissions:
“`
sudo mount //192.168.0.23/work /media/pishare
“`
If authentication is required, add credentials:
“`
sudo mount -o username=USER,password=PASS //192.168.0.23/work /media/pishare
“`
These quick access methods are perfect for testing connectivity before implementing permanent solutions.
Your mounted drives will remain accessible until you unmount them with:
“`
sudo umount /media/pishare
“`
Remember that temporary mounts won’t survive reboots. To ensure proper access permissions, you can use file_mode and dir_mode options in your mount command.
This approach works identically over WiFi connections, though performance depends on your wireless network quality.
If you encounter mount failures, it’s recommended to check the drive mount status using ls -l command to verify successful connection.
Permanent Fstab Configuration
While temporary mounts provide quick access to network shares, permanent configurations guarantee your network drives automatically reconnect after system reboots. To accomplish this, you’ll need to edit the `/etc/fstab` file with proper syntax and mount options.
- Create your mount point directory first (e.g., `mkdir /mnt/networkdrive`) and guarantee appropriate user permissions.
- Add your entry using the format: `//server/share /mount/point cifs credentials=/path/to/file,uid=1000,gid=1000 0 0`.
- Include the `_netdev` option to prevent boot delays if network shares are unavailable.
- Use a credentials file rather than storing passwords directly in fstab for better security.
Consider implementing TLS-based encryption for all network communications to protect data transferred between your Raspberry Pi and network storage.
Some users report more reliable results by using systemd-based mounting rather than traditional fstab methods.
For improved reliability, add the nofail option to prevent the system from hanging if the network resource is temporarily unavailable.
Test your configuration by running `sudo mount -a` before rebooting.
Check logs with `dmesg` if you encounter connection issues.
Automount With Autofs
Unlike traditional mounting methods, Autofs provides a more sophisticated approach to handling network drives by dynamically mounting shares only when accessed and unmounting them after a period of inactivity. This on-demand strategy offers significant Autofs advantages over fstab, particularly for unreliable networks. The system automatically unmounts after timeout, which can be configured in the auto.master file with parameters like –timeout=6000. Adding `/- /etc/auto.smb.shares –timeout 15 browse` to the master file allows for absolute path mounting of Samba shares. For users with space constraints, mini PCs offer an excellent alternative to traditional desktop setups while still providing sufficient performance for network storage tasks.
| Autofs Configuration | Description |
|---|---|
| Installation | `sudo apt-get install autofs` |
| Master File | Edit `/etc/auto.master` to define mount points |
| Map Files | Create `/etc/auto.nfs.shares` for NFS configurations |
| Testing | Restart with `systemctl restart autofs` |
To implement, first install Autofs, then configure your master file to reference your map files. For permanent-like behavior, adjust timeout values and guarantee Autofs starts at boot with `systemctl enable autofs`. Both NFS and SMB shares can be configured, though syntax differs between protocols.
Securing Your Network Drive Connection
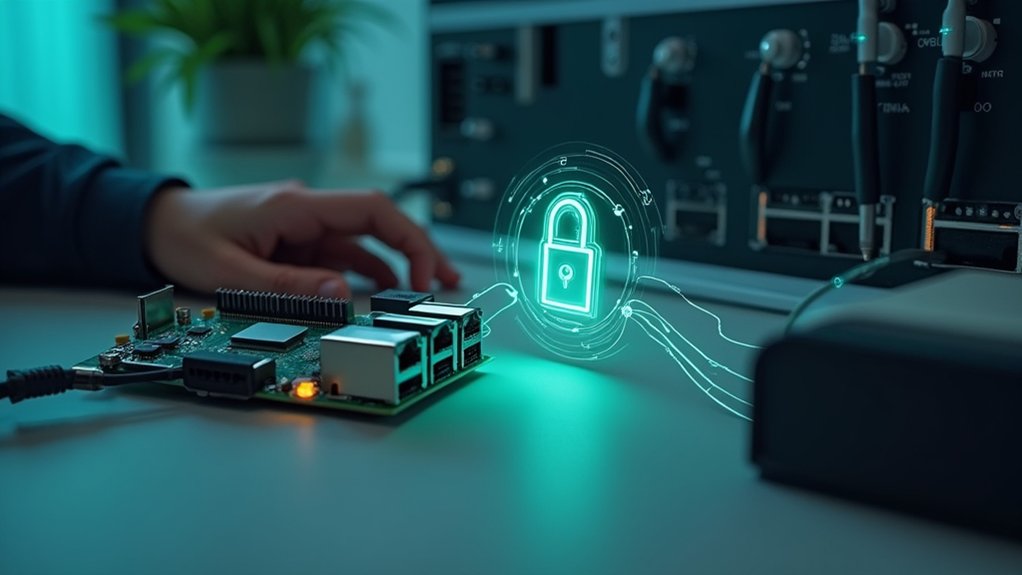
You’ll need to implement strong authentication for your network drive connection using SSH keys or complex passwords to prevent unauthorized access.
Encrypt your data transfers with SFTP or VPN tunnels to protect sensitive information from interception during transmission.
Set proper file and directory permissions on both your Raspberry Pi and network drive to guarantee only authorized users can read, write, or execute specific resources. Implement network segmentation to isolate your network drive traffic from other devices on your network. Remember to change default credentials on your Raspberry Pi before setting up network drive access, as the default “pi” username and “raspberry” password are widely known. Consider installing your Raspberry Pi in a metal case that offers better physical security and can deter potential tampering with your device. Configure UFW firewall rules to allow only essential ports required for your network drive communication while blocking potential threats.
Implement Strong Authentication
Security forms the foundation of any network drive configuration on your Raspberry Pi. Implementing robust authentication prevents unauthorized access and protects your valuable data.
SSH Key Management offers superior protection over password-based logins, eliminating brute force vulnerabilities while VNC Security Measures guarantee safe remote desktop access.
Strengthen your configuration with:
- Generate SSH key pairs (`ssh-keygen -t ed25519`) and use `ssh-copy-id` to deploy public keys to your Pi
- Configure two-factor authentication for critical systems using applications like Google Authenticator
- Implement strong password policies for VNC connections with unique credentials
- Use `ssh-agent` to manage your keys securely while maintaining convenience
For network drive connections, always authenticate with dedicated credentials rather than system-wide accounts. This isolation creates additional security layers that protect your entire Raspberry Pi ecosystem. Setting up a powered USB hub ensures consistent power delivery to external drives, preventing authentication failures due to power-related disconnections. Using mini PCs can provide enhanced reliability and processing power for more demanding digital signage applications that require secure network connections. Regular monitoring of access logs helps identify and prevent unauthorized attempts to access your network resources. Properly setting file permissions with restrictive access prevents potential data breaches if other security measures are compromised.
Use Encryption Tools
Strong authentication should always pair with robust encryption to fully protect your Raspberry Pi network drive. LUKS and VeraCrypt provide powerful disk encryption options, with LUKS being ideal for Linux-centric setups and VeraCrypt offering cross-platform compatibility. VeraCrypt has shown good performance results on Raspberry Pi 4 devices for typical office usage scenarios.
Before encrypting, back up your data and identify target partitions using `lsblk` or `fdisk`.
For LUKS implementation:
- Unmount your drive
- Run `cryptsetup luksFormat /dev/sdX2`
- Open with `cryptsetup luksOpen /dev/sdX2 encrypted_drive`
- Format and mount
For network security with Samba shares, enable SMB encryption in your configuration. Add these lines to smb.conf:
“`
server signing = mandatory
smb encrypt = required
“`
Edit `/etc/crypttab` and `/etc/fstab` for automatic mounting at boot. Ensure both devices are on the same network for optimal encryption performance and secure connections. For more advanced Raspberry Pi encryption solutions, consider exploring the sdm repository on GitHub which provides tools for building customized encrypted SD cards.
Monitor drive health and regularly update encryption tools.
Set Proper Permissions
Properly configured permissions form the foundation of adding a secure network drive to your Raspberry Pi. Effective access control prevents unauthorized users from compromising your data while ensuring legitimate users can interact with files as needed.
To establish appropriate permission levels on your network drive:
- Avoid 777 permission risks (read-write-execute for everyone) which create security vulnerabilities; opt for 755 to balance accessibility and protection.
- Set owner importance by using mount permissions with `-o uid=,gid=` when connecting drives.
- Implement group settings to grant collective access to specific users rather than making files world-readable.
- Apply read-write-execute permissions based on security practices (execute only for directories and scripts).
For applications like Transmission that run under specific users, add the `uid=debian-transmission` option to your mount command to ensure proper daemon access.
Check access with `ls -l` after mounting to verify proper file management configuration before regular use. Remember that by default, CIFS mounts assign root ownership to network shares, requiring modifications to your fstab file for proper user access.
Consider implementing multi-factor authentication for sensitive network resources, as this significantly reduces the risk of unauthorized access even if credentials are compromised.
Optimizing Performance for Smooth File Transfers

After setting up your network drive connection, enhancing performance becomes essential for efficient file transfers on your Raspberry Pi.
To maximize transfer speed, connect both devices via Gigabit Ethernet rather than WiFi to reduce network latency considerably.
Enable Jumbo Frames (9000 MTU) on your network to decrease packet overhead.
Select EXT4 filesystem for ideal Linux compatibility and enhanced performance.
For Samba configurations, adjust buffer sizes and use the latest SMB protocol version your clients support.
Consider overclocking your Pi’s CPU while ensuring proper cooling solutions to prevent temperature-related performance degradation during intensive file transfers.
Monitor system resources during transfers with tools like iPerf3 and hdparm to identify bottlenecks.
If connecting external storage, use USB 3.0 ports and SSDs instead of mechanical drives whenever possible.
Maintain at least 15-20% free space on your drives to prevent performance degradation.
Advanced Network Drive Features and Applications
Once you’ve established a basic network drive connection, exploring advanced features can transform your Raspberry Pi into a powerful network storage solution.
Your Pi network drive can do far more than simple file storage when you implement these capabilities:
- Automated Backups – Schedule incremental backups using rsync or cron jobs with versioning to prevent accidental data loss.
- Media Streaming – Serve your media library to devices throughout your home via Plex or Kodi with on-the-fly transcoding.
- Remote Access – Access files from anywhere using secure protocols like SSH or VPN, and sync with cloud services.
- Custom Scripting – Develop scripts to automate workflows, process data, or integrate with IoT devices.
Implement Enhanced Security through user authentication, encryption, and detailed access logs to protect your data while maintaining flexible accessibility.
Monitor power consumption carefully as network drive operations may require a 5A power supply to ensure stable performance, especially when connecting external drives.
Consider implementing RAID configurations for improved data protection and redundancy, ensuring your media and files remain safe even if a drive fails.
Troubleshooting Connectivity Issues when Add a Network Drive to Your Raspberry PI

Even the most carefully configured network drives can encounter connectivity issues on your Raspberry Pi. When problems arise, start by pinging your Pi to verify network accessibility, then check connectivity logs for error messages that might reveal the root cause.
Software updates, IP address changes, and router configurations commonly disrupt connections. Review your Samba configuration to guarantee proper mount points and permissions. If you encounter “operation pending” errors, restart the Samba service.
Monitor your network’s bandwidth usage, as congestion can prevent reliable access. For persistent issues, verify hardware connections and power cycle your Pi. Consider using an ergonomic keyboard for comfort during extended troubleshooting sessions that require prolonged typing.
Remember that firewall restrictions might block network drive access, particularly after system updates.
When troubleshooting, methodically isolate whether the problem stems from the Pi, network infrastructure, or connecting devices.
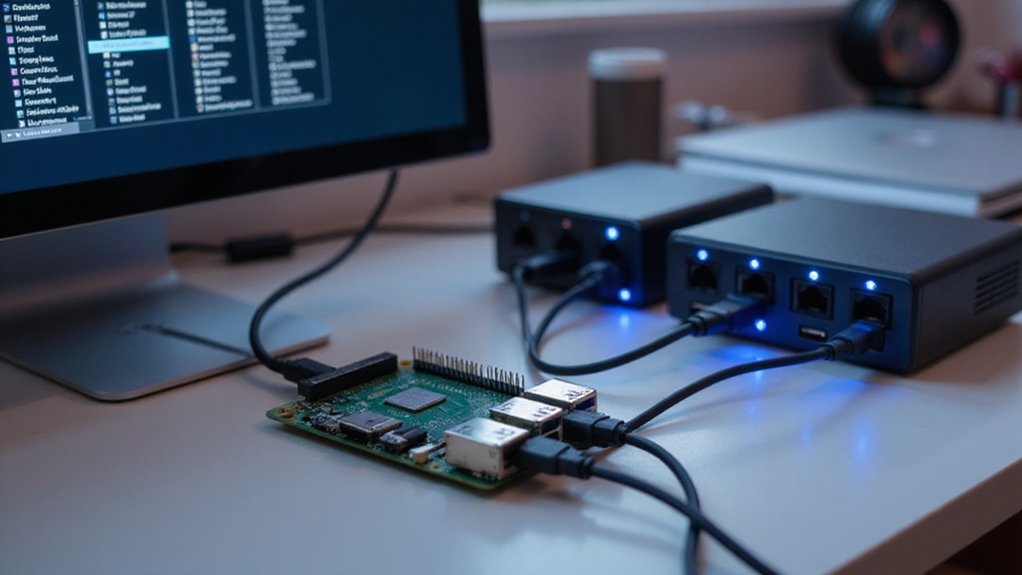
Consider implementing dual LAN ports for enhanced network reliability and redundancy, similar to professional mini PCs that utilize this feature for business applications.
Frequently Asked Questions
Can I Connect Multiple Raspberry Pis to One Network Drive?
Yes, you can connect multiple Raspberry Pis to one network drive. They’ll all have shared access to the same files, though you’ll need to manage file synchronization to prevent conflicts during simultaneous writes.
Does Network Drive Access Work Over VPN Connections?
Unexpectedly, yes! Network drives function over VPN connections with proper configuration. You’ll experience reduced data transfer rates due to encryption overhead. Confirm VPN compatibility by optimizing protocol settings for your specific network architecture.
Will a Network Drive Slow Down My Raspberry Pi?
Network drives minimally impact your Pi’s performance, but your network speed and drive performance create bottlenecks. SSDs with USB 3.0 and Ethernet connections optimize throughput. Disable unused services for best results.
Can I Boot My Raspberry Pi From a Network Drive?
Like a sailor needing a compass, you can boot your Raspberry Pi via network booting. It requires configuring DHCP, TFTP servers for file transfer, and updating bootloader—practical for centralized management solutions.
How Much Power Does Maintaining a Network Drive Connection Consume?
Your network drive connection consumes minimal power, typically 2-6W at idle. You’ll improve power consumption by optimizing network efficiency and utilizing drive spin-down features when devices aren’t actively transferring data.
Why Not Add a Network Drive to Your Raspberry Pi?
Adding a network drive to your Raspberry Pi might seem complex, but it’s actually straightforward once you’ve mastered the basics. You’ve now got the skills to install Samba, configure sharing permissions, and set up permanent mounts. If you’re concerned about performance, simply adjust buffer sizes in your mount options and use wired connections when possible. Remember to check your logs if connectivity issues arise.

I am a retired software engineer with experience in a multitude of areas including managing AWS and VMWare development environments. I bought a relative a mini-PC a year ago and have become passionate about the technology and its potential to change how we deploy software.