
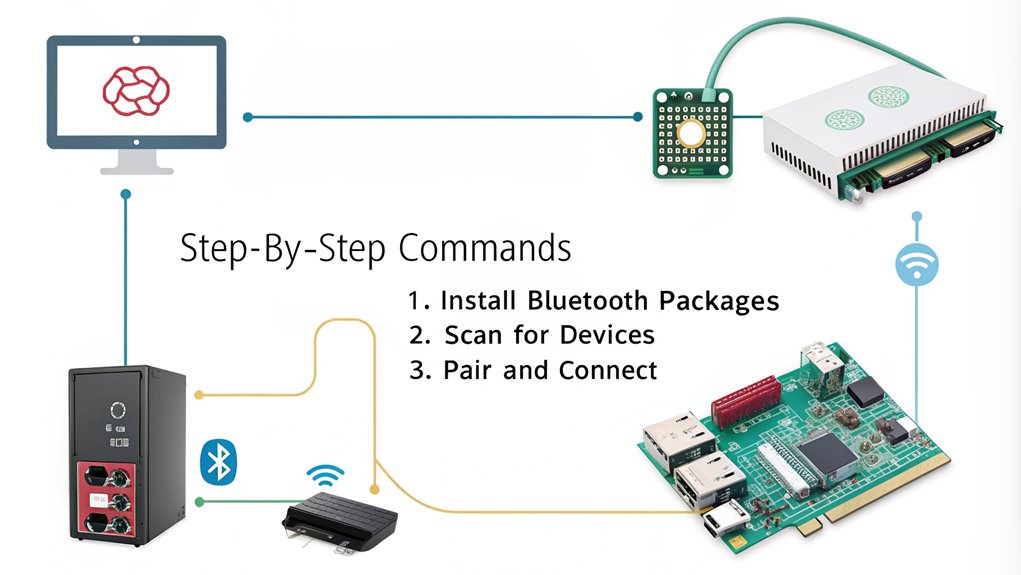
To connect your Raspberry Pi to a Bluetooth device, start by ensuring the Bluetooth service is active with ‘sudo systemctl start bluetooth’. Next, update your system and install required packages like ‘bluetooth’ and ‘bluez’ using ‘sudo apt install’. Enter the Bluetooth control interface with ‘sudo bluetoothctl’, enable the agent, and scan for devices using ‘scan on’. Once you see your device, pair it using ‘pair XX:XX:XX:XX:XX:XX’ and then connect with ‘connect XX:XX:XX:XX:XX:XX’. If you run into issues, there are simple troubleshooting steps to guide you through.
Key Takeaways
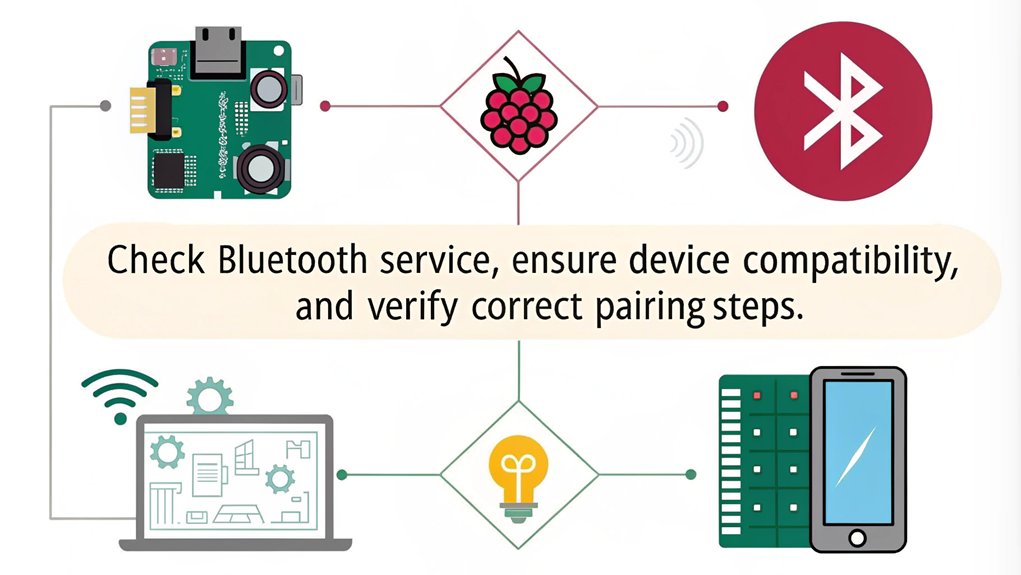
- Ensure Bluetooth service is active by running ‘sudo systemctl start bluetooth’ and confirm its status with ‘systemctl status bluetooth’.
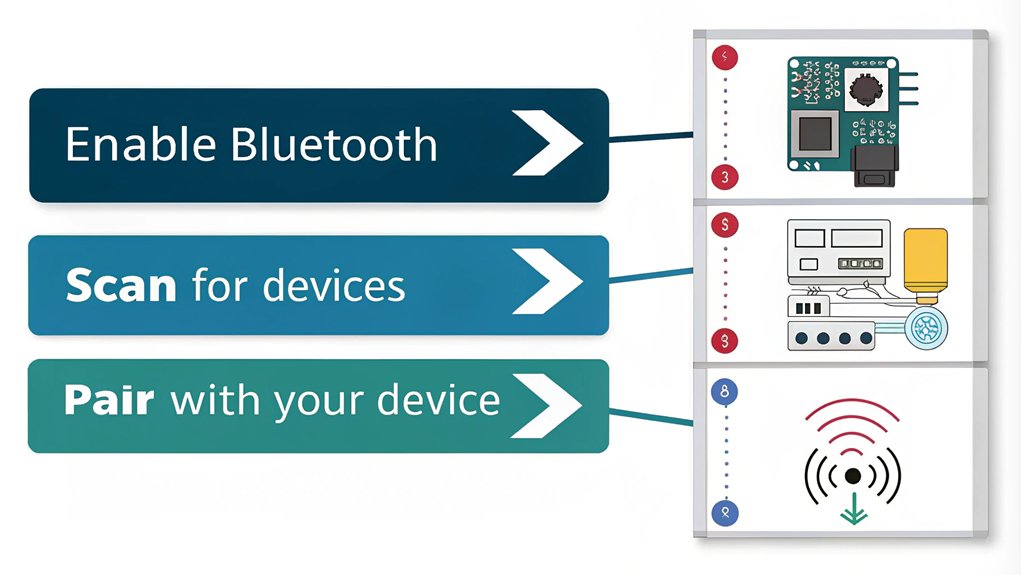
- Enter Bluetooth CLI with ‘sudo bluetoothctl’, enable the agent with ‘agent on’, and start scanning for devices using ‘scan on’.
- Pair the Bluetooth device using ‘pair XX:XX:XX:XX:XX:XX’, trust it with ‘trust XX:XX:XX:XX:XX:XX’, and connect via ‘connect XX:XX:XX:XX:XX:XX’.
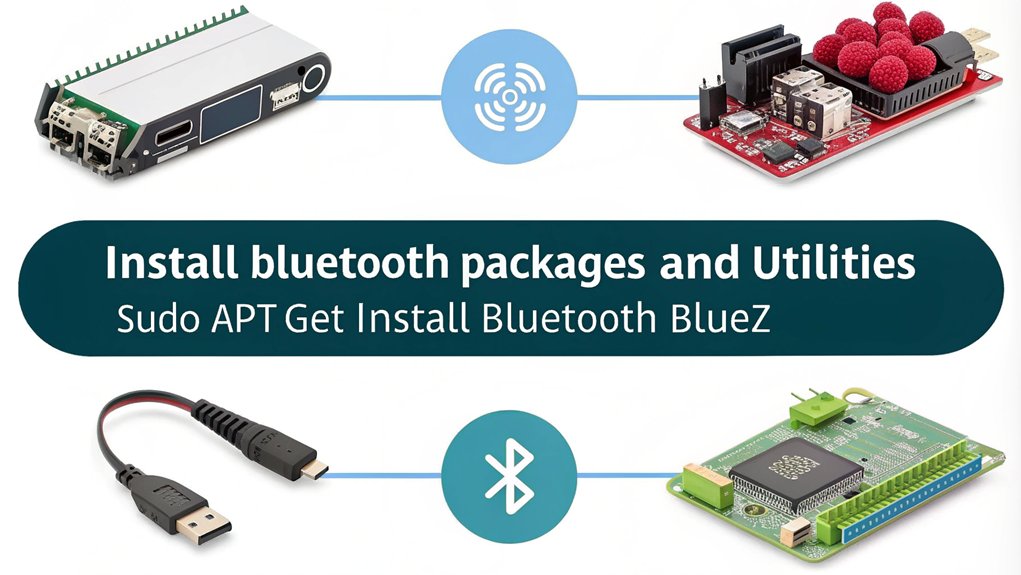
- Install necessary packages like ‘bluetooth’, ‘bluez’, and ‘pulseaudio’ to ensure proper Bluetooth functionality and audio support.
- Make the Raspberry Pi discoverable by adjusting configuration settings in ‘/etc/bluetooth/main.conf’ for permanent discoverability and better compatibility.
Checking and Enabling Connection of a Raspberry Pi to a Bluetooth Device
To get your Raspberry Pi connected to Bluetooth, you’ll first want to check and enable the Bluetooth service. Start by using the command ‘systemctl status bluetooth’ to see if the service is active. If it’s not running, simply restart it with ‘sudo systemctl restart bluetooth’. This is essential for effective device management.
Next, make sure the Bluetooth service is started by running ‘sudo systemctl start bluetooth’. If you encounter the “No default controller available” error, you might need to start the ‘hciuart’ service with ‘sudo systemctl start hciuart’. Additionally, if Bluetooth is inactive, you can start the service using the command ‘sudo systemctl start bluetooth’.
It’s important to note that Bluetooth is integrated since Raspberry Pi 3, which enhances its functionality for connecting external devices. Should that fail, consider reinstalling the necessary packages with ‘sudo apt purge bluez’ and ‘sudo apt purge pi-bluetooth’, followed by ‘sudo apt install pi-bluetooth’. After making these changes, restart your Raspberry Pi using ‘sudo reboot’.
Lastly, be aware that any equipment attached to the GPIO-header could interfere with Bluetooth functionality. Check for conflicts and use logs like ‘systemctl status hciuart.service’ and ‘journalctl -xe’ for troubleshooting.
With these steps, you’ll be well on your way to successfully managing Bluetooth devices on your Raspberry Pi.
Installing Necessary Software
To get your Raspberry Pi ready for Bluetooth, you’ll need to install some essential software packages. Installing Bluetooth is crucial for ensuring your Raspberry Pi can connect to various devices seamlessly. First, you’ll set up user permissions to guarantee you can manage Bluetooth devices without issues. Additionally, make sure Bluetooth is enabled by default on fresh Raspberry Pi OS Desktop installations. Finally, you’ll run a few installation commands to equip your system with the necessary tools.
Required Software Packages
Installing the required software packages is vital for enabling Bluetooth functionality on your Raspberry Pi. You’ll need to make sure your system is up-to-date before diving into Bluetooth installation. Use the following commands for effective package management:
”’bash
sudo apt update
sudo apt upgrade
”’
This step guarantees you have the latest firmware and security patches. After updating, you can install the necessary Bluetooth packages. Here’s a quick reference table:
| Command | Package Description | Purpose |
|---|---|---|
| ‘sudo apt install bluetooth’ | Basic Bluetooth support | Enables core Bluetooth features |
| ‘sudo apt install bluez’ | Bluetooth protocol stack | Essential for Bluetooth operation |
| ‘sudo apt install blueman’ | Graphical Bluetooth manager (optional) | Simplifies Bluetooth management |
Once you’ve installed these packages, enable and start the Bluetooth service with:
”’bash
sudo systemctl enable bluetooth
sudo systemctl start bluetooth
”’
This makes sure Bluetooth is running and ready for use. Installing necessary packages is crucial for providing better Bluetooth support and simplifying interaction with Bluetooth devices. Additionally, the short-range communication capability of Bluetooth allows for seamless connectivity between your Raspberry Pi and various peripherals. Remember, effective dependency management is vital during this process to avoid potential issues when connecting devices. You’re now set to connect your Raspberry Pi to Bluetooth devices!
User Permissions Setup
After setting up the necessary software packages for Bluetooth, it’s important to configure user permissions for smooth operation. Start by managing user roles and access rights. You’ll want to add your user to the ‘bluetooth’ group so you can control Bluetooth devices without needing sudo. This is particularly beneficial since Bluetooth 4.1 included in the Raspberry Pi 3 Model B allows for more seamless connectivity.
Run the command ‘sudo usermod -a -G bluetooth pi’, then reboot your system with ‘sudo reboot’. This gives you the necessary permissions to interact with Bluetooth devices seamlessly. Additionally, ensure that you have considered Bluetooth connection attempts since they often require proper permissions for successful execution.
Next, adjust the D-Bus security policies. Edit the configuration file using ‘sudo nano /etc/dbus-1/system.d/bluetooth.conf’ and add ‘
Verify the Bluetooth service is running correctly by checking its status with ‘sudo systemctl status bluetooth’. If needed, restart it with ‘sudo systemctl restart bluetooth’.
Finally, modify file permissions for Bluetooth configuration files, guaranteeing you have read and write access. These steps assure effective user management and security measures, allowing you to fully utilize Bluetooth on your Raspberry Pi.
Installation Commands Overview
Setting up Bluetooth on your Raspberry Pi requires a few essential software packages to guarantee everything runs smoothly. First, install the basic Bluetooth support with the command ‘sudo apt install bluetooth’.
Next, add the Bluetooth protocol stack by running ‘sudo apt install bluez’. For those who prefer a graphical interface, you can also install ‘blueman’ using ‘sudo apt install blueman’. If you want additional tools specific to the Raspberry Pi, don’t forget to run ‘sudo apt install pi-bluetooth’.
To enhance Bluetooth device management, consider installing ‘bluez-tools’ with ‘sudo apt-get install bluez-tools’. For audio streaming, install ‘pulseaudio’ and its Bluetooth module with ‘sudo apt-get install pulseaudio pulseaudio-module-bluetooth’. Additionally, you can transform your Raspberry Pi into a portable Bluetooth audio system by following the correct setup procedures.
Ascertain you have the necessary firmware by running ‘sudo apt-get install firmware-brcm80211’. To keep your system secure and up-to-date, use ‘sudo apt update’ and ‘sudo apt upgrade’ regularly. It is also advisable to check OS version to ensure compatibility with the latest Bluetooth features.
Finally, enable and start the Bluetooth service with ‘sudo systemctl enable bluetooth’ and ‘sudo systemctl start bluetooth’. This setup will improve Bluetooth performance and compatibility, allowing you to connect devices effectively while maintaining Bluetooth security and range.
Using the Graphical User Interface
For audio devices, right-click the speaker icon and select your Bluetooth device. Most USB Bluetooth adapters are supported with minimal setup, ensuring seamless device compatibility and enhanced Bluetooth security. The on-board Bluetooth functionality of the Raspberry Pi allows for easy pairing with other Bluetooth-enabled devices. Your device will now be listed for future connections, ensuring seamless device compatibility and enhanced Bluetooth security. Enjoy your newfound connectivity!
Using the Command Line Interface
Using the command line interface (CLI) to connect your Raspberry Pi to Bluetooth offers a powerful and flexible alternative to the graphical user interface.
To get started, enter the Bluetooth command-line tool by typing ‘sudo bluetoothctl’ and providing your administrator password if prompted. Enable the agent for pairing with ‘agent on’ and set it as the default with ‘default-agent’. If Bluetooth isn’t active, type ‘power on’.
Next, start scanning for nearby devices by typing ‘scan on’. You’ll see a list of devices with their addresses, which are essential for pairing. Once you find your desired device, note its MAC address and turn off the scan with ‘scan off’. This process is vital for establishing Bluetooth communication between devices. Additionally, ensure that your Raspberry Pi is set up as a Bluetooth service to maintain reliable connections with the Bluetooth console.
To pair, type ‘pair
Configuring Bluetooth Settings
After successfully pairing your devices through the command line, it’s important to configure your Raspberry Pi’s Bluetooth settings for ideal use. Start by editing the main Bluetooth configuration file. Use the command ‘sudo nano /etc/bluetooth/main.conf’ to make changes.
To enhance Bluetooth security, set ‘DiscoverableTimeout = 0’ to keep your device permanently discoverable. Adjust ‘Class = 0x41C’ to guarantee better device compatibility with audio devices. Additionally, this configuration supports wireless audio streaming to ensure high-quality sound output from your connected devices. Bluetooth Audio Profiles are essential for determining the capabilities of connected devices, so be sure to check which profile will best suit your needs.
Next, restart the Bluetooth service by executing ‘sudo systemctl restart bluetooth’. This guarantees your changes take effect and improves connection stability.
If you’re connecting audio devices, confirm that your Raspberry Pi is set as an A2DP sink. This setup enhances audio quality and optimizes signal range, guaranteeing a seamless experience.
Lastly, check that your Bluetooth service is enabled and running. You can do this with ‘sudo systemctl enable bluetooth’ and ‘sudo systemctl start bluetooth’.
Troubleshooting Common Issues
Many users encounter issues when connecting their Raspberry Pi to Bluetooth devices, but most problems can be resolved with a few straightforward troubleshooting steps.
First, check for Bluetooth connectivity challenges by verifying the Bluetooth service is running. Use ‘sudo systemctl start bluetooth’ to start it if necessary. If you see “No default controller available” in ‘bluetoothctl’, verify the ‘hciuart’ service with ‘sudo systemctl start hciuart’. Additionally, ensure that Bluetooth devices can typically connect to only one device at a time to avoid conflicts during the pairing process. Enabling experimental features in your Bluetooth configuration can also help alleviate some connection issues.
Next, consider service restart procedures after updates; rebooting will help apply changes. If issues persist, check system logs using ‘systemctl status hciuart.service’ and ‘journalctl -xe’ for detailed error messages. You might need to handle device compatibility issues by purging and reinstalling Bluetooth software like ‘pi-bluetooth’ and ‘bluez’.
When dealing with pairing error solutions, confirm your target device is visible and in pairing mode. Clear previous pairing attempts and use the correct commands in ‘bluetoothctl’.
For those using a containerized Bluetooth setup, remember to install necessary packages and start the required services within the container. Adjust configuration file settings to enhance compatibility and resolve issues effectively.
Pairing With Bluetooth Devices
When pairing your Raspberry Pi with Bluetooth devices, the first step is to verify that Bluetooth is available and enabled. Next, you’ll follow a straightforward process to connect your desired device, whether through the GUI or command line. To ensure successful pairing, you may need to disable PNAT in the configuration, which involves editing the main Bluetooth configuration file. If you encounter any issues during pairing, troubleshooting common problems can help guarantee a successful connection.
Verifying Bluetooth Availability
Verifying Bluetooth availability is essential for successful pairing with devices. You need to guarantee both the Bluetooth service and Bluetooth hardware are functioning properly. Here’s how to get started:
- Feel the excitement of connecting seamlessly!
- Imagine the joy of your devices working together.
- Embrace the satisfaction of troubleshooting on your own.
- Experience the thrill of a successful connection.
First, check if the Bluetooth service is running by using the command ‘service bluetooth status’. If it’s not active, start it with ‘service bluetooth start’. Make sure the service is enabled on boot, so you don’t have to worry about it later. Additionally, Bluetooth pairing is beneficial for Raspbian Lite distribution users, making the process more streamlined.
Furthermore, verify that your user is part of the ‘bluetooth’ group by running ‘sudo usermod -G bluetooth -a pi’.
Next, guarantee your Bluetooth hardware is ready. Power on your Bluetooth device with ‘power on’ in the ‘bluetoothctl’ tool, and remember to check for any hardware issues.
If your Raspberry Pi model supports Bluetooth natively, you shouldn’t need extra hardware. If problems arise, consider restarting your Raspberry Pi with ‘sudo reboot’ to apply any changes.
Pairing Process Steps
Typically, pairing your Raspberry Pi with Bluetooth devices involves a straightforward series of steps. First, make sure your Raspberry Pi OS is up-to-date and install the necessary software. After that, you’ll prepare the Bluetooth service for pairing.
Here’s a quick overview of the steps:
| Step | Command/Action |
|---|---|
| Install necessary software | ‘sudo apt-get install pulseaudio pulseaudio-module-bluetooth’ |
| Start Bluetooth service | ‘sudo bluetoothctl’ |
| Scan for devices | ‘scan on’ |
Once your Raspberry Pi is discoverable, you can start the pairing process. Identify the MAC address of the device you want to connect to and use the following commands:
- Pair the device: ‘pair XX:XX:XX:XX:XX:XX’
- Trust the device for future connections: ‘trust XX:XX:XX:XX:XX:XX’
- Connect to the device: ‘connect XX:XX:XX:XX:XX:XX’
Make sure to verify the connection status afterward. Remember, different pairing methods may apply depending on your device compatibility. With these steps, you’ll be ready to enjoy your Bluetooth experience!
Troubleshooting Common Issues
Many users encounter issues while pairing their Raspberry Pi with Bluetooth devices, but troubleshooting these problems can often be straightforward. Start by checking if your Bluetooth service is running with ‘sudo systemctl start bluetooth’. If you’re getting a “No default controller available” error, verify the controller status using ‘bluetoothctl’, and confirm the ‘hciuart’ service is active.
Here are some common pitfalls to look out for:
- GPIO interference from attached devices can disrupt Bluetooth performance.
- An inadequate power supply might be affecting your connection.
- Existing device conflicts may hinder successful pairing.
- Verify your Bluetooth module isn’t disabled in configuration files.
After addressing these issues, reboot your Raspberry Pi with ‘sudo reboot’.
If you’re still having trouble, check that your desired Bluetooth device is in pairing mode and within range. Removing previously paired devices can also help clear up any service conflicts.
With these steps, you’ll enhance your chances of successful pairing and enjoy seamless Bluetooth connectivity.
Ensuring Audio Support
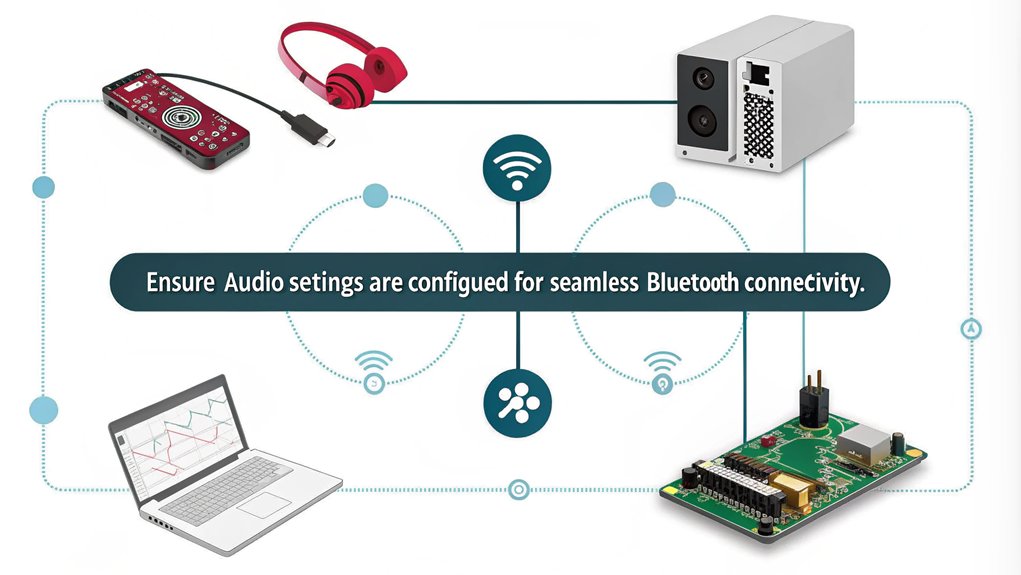
To guarantee audio support on your Raspberry Pi when connecting via Bluetooth, you’ll need to install several essential packages.
Start by updating your package list with ‘sudo apt-get update’. Then, install the Bluetooth management tool, BlueZ, using ‘sudo apt-get install bluez’.
Next, you’ll want to install PulseAudio and its Bluetooth module for audio management with ‘sudo apt-get install pulseaudio pulseaudio-module-bluetooth’.
Verify you have all necessary dependencies by running ‘sudo apt-get install python-gobject python-gobject-2’. If you need ALSA tools, install them via ‘sudo apt install bluez-alsa-utils’.
Once installed, configure your Bluetooth settings. First, unblock the Bluetooth adapter with ‘rfkill unblock bluetooth’, then start the service using ‘bluetoothctl’ and power it on.
Make your Raspberry Pi discoverable and pairable. When you connect your device, check for audio codecs and verify device compatibility for superior audio streaming.
Modify your audio settings to select the Bluetooth device as the default output. Finally, test the audio by playing sound through your connected Bluetooth device to confirm everything’s working perfectly.
Frequently Asked Questions
Can I Connect Multiple Bluetooth Devices Simultaneously to Raspberry Pi?
You can connect multiple Bluetooth devices simultaneously to your Raspberry Pi, but be aware of Bluetooth device limitations. With up to 7 connections per adapter, consider using multiple adapters to enhance Raspberry Pi performance.
What Devices Are Compatible With Raspberry Pi Bluetooth?
Bluetooth device types like speakers, keyboards, and health monitors enhance your Raspberry Pi experience. Whether you’re gaming or streaming audio, these accessories connect seamlessly, offering you interactive capabilities and convenience in your projects.
How Do I Remove a Paired Bluetooth Device?
To remove a paired Bluetooth device, open Bluetooth device management tools. Use ‘bluetoothctl’, guarantee the agent’s on, and execute ‘remove
Is It Possible to Use Bluetooth Without a GUI?
Think of Bluetooth as a bridge connecting your devices without a GUI. You can navigate this bridge using Bluetooth commands for setup and troubleshooting, ensuring smooth connections and interactions with your devices, just like a trusted friend.
How Can I Increase Bluetooth Range on Raspberry Pi?
To increase Bluetooth range on your Raspberry Pi, consider Bluetooth antenna upgrades or Bluetooth signal boosters. Elevate your setup, minimize interference, and choose quality adapters for top performance. You’ll enjoy improved connectivity and reliability.
Conclusion
Now that you’ve connected your Raspberry Pi to a Bluetooth device, you’re ready to release its full potential. Think of it as opening a treasure chest of possibilities, from wireless audio streaming to seamless data transfer. Remember to keep your software updated and troubleshoot any hiccups along the way. With these skills under your belt, you’re well-equipped to dive deeper into the world of Bluetooth technology. Happy tinkering!

I am a retired software engineer with experience in a multitude of areas including managing AWS and VMWare development environments. I bought a relative a mini-PC a year ago and have become passionate about the technology and its potential to change how we deploy software.