
You can access the Raspberry Pi command line in five distinct ways. Start by enabling SSH via a headless setup, which involves creating an ‘ssh’ file in the ‘/boot’ partition of your SD card. Alternatively, configure SSH using the Raspi-Config tool by maneuvering its interface options. Manage the SSH service through systemctl commands, ensuring it runs seamlessly. If needed, manually enable SSH on a connected monitor. To access the Pi remotely, connect via SSH using terminal commands on Mac/Linux or PuTTY on Windows. These methods vary in complexity and offer secure access tailored to your needs. Explore further to enhance your Pi experience.
Key Takeaways
- Connect via SSH using a terminal on MacOS/Linux or PuTTY on Windows for remote command-line access.
- Use a direct keyboard and monitor connection to access the Raspberry Pi command line locally.
- Employ VNC Viewer for graphical remote access, then open a terminal within the VNC session.
- Enable serial console access by connecting to the Raspberry Pi’s GPIO pins with a USB-to-serial adapter.
- Access the Raspberry Pi command line through the Raspberry Pi’s desktop environment by opening a terminal application.
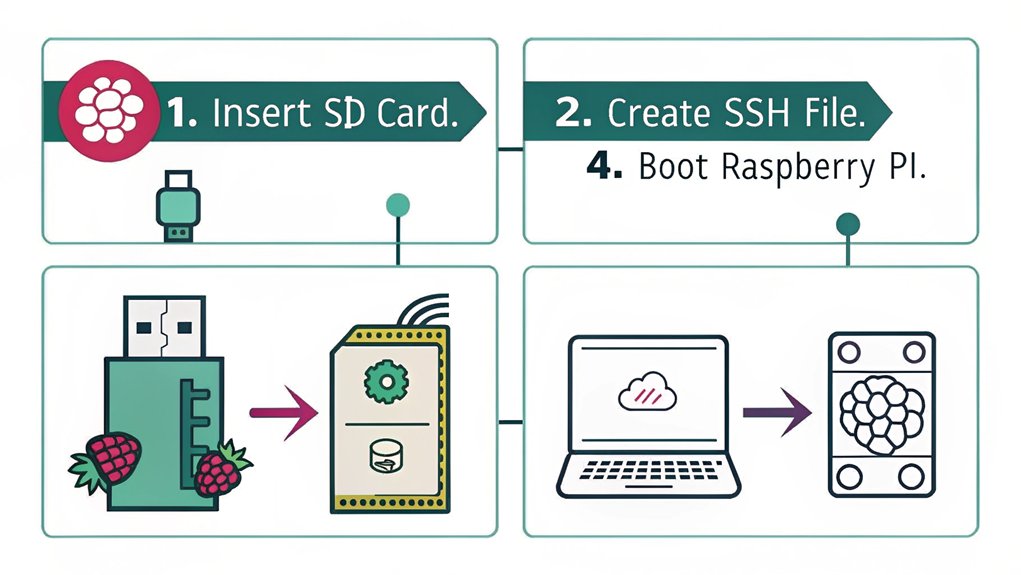
Enabling SSH in Headless Mode
Preparing your Raspberry Pi for headless operation begins with enabling SSH, an essential step for remote management. First, use an imaging tool to write the Raspberry Pi OS image to your SD card. Next, mount the ‘/boot’ partition of the SD card on your computer to begin the headless setup.
Creating an empty file named ‘ssh’ in this partition is fundamental; this file confirms SSH is activated on the first boot. Remember, this file must have no extension. If you plan to frequently access the Raspberry Pi remotely, ensuring SSH is enabled from the start can save you from unnecessary hardware setups. SSH can be enabled without an extra monitor or keyboard, making it highly convenient for headless setups.
In tandem with SSH, configuring user credentials and networking settings is essential for seamless operation. Utilize OpenSSL to generate an encrypted password, and securely input it using a masked shell variable to prevent it from being logged.
Store this information in a ‘userconf.txt’ file, formatted as ‘username:encrypted_password’, and save it in the ‘/boot’ partition. Ensure your Raspberry Pi has sufficient storage capacity, such as using an M.2 NVMe SSD for enhanced performance.
For wireless networking, craft a ‘wpa_supplicant.conf’ file also in the ‘/boot’ partition. This file must include your WiFi settings like the country code and network credentials to guarantee a successful network connection on boot using dual-band Wi-Fi.
Ethernet connections are generally plug-and-play, but verifying network settings during the boot process assures smooth SSH access to your Raspberry Pi.
Using Raspi-Config for SSH
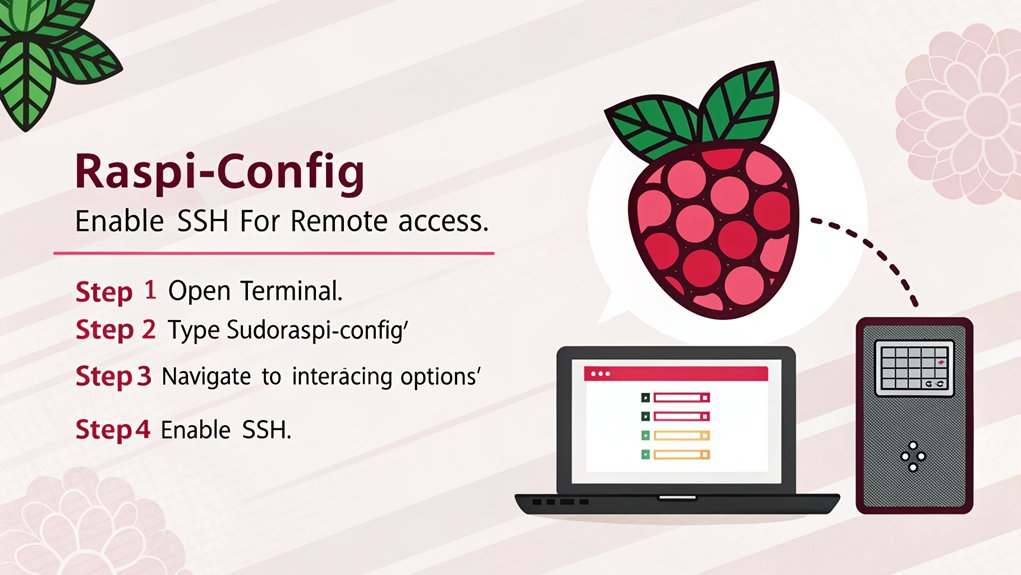
While enabling SSH in headless mode is an efficient way to set up your Raspberry Pi, using the Raspi-Config tool offers a more interactive approach for managing SSH and other system settings. To start, open a terminal on your Raspberry Pi and type ‘sudo raspi-config’. This launches the configuration interface, where you can easily navigate with the arrow keys. Selecting ‘Interfacing Options’ allows you to access various settings, including SSH. When you choose ‘SSH’, the system prompts you to enable the server. Confirm by selecting ‘Yes’, and you’ll see a message confirming SSH is activated. This method not only enhances your control over your Raspberry Pi but also strengthens SSH security by ensuring you’re aware of all activated services. For added security, it’s recommended to change the default password and use public-key authentication. For passwordless SSH access, you can generate an SSH key pair and copy the public key to the Raspberry Pi, allowing secure login without a password.
Here’s a quick guide to the steps:
| Step | Action | Result |
|---|---|---|
| Launch Raspi-Config | ‘sudo raspi-config’ | Open configuration tool |
| Enable SSH | Select ‘SSH’ -> ‘Yes’ | SSH server enabled |
| Complete Configuration | Select ‘Ok’ -> ‘Finish’ | Exit, reboot if prompted |
Post-reboot, find your Pi’s IP address and connect using SSH with secure credentials. This approach utilizing raspi config benefits offers a seamless and secure SSH management experience.
SSH Service With Systemctl

Some might say managing your Raspberry Pi‘s SSH service with Systemctl offers a more streamlined and unified approach compared to other methods. By leveraging Systemctl, you guarantee a robust SSH configuration and enhance SSH security. SSH requires Raspberry Pi hostname or IP address for connection, and you can use command ‘hostname -I’ on Raspberry Pi to find IP address. Start the service instantly with ‘sudo systemctl start ssh’, or enable it at boot using ‘sudo systemctl enable ssh’. Check the service status with ‘sudo systemctl status ssh’ to guarantee everything’s running smoothly, and apply new SSH settings by restarting the service with ‘sudo systemctl restart ssh’. Before enabling SSH, you can also create an empty file named “ssh” in the boot directory of the SD card to enable SSH without a screen.
SSH troubleshooting becomes intuitive—use ‘sudo systemctl unmask ssh’ if the service is masked, guaranteeing the SSH daemon is active. Verify SSH server installation by checking for the ‘sshd’ binary in ‘/usr/sbin’, and inspect firewall settings to allow SSH traffic, especially if you’ve altered the default port. Ensure your setup is secure by following best practices for Wi-Fi configuration, as improper settings can expose your device to security risks. Additionally, using a reliable power supply is crucial to prevent unexpected shutdowns.
Secure your SSH connection by updating configuration files, enabling public key authentication, and disabling unnecessary root access.
Connecting to your Raspberry Pi is straightforward. Employ commands like ‘ssh [username]@[IP_address]’ for remote access or use SCP for file transfers. Remember, changing default credentials fortifies your device against unauthorized access, contributing to a more secure and innovative setup.
Manually Enable SSH To Access The Raspberry Pi Command Line
Manually enabling SSH on your Raspberry Pi can be a straightforward process if you know the right steps. By mastering manual configuration, you can guarantee secure connections to your Raspberry Pi. Raspberry Pi is a single-board computer, typically costing under $50. To begin, if you’re setting up your Raspberry Pi without a monitor (headless mode), simply remove the storage device from the Raspberry Pi and insert it into your computer. Navigate to either the ‘/bootfs’ or ‘/boot’ directory, depending on your OS, and create an empty file named ‘ssh’. This small but vital file signals the Raspberry Pi to enable SSH upon next boot.
Alternatively, if you have access to the Raspberry Pi’s terminal, you can use the ‘raspi-config’ tool. Open the terminal and execute ‘sudo raspi-config‘. This interactive utility allows you to navigate to Interfacing Options, select SSH, and enable the service by choosing Yes. This method provides a user-friendly interface for manual configuration, guaranteeing that your SSH server is set up securely. If you encounter any issues, ensure that the Raspberry Pi is properly connected to the network for effective SSH setup.
For those using the Raspberry Pi desktop, navigate through Preferences > Raspberry Pi Configuration. Under Interfaces, you’ll find the option to enable SSH with a simple click, guaranteeing secure connections are just a few clicks away.
Access the Raspberry Pi Command Line via SSH
To connect to your Raspberry Pi via SSH, you’ll first need to verify SSH is enabled on your device. Use the ‘raspi-config’ tool by running ‘sudo raspi-config‘ in the terminal. Navigate to ‘Interfacing Options’, select ‘SSH’, and choose ‘Yes’. Once enabled, find your Raspberry Pi’s IP address using the ‘ifconfig’ command. Note down the IP in the ‘wlan0’ or ‘eth0’ section. Make sure your Raspberry Pi is connected to the local network to ensure a successful SSH connection. Securing your connection is crucial, so consider using key-based authentication for enhanced security.
Connecting to your Raspberry Pi offers a seamless remote access experience, but ensuring SSH security should be your priority. Here’s a step-by-step guide:
- MacOS/Linux Users: Open a terminal window, and enter ‘ssh @’. Respond to the security warning by typing ‘yes’, then enter your password.
- Windows Users: Launch PuTTY, enter the IP address and port ’22’, then initiate the connection. Provide your username and password when prompted.
- Enhance Security: Generate an SSH keypair with ‘ssh-keygen’, and add your public key to the Raspberry Pi’s ‘authorized_keys’ file. This eliminates the need for passwords, boosting both convenience and security.
Frequently Asked Questions
How Can I Connect to Raspberry Pi Without a Monitor or Keyboard?
You can achieve a headless setup by modifying the boot image on the microSD card. Guarantee proper network configuration so the Raspberry Pi connects to your network. This enables you to control it remotely without a monitor or keyboard.
What Are Alternative Methods for Remote Access Apart From SSH?
You can use a serial connection for direct access or explore web interfaces like Webmin for extensive control. These methods offer innovative ways to interact with your Raspberry Pi, enhancing flexibility and remote management capabilities.
Can I Use VNC to Access the Raspberry Pi Command Line?
You can use a VNC client to access the Raspberry Pi command line through the VNC server. Although it’s possible, it’s not the most efficient method. SSH remains more streamlined for direct terminal access.
How Do I Troubleshoot Network Connectivity Issues With Raspberry Pi?
Start with ping tests; they reveal connectivity. DNS configuration follows, ensuring smooth data flow. Adjust settings, reboot, and stay innovative. Immerse yourself in router adjustments and IP setups, crafting a seamless network experience for your Raspberry Pi.
Is It Possible to Access the Raspberry Pi Command Line Over Bluetooth?
You can’t access the Raspberry Pi command line over Bluetooth. Bluetooth connectivity is limited to peripherals. For innovative solutions, explore SSH or VNC for seamless command line access, ensuring secure, efficient remote management of your Raspberry Pi.
Conclusion
As you commence this digital journey, imagine the glowing green LED of your Raspberry Pi, a beacon of possibilities. You’ve accessed five gateways to its command line, each offering a unique path through the maze of technology. With SSH, it’s like whispering commands across the ether, effortlessly bridging distances. Your newfound skills empower you to explore, create, and innovate with precision. Immerse yourself in the endless potential of your Raspberry Pi, where your imagination sets the only limits.

I am a retired software engineer with experience in a multitude of areas including managing AWS and VMWare development environments. I bought a relative a mini-PC a year ago and have become passionate about the technology and its potential to change how we deploy software.