
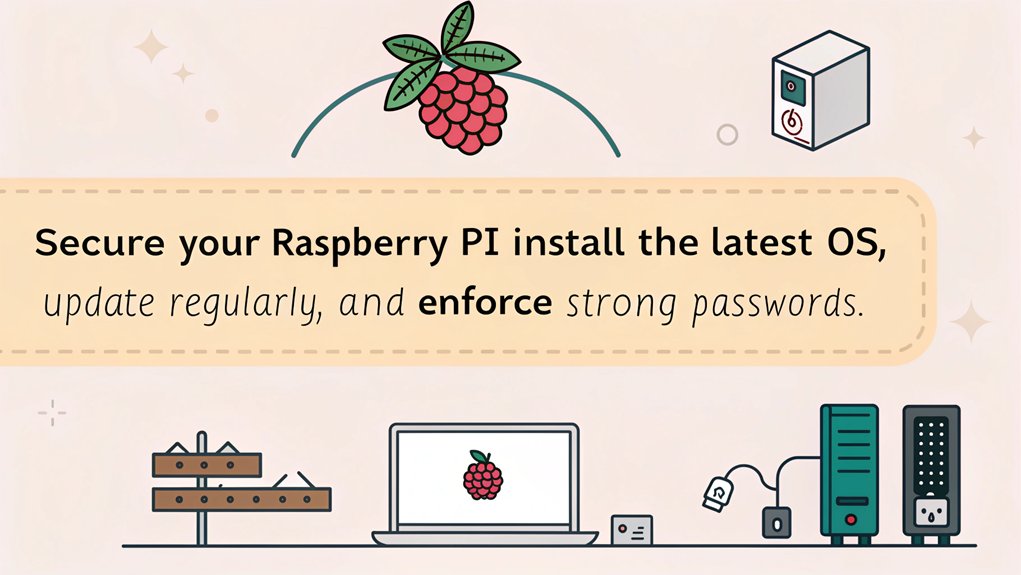
When hardening a Raspberry Pi, start by enabling secure boot and implementing full disk encryption to protect your data. Change the default ‘pi’ password immediately and create individual user accounts for better security. Use key-based authentication for SSH and disable password logins. Secure your network with ‘iptables’ and configure ‘ufw’ to restrict incoming connections. Regularly update your operating system and monitor activity using tools like Zabbix for unauthorized access attempts. Finally, maintain secure backups and consider your physical environment’s security.
Following these steps will greatly enhance your Raspberry Pi’s security; more detailed strategies are coming up next.
Key Takeaways
- Enable secure boot and implement full disk encryption to protect data and reduce hardware vulnerabilities on your Raspberry Pi.
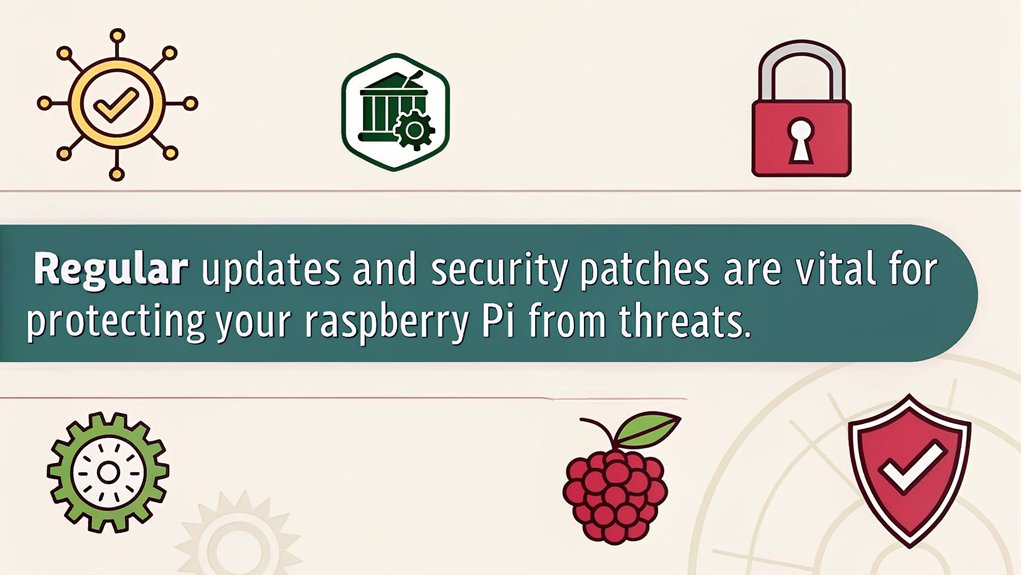
- Regularly update your OS and software to ensure the latest security patches are applied, minimizing exploitation risks.
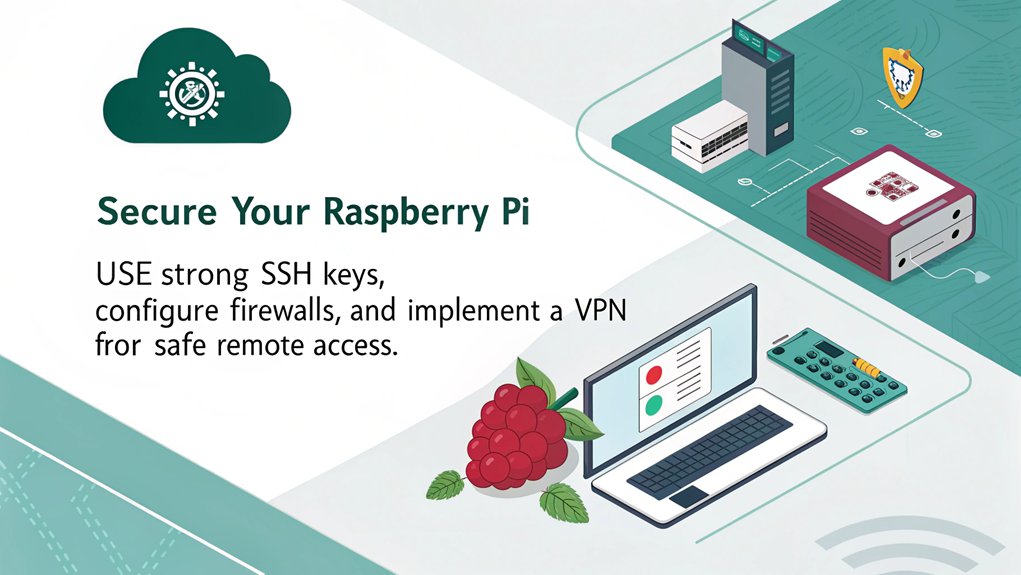
- Configure SSH with key-based authentication, disable password logins, and enforce strong password complexity for user accounts.
- Install and configure firewalls with ‘iptables’ and ‘ufw’ to control incoming and outgoing network traffic securely.
- Regularly back up your data and monitor system logs for unauthorized access attempts to maintain data integrity and security.
Hardware and Initial Setup
When setting up your Raspberry Pi, it’s crucial to implement hardware security measures from the start. First, enable secure boot to guarantee only signed firmware, kernel, and initramfs are loaded. This substantially mitigates the risks associated with hardware vulnerabilities, preventing unauthorized booting and access to sensitive data. It’s also important to take advantage of full OS disk encryption to ensure that even if an SD card is removed, the data remains protected from unauthorized reading.
Utilize a Trusted Platform Module (TPM) for secure storage of encryption keys; combine it with the 2711 customer OTP rows to enhance TPM management by storing per-device passwords securely. Additionally, considering that regular updates to your operating system and software are critical for maintaining security, ensure your setup includes a strategy for promptly applying these updates. Leveraging the community support available for Linux can also provide valuable resources for securing your device. Ensure that your Raspberry Pi model, such as the Raspberry Pi 4, has adequate resources like USB 3.0 and Gigabit Ethernet for enhanced connectivity and better security management.
Verify your Raspberry Pi is physically secure; place the device and SD card in a protected environment to deter tampering. Always change the default password promptly, especially for older OS versions.
For ideal USB security, utilize USBGuard to block rogue devices from compromising your system.
Lastly, keep in mind the importance of addressing known vulnerabilities, like CVE-2018-18068, which affects ARM-based systems. Your initial setup security must also include robust network precautions; consider implementing SSH key authentication paired with a strong passphrase.
If you lay this groundwork, you’re setting your Raspberry Pi up for a secure and innovative future.
Operating System Installation
Choosing the right operating system for your Raspberry Pi is pivotal in establishing a secure foundation. The best OS for most users is Raspbian, but integrating alternative distributions like Ubuntu Mate can be beneficial, depending on your specific use cases and security needs. Additionally, keeping the OS updated minimizes exploitation risks, ensuring that you have the latest security patches is essential in maintaining a secure environment. It’s also important to remember that continuous updates on new vulnerabilities can help you stay ahead of potential threats.
Begin by following an installation guide to guarantee a smooth process, and verify system compatibility with your Raspberry Pi model. During the initial setup, make sure to change the default password for the ‘pi’ account, as it poses a significant security risk. Regularly update your OS to patch vulnerabilities and consider enabling secure-boot features to prevent unauthorized code execution. Ensuring robust networking settings, similar to those required for a Plex server, is crucial for maintaining a secure and stable connection. Ensure you have a stable network connection using a WiFi dongle if necessary.
When it comes to software selection, focus on configuring applications that support your user preferences and security considerations. Implement configuration tips such as using SSH key authentication for remote access and combining it with two-factor authentication for added protection.
For performance optimization, utilize Docker containers or virtualization methods like KVM to run services securely without compromising system integrity, guaranteeing your Raspberry Pi remains robust against potential threats. This approach can also help in handling resource-intensive tasks efficiently, much like managing multiple streams on a Plex server setup.
Firewall Configuration

After completing the initial setup of your Raspberry Pi and confirming the operating system is secure, the focus shifts to configuring a robust firewall to protect your device from unwanted intrusions. Firewalls serve as security barriers that help manage incoming and outgoing network traffic, making them essential for safeguarding your Raspberry Pi.
Start by installing ‘iptables’ and ‘ufw’ if they’re not already present. Run ‘sudo apt-get update’ followed by ‘sudo apt install iptables‘ and ‘sudo apt install ufw‘. For those who prefer a graphical interface, install ‘gufw’ using ‘sudo apt install gufw’.
Next, set default ‘ufw’ firewall rules to deny incoming and forwarded traffic while allowing outgoing connections. Execute commands like ‘sudo ufw default allow outgoing‘ and ‘sudo ufw default deny incoming’.
Open necessary ports by typing ‘sudo ufw allow PORT’ (for example, use ‘sudo ufw allow 22’ for SSH). To enhance advanced security, apply connection limits with commands like ‘sudo ufw limit 22’. It’s crucial to ensure that power requirements are met to avoid interruptions that could compromise your firewall setup.
After establishing your rules, verify them with ‘sudo ufw status’ and confirm ‘ufw’ starts on system startup by enabling it with ‘sudo ufw enable’.
Implementing these configurations will greatly bolster your network traffic security.
User and Access Management

When managing users on your Raspberry Pi, changing the default user password is essential for securing access. Using SSH keys for authentication not only enhances security but also streamlines the login process by eliminating the need for passwords. Implementing these measures effectively mitigates unauthorized access risks and strengthens your device’s overall security posture. Additionally, recent changes to the system require the removal of default pi accounts, which further protects against potential vulnerabilities. Moreover, enabling two-factor authentication (2FA) adds an extra layer of security to user logins. Ensuring a stable power supply, such as a power adapter, is crucial for preventing unexpected shutdowns that could compromise system integrity.
Change Default User Password
To enhance the security of your Raspberry Pi, changing the default user password is essential. The default password for the ‘pi’ user, ‘raspberry’, is well-known and poses a security risk. It’s critical to recognize the importance of changing both username and password for comprehensive security.
Start by logging in as the ‘pi’ user and executing the ‘passwd’ command. You’ll be prompted to enter a new password. Verify that your new password exhibits strong password complexity—mix upper and lowercase letters, numbers, and special characters to create a unique passphrase. Additionally, it’s advisable to create individual user accounts for each family member to further enhance security.
After entering the new password, you’ll need to confirm it for password verification purposes. This extra step helps prevent any typos that could lock you out. Once confirmed, the new password will replace the default, greatly reducing the chance of unauthorized access.
To validate your changes, log out and log back in using the new credentials. If successful, you’ve taken a pivotal step in hardening your Raspberry Pi against potential threats.
SSH Keys for Authentication
Implementing SSH keys for authentication greatly enhances the security of your Raspberry Pi by eliminating the need for password-based logins. This is particularly important as Raspberry Pi is a popular target for bots and hackers. By utilizing public-key cryptography, SSH keys provide a more secure method of authentication than passwords.
To initiate SSH key management, use the ‘ssh-keygen’ command for key pair generation, like ‘ssh-keygen -t rsa -b 4096 -C “pi-webserver”‘. You’ll end up with a private key (‘id_rsa’) and a public key (‘id_rsa.pub’).
Next, distribute your public key to the Raspberry Pi with ‘ssh-copy-id -i path/to/key pi@server-ip’, or by manually adding it to the ‘~/.ssh/authorized_keys’ file.
Confirm the ‘.ssh’ folder has appropriate permissions (‘install -d -m 700 ~/.ssh’) to secure your private key.
Once your public key is in place, configure SSH for passwordless authentication by modifying the ‘/etc/ssh/sshd_config’ file; set ‘PasswordAuthentication no’ and verify that ‘PubkeyAuthentication yes’ is enabled.
Restart the SSH service to apply changes.
For added security, always protect your private key with a passphrase and consider backing up your SSH keys.
This method guarantees robust private key protection, securing your Raspberry Pi against unauthorized access while streamlining your remote login process.
Network Security

To secure your Raspberry Pi’s network, start by configuring SSH for secure connections, ensuring you’re using key-based authentication instead of passwords. Incorporating a VPN service can encrypt your traffic, adding an extra layer of privacy and security. Remember to allow SSH connections using the appropriate UFW commands to prevent accidental lockout. Regularly monitor network activity with tools like Wireshark or tcpdump to detect any unauthorized access or suspicious behavior. Furthermore, the versatility of the Raspberry Pi makes it suitable for various security implementations tailored to your specific networking needs.
Secure SSH Connections
Securing SSH connections on a Raspberry Pi is essential to protect your device from unauthorized access and potential attacks.
To effectively harden your SSH setup, you should focus on the following key areas:
- SSH Configuration: Enable SSH during installation or via ‘raspi-config’. Change the default password to a strong one immediately after setup. Additionally, you can enable SSH in headless mode for convenience without needing a monitor.
- Key Management: Generate SSH key pairs with ‘ssh-keygen’, guaranteeing you use secure locations and passphrases. This process ensures that you benefit from the heightened security of key-based authentication while using key pairs. Use ‘ssh-copy-id’ to transfer your public key to the Raspberry Pi.
- Secure Protocols: Edit ‘/etc/ssh/sshd_config’ to disable password authentication, ensuring that only SSH key authentication is allowed.
- Access Controls: Regularly review network settings to minimize open ports and ensure that only required services are exposed.
Use VPN Services
Have you considered the numerous benefits of using a VPN on your Raspberry Pi? A VPN encrypts your internet connection, enhancing security against cyber threats and hackers. Additionally, a good VPN service can help ensure high-speed connections even when streaming or browsing your favorite content. Furthermore, it can function as a home network gateway, allowing secure connections for non-VPN compatible devices in your home.
It also masks your IP address, safeguarding your privacy from local network administrators, ISPs, and government surveillance. With a VPN, you can bypass geo-restrictions, accessing content from anywhere in the world, and securely connect to your home network from remote locations. This is especially vital when using public Wi-Fi, where your data is vulnerable.
Setting up a VPN isn’t without its limitations, though. The installation process can be complex and may require technical know-how. Additionally, the processing demands of encryption can slow down your internet speeds, particularly on a device with limited resources like the Raspberry Pi. Compatibility issues may arise with some VPN services, necessitating careful selection.
Finally, remember that while VPNs bolster security, they’re not foolproof. Always consider potential vulnerabilities that may arise from using third-party servers.
Choose reputable providers like NordVPN, ExpressVPN, or even PiVPN for a tailored Raspberry Pi experience. Each option brings unique features, ensuring you find a suitable match for your needs.
Monitor Network Activity
Monitoring network activity on your Raspberry Pi is vital for maintaining security and optimizing performance. By tracking traffic patterns and analyzing data, you can quickly identify potential security threats and manage bandwidth efficiently.
Here are some tools to evaluate:
- Use vnStat to track daily and monthly network traffic totals.
- Install Wireshark for packet sniffing and deeper traffic analysis.
- Utilize Zabbix for real-time monitoring and bandwidth tracking.
- Integrate tools like Prometheus and InfluxDB for extensive data collection.
Make certain to regularly analyze traffic patterns to detect unusual activities. For instance, keep an eye on bandwidth usage and assess incoming and outgoing traffic. Leveraging real-time traffic analysis capabilities provided by various tools can help you maintain a vigilant stance against potential threats. Additionally, employing a local firewall like UFW can further secure your system by controlling access to ports.
By examining historical data, you can identify recurring patterns that may indicate vulnerabilities. Configuring your firewall using UFW or iptables can further enhance security, allowing you to restrict access based on network protocols.
Setting up custom alerts via Zabbix guarantees you’re notified of any significant network events. Ultimately, regular monitoring and traffic analysis are vital steps in hardening your Raspberry Pi against potential threats.
Continuous Security and Updates
Regularly updating your Raspberry Pi is essential for maintaining its security and performance. Aim for an update frequency of at least once a month to receive critical patches and enhancements. If you run sensitive tasks or connect to the internet, consider weekly updates to promptly address security vulnerabilities.
Always execute ‘sudo apt update’ and ‘sudo apt full-upgrade’ before installing new software to guarantee your system and its dependencies are current.
To simplify this process, set up automated updates using cron jobs, which can reduce human error and guarantee critical patches are applied in a timely manner. You can automate ‘sudo apt update’, ‘sudo apt full-upgrade’, and ‘sudo apt autoremove’ to maintain a lean environment free of unnecessary packages. This setup not only keeps your OS secure but also optimizes performance.
Selecting a secure operating system like Raspbian Lite or Ubuntu Server further enhances your Raspberry Pi’s defenses. These distributions focus on minimalism and typically have robust support for regular updates.
Monitoring and Logging
To effectively monitor your Raspberry Pi, you need to utilize system logs to capture essential system messages, security events, and kernel activity.
Implementing monitoring tools will allow you to stay informed about your system’s health and flag any suspicious behavior in real time.
This proactive approach not only enhances security but also aids in diagnosing issues before they escalate.
Utilize System Logs
System logs are indispensable tools that capture a wealth of information about your Raspberry Pi‘s operations and security status. By effectively utilizing these logs, you can enhance your system’s security through diligent log analysis and stringent access control.
To get started, focus on these key types of logs you should monitor:
- System Log (‘/var/log/syslog’) – For diagnostic messages related to system components.
- Security Log (‘/var/log/auth.log’) – Crucial for tracking authentication attempts and access events.
- Kernel Log (‘/var/log/kern.log’) – Fundamental for diagnosing hardware issues through kernel messages.
- Audit Log (‘/var/log/audit/audit.log’) – Imperative for tracking security-relevant user activity when ‘auditd’ is active.
Access logs using commands like ‘sudo cat’ or ‘sudo less’, and always verify proper file permissions to maintain access control.
It’s essential to correlate events using timestamps and severity levels to identify potential security threats swiftly. Implementing encryption and integrity checks can safeguard your logs against unauthorized modifications.
Implement Monitoring Tools
Implementing monitoring tools on your Raspberry Pi is essential for maintaining a secure and efficient system. Start by utilizing Wireshark or TShark to capture and analyze network traffic, allowing you to identify suspicious packets or connections.
Install Zeek, which serves as a Network Security Monitor (NSM) to track malicious traffic and assess performance. Additionally, set up Snort or Suricata as Intrusion Detection Systems (IDS) to analyze traffic patterns and detect potential security breaches.
To minimize exposure, configure network interfaces on your Raspberry Pi, ensuring that unnecessary ports remain closed.
Employ UFW (Uncomplicated Firewall) to manage iptables rules effectively, and regularly monitor firewall logs to stay alert to any unauthorized access attempts. Setting up Net-SNMP can further bolster your security posture by sending alerts based on predefined network traffic thresholds.
For remote monitoring, leverage PiCockpit or configure SSH tunnels for secure remote access. Running applications within Docker containers adds an additional layer of isolation, enhancing your Raspberry Pi’s security.
Secure Remote Access
Establishing secure remote access on your Raspberry Pi is crucial to protecting your device from unauthorized users and potential attacks. Utilizing secure shell (SSH) for remote management is fundamental, but make certain you follow these guidelines:
- Use SSH Keys: Instead of relying on usernames and passwords, implement SSH keys to enhance security.
- Disable Root Login: Disabling root login via SSH greatly reduces your attack surface.
- Implement a Firewall: Set up a firewall to filter out suspicious activity and block unauthorized access.
- Utilize Fail2ban: This tool helps secure your Raspberry Pi by banning IP addresses that attempt brute-force attacks.
For VNC access, confirm you’re using secure connections, limit access to necessary users, and enforce strong passwords. Regularly update all remote access software to mitigate vulnerabilities.
Alternatively, consider using reputable external services for remote access, such as Pinggy or Raspberry Pi Connect, which provide enhanced security features.
Always validate the provider’s security measures and follow their setup guidelines to maintain a robust defense against potential threats. Prioritizing these steps will fortify your Raspberry Pi against unauthorized penetration.
Backup and Recovery Strategies

When it comes to safeguarding your Raspberry Pi, having robust backup and recovery strategies in place is vital. Start by guaranteeing data integrity through regular backups. You can use the ‘dd’ command to clone the entire SD card to another SD card or USB drive, guaranteeing enough storage capacity.
For disaster recovery, schedule automated incremental backups using cron jobs, leveraging tools like ‘tar’ or ‘rsync’. If you prefer a user-friendly experience, consider Déjà Dup, which simplifies backing up to various destinations.
For specialized backups, rpi-clone and RonR RPi image utils are excellent choices, allowing you to create compressed backups seamlessly. Additionally, employ restic for granular recovery testing, enabling you to restore specific directories as needed.
Backup verification is vital; test your restores by booting from the cloned image or clean directory, verifying you can recover your system without conflicts.
Don’t forget to explore utility comparisons to find the most efficient tools for your needs. By establishing a solid backup and recovery strategy, you guarantee resilience and reliability for your Raspberry Pi, ready to tackle any challenge that arises.
Best Practices for Usage

Effective usage of your Raspberry Pi involves adhering to a series of best practices that enhance security and performance. By focusing on physical security, network measures, and secure configurations, you can bolster both data privacy and operational integrity.
- Secure Location: Position your Pi in a locked area to prevent unauthorized physical access.
- Use Secure Protocols: Employ SSH or HTTPS for remote operations, ensuring secure coding practices.
- Strong Passwords: Implement complex passwords, avoiding defaults to mitigate brute force attacks.
- Regular System Updates: Keep your system current to patch vulnerabilities, reinforcing your security posture.
Additionally, consider using tamper-proof cases and UPS for power stability. Network segmentation and firewall configurations are vital for isolating your Pi from potential threats.
Tools like Fail2Ban help protect against unauthorized access attempts.
Finally, always use a VPN when accessing your device remotely to encrypt your communications effectively.
Frequently Asked Questions
Can I Use a Raspberry Pi for Home Automation Projects?
You can definitely use a Raspberry Pi for home automation projects. By integrating smart devices with automation software like Home Assistant or OpenHAB, you’ll create innovative systems that enhance your home’s efficiency and convenience.
What Peripherals Work Best With a Raspberry Pi?
When diving into your Raspberry Pi adventures, reliable peripherals like Raspberry Pi keyboards and mice enhance your experience. Choose responsive options for seamless interaction, ensuring you access your device’s full potential in innovative projects.
How Do I Troubleshoot Boot Issues on a Raspberry Pi?
To troubleshoot boot issues on your Raspberry Pi, first verify the SD card’s integrity and guarantee proper boot configuration. Check for filesystem errors and confirm compatibility of the OS with your specific Raspberry Pi model.
Can I Run a Web Server on My Raspberry Pi?
Running a web server on your Raspberry Pi’s like planting a digital garden. You’ll configure Apache with essential web server settings and implement robust security measures to protect your data and guarantee seamless access for users.
What Power Supply Do I Need for Optimal Performance?
To guarantee peak performance, you’ll need a power supply that meets your Raspberry Pi’s specific power requirements and voltage ratings. For recent models, utilize a 5.1V USB-C supply, delivering the appropriate amperage for stable operation.
Conclusion
In a world where convenience often clashes with security, you have the power to harden your Raspberry Pi for superior protection. By implementing robust access management and strengthening your network security, you create a fortress against potential threats. Remember, neglecting backup strategies can mean losing valuable data, while proactive monitoring keeps you alert to risks. So, embrace these best practices and transform your Raspberry Pi from a mere device into a resilient shield in the digital landscape.

I am a retired software engineer with experience in a multitude of areas including managing AWS and VMWare development environments. I bought a relative a mini-PC a year ago and have become passionate about the technology and its potential to change how we deploy software.