
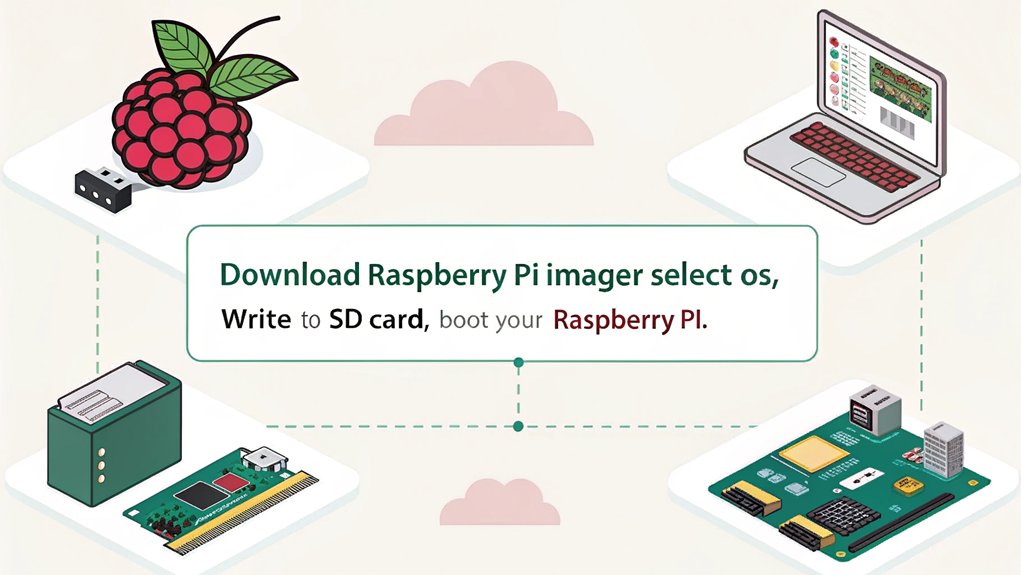
Getting started with Raspberry Pi Imager is straightforward. First, download it from the official Raspberry Pi website for your OS—Windows, macOS, or Linux. After installation, launch the app, then select “Choose OS” to pick your desired operating system. Next, insert your microSD card and choose it under “Choose Storage.” Configure settings such as hostname and Wi-Fi credentials using advanced options. Finally, click “Write” to begin the imaging process. Once complete, set up your Raspberry Pi with the microSD card and follow the on-screen prompts for initial configuration. There’s plenty more to explore about maximizing your Raspberry Pi experience.
Key Takeaways
- Download and install the Raspberry Pi Imager from the official website, ensuring compatibility with your operating system and architecture.
- Launch the Imager, select the OS by clicking “Choose OS,” and ensure compatibility with your specific Raspberry Pi model.
- Use “Choose Storage” to select your microSD card, ensuring it meets the minimum size and speed requirements for optimal performance.
- Configure advanced settings like hostname, Wi-Fi, and SSH access by pressing CTRL + SHIFT + X before writing the OS to the card.
- Follow on-screen prompts for initial setup after inserting the microSD card into the Raspberry Pi and powering it on.
Downloading Raspberry Pi Imager
To get started with Raspberry Pi Imager, you’ll first need to download it for your specific operating system. If you’re using Windows, head to the official Raspberry Pi website and click on the “Download for Windows” button. This will give you an executable file—make certain it’s from a trusted source to avoid malware.
For macOS users, you’ll want to select the macOS version on the downloads page and download the installer package, confirming you verify its integrity before installation.
Linux users have a bit more flexibility. For Debian-based distributions, grab the deb file. If you’re on Fedora or Manjaro, you might consider installing alternatives, like using the snap package. Just make certain whatever you download matches your Linux architecture, whether that’s x86 or ARM. Additionally, ensure you have a suitable boot media to write the operating system image to once the download is complete. Ensure SSH is enabled during setup to facilitate remote access to your Raspberry Pi.
Regardless of your operating system, confirm you’ve got a stable connection during the download. Check the version, verify the file size, and be cautious of any extra software included in the download.
Installing Raspberry Pi Imager
Now that you’ve downloaded Raspberry Pi Imager, it’s time to install it on your operating system. Whether you’re using Windows, macOS, or Linux, the installation process is straightforward and quick. This latest version (v1.9.0) utilizes Qt 6.7.2 for enhanced UI across platforms, making your experience even better. It’s important to note that a microSD card reader is required to connect the card to your PC for the installation process. You’ll also want to know how to access previous versions if needed, so let’s get started Ensure your project leverages the full potential of the Raspberry Pi 5’s quad-core CPU for optimal performance. You’ll also want to know how to access previous versions if needed, so let’s get started
Downloading Raspberry Pi Imager
When you’re ready to start using Raspberry Pi Imager, the first step is downloading it from the official Raspberry Pi website. You’ll find versions available for Windows, macOS, and Linux. Navigate to the software section of the website and click on the appropriate download link—like “Download for Windows” or a deb file for Ubuntu—to initiate the download. Remember, you’ll want the download sources to be official to avoid malware.
For Windows users, the download will be an executable file that starts the installation process, while Linux distributions might require a deb file. If you’re using a Raspberry Pi, you can also install the Imager directly by typing ‘sudo apt install rpi-imager’ in the terminal. Moreover, latest versions can be downloaded directly from the Raspberry Pi downloads page.
Before you plunge in, make certain your computer meets the installation requirements, and verify you’ve got an internet connection for downloading any additional resources if needed. Additionally, using the Raspberry Pi Imager simplifies the process of installing the OS on your SD card.
Finally, check that your storage device, like a microSD card, is properly connected and that you have the necessary permissions to write to it. Now, you’re ready to move forward to the installation!
Installing on Various Systems
It’s essential to know how to install Raspberry Pi Imager across different operating systems to get started quickly. For Windows, download the latest version from the official Raspberry Pi website and run the installer, following the prompts. Remember to check system compatibility—Windows 10 x86_64 or later is required.
On macOS, select the appropriate version for your architecture, confirming you’re running at least OS X 10.14. If you have an Apple M1/M2, install Rosetta 2 for the Intel build.
For Linux, you can effortlessly install Raspberry Pi Imager via the terminal with the command ‘sudo apt install rpi-imager’. Verify your system meets the minimum requirements, such as Ubuntu 22.04 x86_64 or later. The same command applies if you’re using Ubuntu, and the application integrates well with the package manager. Additionally, using Raspberry Pi Imager can enhance your skills in programming and electronics.
Each installation process is straightforward and identical across compatible Linux distributions. By installing these prerequisites according to your system, you’ll guarantee that Raspberry Pi Imager runs smoothly, paving the way for your projects to thrive.
Get ready to innovate and expand your Raspberry Pi experience!
Accessing Previous Versions
Accessing previous versions of Raspberry Pi Imager can help address specific needs or compatibility issues that may arise, especially when newer versions don’t align with your current projects.
If you’re facing challenges with the latest updates or need features from older releases, you can manage versions effectively. To obtain previous versions, visit the official Raspberry Pi website or its GitHub page.
Look for the “releases” section, where you’ll find a list of available versions with corresponding release notes. It’s essential to check these notes to understand what each version offers before downloading. Keeping software updated is crucial as it often provides access to the latest OS images. Additionally, the latest version offers advanced options for OS features configuration, enhancing the overall experience.
Using the latest version also ensures compatibility with various storage devices beyond micro SD cards, such as those mentioned in the SD card requirements.
Be aware that older versions might restrict you to cached images, limiting functionality. This restriction may hinder your ability to access the latest operating system images or advanced features introduced in updates.
For an ideal experience, aim to use the latest version whenever possible. However, if you need to revert for specific functionalities, keep the software’s requirements in mind.
Efficient version management guarantees that you’re equipped with the tools necessary for your projects, letting you innovate without hindrance while balancing the need for stability or advanced functions.
Launching the Application
Now that you’ve installed the Raspberry Pi Imager, it’s time to launch the application. Click on the Raspberry Pi Imager icon to open it, or, for Linux users, simply type ‘rpi-imager’ in the terminal. Once the app is up, you’ll find a user-friendly interface that will guide you through the initial setup options. This tool simplifies the OS installation process on microSD cards, allowing for quick setup to get your Raspberry Pi up and running smoothly. It is essential to have a MicroSD card with NOOBS ready to streamline the installation process.
Opening the Imager App
To launch the Raspberry Pi Imager application, you’ll need to follow different steps depending on your operating system.
If you’re on Windows, head to the Start menu and find the Raspberry Pi Imager executable to launch it. For macOS users, locate the application in the Applications folder or use Spotlight to search for it. If you’re using Linux, simply open your terminal and type ‘rpi-imager’ to get started.
Once you’ve opened the application, you’ll be greeted by a user interface designed for simplicity and ease of use. Before diving in, make sure your SD card reader is connected and your SD card is inserted. This setup is vital for writing the image to your storage device.
During your first run, the Imager may require you to configure application settings or permissions for reading and writing to the SD card.
Be prepared to grant these permissions; doing so will enable a smoother imaging experience.
Navigating the Interface
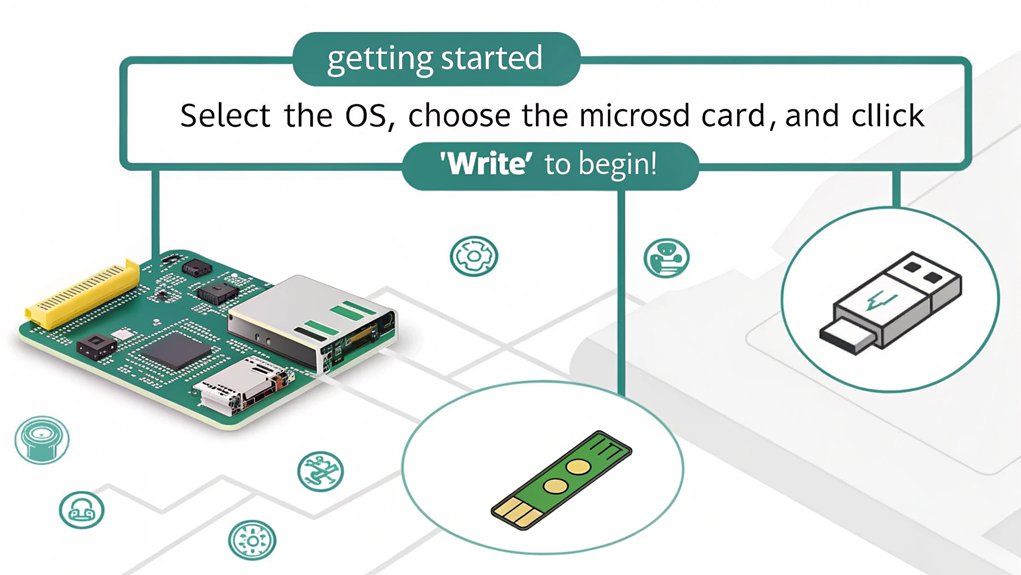
Traversing the interface of the Raspberry Pi Imager is straightforward and intuitive. Upon launching the application, you’ll notice a clean layout designed for ease of use. Start by selecting the “Choose OS” button to bring up the operating system selection menu. Here, you’ll find various options, including different Raspberry Pi OS versions, Ubuntu, and specialized OS for tasks like media servers or 3D printing. One of the benefits of using this tool is its support for multiple OS options, making it suitable for various Raspberry Pi projects. The imager was released to simplify the process of writing operating systems to the Raspberry Pi, enhancing user experience. Ensuring your system is updated regularly can help protect against malware threats.
Next, click on the “Choose Storage” button to select your SD card. Make sure you pick the correct device to prevent any accidental data loss. The tool will verify your choice before proceeding. If you’re working with multiple Raspberry Pi devices, this interface customization allows for efficient management of several SD cards.
When you’re ready, press the “Write” button to initiate the OS writing process; the imager will download the required files if they aren’t already cached.
Feel free to explore advanced options by pressing ‘CTRL + SHIFT + X’ to set user preferences like hostname, SSH, and WiFi configurations. This seamless navigation empowers you to get started with ease on your Raspberry Pi journey. Using strong passwords and enabling multi-factor authentication can add an extra layer of security during this setup process.
Initial Setup Options
A quick launch of the Raspberry Pi Imager sets the stage for your project. Once you’ve downloaded and installed the software from raspberrypi.com/software, you can easily open the application.
On Windows, find it in the Start menu or double-click the executable; for macOS, check your Applications folder, and for Linux, simply run the command ‘rpi-imager’ in your terminal. Additionally, remember that the Raspberry Pi Imager utilizes three essential .json files for optimal functionality, making it a robust tool for OS installation. The Raspberry Pi’s low power consumption is another key factor to consider during setup.
Once launched, you’ll get the chance to configure the OS settings before the first boot. This process is essential for streamlining your setup. Regularly performing system updates can enhance both the security and performance of your Raspberry Pi. Ensuring you have a reliable power supply is crucial for stable operation.
You can specify the device hostname, which provides a recognizable identifier for your Raspberry Pi on the network. Additionally, you’ll set up your username and password, ensuring secure access.
Don’t forget to input your Wi-Fi credentials if you’re connecting wirelessly, and you can even adjust the time zone and keyboard layout tailored to your needs. This setup also allows integration with smart devices like home automation.
For advanced users, hitting CTRL + SHIFT + X opens extra configuration options to refine your setup further.
This initial OS configuration lays the groundwork for a more personalized Raspberry Pi experience, letting your creativity shine.
Selecting Your Device
When using the Raspberry Pi Imager, selecting the right device is essential for a smooth setup. Start by identifying the specific Raspberry Pi model you have, as this guarantees you make the most of its device features and model advantages. The Imager’s filtering options simplify this process, allowing you to easily find and select your model from the list provided. Additionally, consider that compatible operating systems are designed specifically to enhance functionality tailored to each Raspberry Pi model.
To guarantee a seamless experience, consider the following:
- Compatibility is Key: Make sure your chosen Raspberry Pi model is compatible with the operating system you plan to install. Pi 1B’s compatibility has been a topic of discussion, with users reporting mixed experiences. Ensure your OS supports ARMv7 feature sets to ensure compatibility with older models. This step is crucial because proper compatibility ensures optimal performance and utilization of the quad-core Cortex-A72 processor.
- Storage Awareness: Identify your preferred storage device by size, and connect it using a microSD reader or USB drive.
- Avoid Confusion: Disconnect other storage devices if you have multiple connected to prevent accidental formatting. This step is crucial to avoid data loss and ensure that only the intended device is formatted during the installation process, similar to how you would manage hardware interfacing with peripherals like cameras and displays.
Choosing an Operating System
When it’s time to choose an operating system for your Raspberry Pi, you’ll find a variety of options tailored to different needs.
The Raspberry Pi Imager highlights recommended systems like Raspberry Pi OS for general use, along with specialized distributions for media centers or gaming. Understanding these choices guarantees you’ll find the right fit for your projects. The originally developed in 2012 Raspberry Pi OS is especially popular for its wide range of educational tools and resources, such as Debian Linux, which provides a stable and feature-rich environment. It also excels in hardware integration, connecting with GPIO pins and other peripherals for DIY and IoT projects. Additionally, it is important to ensure that SSH is enabled during the OS installation for easy remote access and management of your Raspberry Pi.
Recommended Operating Systems
Choosing the right operating system for your Raspberry Pi can make all the difference in your experience. When diving into the recommended operating systems overview, evaluate the options available in Raspberry Pi Imager.
Start with the official Raspberry Pi OS, available in both 32-bit and 64-bit versions, which includes versatile setups like the Desktop or Lite version. This OS makes it easy for you to configure remote access during installation, plus you’d benefit from customization options before writing the image. Additionally, keep in mind that users often face “No storage devices found” errors during installations if they attempt to overwrite the OS on the currently used SD card.
Here are some key OS choices to evaluate:
- Ubuntu: A robust general-purpose OS with multiple flavors tailored for Raspberry Pi.
- Manjaro ARM Linux: Known for its user-friendly design and different versions, all supported by the Imager.
- Custom/Legacy Systems: Options like Apertis and RISC OS Pi enable unique projects, including those with older Raspberry Pi models.
Version Compatibility
Understanding version compatibility is essential for ensuring your Raspberry Pi runs smoothly with the chosen operating system. When selecting an OS, be mindful of model limitations specific to your Raspberry Pi. For instance, while 32-bit images can operate across all models, only 64-bit images will work with 64-bit capable devices like the Raspberry Pi 4 and 5.
The Raspberry Pi Imager simplifies this process by filtering out incompatible OS versions, ensuring that you only see options suited for your model. It also considers the differences in performance metrics, such as memory bandwidth and cache size, which can significantly impact the OS performance.
Be aware of image differences, as each OS version contains configurations that may vary according to your model and RAM. This can impact OS performance, especially for older machines that might struggle under an OS with extra “baggage,” leading to upgrade challenges.
Older Pi models may require you to prune certain features to enhance speed, but doing so could make them incompatible with newer models.
Utilize the Imager’s “CHOOSE DEVICE” button to select your specific model and avoid compatibility pitfalls. This way, you’ll find the best suitable OS for a seamless experience on your Raspberry Pi. Additionally, considering the security advantages of different operating systems can help in making an informed decision about which OS to choose.
Special Purpose Distributions
For those looking to customize their Raspberry Pi experience, selecting a special purpose distribution can be an exciting venture. You’ll discover that specialized distributions, which may not appear in the Raspberry Pi Imager’s default list, offer unique functionalities tailored to specific tasks.
By utilizing the “Use Custom Image” option, you can easily flash your preferred operating systems.
Consider these factors when choosing a specialized distribution:
- Diverse Use Cases: Special distributions cater to unique requirements, from media centers to security-focused environments.
- Compatibility: Many distributions, like Chromium OS or Kali Linux, are designed to run smoothly on Raspberry Pi.
- Flexibility: The ability to upload custom images lets you explore various innovative options beyond typical choices.
- When selecting a distribution, consider the processing power required for your project, as some tasks may demand the robust capabilities of a Raspberry Pi.
Simply download your custom image from official sites and upload it via the Raspberry Pi Imager. This straightforward approach opens up a world of possibilities, enabling you to tweak your Raspberry Pi setup precisely as you envision it.
Whether you’re aiming for a streamlined interface or a powerful development platform, selecting the right specialized distribution can enhance your project considerably. So plunge in and start exploring your options
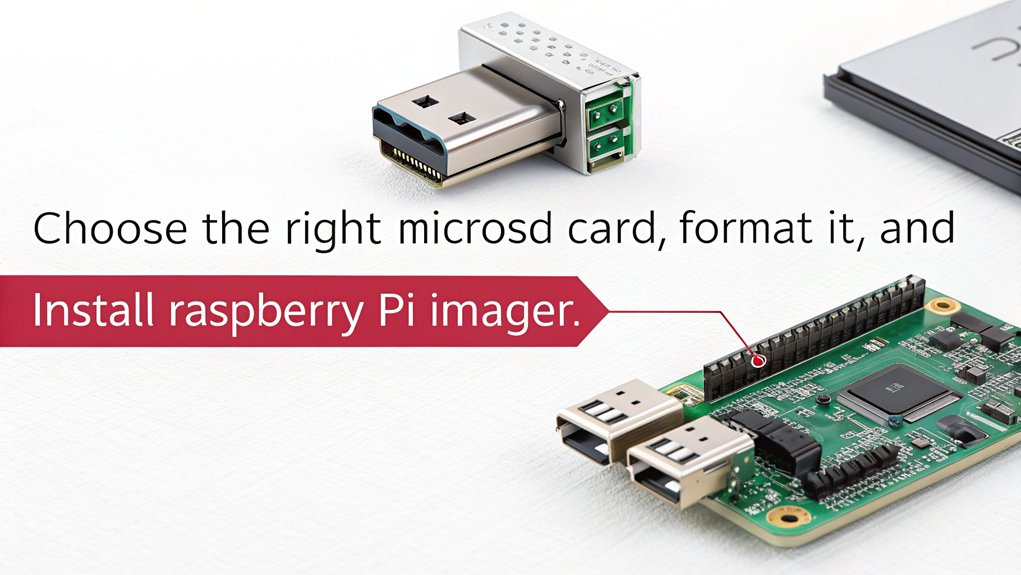
Preparing the MicroSD Card
Preparing your microSD card is a crucial step in getting your Raspberry Pi up and running. To guarantee smooth sailing, you need an appropriate card that meets the requirements. Here are a few key aspects to take into account:
| Aspect | Recommendation | Notes |
|---|---|---|
| MicroSD Duration | At least 8GB | More space for projects |
| Card Types | Class 10 or higher | Guarantees superior performance |
| Compatibility | Check compatibility with your Pi | Different models may vary |
Before you start, back up any important files, as the imaging process will erase everything on the card. Use a compatible microSD card reader or adapter to connect the card to your computer. Make sure your system recognizes the card, and if you’re using an external reader, confirm it’s properly powered. Ensure you use the correct tool like Raspberry Pi Imager to write the OS image to the microSD card correctly. It is also important to format the microSD card using SD Card Formatter to ensure it is in the correct file system format.
Configuring OS Settings

Configuring your OS settings is an important step to guarantee your Raspberry Pi operates smoothly right from the start. By taking the time to customize essential options, you can set the stage for a seamless experience.
Here are some key OS customization tips to reflect on:
- Username and Password: Create secure credentials to protect your Raspberry Pi and facilitate easy access.
- Hostname: Define a recognizable name for your device on the network, making it easier to find and connect.
- Wireless LAN: Input your WiFi details before the first boot to provide immediate internet access.
Additionally, don’t overlook remote access configuration. Enabling SSH will allow you to manage your Raspberry Pi without needing a monitor or keyboard. You can choose between password authentication for simplicity or public-key authentication for enhanced security.
Remember to set your locale settings for proper time and keyboard layout, which can greatly enhance your workflow.
Writing to the MicroSD Card
Once the writing is finished, safely eject the microSD card from your device.
Now, it’s ready to be inserted into your Raspberry Pi, paving the way for an exciting journey into innovative computing!
Take a moment to double-check that everything went smoothly before powering up your Pi. Ensure you have a compatible USB to RS485 converter for any future projects involving solar power monitoring.
Setting Up Your Raspberry Pi
How do you transform your Raspberry Pi from a collection of components into a fully functioning computer? Follow these steps to set it up for all your innovative Raspberry Pi projects, from home automation to coding experiments.
- Gather your hardware: You’ll need your Raspberry Pi board, a compatible microSD card, display, HDMI cable, keyboard, and mouse.
- Connect everything: Plug the microSD card into the Raspberry Pi, then connect your display via HDMI. Attach the keyboard and mouse to the USB ports.
- Power it up: Finally, connect the power supply and watch as your Pi boots up. Follow the on-screen prompts to configure settings like network and locale.
After the first boot, you’ll have the chance to customize your operating system further and make sure everything’s up-to-date.
Don’t forget to enable SSH for remote access; it’s fantastic for projects where you want to control your setup without being physically present.
Your Raspberry Pi is now ready for exploration and innovation. Immerse yourself in projects to automate your home or create something unique!
Troubleshooting Common Issues
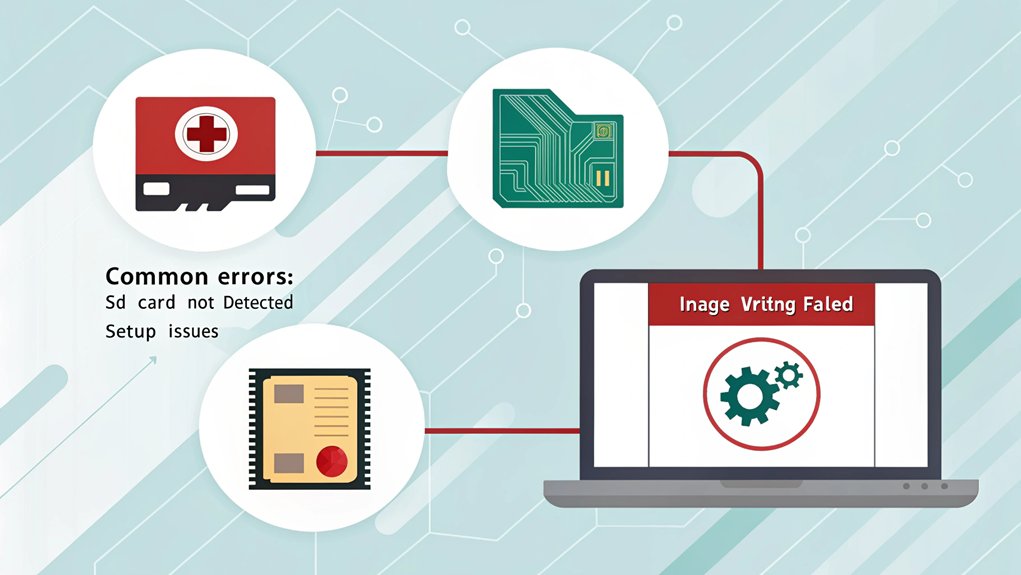
Are you facing challenges getting the Raspberry Pi Imager to work properly? You’re not alone, as many users encounter common errors and software conflicts.
Start by verifying you’re using an appropriate version of the imager; versions like 1.7.2 can be incompatible, while newer ones like 1.7.4.1 may provide better stability. If you’re on Windows, try running the installer as an administrator to avoid installation issues.
Keep an eye out for any Windows updates that might interfere with the imager’s functionality. If you experience blue screen errors, consider rolling back to a previous version. Running the imager in debug mode can highlight where it’s stalling, helping you pinpoint problems.
Don’t forget to check your system’s specifications and hardware compatibility. Confirm there’s enough disk space and that your SD card is compatible.
Updating drivers or switching USB ports can also resolve recognition issues. Finally, rebooting your system and reinstalling the software can clear up temporary glitches.
Frequently Asked Questions
Can I Use Raspberry Pi Imager on Chromebooks?
You can’t directly use Raspberry Pi Imager on most Chromebooks, due to compatibility issues. However, if your Chromebook runs Linux, you might successfully install it, enhancing your Chromebook’s performance and versatility for Raspberry Pi projects.
What if My MicroSD Card Isn’t Recognized by Raspberry Pi Imager?
If your microSD card’s playing hide and seek, try some microsd troubleshooting! Check card compatibility, guarantee it’s snugly inserted, and explore different readers. Formatting it might just release its magical potential for discovery!
Are There Alternatives to Raspberry Pi Imager?
If you’re seeking Raspberry Pi alternatives, consider balenaEtcher, Rufus, or USB Imager. These flashing software options offer diverse features, such as cross-platform support and user-friendly interfaces, making them excellent for your imaging needs.
How Do I Update Raspberry Pi Imager?
To update Raspberry Pi Imager, check for software updates on the official site, download the latest version, and follow installation steps. Afterward, review the user interface for any changes and troubleshoot if necessary.
Can I Use External USB Storage Instead of MicroSD?
You can definitely use external USB storage instead of microSD for your Raspberry Pi. This innovative approach enhances your boot process, offering more flexible storage options while guaranteeing smoother performance. Just guarantee proper setup and partitioning!
Conclusion
In just a few steps, you’ve transformed your microSD card into a powerful tool for your Raspberry Pi. Isn’t it amazing how something so small can release your creativity and tech skills? By following this guide, you’ve set the stage for countless projects and adventures. So go ahead—dive into the world of Raspberry Pi, and let your imagination run wild. The possibilities are truly endless, waiting for you to explore!

I am a retired software engineer with experience in a multitude of areas including managing AWS and VMWare development environments. I bought a relative a mini-PC a year ago and have become passionate about the technology and its potential to change how we deploy software.