Let’s explore installing Raspberry Pi OS with Raspberry Pi Imager. Raspberry Pi Imager is the supported means of doing an OS install on a Raspberry Pi. This guide will help you through the process of installing Raspberry Pi OS with Raspberry Pi Imager step by step.
First, start by downloading the software from the official Raspberry Pi website. Next, prepare a compatible microSD card or USB drive (at least 8GB). Launch Raspberry Pi Imager, select the OS, and write it to your storage device. After that, insert the card into your Raspberry Pi and connect your peripherals—keyboard, mouse, and monitor. Power on the device and follow the setup prompts, including Wi-Fi and SSH configuration. Finally, check your installation to verify everything’s working properly. You’ll uncover more helpful tips to streamline your experience just ahead.
When installing Raspberry Pi OS with Raspberry Pi Imager, it’s crucial to follow the steps carefully to ensure a smooth installation process.
Key Takeaways
- Download Raspberry Pi Imager from the official Raspberry Pi website and ensure compatibility with your operating system (Windows, macOS, or Linux).
- Prepare a microSD card or USB drive (minimum 8GB, preferably 16GB), and format it using FAT32 for booting.
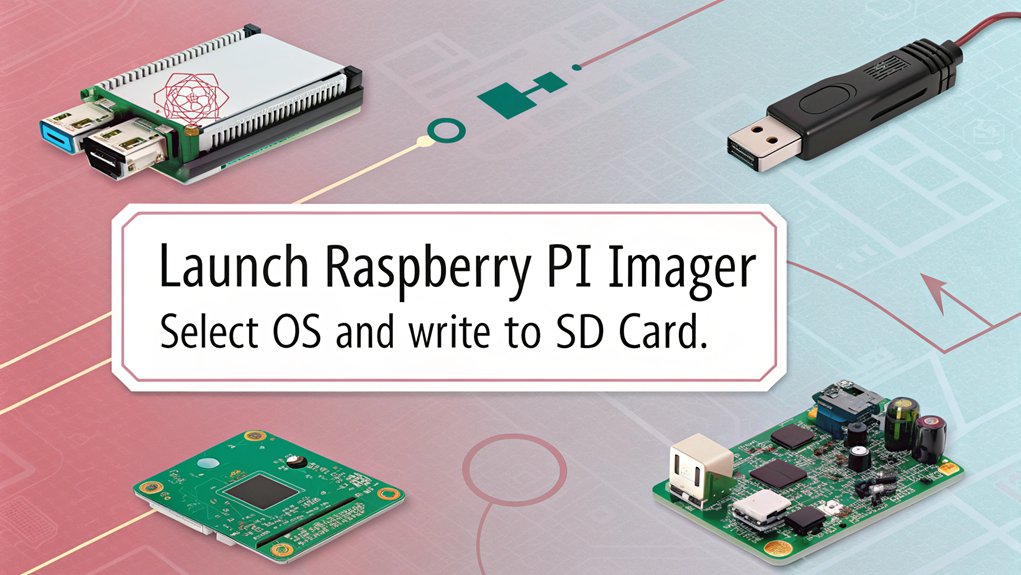
- Launch Raspberry Pi Imager, select your OS, and choose any desired advanced options before writing the image to your prepared storage device.
- After writing is complete, insert the microSD card into the Raspberry Pi, connect peripherals, and power on the device to start the OS setup.
- During the setup, configure network settings, enable SSH for remote access, and test the system to ensure everything is functioning correctly.
Additionally, installing Raspberry Pi OS with Raspberry Pi Imager will enable you to take full advantage of the capabilities of your Raspberry Pi.
Downloading Raspberry Pi Imager
After installing Raspberry Pi OS with Raspberry Pi Imager, you can explore numerous projects that enhance your learning and creativity.
For users who prefer a quick setup, installing Raspberry Pi OS with Raspberry Pi Imager using the terminal is also an option.
By installing Raspberry Pi OS with Raspberry Pi Imager, you’ll gain access to a variety of applications and development tools.
Make sure to explore the features available after installing Raspberry Pi OS with Raspberry Pi Imager to maximize your productivity.
For best results, follow the tips on installing Raspberry Pi OS with Raspberry Pi Imager to enhance your setup experience.
To get started with installing Raspberry Pi OS, you first need to download the Raspberry Pi Imager. Head over to the official Raspberry Pi website at raspberrypi.com/software. Here, you’ll find different downloading options tailored to your computer’s operating system—choose from Windows, macOS, or Linux. Select the version that fits your setup and download the installer file.
If you’re a Linux user, you can skip the manual download by using the terminal. Simply run the command ‘sudo apt install rpi-imager’ after verifying your package manager is updated. This method guarantees installer compatibility with various Linux distributions, making it a seamless choice. Raspberry Pi models require external storage for booting, so ensure you have a microSD card or USB drive ready. Moreover, make sure to enable SSH for remote access during the installation process.
When you’re ready to proceed, installing Raspberry Pi OS with Raspberry Pi Imager is just a few clicks away.
Before diving in, confirm that your computer meets the minimum system requirements and has a way to connect to your microSD card or USB drive. The OS supports ARMv7 feature sets, ensuring compatibility with older models and optimized hardware configurations. Ensure your setup can handle the increased performance of the quad-core CPU.
Once you’ve downloaded the Imager, run the installer and follow the on-screen prompts. Don’t forget to grant necessary permissions when asked.
After installation, launch the Raspberry Pi Imager to verify it’s ready for your innovative projects. You’re now set to explore all that Raspberry Pi OS has to offer.
Preparing the SD Card
To ensure a successful process, consider the recommended methods for installing Raspberry Pi OS with Raspberry Pi Imager.
Remember, installing Raspberry Pi OS with Raspberry Pi Imager can significantly improve your Raspberry Pi’s performance.

Once you’ve got the Raspberry Pi Imager ready, it’s time to prepare your SD card. Start by verifying you’ve made the right SD card selection—aim for at least 8GB, though 16GB or more is recommended for peak performance.
By installing Raspberry Pi OS with Raspberry Pi Imager, you are starting your journey into the world of Raspberry Pi development.
Avoid cards larger than 2TB, as this can lead to complications due to MBR limitations.
Next, conduct a compatibility check. Choose high-endurance Class 10 UHS-I SD cards to support high-speed performance and verify they’re suitable for your specific Raspberry Pi model. Some models only boot from partitions of 256GB or less, so be mindful of those limitations.
When it comes to formatting options, connect your SD card to your computer via a reliable card reader.
Make sure the computer recognizes the card and verify that all data is erased before proceeding. Use FAT32 for the boot partition and ext4 for the OS partition. Notably, it’s important to utilize reliable microSD cards rated as Class 10 or UHS-1 to ensure optimal performance and longevity.
To install Raspberry Pi OS, follow the recommended formatting process in the Raspberry Pi Imager tool to secure the best results.
Finally, keep these performance tips in mind: use a fast card reader and verify a clean slate on your SD card for a smooth installation experience.
Once you complete installing Raspberry Pi OS with Raspberry Pi Imager, share your experience with others to inspire them!
Launching Raspberry Pi Imager
After installing Raspberry Pi OS with Raspberry Pi Imager, remember to keep your software updated for optimal performance.
Completing the process of installing Raspberry Pi OS with Raspberry Pi Imager opens the door to endless possibilities.
After you’ve installed the Raspberry Pi Imager on your computer, it’s time to launch the application. Open the Imager from the start menu on Windows, or run ‘rpi-imager’ in the terminal for Linux users. If you’re on macOS, simply find it in your Applications folder or use Spotlight search. Make certain you run the Imager with the necessary user permissions, allowing the application to access storage devices. You may see prompts requesting additional permissions to read and write data to your targets. It’s important to ensure that the micro SD card is properly formatted before proceeding to install the OS. The Imager includes a unique feature known as multi-boot OS installer, which enhances user experience by allowing for multiple operating system installations.
Here’s a quick overview of how to launch Raspberry Pi Imager based on your operating system:
| Operating System | Launching Method | User Permissions |
|---|---|---|
| Windows | Start menu > Raspberry Pi Imager | Guarantee admin permissions |
| Linux | Terminal: run ‘rpi-imager’ | Use ‘sudo’ if needed |
| macOS | Applications > Raspberry Pi Imager | Allow access in Security settings |
Upon launching, you’ll be greeted by a user-friendly interface, making your initial setup straightforward. You’ll soon be ready to select your device and operating system as you take on this exciting Pi journey!
Writing the OS Image
Enjoy your journey of installing Raspberry Pi OS with Raspberry Pi Imager as you explore new technologies!
When installing Raspberry Pi OS with Raspberry Pi Imager, writing the OS image is an essential step in setting up your Raspberry Pi. To start, insert your microSD card or USB drive into your computer. Make sure you’re using at least an 8GB Class 10 microSD card for maximum performance, or a sufficiently capacitated USB drive. Additionally, the Raspberry Pi is a compact, affordable computer designed for programming and electronics projects. It’s important to use a recommended model like the Raspberry Pi 4 with at least 2 GB of RAM for optimal functionality.
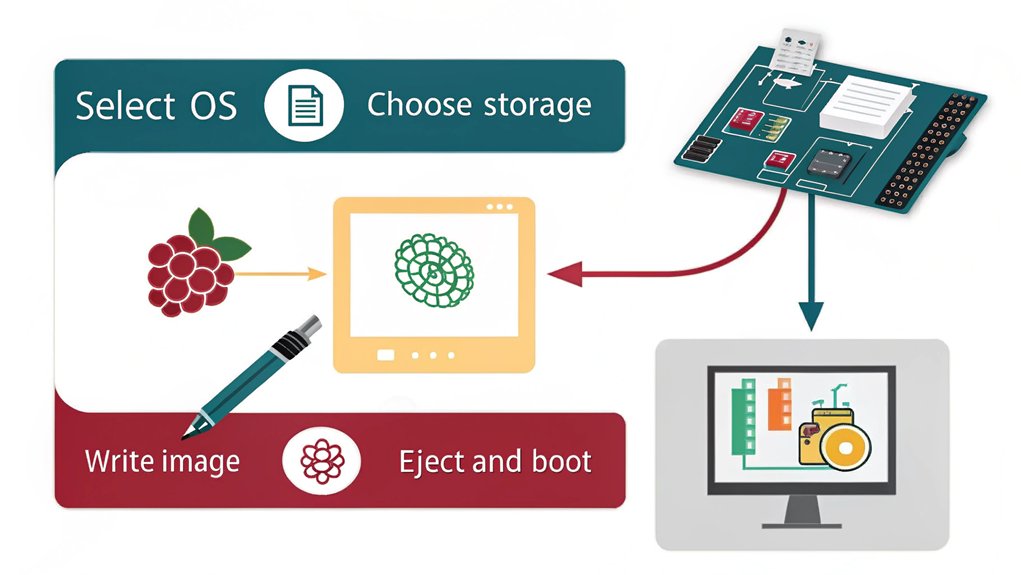
Next, in the Raspberry Pi Imager, click the “Choose OS” button and select the operating system of your choice, whether it’s Raspberry Pi OS or something else. Ensure you choose an OS that aligns with your needs, such as Ubuntu Desktop for a full-fledged environment.
If you want, you can also select “Advanced Options” to configure OS customization settings like Wi-Fi credentials and locale, which set up your Raspberry Pi seamlessly in headless mode. Don’t forget to save these settings before proceeding.
After that, click the “Choose SD card” or “Choose storage” button to select the target device. Hit “Write” to begin the image writing process, and confirm your action. This may take around 5-15 minutes, depending on your image size and drive speed.
Once complete, you’ll see a “Write Successful” message, verifying image verification is complete, particularly important for good storage management. Proper heat management during this process can also extend the lifespan of your device. Now, you’re ready for the next exciting steps
Finalizing Raspberry Pi Setup
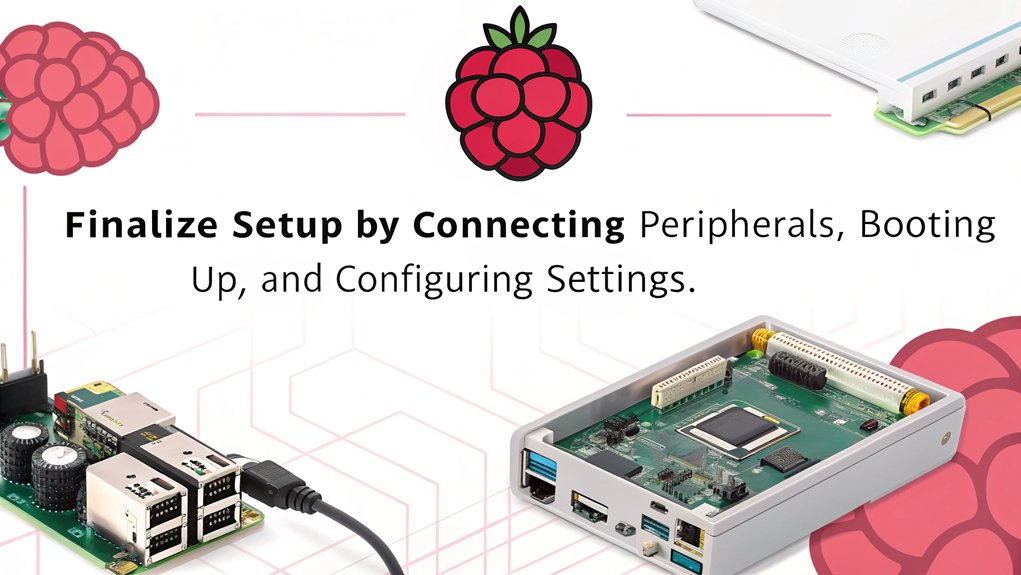
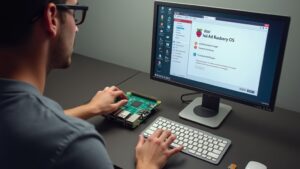
After installing Raspberry Pi OS with Raspberry Pi Imager, it’s time to finalize your Raspberry Pi setup. Start by inserting the microSD card into the Raspberry Pi’s SD card slot. Verify the device is powered down before connecting your peripherals: keyboard, mouse, and monitor. Properly plug in all necessary cables, then power on the Raspberry Pi. The status LED should illuminate, and you’ll see the boot screen shortly.
Next, you’ll be prompted to configure your network settings. You can connect via Ethernet or set up Wi-Fi by entering your SSID and password. Be sure to select the correct country for wireless LAN configuration to prevent connectivity issues. WiFi details should ideally be gathered prior to this installation process to make it smoother. Ensure you have enabled SSH access for remote management if needed.
The excitement of installing Raspberry Pi OS with Raspberry Pi Imager leads to innovative projects and solutions.
Once your network configuration is completed, proceed with final checks. Verify that the Raspberry Pi has booted correctly and is accessible. If you chose remote access, test your SSH connection. Update your Raspberry Pi OS and installed software to stay current, especially since Raspbian OS installation is a fundamental step for Raspberry Pi users. Ensure you have a reliable power supply to avoid any potential issues during use.
Finally, perform peripheral testing to verify everything’s functioning smoothly. Run tools like ‘raspi-config’ for any necessary additional settings, solidifying your Raspberry Pi experience before diving into innovation.
Frequently Asked Questions
What Should I Do if My MicroSD Card Isn’t Recognized?
If your microSD card isn’t recognized, troubleshoot connections to verify everything’s secure. Next, check card compatibility; use a Class 10 UHS-1 card that’s at least 8GB. Try different cards if issues persist.
Can I Use a Larger MicroSD Card for Installation?
Yes, you can use a larger capacity microSD card for installation. It offers significant performance benefits, allowing more storage for software and projects, enhancing your Raspberry Pi experience while ensuring smoother operation. Go for it!
Is It Possible to Install Other Operating Systems Using the Imager?
Over 20 alternative OS options are available through the Imager. You can easily choose from various systems, like Ubuntu or specialized builds, and utilize Imager features to configure settings and customize your installation effortlessly
How Do I Safely Eject the MicroSD Card After Writing?
To guarantee safe removal of your microSD card, confirm the writing process is complete, then eject using your computer’s eject option. This protects data integrity and prevents corruption, keeping your files secure.
What if I Encounter Errors During the OS Writing Process?
Encountering errors during the OS writing process can feel like a puzzle missing pieces. Start error troubleshooting by verifying the image, checking SD card connections, and ensuring all steps in the imaging process are followed correctly.
Conclusion
You’ve just revealed the gateway to endless adventures with your Raspberry Pi. With just a few clicks, you’ve transformed a simple SD card into a powerhouse that could revolutionize your tech world. It’s almost as if you’ve harnessed the magic of the universe in your hands! Now, plunge into projects that’ll leave friends jaw-dropped and inspire awe. Your newly installed Raspberry Pi OS is just the beginning—so strap in and prepare for an exhilarating journey ahead!

I am a retired software engineer with experience in a multitude of areas including managing AWS and VMWare development environments. I bought a relative a mini-PC a year ago and have become passionate about the technology and its potential to change how we deploy software.