
To power your Raspberry Pi 5 through GPIO pins, connect a stable 5V power supply with at least 3A to pins 2 and 4. Avoid powering through USB-C and GPIO simultaneously to prevent damage. It’s vital to account for the 16mA current limit per GPIO pin and use resistors for sensitive components to prevent spikes. Modify the ‘/boot/config.txt’ file to enable power notifications and USB power if needed. Regularly monitor voltage levels and connection quality to troubleshoot issues effectively. By following these steps, you’ll set a strong foundation for robust performance and reliability in your projects.
Key Takeaways
- Connect the Raspberry Pi 5 power supply to GPIO pins 2 (5V) and 4 (ground) to enable power delivery effectively.
- Ensure the power supply provides a stable 5V with a minimum of 5A to avoid under-voltage warnings and system instability.
- Modify the ‘/boot/config.txt’ file to include ‘PSU_MAX_CURRENT=5000’ to optimize power notifications and USB port capabilities.
- Use multiple ground connections for improved stability and to prevent voltage drops during operation.
- Regularly inspect cables and connections to ensure quality, preventing poor connectivity and potential power issues.
Basic Requirements for Powering
When powering your Raspberry Pi 5, knowing its voltage and current requirements is vital for excellent performance. The Raspberry Pi 5 requires a steady 5V power supply, with a recommended current of 5A to guarantee maximum functionality across all connected devices. While it may draw around 4-5W at idle, the power consumption can peak up to 12W under full load, emphasizing the need for adequate power supply. Utilizing GPIO pins for power connection methods is an option, but it’s important to connect a 5V source to Pin #2 and the ground to Pin #6. Unlike the USB-C method, this approach lacks regulation and fuse protection, presenting risks if executed incorrectly. As a result, consider using a protected source like a Power HAT that provides built-in regulation while alleviating power concerns. Ensuring a reliable power source is essential to prevent performance throttling. If you choose to power the Raspberry Pi 5 using the GPIO pins, be aware that using anything less than a 5A power supply will restrict USB ports to 600mA, limiting performance. This configuration can lead to issues such as inadequate power supply that may disrupt the proper functioning of connected peripherals. Furthermore, using an insufficient power supply with the Raspberry Pi 5 can cause current limitations for connected USB devices, which may hinder their operational efficiency. For full capabilities, especially with peripherals like SSDs, a 5A supply is non-negotiable.
Risks and Precautions
Powering your Raspberry Pi 5 through GPIO pins introduces several risks that must be understood to prevent potential damage. Failing to heed these precautions can result in overvoltage damage, instability, or permanent component failure.
Here’s what you need to keep in mind:
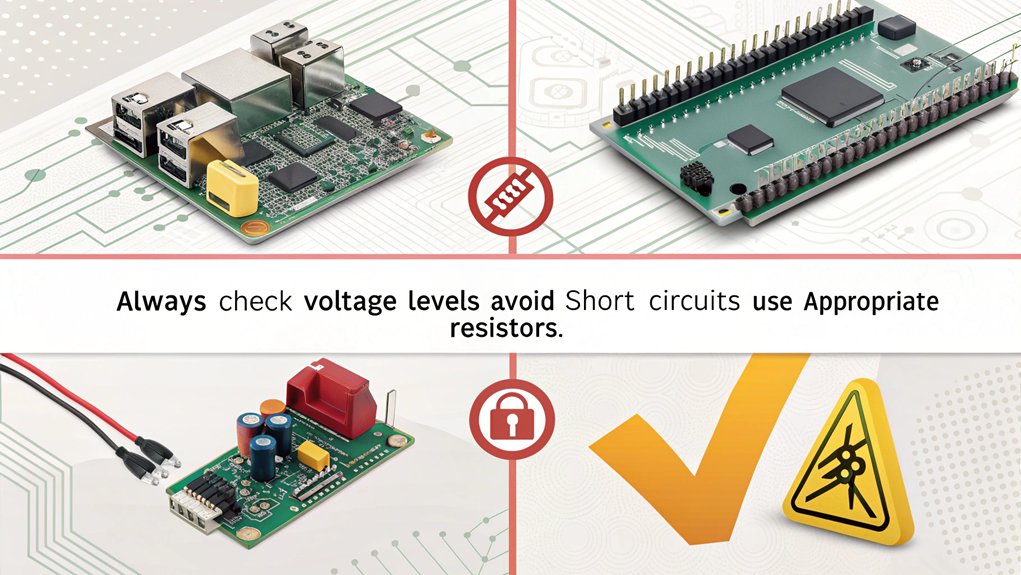
- Voltage Limits: Verify you apply between 4.75V to 5.25V. Exceeding 6.0V risks activating protection diodes, potentially damaging your device without the buffering benefits of a polyfuse. Additionally, using official power supplies can help ensure voltage stability. The GPIO voltage tolerance is crucial, as exceeding it may lead to latch-up events which can be irreversible. Ensuring proper power supply is akin to managing the SSH service with systemctl for streamlined configuration. Proper voltage management is similar to ensuring the stable operation of mini PCs like the Beelink S12 Pro.
- Current Limitations: GPIO pins can only handle up to 16mA. Drawing more current, particularly for devices like fans or motors, jeopardizes the Raspberry Pi’s integrity.
- Connection Quality: Bad connections or thin wires can cause voltage drops, negatively affecting power delivery and possibly leading to instability. Proper network configuration, similar to setting up Wi-Fi with a ‘wpa_supplicant.conf’ file, is essential for reliable connections.
- Component Interaction: Connecting mismatched voltage pins (3.3V and 5V) can cause pin overload. Utilize resistors to limit current and protect sensitive components. This precaution is similar to securing your SSH connections with strong passwords and public-key authentication for better protection, much like ensuring the secure operation of a mini PC’s fanless design.
Setup and Configuration Steps

Setting up power your Raspberry Pi 5 through GPIO pin power requires careful attention to hardware connections and configuration settings.
Begin by using a 5V power supply with at least 3A capacity; for heavy loads, aim for 5A. Connect the 5V power to GPIO pins 2 and 4 on the 40-pin header, while utilizing multiple ground connections from pins 6, 9, 14, 20, 25, 30, 34, and 39 to guarantee stable power distribution. It’s essential to ensure that the proper voltage and current levels are maintained for system stability. Additionally, using multiple ground pins can help distribute the load effectively across the connections.
Avoid exceeding the current limit per pin to prevent damage to the GPIO connections.
Next, configure your power settings by editing the ‘/boot/config.txt’ file located in the ‘/boot/firmware’ directory.
Add the line ‘PSU_MAX_CURRENT=5000’ to notify the Pi of the available power supply.
Include ‘usb_max_current_enable=1’ to enable full power to USB ports. Save your changes and reboot your Raspberry Pi to apply the new settings.
Verify your power supply effectively meets the current requirements to avoid overheating.
If necessary, use external power conditioning solutions like a PD negotiator and a buck converter to maintain prime voltage and current levels, providing reliable power for advanced projects.
Compatibility With Other Models
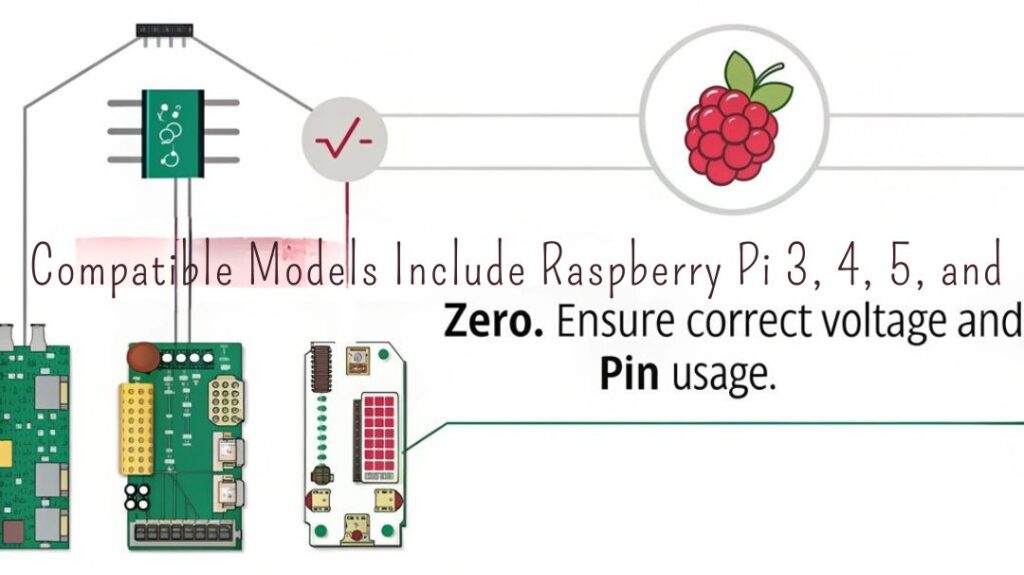
In evaluating compatibility with other models, the Raspberry Pi 5 showcases both advancements and limitations relative to its predecessors and successors.
Here’s what you need to know about power supply differences and GPIO limitations:
- Power Supply Requirements: The Raspberry Pi 5 demands a robust power supply, capable of delivering 5A at 5V, whereas earlier models, like the Raspberry Pi 3, only required up to 2.5A due to lower maximum peripheral current draws. This is particularly important when considering the increased power needs for features like dual-band Wi-Fi.
- GPIO Specifications: While the Pi 5 shares GPIO capabilities with the Pi 4 (100mA total and 16mA per pin), older models have stricter GPIO limitations, with earlier pins restricted to 50mA. Exceeding these current limits may risk damage to the device. This is crucial because proper understanding of GPIO functionality maximizes project potential.
- Power Delivery Mechanisms: Unlike the Pi 1-3, which lacked USB Power Delivery (PD) capabilities, the Pi 5 allows dynamic power negotiation, enhancing power efficiency for connected devices.
- Hardware Architecture: Older models have a simpler power management architecture and fewer power pins, limiting their ability to handle high current loads efficiently compared to the Pi 5’s advanced design, which includes features such as an aluminum heatsink and a temperature-controlled blower fan.
Troubleshooting Issues When You Power Your Raspberry Pi 5 Through GPIO

While understanding compatibility with older models is important for effective usage, troubleshooting power issues on the Raspberry Pi 5 requires a systematic approach to confirm stable operation.
Begin by verifying you’re using a suitable power supply, specifically a 5V unit capable of delivering 5A. Using an inadequate power adapter, like a 5V 3A supply, could lead to under-voltage warnings and system instability. The MINISFORUM Venus UM790 Pro’s efficient thermal management can serve as a good example of how important stable power delivery is. Minimum requirement for a stable operation is essential to avoid complications with booting. Additionally, using a charger that supports PDO profiles can enhance power delivery efficiency. Ensuring the system’s boot process is secure through secure boot mechanisms can also prevent unauthorized code execution.
Pay close attention to display indicators; a rainbow-colored square in the corner signifies power issues.
Monitor power delivery in real-time by utilizing commands such as ‘sudo vcgencmd pmic_read_adc’ to check voltage levels. If you’re facing booting issues via GPIO, remember that not using USB PD can cause complications when connecting USB devices; they might require manual confirmation to boot.
To prevent voltage regulation mishaps, never power the Pi through both USB-C and GPIO simultaneously. This could result in permanent damage due to current spikes, similar to how improper handling of high-performance components like the AMD Ryzen 9 7900 processor can lead to system failures.
Finally, verify you’re using high-quality cables to minimize resistance and confirm reliable power delivery, preventing further troubleshooting challenges.
Frequently Asked Questions
Can I Power Multiple Raspberry Pis Simultaneously Through GPIO Pins?
Imagine a web of electrifying connections; you can power multiple Raspberry Pis through GPIO pins, but guarantee their power requirements align seamlessly in a parallel connection. Without caution, you risk instability and potential damage.
What Tools Are Needed for Connecting Wires to GPIO Pins?
For connecting wires to GPIO pins, you’ll need various wire types like Dupont and female header pins. Utilize connection methods such as crimping and soldering to guarantee secure, reliable joins that enable effective communication and power delivery.
How Can I Safely Disconnect Power From the GPIO Pins?
Ah, the art of safe disconnection! Embrace GPIO power precautions: use ‘sudo halt’ for a gentle farewell, then physically detach those cables. Avoid chaos—ensure capacitors drain entirely before your next electrifying encounter!
Will Using GPIO for Power Affect My Raspberry Pi’s Warranty?
Using GPIO pins for power doesn’t inherently affect your Raspberry Pi’s warranty, but improper usage can lead to warranty implications. Always adhere to manufacturer policies and guidelines to maintain coverage and prevent costly damages.
Can I Use Battery Power to Supply GPIO Pins?
Yes, you can use battery power for GPIO pins. Selecting battery types with ideal power efficiency guarantees stable performance. Just make certain your setup matches the Raspberry Pi 5’s voltage and current requirements for best results.
Conclusion
In summary, to power your Raspberry Pi 5 through GPIO pins is both practical and straightforward, despite concerns about potential risks. While some may worry about stability, proper precautions mitigate most issues. By following the setup steps and understanding compatibility with other models, you enhance your project’s versatility. So don’t let these fears hold you back; embrace this method for a reliable power source and access the full capabilities of your Raspberry Pi.

I am a retired software engineer with experience in a multitude of areas including managing AWS and VMWare development environments. I bought a relative a mini-PC a year ago and have become passionate about the technology and its potential to change how we deploy software.