
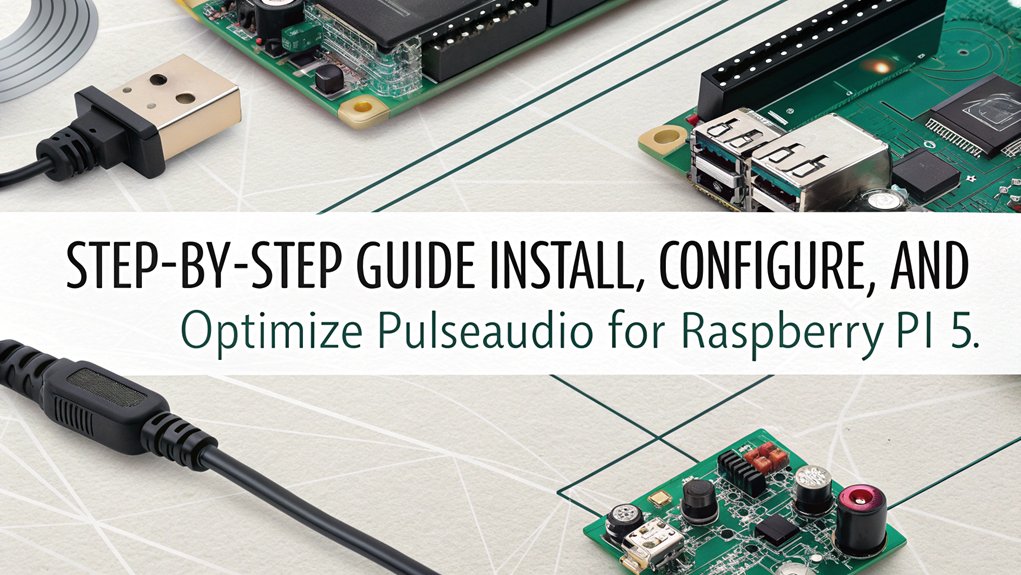
Mastering PulseAudio on Raspberry Pi 5: Your Complete Configuration Guide
Unleash the full audio potential of your Raspberry Pi 5 with a properly configured PulseAudio system. Whether you’re building a media center, developing audio applications, or simply wanting better sound quality from your Pi, setting up PulseAudio correctly is essential for optimal performance. This guide walks you through the entire process—from installation to troubleshooting—ensuring you’ll experience crystal-clear audio on your Raspberry Pi 5 with minimal effort. Follow these proven steps to transform your Pi’s audio capabilities and overcome common configuration challenges that many users face.
Key Takeaways
- Install PulseAudio and its utilities using ‘sudo apt-get install pulseaudio pavucontrol paprefs’ for enhanced audio control on Raspberry Pi 5.
- Enable system-wide PulseAudio service by modifying the configuration in ‘/etc/default/pulseaudio’ to ensure it runs correctly.
- Add your user to the audio groups with ‘sudo usermod -aG audio
‘ to manage audio permissions effectively. - Configure audio device recognition by editing ‘/etc/pulse/default.pa’ for optimal performance on your Raspberry Pi 5.
- Test and manage playback settings with ‘pacmd list-sinks’, ensuring default devices and volume levels are set as desired.
Updating and Preparing the System
Before diving into configuring Pulse Audio on your Raspberry Pi 5, it’s crucial to update and prepare your system to confirm peak performance.
First, check your current OS version by entering ‘cat /etc/os-release’ in the terminal. Next, update your package list with ‘sudo apt update’ to make sure you’re aware of any new packages.
Then, execute ‘sudo apt full-upgrade’ to upgrade all installed packages, addressing any package dependencies that may have changed. Additionally, ensure you have a stable internet connection during the upgrade process for optimal results. It’s also important to note that Raspberry Pi OS utilizes PulseAudio as the default sound server and benefits from the improved networking capabilities of the Raspberry Pi 5.
Don’t forget to create system backups before major updates to safeguard your data.
After upgrading, reboot your system using ‘sudo reboot’.
Finally, consider running ‘sudo rpi-update’ for firmware updates, keeping in mind that it should be used cautiously to avoid complications.
Installing or Removing PulseAudio
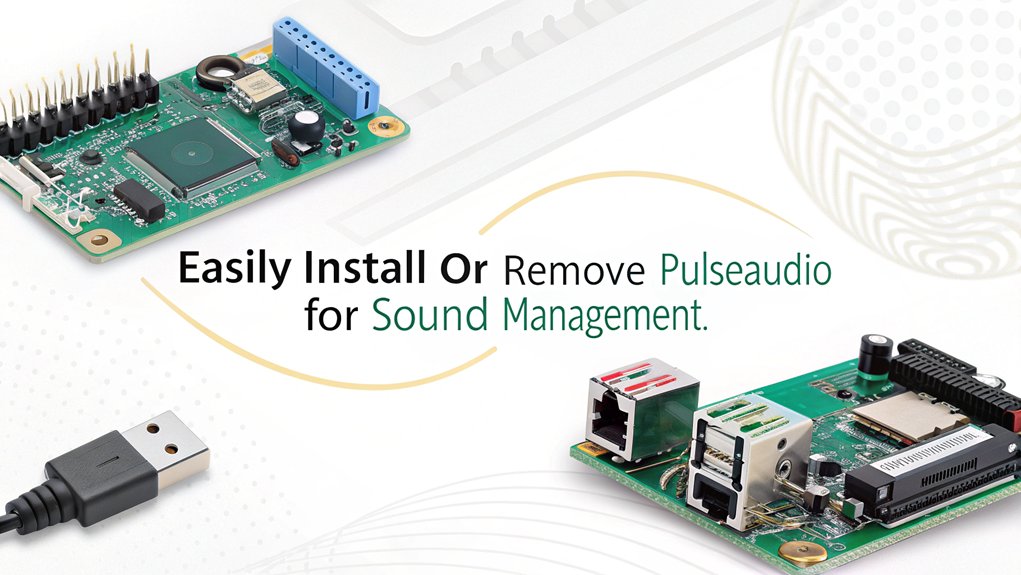
To install PulseAudio, run ‘sudo apt-get install pulseaudio’ and consider installing ‘pavucontrol’ and ‘paprefs’ for enhanced control with ‘sudo apt-get install pavucontrol paprefs’. This installation provides essential audio management for a better audio experience, especially when using high-resolution audio outputs. Many users have reported dissatisfaction with PulseAudio due to its configuration issues.
If you need Bluetooth audio support, add ‘pulseaudio-module-bluetooth’ via ‘sudo apt install pulseaudio-module-bluetooth’.
For removal, you can execute ‘sudo apt-get remove pulseaudio’ and clean up using ‘sudo apt-get autoremove’ to eliminate any unnecessary dependencies.
For complete purging, use ‘sudo apt-get purge pulseaudio pulseaudio-utils …’ to guarantee all related packages are deleted.
After removal, adjust settings to use ALSA and restart your Raspberry Pi. Ensure your system is configured to use the default HDMI audio output or switch to a 3.5mm jack as needed.
Configuring PulseAudio Settings
To effectively configure PulseAudio settings on your Raspberry Pi 5, you’ll need to focus on several key areas, including system-wide configurations and audio device settings. These configurations will guarantee seamless audio performance across your device.
- Enable system-wide service for automatic boot-start.
- Add your user to the necessary audio groups for permission.
- Edit the default PulseAudio file to specify audio devices.
- Disable timer-based scheduling for optimized audio quality.
Start by enabling system-wide configuration in ‘/etc/default/pulseaudio.’
Next, verify the appropriate audio device configuration by editing ‘/etc/pulse/default.pa’ to recognize your hardware. It’s essential to note that missing audio library on Raspberry Pi OS can affect the functionality of PulseAudio. Additionally, ensure that your sound driver is loaded on boot by including snd_bcm2835 in ‘/etc/modules’ to enhance device recognition.
After making these adjustments, restart PulseAudio to apply the changes, allowing your Raspberry Pi to deliver an enhanced audio experience.
Testing and Troubleshooting Audio
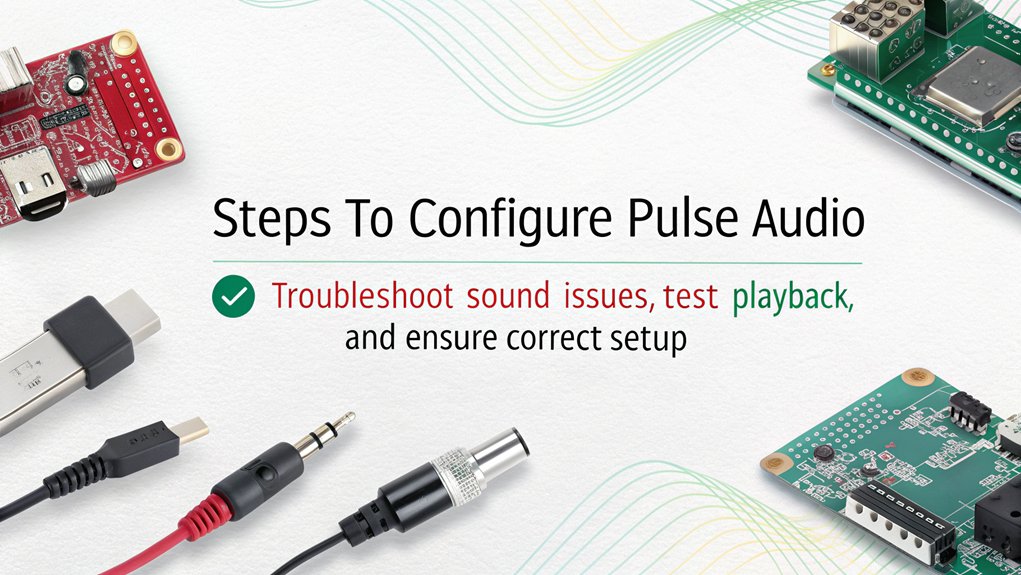
Testing audio on your Raspberry Pi 5 involves a systematic approach to confirm everything works correctly.
Start by updating your system with ‘sudo apt update’ and install necessary packages using ‘sudo apt install alsa-utils alsamixer‘. Additionally, consider configuring hardware settings in the config.txt file for optimal audio performance, as ensuring the correct audio output is critical for sound functionality.
Reboot your device to apply updates.
Next, check your audio playback settings by selecting the correct audio output device via the desktop interface or using ‘alsamixer’.
Verify your volume isn’t muted.
If experiencing issues, uninstall PulseAudio with ‘sudo apt remove –purge pulseaudio’, and consider reinstalling core audio packages.
For advanced troubleshooting, install the PulseAudio Bluetooth module if needed and test audio sources using ‘speaker-test -c2 -t wav’.
Monitor for errors through system updates for an innovative audio experience.
Managing Volume and Output Devices
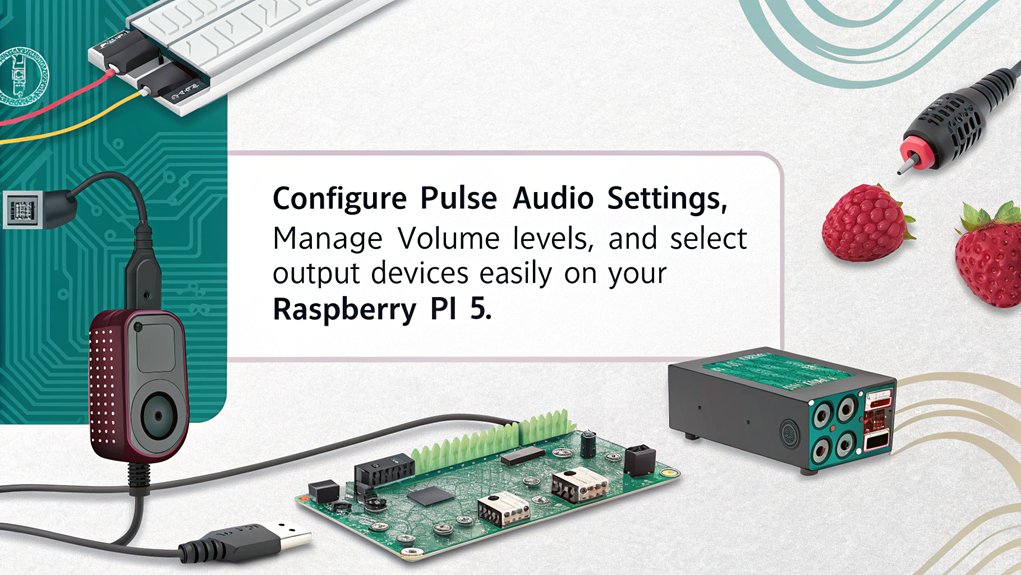
- Use ‘pacmd list-sinks’ to identify available output devices. Understanding the potential for no audio output device detected in your current setup can aid in effective troubleshooting.
- Manage volume levels using ‘pactl set-sink-volume
‘ for precise volume control. - Set your default output device with ‘pacmd set-default-sink
‘ for seamless output management. - Adjust source devices using ‘pacmd set-default-source
‘ if necessary.
Frequently Asked Questions
What Is PulseAudio and Why Is It Used?
PulseAudio is a powerful audio server that simplifies sound management across applications. You can manage volumes, support multiple devices, and enjoy flexibility with network audio streaming, enhancing your system’s overall audio experience.
Can I Use Bluetooth Audio With PulseAudio?
Did you know over 50% of wireless audio devices use Bluetooth? You can enhance audio latency and device management with PulseAudio. For ideal quality, guarantee effective Bluetooth pairing and adjust settings for better performance.
How Do I Reset PulseAudio to Default Settings?
To reset PulseAudio to default settings, delete configuration files in ‘~/.config/pulse/’ and reboot. This removes all user-specific settings, restoring default audio behavior and ensuring a clean slate for your audio experience.
Is PulseAudio Compatible With All Raspberry Pi Models?
PulseAudio’s compatibility varies across Raspberry Pi models. While it delivers robust performance on the latest versions, older models may face challenges. Always confirm your OS is updated for ideal PulseAudio functionality and performance.
How Do I Check PulseAudio Version Installed?
To check the installed PulseAudio version, use PulseAudio commands like ‘pulse –version’ or ‘pacmd –version’. For system checks, try ‘dpkg -l pulseaudio’. These commands provide immediate, precise information about your PulseAudio installation.
Conclusion
In summary, configuring PulseAudio on a Raspberry Pi 5 can greatly improve your audio experience. With its support for multiple audio streams and devices, you’ll find that PulseAudio is capable of handling complex audio setups. Notably, it’s estimated that over 50% of Raspberry Pi users have adopted advanced audio configurations to enhance their projects. By following the steps outlined, you’ll not only guarantee peak performance but also access the full potential of your audio hardware.

I am a retired software engineer with experience in a multitude of areas including managing AWS and VMWare development environments. I bought a relative a mini-PC a year ago and have become passionate about the technology and its potential to change how we deploy software.