
Teaching Scratch on Raspberry Pi is an exciting adventure. Start by setting up the Pi with essential hardware and installing Scratch from the repository. Familiarize them with Scratch’s block categories and encourage hands-on practice through fun, themed projects that align with their interests. Utilize Scratch extensions for added complexity, and manage class dynamics by providing personalized support. Foster a culture of creativity by encouraging collaboration and sharing ideas. Finally, troubleshoot issues together to reinforce problem-solving skills. These tips will create an engaging learning environment that sparks curiosity and innovation, leading to even more exciting discoveries ahead.
Key Takeaways
- Start with hands-on projects that integrate Scratch with Raspberry Pi to make coding tangible and engaging for kids.
- Use the Scratch block categories to introduce programming concepts gradually, emphasizing practice and exploration.
- Encourage collaboration through group coding sessions, fostering teamwork and the sharing of creative ideas.
- Utilize Scratch extensions to expand project possibilities, allowing students to connect hardware and enhance their projects.
- Provide formative feedback and individualized support, helping students navigate challenges and celebrate their coding achievements.
Setting Up Scratch On Raspberry Pi
Setting up scratch on Raspberry Pi might seem intimidating at first, but it’s actually a straightforward process that can kickstart your journey into coding with Scratch. Start by gathering your essential hardware: a Raspberry Pi board, a microSD card, a power supply, keyboard, mouse, and a monitor or TV with HDMI input. If you want a hassle-free experience, consider a Raspberry Pi starter kit for all the necessary components.
Next, you’ll need to download and install the operating system. Grab the Raspberry Pi Imager from the official website and launch it on your computer. Choose Raspberry Pi OS, select the version that suits your needs, and then select your microSD card for OS installation. The Imager simplifies this by downloading OS images directly from trusted sources, eliminating manual file management. Click ‘Write’ to transfer the OS to the card, ensuring the process is streamlined with automated image integrity checks.
Once that’s done, it’s time for peripherals connection. Insert the microSD card into your Raspberry Pi, connect the mouse, keyboard, and monitor, and then power up the device. As the Pi boots, you’ll see the boot screen appear.
Finally, configure the system by setting up your network and user credentials using advanced options like headless setup, enabling SSH, and running system updates to verify your Raspberry Pi is ready for innovative projects. By following this setup process, you’ll find that the Raspberry Pi is an ideal platform for learning computing and programming at any age, due to its affordable and accessible nature, making coding more approachable for everyone.
Mastering Scratch Basics
To master Scratch, you need to get comfortable with block categories and how they bring your ideas to life. Each category serves a unique purpose, from making sprites dance to adding sound effects, so knowing them will elevate your programming skills. Additionally, understanding the ten categories of blocks available in Scratch is essential for creating diverse and engaging projects. By encouraging the creation of games from your first project, you can develop foundational skills while exploring the full potential of these blocks. Let’s explore how these blocks work together to create simple yet stunning projects!
Understanding Block Categories
Getting familiar with the various block categories in Scratch on Raspberry Pi is essential for mastering the basics of programming. Understanding block organization is imperative, as it helps you utilize the right blocks for your projects seamlessly. Let’s look at some important categories that can enhance your coding experience:
| Category | Description |
|---|---|
| Motion | Control sprite movement and direction. |
| Looks | Change the appearance of sprites. |
| Sound | Control sound and music playback. |
Each category plays a significant role in your program’s effectiveness. The Motion category allows you to animate your sprites, while Looks modifies their visual appeal. Sound blocks bring life to your project through music and sound effects, boosting category importance in your storytelling. Moreover, each main category in Scratch has its own specialized blocks, enriching your programming capabilities and creativity. Additionally, using diverse block categories helps to enhance both functionality and user engagement in your projects.
Additionally, grasping blocks like Control, Operators, and Variables expands your programming toolkit. Control blocks manage your scripts’ flow, while Operators perform mathematical functions and comparisons. Variables let you store and manipulate data effectively. By mastering these categories, you’ll be well-equipped to create innovative projects that truly shine on the Raspberry Pi platform!
Creating Simple Programs
Having a solid understanding of block categories sets the foundation for creating simple programs in Scratch. Start your journey by setting up your Raspberry Pi and opening Scratch. Click that plus sign to create a new project, where you can enhance the canvas with customized backgrounds and sprites. This is your chance to explore iterative programming—test, modify, and improve your scripts continuously. Additionally, using a low-cost computer like the Raspberry Pi makes coding accessible to more students.
Drag blocks from the Block Palette into the coding area. Don’t forget the essential green flag to kick off your project Introduce movement or sound by connecting blocks like pieces in a puzzle, ensuring they fit together without syntax errors. After updating your operating system, you can easily install Scratch from the Raspbian repository, giving you direct access to this programming tool. Ensure you have a stable power supply, such as a 5V power adapter, to prevent any interruptions.
With each simple program you create, you’re diving into the world of programming—perfect for beginner projects. As you interact with sprites, double-click to use the Code Editor for adding motion or visual effects. See your ideas come alive on stage Experiment with various block combinations, utilizing the Toolbar and Search bar to streamline your scripting process. Each project teaches you more, leading to greater creativity and programming confidence.
Encouraging Creative Projects
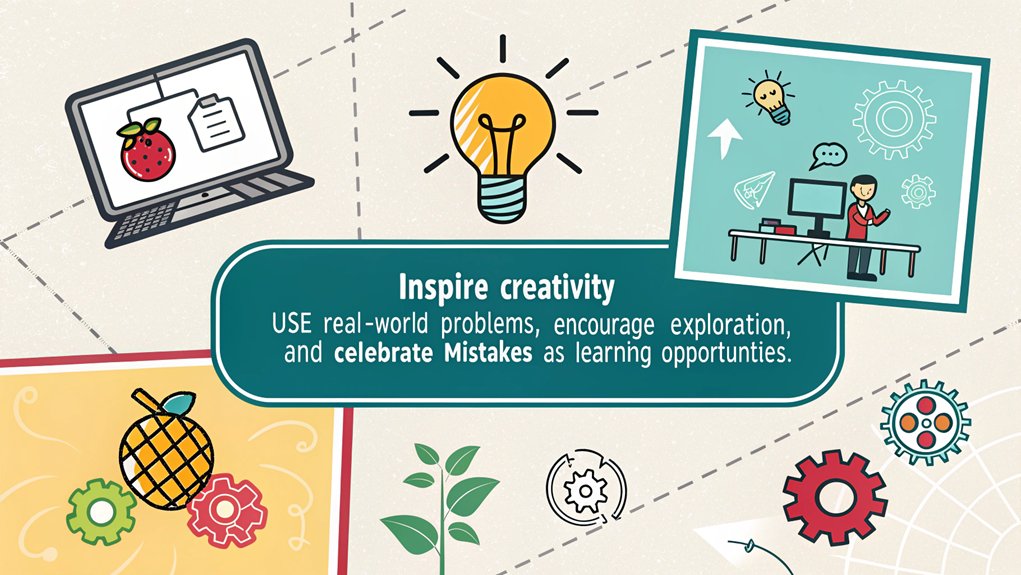
Now that you’ve grasped the basics, it’s time to unleash your creativity. Choose project topics that spark your interest, and don’t forget to collaborate with friends for fresh ideas. Exploring online inspirations can also fuel your imagination and lead to exciting, independent projects. Utilizing a Raspberry Pi for your projects opens up endless possibilities to engage with hardware and software, making your creations come to life in fun and interactive ways. For instance, you could build a Raspberry Pi Smart Mirror or create a retro gaming console using RetroPie. Additionally, engaging in physical computing allows you to merge software and hardware, enhancing your programming skills in a hands-on environment. This process can also involve integrating sensor technology to add more complexity and functionality to your projects.
Choose Personal Interests
When kids choose project topics that resonate with their personal interests, their creativity can truly flourish. Interest identification and topic selection become essential as they engage in Scratch projects. This approach not only keeps them engaged but also encourages innovation, much like how a compact and powerful mini PC, such as the Beelink EQI12 with its Intel Core i7 processor, can enhance productivity.
Here are three ways to support their interests:
- Let Them Decide: Encourage kids to select their project topics based on what excites them—be it games, animations, or interactive stories. This autonomy fosters ownership and motivation. Ensuring stable internet connections, such as those achieved through Ethernet, is crucial for seamless online resources and tutorials.
- Personalize the Experience: Offer resources for creating unique characters (sprites) and backgrounds that reflect their interests. Adding a personal touch can ignite their imaginative possibilities. Additionally, incorporating Pi GPIO functionality can help them learn to control physical components, connecting their programs to real-world applications. Working with these Scratch projects can enrich their fundraising and programming skills.
- Connect with the Real World: Guide them to integrate physical components, such as LEDs and sensors, into their projects. For example, they could create a traffic light simulation, reinforcing their learning by interacting with real-world scenarios. This hands-on approach is similar to how dual Gigabit Ethernet ports in a mini PC ensure secure and stable connections for various applications, much like configuring multiple streaming services on a Raspberry Pi for an enhanced media experience.
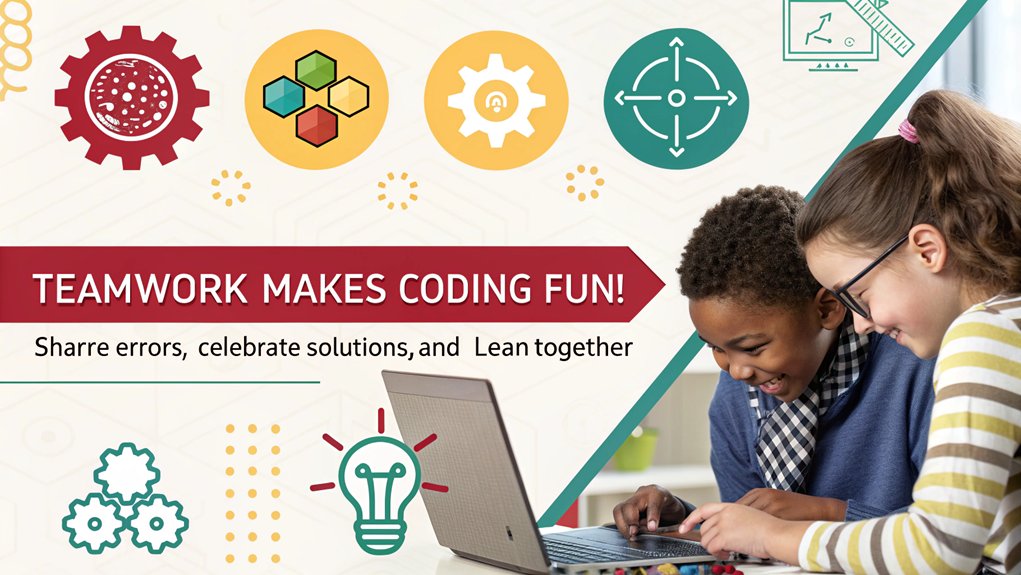
Promote Collaborative Environment
Creating a collaborative environment can amplify kids’ creativity and problem-solving skills while working on Scratch projects. Encourage peer programming by organizing coding sessions where learners share ideas and collaboratively brainstorm. This approach nurtures teamwork and fosters innovation. Additionally, utilizing Scratch’s easy-to-use interface allows children to focus more on collaboration rather than technical hurdles.
Here’s how you can enhance collaboration:
| Activity | Purpose | Outcome |
|---|---|---|
| Crowd-Sourced Projects | Involve multiple learners for richer ideas | Diverse sprites and interactive experiences |
| Coding Sessions | Share tasks and discuss solutions | Better problem-solving and faster development |
| Interactive Story/Game | Create dynamic narratives using Scratch | Engaging projects that spark imagination |
Define a clear theme and rules for your projects, like a dance party. Use the Scratch messaging system for sprites to communicate and respond to each other’s actions. As learners take turns coding and testing, they’ll learn to respect others’ perspectives and, ultimately, create more refined projects together. By allowing students to upload their own sprites, you encourage ownership and investment in the project, reinforcing their collaborative efforts. Integrating Raspberry Pi’s capabilities into these projects can further enhance the learning experience by allowing students to interact with tangible components.
Explore Online Inspirations
Building on the collaborative spirit fostered in coding sessions, exploring online inspirations can spark new ideas and projects for kids using Scratch on Raspberry Pi.
Venturing into the vast online resources offers a treasure trove of creativity. Here are three excellent sources to ignite innovative thinking:
- Online Workshops: Engage kids in interactive workshops where they can learn from experts and peers, gaining insight into new techniques and project ideas.
- Project Challenges: Encourage participation in themed project challenges from the Scratch community. These can provide kids with motivation to expand their skills while creating something exciting.
- Community Resources: Visit platforms like Instructables or Adafruit for step-by-step guides that simplify advanced projects, ensuring kids can experiment confidently.
Utilizing Scratch Extensions
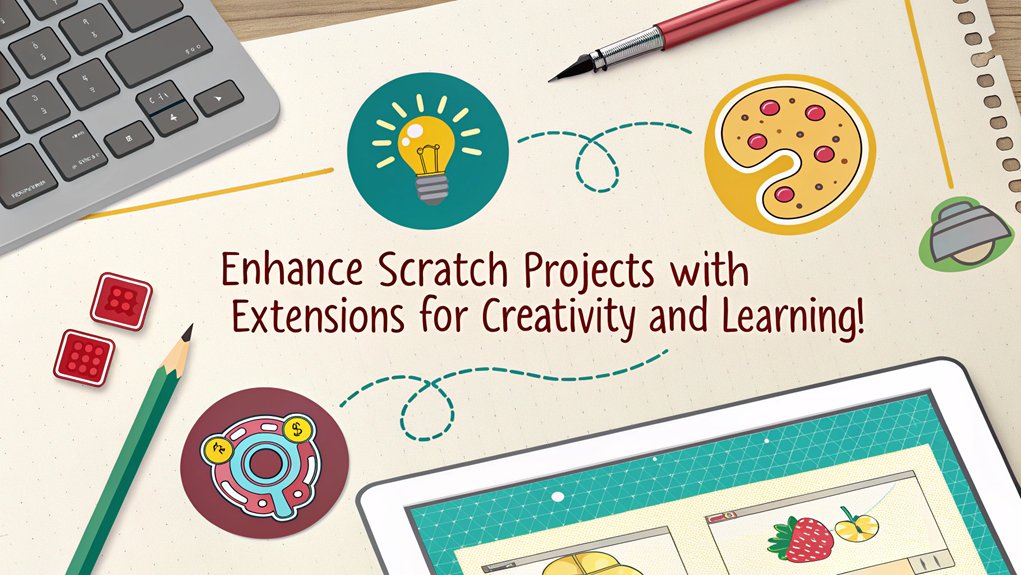
Utilizing Scratch extensions opens up a world of possibilities for your Raspberry Pi projects, allowing you to connect with external hardware in exciting ways. One of the standout features is the Raspberry Pi GPIO extension. This provides numerous scratch extension benefits, enabling you to control GPIO pins directly within Scratch 3. Additionally, the Raspberry Pi’s GPIO pins support the connection of external devices like sensors, enhancing interactivity. It’s important to note that Scratch 3 was optimized specifically for Raspberry Pi 4, ensuring better performance when using these features.
To get started, install Scratch 3 on your Raspberry Pi and access the GPIO extension from the blue icon at the bottom left. With this extension, you can turn your Raspberry Pi into an interactive tool that reads input from sensors or controls devices like LEDs and motors.
The GPIO block examples, such as ‘when gpio (0 v) is [high v]’ and ‘set gpio (0 v) to output [high v],’ make coding more tangible for kids. Imagine integrating these blocks to create projects like a Blinky LED demo, where kids see their code come to life!
The ability to mix GPIO blocks with other Scratch elements encourages creativity and innovation, fostering a hands-on learning environment that makes programming engaging and fun. So jump in, explore, and let your imagination flow with Scratch extensions on Raspberry Pi!
Managing Class Dynamics
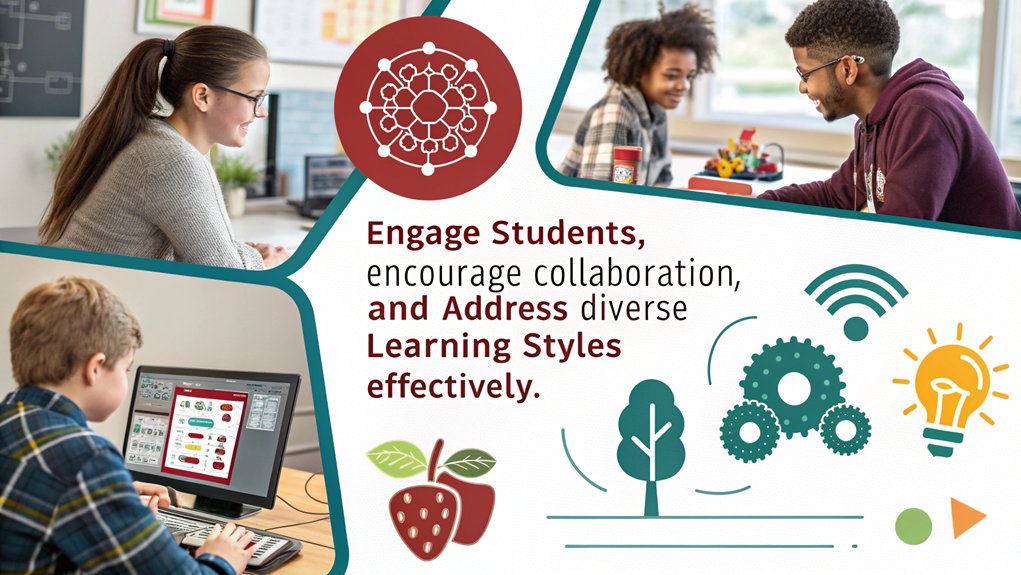
As students engage with Scratch extensions on the Raspberry Pi, managing class dynamics becomes essential for maintaining motivation and focus. To enhance student engagement and streamline classroom strategies, consider these three key approaches:
- Introduce Concepts Gradually: Start with the basics of Scratch and the Raspberry Pi interface. Use simple exercises like the pencil tool for animations, making sure students grasp each concept before moving on. This approach fosters creative exploration, allowing students to experiment with their ideas. Additionally, hands-on activities highlight performance limitations in Scratch that guide learners in understanding coding fundamentals.
- Handle Diverse Learning Paces: Allow students to progress at their own pace with resources like Scratch cards. Offer one-on-one support for those who struggle, while encouraging advanced students to assist their peers.
- Maintain Classroom Order: Design the class structure to minimize distractions and make certain students understand the goals for each session. Involve additional support to facilitate a collaborative environment, enabling students to ask questions and share their knowledge.
These strategies not only keep your students engaged but also create an inviting learning atmosphere where curiosity thrives.
Engaging Through Feedback

Effective feedback is essential for keeping students engaged while they explore Scratch on the Raspberry Pi. Implementing formative feedback tools like Dr. Scratch can provide targeted insights into their coding projects, helping students refine their computational thinking. Focus your feedback on specific coding elements, such as blocks and sprites, rather than broad abilities. This clarity allows students to pinpoint areas in need of growth.
Encourage exploration by offering students interest-driven projects, fostering enthusiasm and deeper learning. Start with simple tasks, gradually ramping up complexity from simple to complex projects to maintain engagement without frustration. Incorporating automated hints can further streamline their coding experience. These next-step hints—both visual and textual—guide students while reducing your help requests, allowing you to focus on those who need extra support. Feedback is vital for professional growth, promoting continuous improvement in their coding skills.
Emphasize peer feedback; have students present their work to classmates for collaborative input. This not only builds community but also enriches the learning process.
As you implement these strategies, guarantee students understand the underlying concepts behind their projects, fostering a sense of ownership and innovation in their Scratch creations.
Troubleshooting Together
When students encounter hurdles in their coding journey, tackling these challenges together can foster collaboration and enhance learning. By addressing issues like hardware compatibility and software specifics as a team, you help your students develop essential problem-solving skills.
Here’s a quick strategy guide for troubleshooting together:
- Start from the Command Line: Launch Scratch 3 through the command line. This can reveal specific error messages, such as “out of memory,” aiding in robust error diagnosis.
- Test Basic Examples: Use simple examples to validate GPIO functionality, such as connecting a switch and checking its response. This hands-on approach reinforces learning through real-time verification.
- Explore Alternatives: If ongoing issues persist, encourage students to experiment with different platforms. For instance, moving from Raspberry Pi 5 to more stable environments like Raspberry Pi 4 or even Windows can provide smoother performance.
Frequently Asked Questions
What Age Is Appropriate for Kids to Start Learning Scratch?
You should consider starting kids on Scratch around ages 8 to 16, as they hit essential learning milestones. This age recommendation lets them explore conditional logic and problem-solving, nurturing their creativity and digital skills.
Can Scratch Be Used Offline on Raspberry Pi?
Absolutely, you can use Scratch offline on Raspberry Pi! After installing Scratch, immerse yourself in offline programming projects that spark creativity. Just make certain your Raspberry Pi’s OS supports the latest Scratch installation for peak performance.
Are There Specific Resources for Advanced Scratch Projects?
Absolutely, you’ll find numerous advanced project ideas and Scratch tutorials online. Explore smart home systems, robotics, or interactive games, and release your creativity. These resources can spark innovative projects that challenge and inspire you!
How Can I Assess Students’ Understanding of Scratch?
Imagine guiding a young artist in a vibrant gallery. For evaluating their Scratch skills, blend formative assessments with creative project presentations, showcasing their unique creations and understanding, turning learning into an inspiring showcase of innovation.
What Are Common Mistakes Beginners Make in Scratch?
Beginners often overlook syntax errors and misuse variables, leading to frustrating bugs. You’re likely to create complex loops without proper conditions, limiting project interactivity. Embrace clarity in your code to boost creativity and engagement!
Conclusion
In the grand journey of teaching kids Scratch on a Raspberry Pi, remember to embrace the chaos—the debug errors, the loud giggles, and the endless “What does this button do?” questions. After all, who needs a quiet classroom when you can have a lively tech circus? With your new knowledge, you’re ready to transform these curious minds into the next coding wizards—or at least into proficient button smashers. So grab your Pi and prepare for an entertaining ride!

I am a retired software engineer with experience in a multitude of areas including managing AWS and VMWare development environments. I bought a relative a mini-PC a year ago and have become passionate about the technology and its potential to change how we deploy software.