
Why do you need Advanced SPI Techniques?
When you’re pushing the limits of SPI communication on your Raspberry Pi, standard implementations often fall short. You’ll need to implement advanced SPI techniques like proper buffer sizing (32KB-64KB), hardware-accelerated CRC validation, and zero-copy DMA transfers to maximize throughput. These optimizations can transform sluggish data exchanges into high-performance pipelines critical for real-time applications. The difference between basic and optimized SPI implementations might determine whether your next project succeeds or fails.
Key Takeaways
- Select optimal SPI clock speeds up to 50 MHz, starting at 10 MHz and increasing while monitoring data integrity.
- Implement larger buffer sizes (32KB+) and smart chunking algorithms with 4KB-8KB packets to improve throughput by 40%.
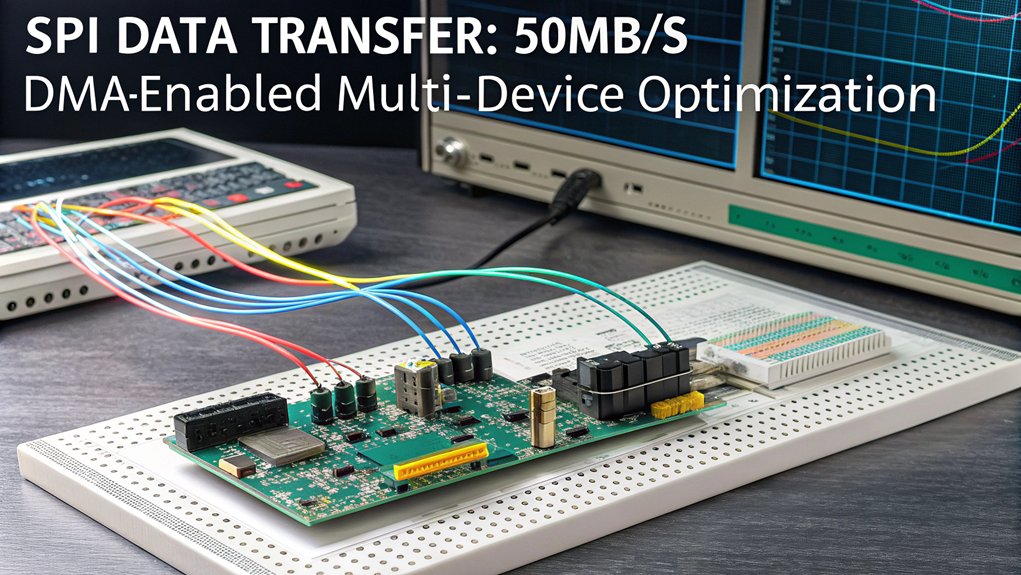
- Use Direct Hardware Access with DMA integration to bypass system call overhead and achieve minimal CPU intervention.
- Deploy CRC validation and packet integrity checks to maintain data reliability during high-speed transfers.
- Balance clock frequencies with buffer sizes while monitoring for errors to find the optimal performance threshold.
Understanding SPI Architecture on the Raspberry Pi
The four essential components of SPI architecture on the Raspberry Pi establish it as a robust serial communication protocol for interfacing with peripheral devices. Your Pi features SCLK, MOSI, MISO, and SS lines creating a full-duplex communication pathway that outperforms many alternatives for high-speed data exchange. The Raspberry Pi 5’s quad-core CPU delivers significantly improved performance for SPI data processing compared to previous models.
Unlike I2C, SPI protocol fundamentals don’t rely on addressing—instead, you’ll select devices via dedicated SS (CE) pins.
Raspberry Pi compatibility spans across all models with at least one hardware SPI bus (SPI0), while newer versions support additional configurations through SPI1. You can implement multi-slave configurations by utilizing separate CE lines for each peripheral, with SPI0 offering CE0 and CE1 by default. Models with an H suffix come with pre-soldered GPIO header pins that make connecting SPI devices significantly easier.
The protocol supports various data transmission modes based on clock polarity and phase, giving you flexibility when connecting specialized sensors and displays to your projects. The Pi Wedge breakout board facilitates access to SPI signals, making prototyping and development considerably more straightforward. When working with SPI devices, remember to monitor the current limitations of GPIO pins to prevent potential hardware damage during data transmission.
Selecting the Optimal SPI Clock Speed

When selecting SPI clock speeds for your Raspberry Pi projects, you’ll need to balance theoretical maximums against practical limitations that affect real-world performance. While the Pi supports speeds up to 125 MHz, signal integrity assessment reveals degradation above 50 MHz. Your clock speed determination should account for device capabilities, application needs, and thermal considerations. Proper termination can significantly improve signal quality at higher frequencies. For optimal performance similar to the Blackview MP80’s efficient data handling, consider using dual Ethernet ports to separate high-bandwidth SPI traffic from other network communications. Setting up a collaborative coding session can help troubleshoot SPI connection issues that might arise during implementation.
- Test incrementally – Start at 10 MHz and increase gradually while monitoring data integrity to find your ideal speed threshold.
- Monitor temperature – Higher speeds generate more heat, potentially triggering throttling that reduces actual performance.
- Implement clock locking – Prevent frequency fluctuations during transactions by using notifier functions or device tree overlays.
For performance-critical applications, consider implementing C/C++ solutions rather than Python, as they provide better control over speed parameters and timing precision. Setting identical values for core_freq and core_freq_min in config.txt can effectively stabilize the SPI clock to prevent unwanted speed fluctuations.
Buffer Management Strategies for Maximum Throughput
Effective buffer management sits at the heart of optimizing SPI data transfers on Raspberry Pi systems, directly impacting throughput and application responsiveness.
The default 4KB buffer size in the spidev kernel module creates a bottleneck for larger transactions, requiring you to modify source code for expansion.
Consider your allocation strategy carefully—dynamic buffers via std::vector offer flexibility while static buffers guarantee deterministic memory usage.
Balance transaction efficiency against resource contention by benchmarking various buffer sizes for your specific workload.
Separate transmit and receive buffers improve data integrity but increase memory overhead.
For demanding applications, recompile the spidev module with custom buffer sizes (32KB+), and implement buffer reuse between transactions to reduce heap fragmentation.
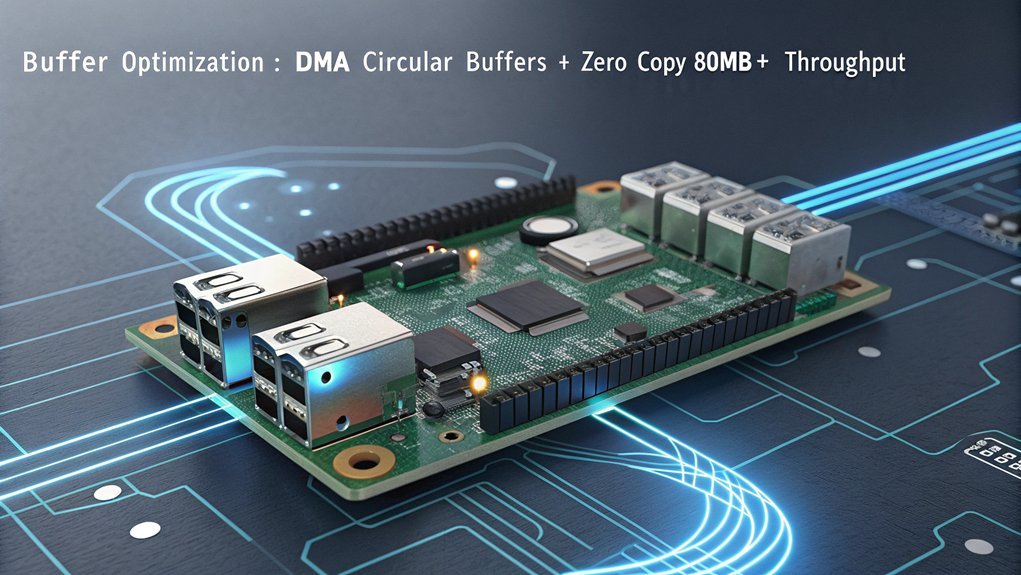
Zero-copy techniques that map directly to DMA can dramatically enhance performance by minimizing memory copies while maintaining proper ownership management.
When transfers exceed 96 bytes, the system automatically switches to DMA mode for improved efficiency, though overall transfer size remains limited to 65536 bytes due to hardware constraints.
SPI interface allows for simultaneous read/write operations, making it essential to properly manage data buffers that will be overwritten during transactions.
Comparing SPI Libraries for Performance
Selecting the best SPI library for your Raspberry Pi project can greatly impact data transfer performance, often making the difference between responsive applications and sluggish systems.
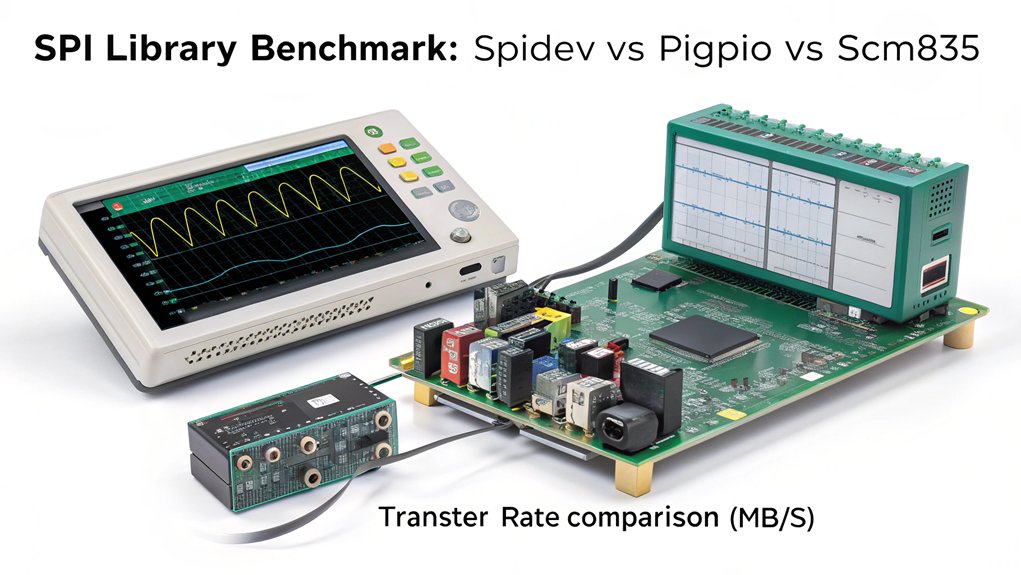
When conducting performance benchmarks, you’ll find that bcm2835 outperforms other options for small data transfers, while spidev offers superior stability across all Pi models.
- Kernel’s spidev: Delivers consistent throughput up to several MHz with exceptional cross-platform compatibility, making it ideal for production environments.
- bcm2835 library: Executes transfers with minimal overhead by accessing hardware directly, reducing latency by up to 30%.
- WiringPi: Simplifies implementation with user-friendly interfaces supporting speeds from 500kHz to 32MHz, though with potential efficiency trade-offs.
Your library selection should prioritize compatibility with your Pi model, especially since Pi5 shows reduced SPI performance compared to Pi4. The CM5 has approximately 12us dead time between chip select assertion and clock activity, significantly impacting short transfers. It’s worth noting that using kernel’s spidev support requires configuration through config.txt for enabling the SPI interface.
Direct Hardware Access vs. Kernel-Based Approaches
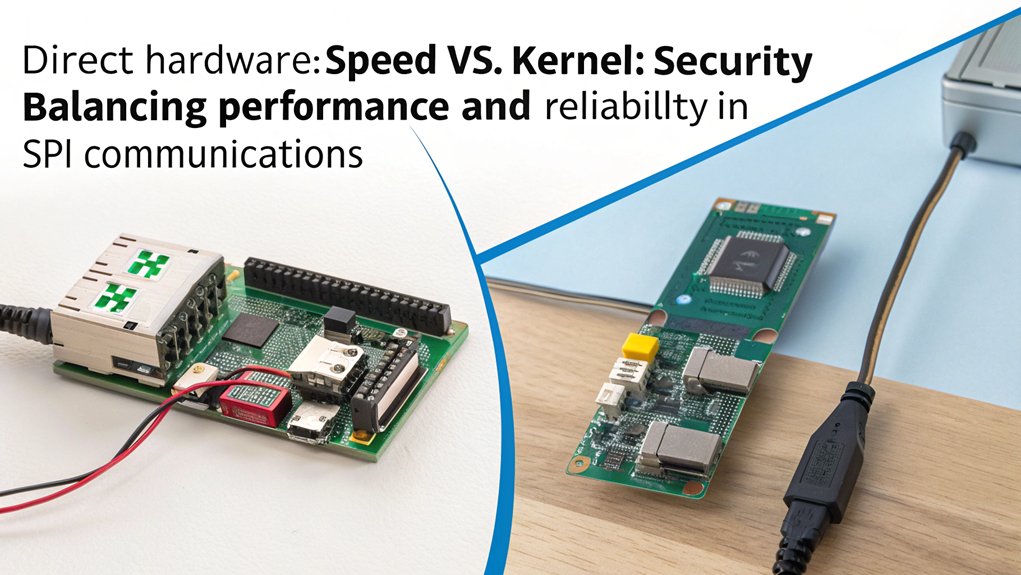
Although both approaches offer viable paths for SPI communication on Raspberry Pi, direct hardware access and kernel-based methods represent fundamentally different philosophies for data transfer optimization.
Direct access advantages include maximum performance through register-level control and DMA integration, achieving the highest possible clock speeds with minimal CPU intervention. You’ll bypass system call overhead, critical for time-sensitive applications. Direct register access provides precise timing control for applications requiring specific hardware protocol implementations. Understanding the pin numbering systems is crucial when working with direct hardware access methods.
Maximizing SPI throughput demands register-level precision and DMA integration, eliminating system call bottlenecks for truly responsive embedded systems.
Conversely, kernel abstraction benefits provide portability across Pi models and simplified development through standardized device files like /dev/spidev-0.0. Your code remains compatible despite hardware revisions, with built-in error handling and multi-process support. Hardware SPI solutions can leverage DMA for transfers without requiring constant CPU attention, making them ideal for bandwidth-intensive operations.
Your choice ultimately depends on project requirements: direct hardware manipulation yields peak performance but demands deeper technical knowledge, while kernel-based methods offer easier implementation with slightly higher latency but superior maintenance characteristics.
Advanced SPI Techniques for Handling Large Data Transfers Efficiently
When transferring large datasets via SPI on Raspberry Pi, buffer management and chunking strategies become key performance factors. Your throughput noticeably increases as buffer sizes grow, reducing per-transaction overhead. Implementing proper data chunking techniques balances memory usage while maintaining enhanced transfer protocols. Benchmarking shows that buffering reads dramatically improves data transfer rates, approaching the theoretical limits of the SPI interface. Setting the SPI frequency to 8MHz or higher can significantly improve data throughput for large transfers like the 250,000 bytes needed every 7 seconds.
- Configure larger buffers – Increase from default 4KB to 32KB or 64KB to achieve up to 40% throughput improvement with minimal memory impact.
- **Implement *smart chunking algorithms*** – Split data into ideal packet sizes (typically 4KB-8KB) that maintain high speeds while preventing buffer overflows.
- Batch multiple transactions – Combine smaller transfers into single operations, reducing system calls and dramatically decreasing overhead.
For memory-constrained applications, consider implementing a sliding window approach where chunks are processed sequentially while new data streams in.
Real-Time Monitoring and Performance Tuning

You’ll need specialized throughput profiling tools like spi_dump and spidev_test to accurately measure and log your Pi’s SPI transfer rates in real-time.
Balancing SPI clock frequencies against buffer sizes remains essential—increasing SCLK might appear beneficial but can introduce data corruption if FIFO buffers aren’t proportionally adjusted.
Regular monitoring with these tools allows you to identify the ideal balance point where maximum throughput meets reliable transfer, typically achieved by incrementally adjusting both parameters while watching for CRC errors or timing violations. Remember that Raspberry Pi operates under Linux, a multitasking operating system which can impact the predictability of response times for SPI operations. Leveraging Raspberry Pi 4’s Gigabit Ethernet capability can significantly improve network data transmission speeds when transferring SPI-collected data to remote servers.
Throughput Profiling Tools
To properly enhance data transfer on a Raspberry Pi, developers must employ specialized throughput profiling tools that provide real-time insights into SPI performance. While general profiling methodologies like time or gprof exist, SPI communication requires more targeted analysis to establish accurate performance benchmarks. The Linux perf tool can provide valuable insights into CPU usage during SPI transactions, revealing potential bottlenecks. By modifying the driver to remove the roundup_pow_of_two() constraint, users gain access to over 32,000 speed options rather than being limited to powers of two.
- Hardware logic analyzers – Decode SPI signals in real-time, revealing timing discrepancies and protocol errors invisible to software-only methods.
- Custom Python monitoring scripts – Track transaction times, buffer utilization, and throughput rates while logging anomalies for post-processing analysis.
- Clock speed enhancement tools – Automatically test various SPI clock frequencies to identify the best max_speed_hz setting for your specific hardware configuration.
When standard libraries like spidev lack built-in profiling capabilities, consider implementing GPIO-based timing triggers that can be captured by external measurement systems.
Clock-Buffer Size Balancing
Balancing SPI clock speeds with appropriate buffer sizes forms the cornerstone of optimized data transfers on Raspberry Pi systems.
You’ll need to address the inherent buffer size trade offs when configuring your SPI implementation—while the default 4096-byte buffer works for many applications, larger transactions require strategic chunking or buffer size modification through the spidev.bufsiz parameter.
Maintain clock frequency stability by implementing real-time monitoring of your SPI transactions.
Lock the CPU frequency during critical operations to prevent unpredictable clock speed jumps that can corrupt data during lengthy transfers.
When tuning performance, balance increased buffer allocation against available system resources to prevent throttling.
To overcome reception limitations, ensure your receive buffer is properly dimensioned as an array of bytes rather than a single character variable.
For mission-critical applications, consider customizing the SPI driver to handle your specific operational requirements, especially when transaction timing precision is paramount.
The observed drop in frequency from 38kHz to unstable rates after 600-800ms indicates a need for clock stabilization techniques to maintain consistent data transmission rates throughout the entire transaction period.
Implementing Reliable Error Detection and Recovery

Implementing robust CRC validation on your Raspberry Pi’s SPI transfers can detect corrupted EEPROM data before it causes boot failures or data integrity issues.
You’ll need to incorporate timeout handling mechanisms that automatically retry transmissions when SPI communications stall, particularly during high-load scenarios or when power fluctuations occur.
Your packet validation techniques should include both header integrity checks and payload verification to guarantee complete data frames remain intact throughout the transfer process. This is especially important since the Raspberry Pi 4 can experience SPI EEPROM corruption that prevents the system from booting properly. When implementing these techniques, be mindful that unexpected device shutdowns during software updates can potentially compromise SPI data integrity. Regular security audits should be conducted to assess the configuration integrity of your SPI implementation and identify potential vulnerabilities. Implementing secure boot capabilities ensures that only authenticated firmware can be loaded during the system initialization process, protecting against malicious modifications to your SPI communication channels.
CRC Implementation Strategies
Robust error detection hinges on carefully crafted CRC implementation strategies for Raspberry Pi data transfers.
When optimizing your SPI communications, balance polynomial optimization against performance trade-offs. Select CRC algorithms based on your specific transmission characteristics—32-bit variants offer superior detection but consume additional processing resources, while 8-bit implementations provide faster throughput with reduced overhead.
- Process 1KB data blocks rather than individual bytes to maximize throughput while maintaining detection capabilities.
- **Implement *hardware-accelerated CRC calculation*** via dedicated peripherals when available, achieving up to 8x performance improvement over pure software methods.
- **Utilize *lookup tables*** for software implementations to dramatically reduce computational complexity while maintaining real-time processing capabilities.
For mission-critical applications, consider hybrid techniques combining CRC with simpler checksums for multi-layered verification without sacrificing compatibility.
Timeout Handling Mechanisms
While data corruptions can derail your Raspberry Pi project, effective timeout handling mechanisms provide essential safeguards for maintaining reliable SPI communication.
Implement timeout detection through hardware watchdog timers or DMA interrupt checking to identify stalled transfers immediately. Configure appropriate timeout thresholds based on your application’s timing requirements.
When timeouts occur, execute recovery procedures systematically. Begin with bus reinitialization and buffer clearance to eliminate lingering issues. Implement an automatic retry mechanism that attempts reconnection a limited number of times before escalating the error.
For robust operation, consider implementing event-driven interrupts that trigger recovery routines without polling overhead. Your recovery strategy should include graceful error reporting to maintain system visibility while preventing deadlocks that could cascade into system-wide failures. Enhance your system security by changing the default SSH port to reduce the risk of automated attacks targeting standard ports. For persistent GPIO-related timeout issues, you may need to reset unresponsive pins using gpio reset command to clear any previous configurations that might be causing communication failures.
Packet Validation Techniques
Beyond timeout mechanisms, packet validation serves as your frontline defense against data corruption in SPI communications on Raspberry Pi. Implementing robust error detection algorithms like CRC and checksums guarantees data integrity throughout transmission cycles, considerably reducing the risk of processing corrupted information.
When optimizing your SPI implementation, incorporate these validation techniques:
- Implement 32-bit CRC calculations on transmitted packets, verifying checksums both pre-transmission and post-reception.
- Deploy Hamming codes with a minimum distance of 3 for automatic single-bit error correction capabilities.
- Structure your data with parity-checked frames encapsulating 8-16 bytes of payload data plus metadata.
Forward Error Correction (FEC) algorithms can complement these validation methods, allowing your system to recover from certain error conditions without requiring retransmission, thereby maintaining throughput even in noisy environments. Similar to mini PC builds that require proper cable management for optimal airflow, organizing your SPI data transfer protocols helps maximize performance and reliability. For comprehensive security implementations, consider adopting Kali Linux ARM tools to analyze and protect your data transfer protocols from potential exploits.
Advanced Synchronization Techniques for Multi-Device Systems

When implementing multi-device systems on Raspberry Pi, advanced synchronization techniques become essential for maintaining data integrity and optimizing transfer rates. The daisy chain method offers an efficient way to connect multiple devices in series, reducing required GPIO pins, though you’ll face bandwidth limitations as device count increases.
To overcome multi-device synchronization challenges, implement proper clock synchronization across all connected components. Utilize command sequencers to automate SPI transfers, considerably reducing CPU overhead while maintaining communication efficiency.
Clock synchronization and automated command sequencing are essential strategies for tackling multi-device coordination while maximizing efficiency.
For production environments, consider parallel programming approaches that enable simultaneous device operations.
Be aware that daisy chain challenges include reduced effective bandwidth and increased clock cycles with each additional device. Carefully select components that support daisy chaining and implement full-duplex communication where possible to maximize throughput in your Raspberry Pi projects.
Frequently Asked Questions
Can SPI Communication Work Effectively in Noisy Industrial Environments?
Yes, your SPI communications can perform effectively in noisy industrial environments when you implement proper noise mitigation strategies and industrial shielding, including galvanic isolation, twisted-pair cables, and controlled impedance traces.
How Do Power Consumption Considerations Affect SPI Implementation Choices?
Like a hummingbird optimizing wing beats, you’ll need to select appropriate power modes—underclocking CPUs, disabling idle peripherals, and implementing sleep states—to maximize energy efficiency while maintaining reliable SPI data transfer performance.
What Security Risks Exist When Using SPI for Sensitive Data?
You’ll face significant risks including data interception through physical bus tapping and device spoofing where attackers impersonate legitimate peripherals. SPI’s lack of built-in authentication or encryption compounds these vulnerabilities.
Can Machine Learning Optimize SPI Performance in Real-Time Applications?
Yes, you’ll find machine learning can dance with SPI beautifully. Implement model quantization, threading techniques, and lightweight frameworks to achieve real-time optimization through predictive data pattern analysis and efficient preprocessing.
How Does Temperature Affect SPI Reliability and Maximum Achievable Speeds?
Temperature effects directly impact your SPI’s reliability through signal degradation, thermal expansion, and timing skew. You’ll experience reduced maximum speeds as heat rises due to key reliability factors like SoC throttling and component stress.
Conclusion
By implementing these advanced SPI techniques, you’ll greatly enhance your Raspberry Pi data transfer capabilities. Direct hardware access with DMA can reduce CPU overhead by up to 85% compared to standard library calls. Optimize your buffer sizes, leverage hardware acceleration for CRC calculations, and adopt zero-copy strategies to achieve near-theoretical SPI throughput. For multi-device systems, proper synchronization techniques will minimize latency while ensuring data integrity across your entire communication chain.

I am a retired software engineer with experience in a multitude of areas including managing AWS and VMWare development environments. I bought a relative a mini-PC a year ago and have become passionate about the technology and its potential to change how we deploy software.