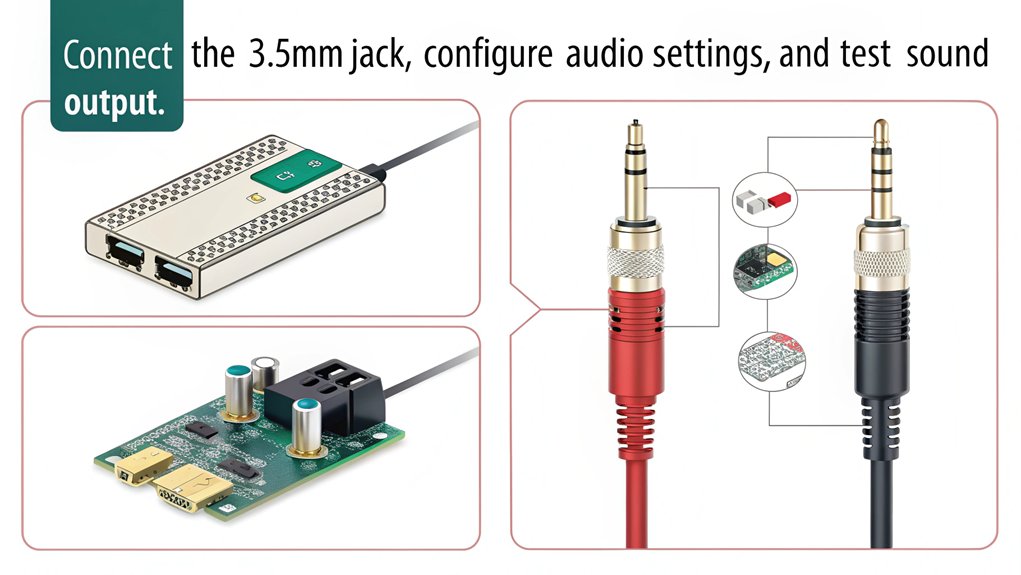
To utilize the 3.5mm jack for analog sound on Raspberry Pi, first verify you have a compatible model, like Pi 2, 3, or 4. Connect your audio devices properly, making sure the ground is on Ring 2. Configure the audio through either the GUI or command line, setting it to analog output. Monitor your audio quality; issues can arise from PWM distortion or improper configurations, so consider enhancing your signal-to-noise ratios. Using a quality DAC and maintaining your power supply integrity can greatly improve the fidelity of analog sound on Raspberry Pi. Exploring further options can enhance your audio experience even more.
Key Takeaways
- Ensure your Raspberry Pi model has a 3.5mm audio jack, compatible models include A+, B+, 2, 3, and 4.
- Use either the GUI or command line to configure audio output to the 3.5mm jack, ensuring proper settings are saved.
- Check and modify the ‘/boot/cmdline.txt’ file to include ‘snd_bcm2835.enable_headphones=1’ for effective audio routing.
- Regular updates to the Raspberry Pi software are necessary for optimal audio performance and compatibility with various applications.
- Utilize high-quality, shielded audio cables to minimize interference and enhance overall sound fidelity from the 3.5mm jack.
Hardware Requirements
When selecting hardware for utilizing the 3.5mm jack on a Raspberry Pi, what do you need to contemplate? To start, make sure you’ve got the right model. Raspberry Pi models A+, B+, 2, 3, and 4 feature a 4-pole 3.5mm audio/video jack, which can carry both audio and composite video signals. The jack’s design closely mirrors those found in multimedia devices like iPods, making it a common connector type.
For the best hardware compatibility, you need to confirm that the ground connection is correctly positioned on Ring 2. Be mindful that some camcorder-style cables might necessitate swapping the video and right audio channels, which is essential for achieving the desired output quality. Additionally, using a high-quality Digital-to-Analog Converter (DAC) can greatly improve sound fidelity by providing high-resolution audio output that enhances the listening experience. Moreover, keep in mind that newer Raspberry Pi models, such as the Pi 5, lack an analog audio jack due to space constraints on the PCB.
While the 3.5mm jack supports stereo audio output and features a dedicated low-noise power supply for enhanced audio quality, using a high-quality Digital-to-Analog Converter (DAC) can greatly improve the fidelity of analog sound on Raspberry Pi. It is also important to consider the use of I2S microphones for high-quality digital audio transmission.
If you’re working with older models via the GPIO pins, PWM signals can provide audio output, but consider integrating DACs for modern capabilities. Remember, understanding these hardware requirements is important for leveraging the full potential of your Raspberry Pi’s audio functionalities. Ensuring proper configuration settings, such as those found in ‘/boot/config.txt’, is crucial for optimal performance.
Configuration Steps

Configuring the audio output for your Raspberry Pi via the 3.5mm jack requires a few specific steps to guarantee peak performance. Start by deciding which configuration methods you prefer: GUI or command line. For GUI, navigate to the “Settings” button, select “Audio Output,” and set it to “3.5mm jack,” then click “Save.” Keep in mind that audio setting changes might take about 15 minutes to activate. Additionally, the 3.5mm jack serves as an alternative for analog audio, ensuring compatibility with various audio devices.
If you opt for the command line, utilize ‘raspi-config’ to go to ‘Advanced Options’ and choose ‘A4 Audio’ to force audio through the 3.5mm jack.
Execute the command ‘amixer -q cset numid=3 1’ to route output to analog. This step is important as using a high-quality DAC can tremendously enhance the overall audio experience.
Modify ‘/boot/cmdline.txt’ to include ‘snd_bcm2835.enable_headphones=1’ before rebooting your system.
To check if your 3.5mm jack is recognized, run ‘aplay -l.’
Additionally, for systems requiring external audio devices, edit ‘/boot/firmware/config.txt’ to disable onboard audio and save your changes.
Effective configuration is essential for achieving ideal audio results with your Raspberry Pi.
Audio Quality and Capabilities

The audio quality of Raspberry Pi models primarily hinges on the implementation of Pulse Width Modulation (PWM) for analog output through the 3.5mm jack. PWM operates at frequencies around 100 MHz, with potential boosts to 250 MHz, aiming to minimize sound distortion. However, the absence of a dedicated audio integrated circuit (IC) means the resulting sound may not meet all users’ expectations, especially in noisy environments. To elevate audio capabilities, you could explore audio enhancements through dedicated DACs, which can be connected using communication protocol pins such as I2C or SPI. These can provide superior quality of analog sound on Raspberry Pi, tackling noise and distortion issues that may arise from the built-in output. Given the possibility of network issues when streaming audio, users should ensure their setup is stable to prevent interruptions.
While USB audio adapters present an alternative, they occupy valuable ports and require additional configuration. Moreover, the Raspberry Pi’s direct compatibility with 32 Ohm headphones can lead to suboptimal performance with higher impedance devices, complicating audio fidelity further. Despite these limitations, using I2S boards may offer a higher quality output than the traditional 3.5mm jack. Additionally, users have reported mixed success in configuring analog audio setups after system updates. Ensuring robust data encryption practices can also protect your audio setup from unauthorized access. Ultimately, understanding these nuances allows you to tailor your audio setup to achieve the best possible experience.
Power Consumption

Taking into account your audio needs, power consumption through the 3.5mm jack for analog sound on Raspberry Pi plays an important role in overall system performance.
Understanding how to manage power effectively while maximizing energy efficiency is vital, especially when driving specific loads like earbuds or audio amplifiers. Here are some key aspects to reflect upon:
- Voltage Levels: The output voltage typically hovers around 1V peak-to-peak, which is adequate for small audio devices.
- Power Delivery: The jack delivers around 0.3mW into a 100Ω speaker, highlighting its limitations with larger speakers.
- Load Impedance: Designed for 32Ω loads, larger speakers require external amplifiers to prevent power drainage and maintain device health. Additionally, remember that the 3.5mm jack is primarily used for audio output and video signals. Moreover, this functionality is made possible due to the Raspberry Pi’s BCM2835 SoC.
- Dedicated Power Supply: The low-noise power supply dedicated to the 3.5mm output doesn’t greatly impact the overall Raspberry Pi power consumption but improves audio quality.
Common Issues and Solutions

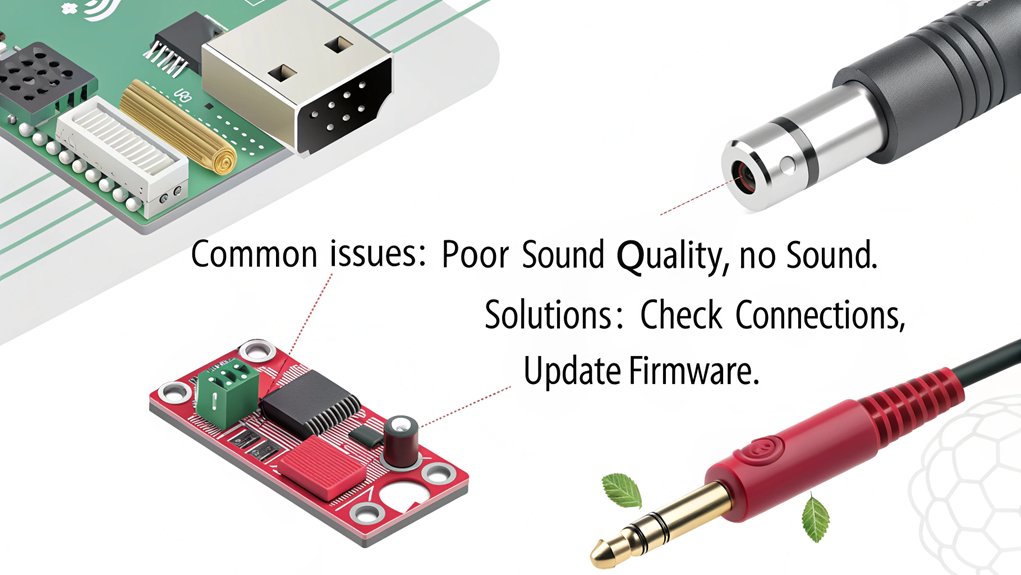
Often, users encounter various issues when utilizing the 3.5mm jack to create analog sound on Raspberry Pi, ranging from configuration mishaps to audio quality problems. Missing audio options can occur after system updates; adding ‘dtparam=audio=on’ and ‘dtoverlay=pisound’ in ‘/boot/config-user.txt’ often resolves this. Many users have reported a loss of 3.5mm audio output after recent updates, causing frustration due to limited audio choices.
Verify your DTB is configured correctly as errors during command execution can hinder audio troubleshooting. Additionally, some users have found that changing their audio device selection resolved audio output issues.
Audio quality issues such as distortion and clipping may plague your experience. This can often be mitigated by setting ‘audio_pwm_mode=2’ in ‘config.txt’.
Additionally, adjust volume levels by increasing the Pi’s output while decreasing your amplifier’s input to enhance signal-to-noise ratios.
For software and driver compatibility, confirm you have the latest updates installed. Installing ALSA packages like ‘alsa-tools’ can help manage audio settings effectively.
If you’re dealing with playback issues, consider removing and reinstalling Pulseaudio.
Lastly, be mindful of hardware and connectivity problems; case interference and poor-quality cables can adversely affect audio output.
Evaluating your power supply and verifying you’ve eliminated potential device interference can greatly enhance your Raspberry Pi’s audio performance.
Frequently Asked Questions
What Types of Speakers Are Compatible With the 3.5mm Jack?
When selecting compatible speakers for the 3.5mm jack, consider portable and desktop speakers. Amplified options enhance sound quality considerably, while Bluetooth provides flexibility. Always check power requirements and impedance for ideal performance with your setup.
Can I Use Bluetooth Headphones With the Raspberry Pi?
In the domain of wireless symphonies, you can indeed embrace Bluetooth headphones with your Raspberry Pi. With adept pairing, you’ll discover enhanced audio quality, transforming your listening experience into an innovative auditory journey.
Does the 3.5mm Output Support Surround Sound Formats?
No, the 3.5mm output doesn’t support surround sound formats. Its hardware limitations prevent multi-channel audio playback, restricting performance to standard stereo audio formats. For surround sound, consider using dedicated audio solutions or adapters.
Is There a Latency Issue When Using the 3.5mm Jack?
Yes, latency measurements on the 3.5mm jack can affect audio synchronization. Ensuring buffer sizes and filter configurations are optimized minimizes these delays, critical for applications requiring real-time audio responsiveness in innovative audio processing setups.
What Software Can I Use for Audio Playback on Raspberry Pi?
Think of your Raspberry Pi as a musical canvas. For vibrant audio playback, explore software options like Volumio, Moode Audio Player, and RuneAudio. Each offers unique features, releasing your device’s full potential for an immersive listening experience.
Conclusion
To summarize, utilizing the 3.5mm jack for analog sound on your Raspberry Pi can greatly enhance your audio experience. Many believe this method compromises sound quality, but with proper configuration, you can achieve rich, vibrant audio output. It is crucial to pay attention to the hardware and follow the configuration steps closely. By addressing common issues as they arise, you can access the full potential of analog sound on your Raspberry Pi while keeping power consumption low.

I am a retired software engineer with experience in a multitude of areas including managing AWS and VMWare development environments. I bought a relative a mini-PC a year ago and have become passionate about the technology and its potential to change how we deploy software.

