
If you’re facing issues with Raspberry Pi Imager, start by checking your power supply; a reliable 5V DC source is essential for installation. Make sure your OS is updated, as older versions can cause compatibility problems. Verify that your SD card is properly formatted to FAT32 and test different cards if you encounter error messages like “Error writing to storage.” For display issues, confirm HDMI connections and check your monitor settings. If software glitches arise, consider uninstalling and reinstalling the imager. For deeper insights into troubleshooting methods, you’ll find useful tips ahead that can enhance your experience.
Key Takeaways
- Ensure a reliable 5V DC power supply to prevent installation failures during the Raspberry Pi Imager process.
- Use FAT32 formatting for SD cards to avoid boot issues; exFAT can lead to complications.
- Check and secure HDMI connections, and try using different HDMI ports to address display problems.
- Verify SD card compatibility with the reader, especially for SDXC cards in appropriate slots.
- Review detailed logs to diagnose and resolve common errors like “Error writing to storage.”
Installation Challenges
If the imager still isn’t installing correctly, explore alternative methods. Tools like ‘gnome-disk-utility’ can help you write disk images directly and may bypass some package management pitfalls. Given that Ubuntu 20.04.6 is considered outdated for current software requirements, achieving a successful installation may require some workarounds, but addressing these challenges head-on will set you on the right path. Ensure you are using a reliable 5V DC power supply to prevent power-related issues with Raspberry Pi Imager during the installation process. It’s also important to consider that the latest update to openHABian might be causing the download issue, prompting the need for local file installation as a viable solution. Ensuring your system meets the minimum hardware specifications, such as those of the Raspberry Pi 5, can also help in resolving installation issues.
Compatibility Concerns
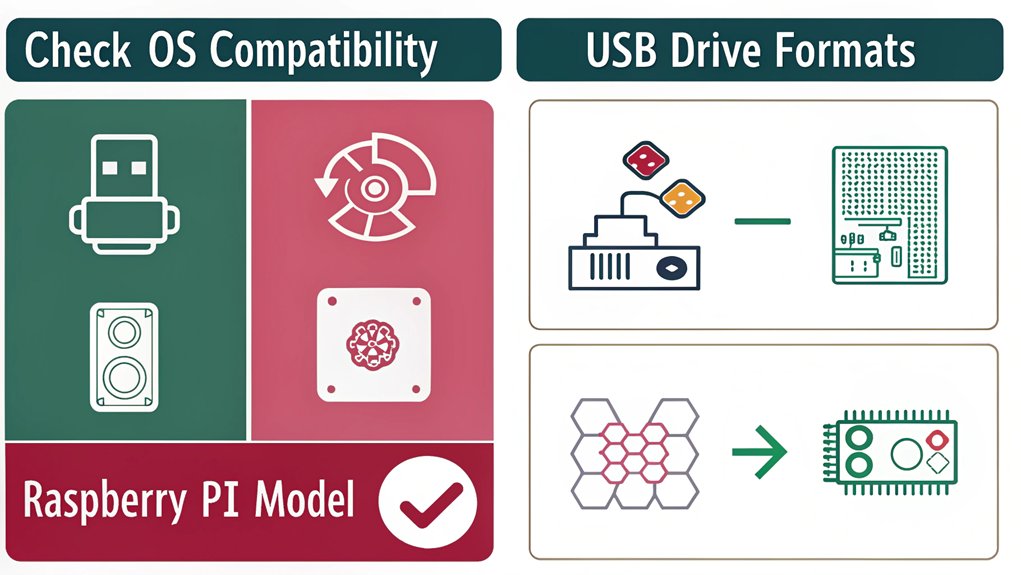
Even after overcoming installation challenges, you might still run into compatibility concerns that hinder the performance of Raspberry Pi Imager. If you’re using Windows 7, be aware that it may not work reliably anymore, as it’s no longer supported. Consider upgrading to Windows 8 or newer for a smoother experience.
While some users report success with older Imager versions, it’s inconsistent. When using specific Raspberry Pi models, guarantee that the version of Raspberry Pi Imager is compatible with your hardware. Older versions may struggle with newer models, particularly those released after the Raspberry Pi 5. Additionally, ensure the correct power supply is being used, as this is crucial for stable performance. Ensuring your system has enough resources, similar to the high RAM and SSD capabilities of advanced mini PCs like the Beelink EQI12, can also help in managing compatibility issues.
Additionally, older card readers can lead to writing failures, so using recommended hardware is essential. Pay attention to software updates as well. Outdated package repositories could provide an older version of the Imager that may not support the latest operating system images, including Raspberry Pi OS.
If you’re facing system settings issues with Raspberry Pi Imager, check if recent Windows updates have caused conflicts, and consider uninstalling those problematic updates. Keeping your Imager updated can help you avoid many compatibility concerns and enhance your Raspberry Pi experience. Furthermore, compatibility issues often arise when using older operating systems, making it critical to update your OS for better performance and to leverage features like AI integration seen in modern computing devices.
Issues with Raspberry Pi Imager with Display and Interfaces
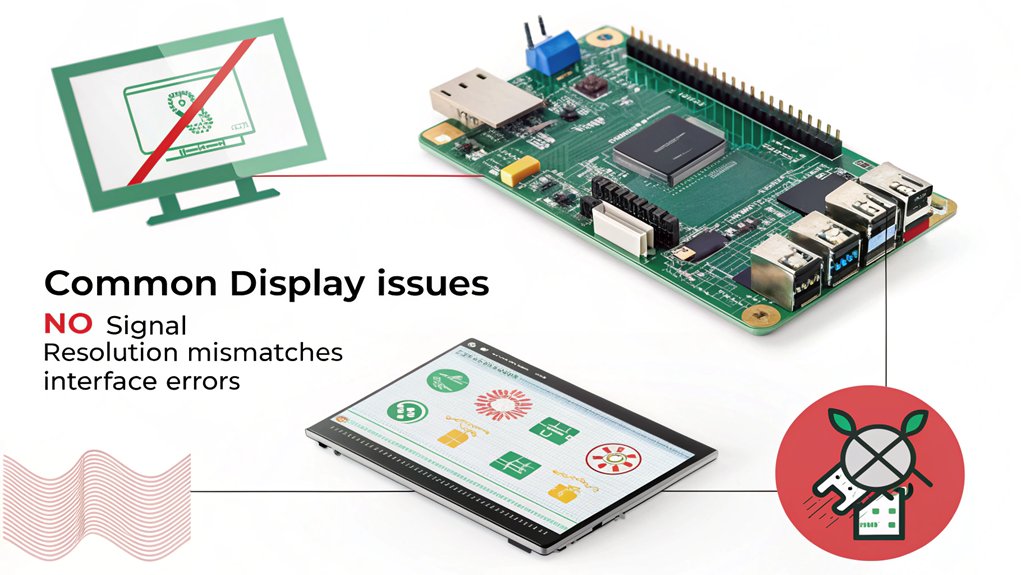
Encountering display and interface problems with Raspberry Pi Imager can be frustrating but often manageable with a few adjustments. First, confirm your HDMI connection is secure. If it’s connected properly, verify you’re using the appropriate HDMI port, like HDMI1 on the Raspberry Pi 4.
If display issues with Raspberry Pi Imager persist, modify the kernel command line by adding ‘video=HDMI-A-1:1364x768M@60D’, and make sure this is entered as a single line. Display problems can often be resolved by ensuring the correct HDMI port is used. Recent updates to Windows, particularly Windows 11 affecting software functionality, may also contribute to the issue.
You’ll also want to inspect the display settings. Running commands like ‘xrandr –verbose’ can provide valuable debugging information. If your display resolution or refresh rate isn’t compatible, this could lead to problems.
Should you encounter software glitches, consider uninstalling the imager, cleaning up with tools like CCleaner, and reinstalling it.
Try using earlier versions of the imager if the latest one seems problematic, and think about changing your monitor or its settings.
SD Card and Reader Troubles
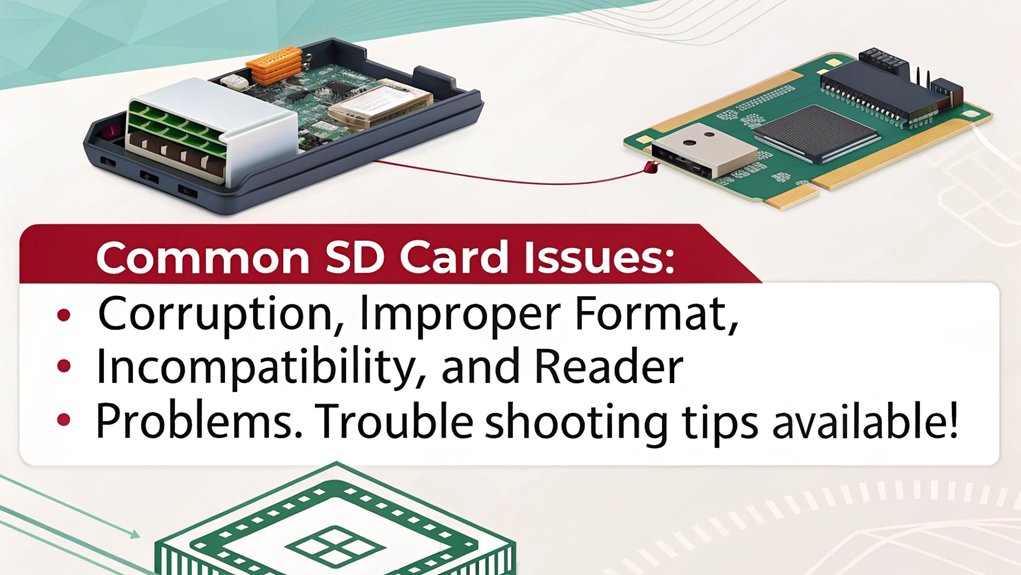
Display and interface problems often lead to frustrations, but issues with the SD card and reader can create additional hurdles while using Raspberry Pi Imager. First, check the lifespan of your SD card. When an SD card reaches its end of life, it may enter read-only protection to safeguard data, preventing any writing operations. Attempting to format such cards often fails, and they might appear corrupted. Users have reported that SD cards can enter read-only mode right before they fail completely. Additionally, it’s crucial to ensure proper SD card formatting as using exFAT instead of FAT32 can lead to boot failures.
Next, verify compatibility between your SD card and the reader. SDXC cards require compatible slots or USB readers, so double-check before jumping to conclusions. If you suspect corruption, consider using disk management tools to remove existing partitions, which could interfere with fresh installations.
Here’s a quick reference:
| Issue | Solution | Notes |
|---|---|---|
| SD Card Read-Only | Replace the SD card | Formatting attempts might fail |
| Incompatible Reader | Use an SDXC-compatible slot | Verify compatibility with your system |
| Card Corruption | Remove partitions | Balena Etcher may yield better results |
Error Messages and Diagnosis
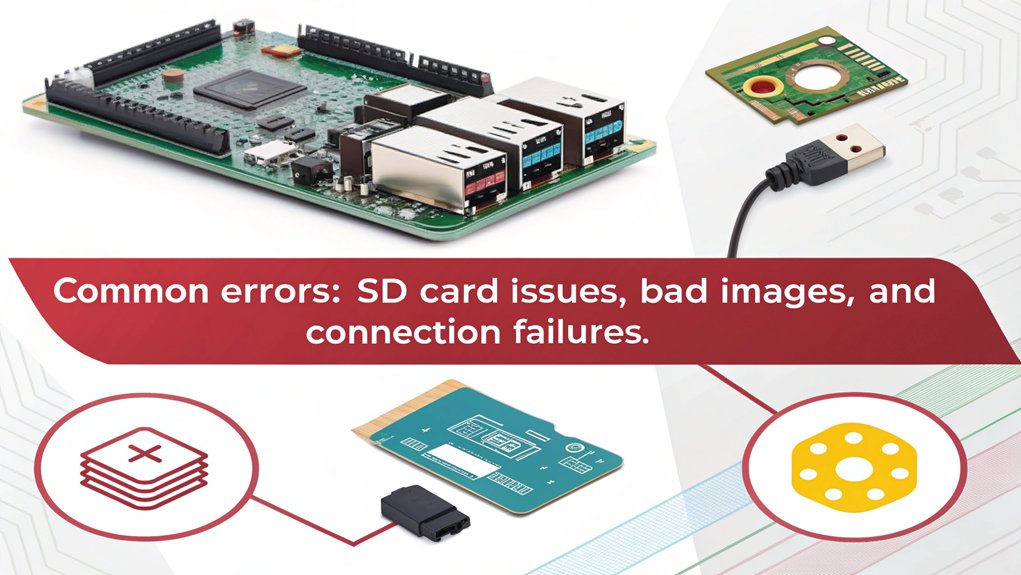
You might encounter various error messages while using Raspberry Pi Imager, each indicating issues with Raspberry Pi Imager that can hinder your process. Understanding these messages is vital for effectively troubleshooting.
Here are some common error messages:
- “Error writing to storage (while flushing)”
- “Verifying write failed. Contents of SD card is different from what was written to it”
- “Error reading from storage SD card may be broken”
- Non-functional interface after software updates
To diagnose these errors, check the accompanying error logs, as they provide detailed clues about what went wrong. Issues with Raspberry Pi Imager may arise due to the SD card being incompatible, corrupted, or incorrectly sized. If you’ve recently updated your software, bugs in the new version might be causing problems. Many users have reported that these errors often occur with specific OS environments, particularly on 64-bit Windows 10 systems. Additionally, if you are trying to connect remotely, ensure that SSH is enabled on the Raspberry Pi for easier access and troubleshooting.
For effective troubleshooting, you can:
- Use a different micro SD card or reader.
- Format the SD card again before writing.
- Restart your computer and try reinstalling the software.
- Run registry clean-up tools to remove remnants of previous versions.
Frequently Asked Questions
Can I Use Raspberry Pi Imager on MacOS?
Yes, you can use Raspberry Pi Imager on macOS. Make certain your system meets the macOS installation requirements, especially on Apple silicon models. Compatibility may vary, so always check for the latest version for best results.
Is There a Mobile Version of Raspberry Pi Imager?
While there’s no official Raspberry Pi app for mobile imaging, alternatives like Raspi SD Card Imager exist. They let you create and manage OS images on your Android, bridging the gap for innovative users on the go.
How Do I Update Raspberry Pi Imager?
To update Raspberry Pi Imager, check for the latest version’s compatibility with your system. Uninstall the old version, then install the new one and follow the updating procedure for seamless functionality and improved features.
Can I Use an External Hard Drive for Imaging?
Did you know nearly 40% of users encounter external drive compatibility issues when imaging? To guarantee smooth imaging performance, check your drive’s format and connection method; proper setup can greatly enhance your experience.
What File Formats Are Supported for OS Images?
You’ll find that supported formats for OS images include ‘.img’ files and container formats like ‘.zip’. This image compatibility simplifies your experience, allowing easy downloads from official sources or third-party vendors without worrying about conversions.
Conclusion
In summary, troubleshooting issues with Raspberry Pi Imager can feel like traversing a maze, but it doesn’t have to be overwhelming. Remember to check installation settings, guarantee compatibility, and examine your display connections. Don’t overlook your SD card and reader, as they’re often the root of problems. By following these tips, you can effectively diagnose and resolve common errors, making your experience smoother and more enjoyable. Keep experimenting, and you’ll master it in no time!

I am a retired software engineer with experience in a multitude of areas including managing AWS and VMWare development environments. I bought a relative a mini-PC a year ago and have become passionate about the technology and its potential to change how we deploy software.