To troubleshoot common Raspberry Pi GPIO connection issues, start by verifying your pin configuration using the BCM or physical pin numbering. Check for secure wiring and proper ground connections to avoid voltage drops. Use ‘raspi-gpio get’ for testing pin states and guarantee current draw doesn’t exceed limits. If you’re experiencing software problems, confirm you’ve got the correct RPi.GPIO library version and check the compatibility with your OS. Implement pull-up or pull-down resistors for stable pin states, and utilize tools like multimeters for precise voltage monitoring. You’ll uncover systematic solutions as you progress further into the troubleshooting process.
Key Takeaways
- Use ‘raspi-gpio get’ to test pin states and identify hardware connection issues effectively.
- Ensure current draw does not exceed 16mA per pin to prevent damage; employ current limiting resistors.
- Check for secure and proper wiring and ground connections to avoid voltage drops and floating pins.
- Verify the RPi.GPIO library is installed and up-to-date, and ensure compatibility with your operating system.
- Conduct visual inspections and use multimeter testing for shorts and correct voltage readings during troubleshooting.
Understanding GPIO Pin Configuration
When working with Raspberry Pi GPIO pins, it’s important to understand their configuration, as improper settings can lead to malfunction or hardware damage. You must recognize the various GPIO pin types, which can be either inputs or outputs. Input pins read states as 3V3 (high) or 0V (low), while output pins can be set to these states as well. Familiarizing yourself with GPIO pin layouts, such as the Broadcom chip-specific and P1 physical pin numbering schemes, is necessary for effective programming. Additionally, ensuring that the voltage compatibility is correct is crucial for device safety. Understanding the evolution to 40 pins, as seen in the latest Raspberry Pi models, helps in leveraging the full potential of GPIO functionalities.
Each GPIO pin mode—input, output, or special function—must also be identified correctly. Special function pins, designated for I2C, SPI, or UART communication, serve specific roles that require precise configuration. It’s important to configure pin states properly to make certain your setup operates smoothly. Proper use of pull-up/pull-down resistors can enhance circuit reliability. Ensuring you use the correct pin numbering system, such as BCM numbering, is essential for accurate programming.
Be aware of pins with internal pull-up or pull-down resistors, such as GPIO2 and GPIO3. Utilizing these can enhance your circuit’s reliability.
Identifying Hardware Connection Issues
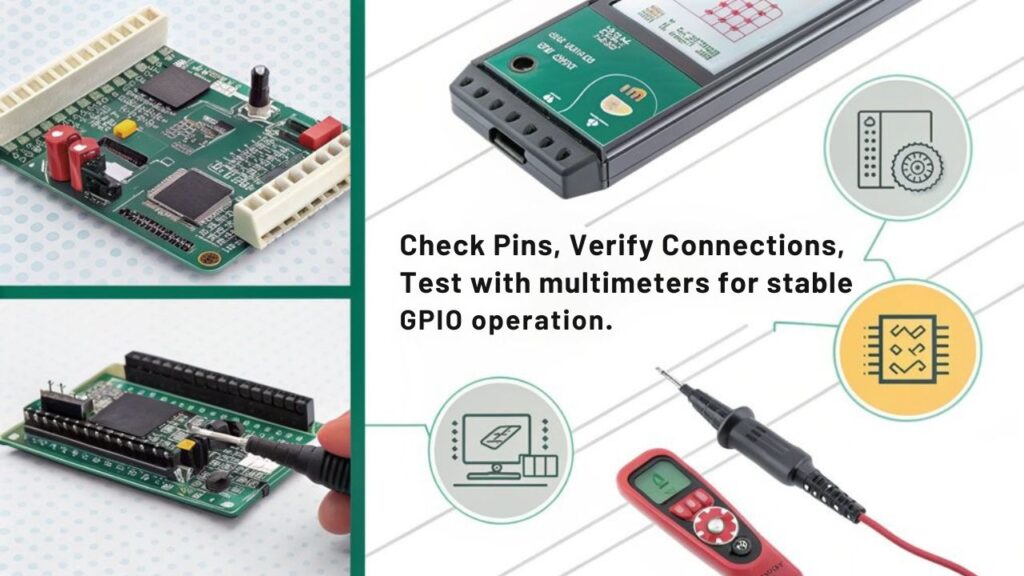
To successfully troubleshoot hardware connection issues with your Raspberry Pi’s GPIO pins, start by examining the physical connections and configuration settings.
Begin with pin testing by using the command ‘raspi-gpio get’ to check the current state of your GPIO pins. Verify that each pin is configured correctly for its intended use as either an input or an output. Use ‘raspi-gpio set’ to manually set the pin modes if necessary. For thorough configuration validation, employ the command ‘gpio readall’ to verify that the pin modes align with your project requirements.
Next, be cautious about current limitations; confirm that each pin’s current draw doesn’t exceed 16mA and that the total doesn’t surpass 51mA. Also, remember that some GPIO pins may be inconsistent in behavior, which can lead to erratic performance. Avoid overloading, which can lead to erratic behavior. Additionally, note that GPIO communication challenges may arise from multiple components using the same GPIO in differing modes, which can further complicate device operation.
Inspect the wiring for any physical damage and validate that all connections are secure, especially ground connections, to prevent voltage drops.
Finally, to mitigate risks of short circuits, consider using 1K resistors on inputs, and if your setup proves problematic, reconsider your wiring method altogether to achieve maximum functionality.
Troubleshooting Software and Library Problems
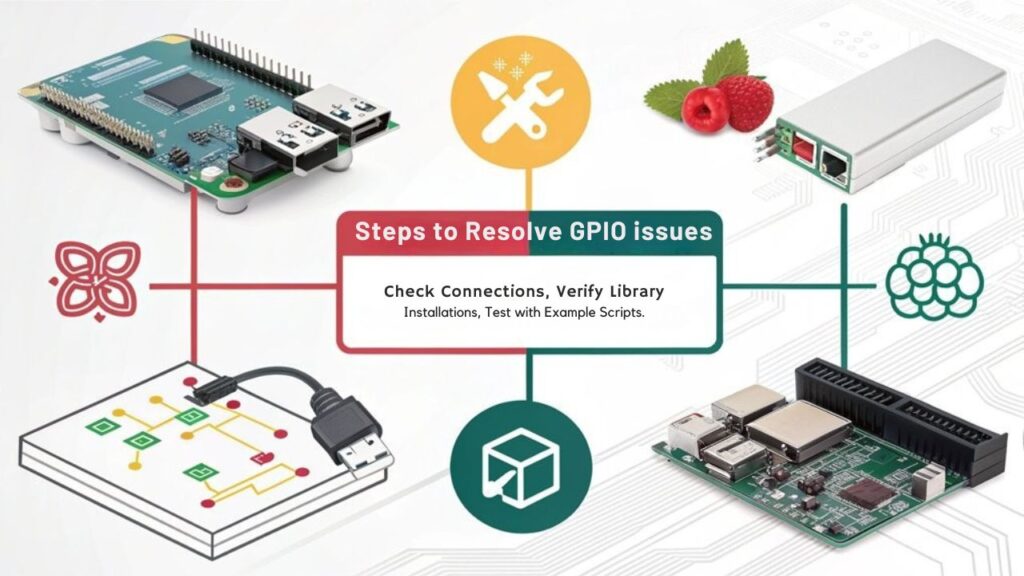
Three key areas often lead to software and library problems when working with Raspberry Pi’s GPIO functionality: library installation, runtime and environment issues, and coding configuration.
First, check if the RPi.GPIO library is already installed; it’s usually pre-installed on Raspbian. Confirm you’re using a compatible library version—0.5.10 and above work well with Raspberry Pi 2. If necessary, update the library using ‘pip3 install –upgrade –pre rpi.gpio’. Avoid outdated installation methods, as they may lack necessary dependencies. Additionally, ensure you have followed the installation process overview, which involves using wget to download the library. Ensure your project’s performance is aligned with the capabilities of your Raspberry Pi model, such as the enhanced performance metrics of the Raspberry Pi 4.
Second, verify your operating system is compatible with RPi.GPIO; it may not function correctly on non-Raspbian systems. If you encounter runtime errors, reboot your Raspberry Pi or verify you’re using the right Python version. Additionally, ensure you have considered the GPIO pin configuration, as it is essential for functionality and performance.
Lastly, pay close attention to coding configuration. Consistently apply the correct pin numbering system throughout your code. Confirm you’ve implemented proper setups using ‘GPIO.setup()’. Test each pin individually to help isolate your issue. Resolving software and library problems demands careful attention to library versions and dependency management, critical for achieving seamless GPIO functionality.
Addressing Pin-Specific Challenges
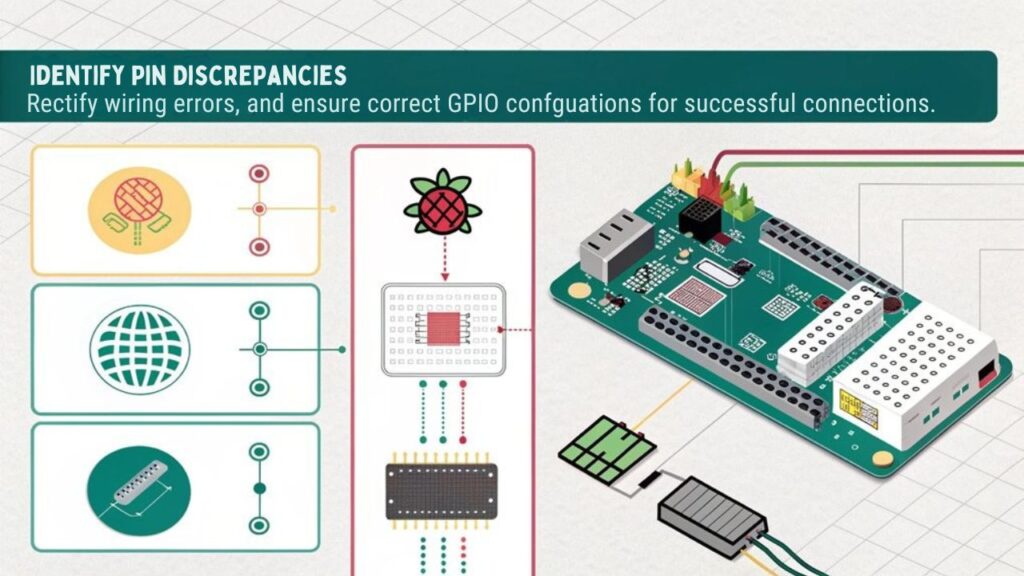
Addressing pin-specific challenges is essential for guaranteeing reliable GPIO functionality on your Raspberry Pi. Start with accurate pin identification techniques; use either physical or BCM numbering, and refer to official Raspberry Pi documentation to avoid confusion. Using libraries that handle pin numbering can greatly simplify this task. Additionally, understanding that GPIO pins are controlled via programming can improve your ability to adapt your circuits effectively.
Next, focus on voltage and current limitations for each GPIO pin. Be aware that these pins are 3.3V-tolerant, so avoid direct connections to 5V systems. Ensure you have a stable power supply, such as a 5V/3A power supply, to prevent power-related issues. Conduct thorough voltage drop analysis if you’re using devices that require higher voltages, as exceeding voltage limits can lead to issues such as freezing and unresponsive GPIO states.
Another critical issue involves floating and unstable pins. Always explicitly set the pin mode in your code and employ pull-up or pull-down resistors to guarantee a defined voltage level. Testing pins with a multimeter will confirm proper voltage readings.
Lastly, check for physical damage and connection issues. Always avoid shorting pins and verify that connections are secure. If you suspect a pin is malfunctioning, use a multimeter to test each pin individually. Ensure that your setup includes an HDMI cable connection, if applicable, to rule out any display-related issues during troubleshooting.
Utilizing Troubleshooting Tools
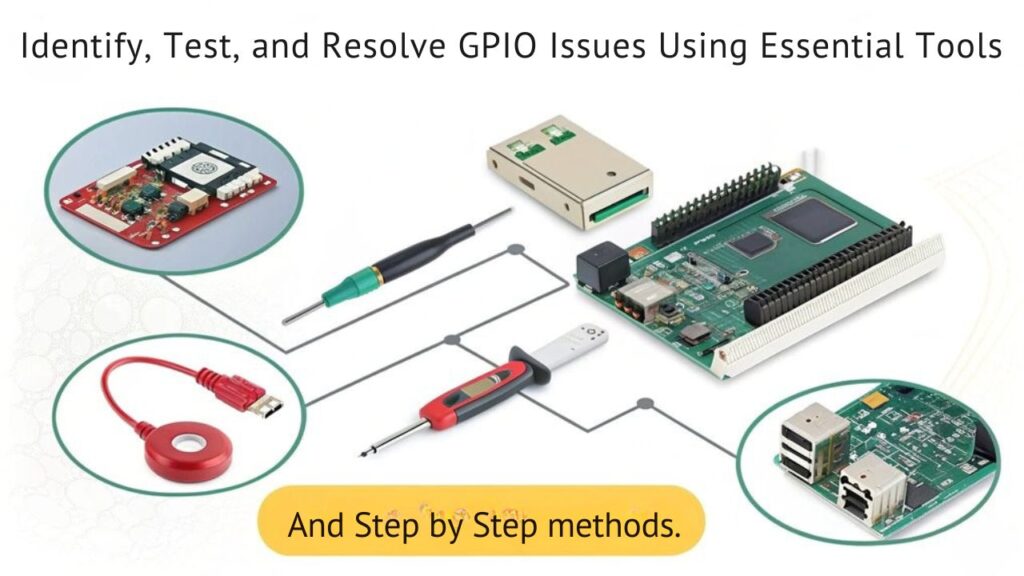
After tackling specific pin challenges, employing a range of troubleshooting tools can enhance your ability to diagnose GPIO issues on the Raspberry Pi. Effective troubleshooting strategies begin with command-line tools. Start by installing necessary packages using ‘sudo apt install gpiod’, then detect GPIO devices with ‘gpiodetect’ and gather detailed information via ‘gpioinfo’. To interact with pin states, utilize ‘gpioset’ and ‘gpioget’. Additionally, Python is the recommended language for Raspberry Pi projects, enabling enhanced control over GPIO operations. Utilizing direct access to GPIO can also simplify your troubleshooting processes by allowing you to interact with the hardware more intuitively.
Next, consider using system utilities. The ‘pinout’ command presents a visual representation of your GPIO setup, while ‘raspi-gpio get’ allows you to analyze pin configurations to confirm everything is correctly set, including input and output states. Reviewing system logs can also reveal critical error messages related to GPIO operations. Ensure that your SSH connection is stable for remote access and troubleshooting, using SSH configurations to manage the service effectively.
Beyond software tools, hardware debugging implements physical measures. Use a multimeter to check voltage levels and logic analyzers to scrutinize signal patterns. Employing oscilloscopes can help visualize waveforms, identify noise, and verify proper grounding eliminates unwanted signals.
Finally, simplify setups with minimal configurations and direct connections, testing each GPIO pin individually to isolate issues effectively. Tool utilization in this structured fashion greatly improves your troubleshooting efficiency.
Best Practices for GPIO Management
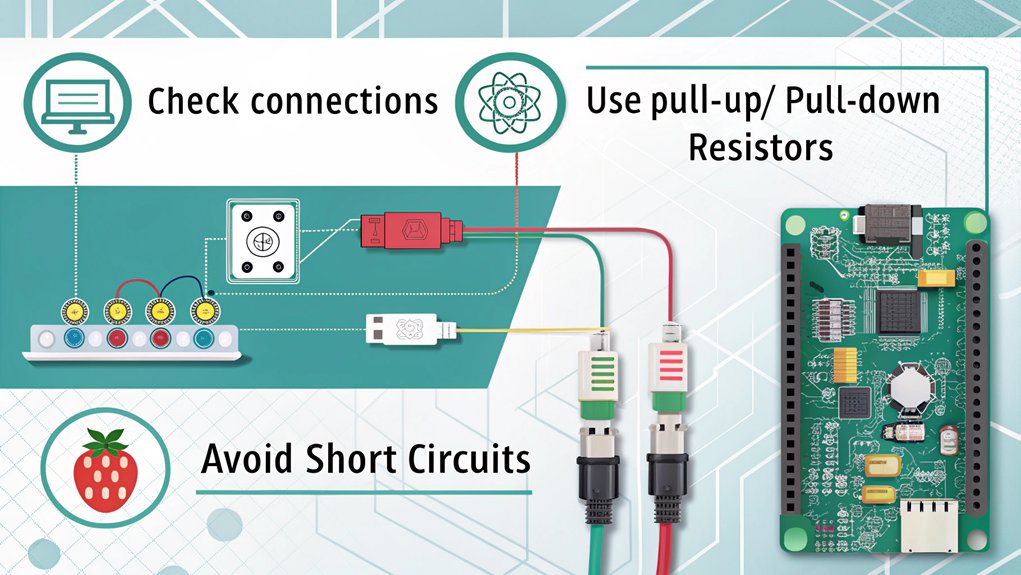
When managing GPIO connections, document your pin configurations meticulously to prevent confusion and errors. Implement incremental testing strategies to isolate issues as you develop and troubleshoot your projects. This structured approach not only enhances reliability but also aids in identifying faults quickly. Remember to utilize the RPi.GPIO library for effective interface with GPIO pins as part of your testing process. It’s also essential to ensure that you are using well-documented HATs to avoid potential conflicts with pin reservations and improve connectivity.
Document Pin Configurations
Effective GPIO management relies on documenting pin configurations clearly to guarantee consistent and error-free operation of your Raspberry Pi projects. You should implement precise pin labeling and maintain an organized pin mapping system throughout your code and physical setup. This practice minimizes confusion and errors when troubleshooting. Understanding GPIO pin functionality is crucial for preventing damage and ensuring proper circuit design. Ensuring that you do not exceed 3.3V or drop below 0V on any I/O pin is crucial for preventing damage to your Raspberry Pi.
Utilizing strong programming proficiency, such as in Python, can also enhance your ability to manage and troubleshoot GPIO connections effectively with scripting. It is important to be familiar with the latest models’ specifications, such as the Raspberry Pi 4 B’s 1.5-GHz quad-core processor, to optimize your project’s performance.
Here’s a simple table to illustrate an example of pin configuration documentation:
| Pin Number (BCM) | Function | Notes |
|---|---|---|
| GPIO 14 | UART TX | Connect to RX of device |
| GPIO 15 | UART RX | Connect to TX of device |
| GPIO 18 | PWM Output | Used for motor control |
Choose either Broadcom chip-specific pin numbers or P1 physical pin numbers for your documentation, and remain consistent within your program. Remember that older Raspberry Pi models have different pin numbers than version 2 and later. It’s essential to understand each pin’s function and role, particularly for GPIO, I2C, SPI, and PWM outputs. By adhering to these principles, you’ll foster innovation while ensuring stable and reliable connections in your projects.
Incremental Testing Strategies
Documenting pin configurations lays the groundwork for efficient troubleshooting, but incremental testing strategies guarantee your GPIO management remains robust throughout your project.
By implementing systematic testing, you can isolate issues more effectively and ascertain safety precautions are consistently followed. Here are three best practices for incremental testing:
- Test Components Individually: Begin by verifying each component in isolation. This helps you pinpoint any faulty hardware or software issues before integrating multiple parts.
- Use Software Simulations: Utilize libraries like GPIO Zero or RPi.GPIO for preliminary software testing. This approach allows you to validate logic and interface layers without the need for physical connections, reducing the risk of short circuits. Additionally, consider using hardware simulation solutions that can mimic conditions of actual factory signals for more comprehensive testing. Furthermore, proper GPIO binding configuration is key to ensuring that commands are transmitted correctly within your setup.
- Incremental Voltage Checks: When connecting new devices, monitor the voltage using a multimeter. Ascertain it doesn’t exceed 3.3V or drop below 0V to avoid damaging GPIO circuits.
Monitoring Pin States Effectively
Monitoring pin states on the Raspberry Pi is essential for effective GPIO management and troubleshooting. Accurate pin state monitoring provides critical insights into GPIO signal analysis, enabling you to diagnose issues quickly. You have multiple methods to achieve this.
First, install WiringPi with ‘sudo apt update’ and ‘sudo apt install wiringpi’. Then, use the ‘gpio readall’ command, which delivers a clear table of each pin’s number, mode, and current state.
Alternatively, the sysfs interface offers a direct file system approach. Export your GPIO pin by writing its number to ‘/sys/class/gpio/export’. Set the pin direction and read its state by accessing ‘/sys/class/gpio/gpioPIN_NUMBER/value’, which will yield ‘0’ (LOW) or ‘1’ (HIGH). This method directly allows you to check GPIO pin states without requiring additional software.
For a programming approach, install the RPi.GPIO library using ‘sudo apt install python3-rpi.gpio’. You can then set up GPIO pins in Python, reading their states efficiently. Understanding the default states of GPIO pins is also vital, as they vary among GPIO numbers, influencing reliability in your readings.
Utilizing the GPIO input allows for straightforward status checks, maximizing efficiency in your projects. Incorporating these techniques guarantees robust monitoring and greater reliability of your Raspberry Pi GPIO configuration.
Resolving Common Short Circuit Issues
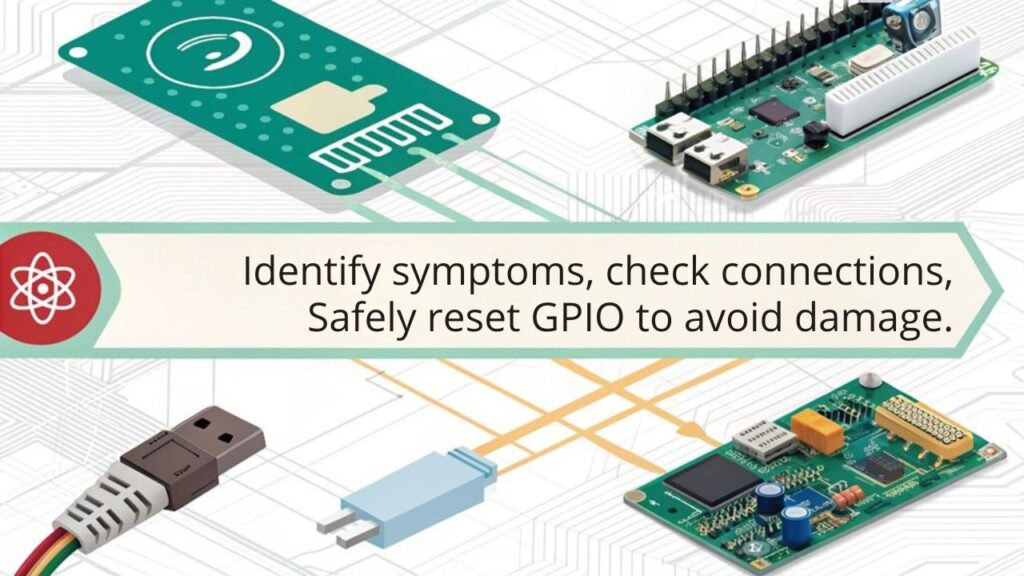
To resolve common short circuit issues, start by ensuring your connections are solid and secure. Implementing current limiting resistors can provide an extra layer of protection against accidental shorts. Additionally, double-check your grounding to maintain a stable reference point for your GPIO pins. Be aware that GPIO shorting risks are prevalent, especially when connecting high-voltage sources accidentally. Always remember that GPIO pins can be configured to either input or output, and the state of the pins is crucial in preventing potential damage during connections.
Avoid Poor Connections
Poor connections can lead to frustrating issues with your Raspberry Pi’s GPIO pins, especially when short circuits are involved. To avoid these complications, follow a structured approach to guarantee reliable connections.
Here are three essential steps to help you:
- Conduct Visual Inspections: Regularly inspect your wiring for any loose connections or frayed wires. A thorough visual assessment can catch issues before they escalate.
- Assess GPIO Pin Configuration: Always verify that at least one of your short-circuited GPIO pins is set to Input mode. If both are Outputs, you risk damaging both the output circuit and the GPIO bank.
- Monitor Voltage Levels: Be vigilant about voltage compatibility. Avoid connecting 3.3V to 5V or any power lines directly to the ground, as this can’t only cause overheating but potentially damage your Raspberry Pi’s SoC.
Use Current Limiting Resistors
Ensuring reliable connections through proper wiring isn’t always enough to protect your Raspberry Pi from potential damage. Current limiting resistors play a critical role in safeguarding your GPIO pins from excessive current that could cause irreparable harm.
By adhering to current limitations, these resistors serve as a necessary barrier, especially during unexpected short circuits between VCC and GND. When selecting a resistor, aim for a value that keeps the current under 12mA, ensuring safety without sacrificing performance. For a 5V supply, a resistor value of around 417 ohms restricts current effectively, but a more conservative approach often employs resistors between 1k and 2k ohms for added protection.
These choices enhance reliability across various applications while maintaining signal integrity. Position the resistor between the GPIO pin and the device, which allows it to effectively limit the current flowing through, preventing damage from mis-pinning or excessive load.
Additionally, consider combining them with components like Schottky diodes to mitigate voltage spikes. With thoughtful resistor selection and placement, you can confidently reduce the risk of damaging your Raspberry Pi while enhancing the stability of your projects.
Ensure Proper Grounding
Proper grounding is essential to the reliability of any Raspberry Pi project, as it directly impacts the stability of GPIO connections. Without proper grounding techniques, you risk facing noise issues that can lead to erratic operation.
Here are key steps to guarantee effective grounding:
- Assess the Grounding Source: Confirm that your AC outlets provide a proper earth ground. Floating grounds can cause voltage spikes.
- Implement Shielding: Shield your signal lines against the ground of the Raspberry Pi and connected devices. This reduces interference and enhances noise reduction.
- Monitor Ground Stability: Use instruments like an oscilloscope to evaluate stability. Identify any stability issues—such as unusual noises in audio output—indicating potential grounding problems.
Avoid double-isolated systems since they can isolate the Pi from ground contact. Instead, ensure all devices share a common ground to prevent voltage differentials.
Regularly check for grounding stability and make adjustments as necessary, like adding reservoir smoothing capacitors or ferrite cores, to mitigate worrisome noise levels.
Ensuring Proper Grounding Techniques
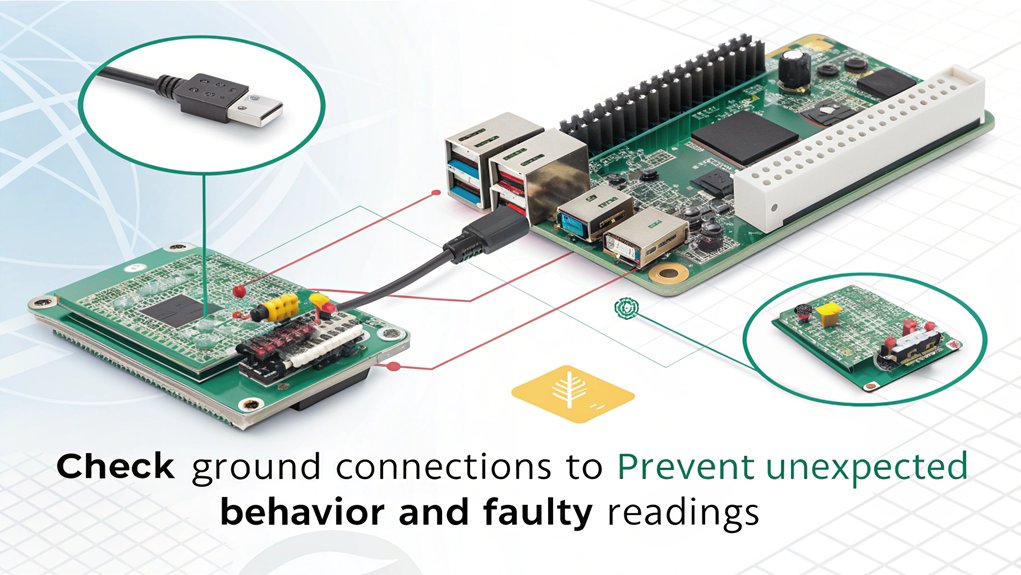
When working with Raspberry Pi GPIO connections, it’s crucial to focus on effective grounding techniques to maintain system stability and prevent interference. Proper grounding minimizes the risk of ground loops and enhances signal integrity. Use dedicated ground pins on your Raspberry Pi, such as pin 9, for grounding, and avoid connecting power supply unit (PSU) grounds directly to the Pi’s GND to prevent ground loops.
Ensuring your setup is compatible with the latest hardware, such as the Raspberry Pi 5’s dual-band Wi-Fi, can also help in maintaining robust connections.
Utilize the star earth methodology to establish a robust grounding system. This approach guarantees earth continuity and prevents complications from multiple grounding points. Here’s a quick guide:
| Grounding Method | Description |
|---|---|
| Dedicated Ground Pins | Always use Pi’s GND pins for connections. |
| Star Earth Methodology | Connect all grounds to a central point. |
| Shield Grounding | Ground shields at one end to prevent loops. |
| Avoid HDMI Grounding | Use only if no other options are available. |
Keep AC and DC circuits separate, and make certain your PSU is isolated to prevent unwanted voltage interference. For enhanced protection, consider using buffer chips. Following these grounding techniques will help guarantee a stable and efficient Raspberry Pi setup.
Keeping Libraries Up to Date
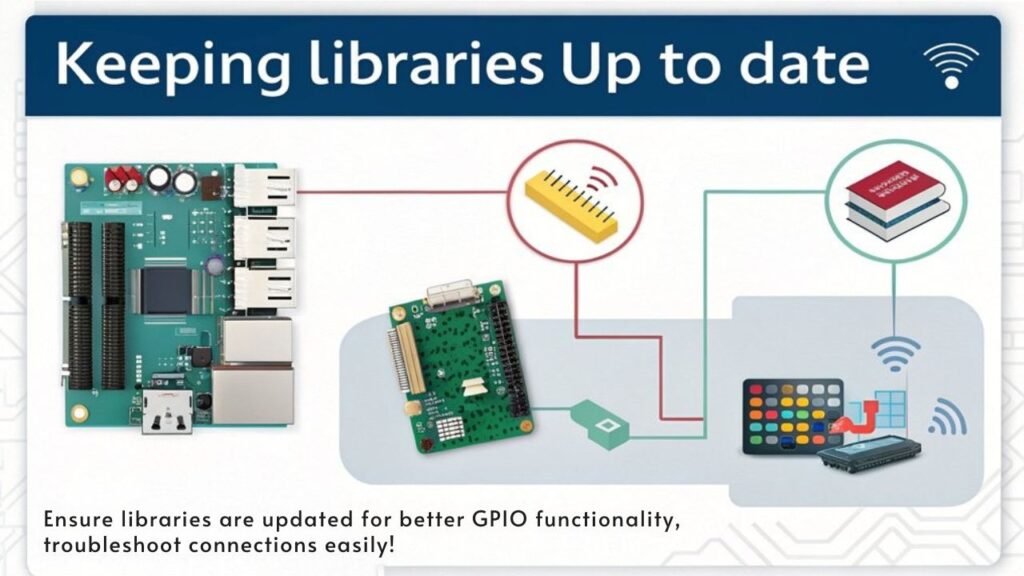
Keeping your libraries up to date is essential for a smooth and reliable experience with your Raspberry Pi GPIO connections. Regular version updates help guarantee library compatibility across different Raspberry Pi models and mitigate potential issues caused by deprecated libraries. Ensuring you are using the latest operating system, such as Raspberry Pi OS, also enhances overall system stability.
Here are three key practices to maintain peak GPIO functionality:
- Utilize Recommended Libraries: Adopt the ‘libgpiod’ library for its widespread compatibility and reliability. This library consistently supports features across multiple Raspberry Pi models, avoiding pitfalls with outdated libraries like ‘sysfs.’
- Regularly Check for Updates: Use package managers like ‘apt’ to keep your libraries current. Execute commands like ‘sudo apt install raspi-gpio’ to install the latest versions, minimizing risks stemming from bugs or incorrect pin states.
- Monitor for Known Issues: Regularly inspect the library’s documentation or issue tracker on platforms like GitHub. Staying informed of known bugs lets you apply workarounds or patches suggested by the community, guaranteeing a seamless development experience.
Frequently Asked Questions
How Can I Safely Test GPIO Pins Without Damaging My Raspberry Pi?
To safely test GPIO pins, use GPIO testing techniques like measuring pin voltage. Connect a multimeter appropriately, ensuring the Pi’s off, and monitor the voltage readings to confirm functionality without risking damage to the board.
What Diagnostics Tools Can Identify Physical Pin Issues Quickly?
To quickly identify physical pin issues, use tools like pintest for pin mapping and continuity testing. These diagnostics will thoroughly assess GPIO functionality, ensuring your Raspberry Pi operates efficiently and without damage to its components.
Are There Specific GPIO Libraries Best Suited for Raspberry Pi Pico?
For Raspberry Pi Pico, you’ll find MicroPython libraries essential. Check CircuitPython compatibility, verify accurate GPIO pin mapping, and consider edge detection techniques for reliable performance in your innovative projects. Explore various libraries to find ideal solutions.
How Do Ambient Conditions Affect GPIO Pin Performance?
When operating in challenging environments, consider temperature effects, humidity impact, and environmental interference. These conditions can subtly alter your GPIO pin performance, while static electricity might occasionally play tricks on your system’s reliability.
Can GPIO Pin Issues Be Related to Power Supply Fluctuations?
Yes, GPIO pin issues often arise from power supply voltage fluctuations. If your supply fluctuates considerably, it can lead to unstable outputs, causing unreliable performance in your projects. Always opt for stable, regulated power supplies to guarantee reliability.
Conclusion
To summarize, addressing GPIO connection issues on your Raspberry Pi can save you time and enhance your projects. Did you know that nearly 50% of beginner users face wiring errors, often leading to frustrating malfunctions? By following the troubleshooting steps outlined—checking connections, monitoring pin states, and ensuring proper grounding—you’ll minimize downtime. Stay proactive by keeping your libraries up to date, and you’ll streamline your development process while maximizing the potential of your Raspberry Pi.

I am a retired software engineer with experience in a multitude of areas including managing AWS and VMWare development environments. I bought a relative a mini-PC a year ago and have become passionate about the technology and its potential to change how we deploy software.

