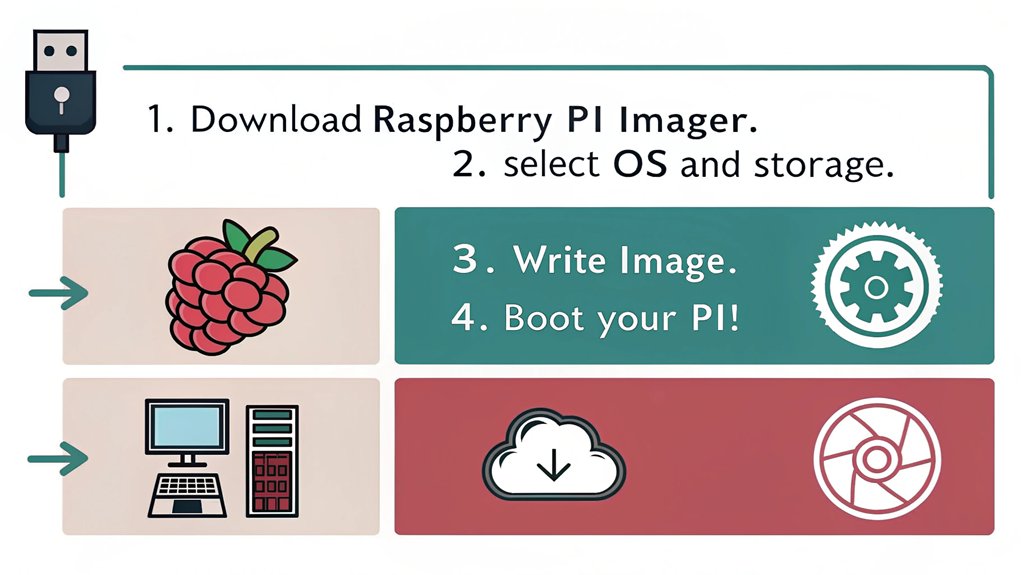
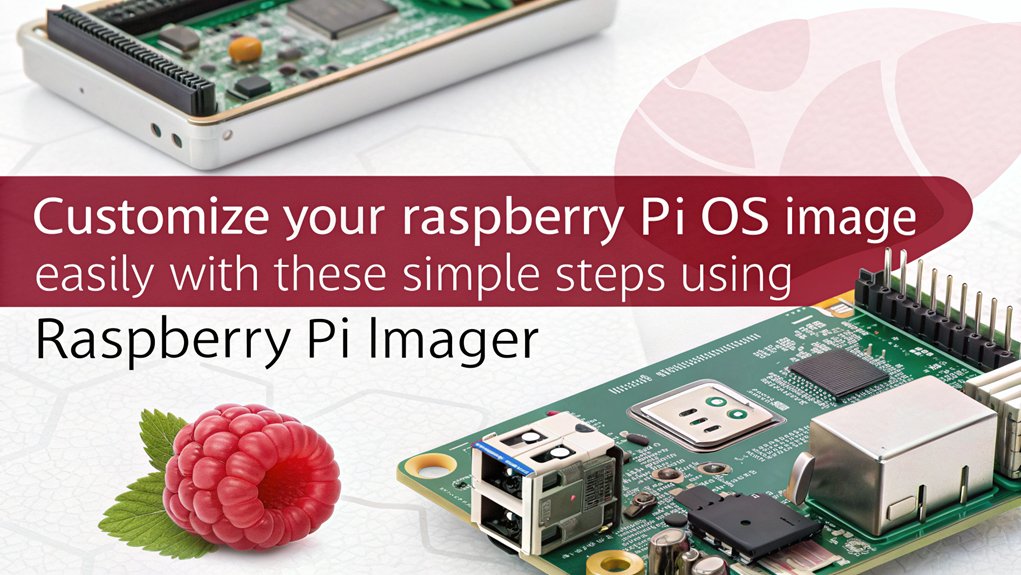
To create a custom OS image with Raspberry Pi Imager, you’ll first need to download and install the Imager on your computer. Next, prepare your microSD card or USB drive and verify it’s properly formatted. Open the Imager, select “Choose OS,” and then click “Use custom” to load your custom image. Adjust settings like hostname and Wi-Fi credentials, then choose your target storage device. Click “Write,” and monitor the progress until completion. After a brief verification, your Raspberry Pi will be ready to boot with your customized OS. For tips on troubleshooting issues, keep going!
Key Takeaways
- Install Raspberry Pi Imager on your computer and ensure you have a compatible custom OS image ready for integration.
- Open Raspberry Pi Imager, click “Choose OS,” and select “Use custom” to locate your custom image file.
- Insert a Class 10 microSD card or USB drive, making sure it is not write-protected, and select it as the target storage device.
- Customize settings such as hostname, Wi-Fi credentials, and SSH access in the Imager before initiating the writing process.
- Click “Write” to begin, monitor the progress and wait for the completion notification to confirm the successful creation of your custom OS image.
Preparing the Environment
To create a custom OS image with Raspberry Pi Imager, you’ll need to prepare your environment properly.
Start by ensuring you have a Raspberry Pi single-board computer and a suitable microSD card with at least 8GB capacity. These microSD requirements are essential since they affect how well your system runs. It is crucial to use a Class 10 microSD card for optimal performance, especially when utilizing the high-speed SDR104 mode.
Make sure you have an internet-connected computer, as you’ll need this to download the Raspberry Pi Imager application and compatible OS images in formats like .img, .iso, or .zip. Additionally, using the Raspberry Pi Imager simplifies the OS installation process, making it more user-friendly.
Next, you should download and install the Raspberry Pi Imager on your computer, which is available for Windows, macOS, and Linux. It is essential to use a Raspberry Pi with a 64-bit Linux distribution for optimal performance. Ensure you are using the correct power supply specifications to avoid any damage or performance issues.
For Linux users, simply use the package manager with the command ‘sudo apt install rpi-imager’.
Connect the microSD card or USB drive to your computer to proceed. This step ensures that you can take full advantage of features like dual-band Wi-Fi.
Having administrative permissions on your computer will facilitate the installation process.
Familiarize yourself with different operating systems compatible with your specific Raspberry Pi model, ensuring OS compatibility throughout your image creation process.
With these steps in place, your environment will be ready for creating a custom OS image tailored to your innovative projects. Regularly updating your system with ‘sudo apt update’ and ‘sudo apt full-upgrade’ commands will enhance system security and performance.
Installing on Raspberry Pi OS
Now that you’ve set up your environment, it’s time to focus on installing Raspberry Pi OS. You’ll explore terminal commands to streamline the process, step-by-step instructions for clarity, and ways to access the Imager menu efficiently. The Raspberry Pi Imager supports advanced options such as SSH, Wi-Fi, and headless setup, making the installation process much simpler. This utility is particularly useful for configuring dual-band Wi-Fi connections right from the start. Ensure all files are extracted to the desktop for easy access during the installation process. The Raspberry Pi Imager is the official utility for writing OS images to SD cards and USB drives, making the installation process much simpler. Let’s get started on making your Raspberry Pi ready to go.
Terminal Commands Overview
Getting started with terminal commands on Raspberry Pi OS opens up a world of possibilities for managing your system and installing the Raspberry Pi Imager. Utilizing the command line effectively can streamline your workflow and enhance your Raspberry Pi experience, especially when dealing with performance optimization. The Raspberry Pi Imager allows seamless installation and functionality of operating systems, making it a powerful tool for home automation projects as well. Mastering commands like apt-get install can significantly expedite the process of setting up new software on your device.
Here’s a quick overview of essential terminal commands you’ll find useful:
| Command | Purpose | Usage Example |
|---|---|---|
| ‘sudo apt update’ | Updates package lists | ‘sudo apt update’ |
| ‘sudo apt upgrade’ | Upgrades installed packages | ‘sudo apt upgrade’ |
| ‘sudo apt install rpi-imager’ | Installs Raspberry Pi Imager | ‘sudo apt install rpi-imager’ |
| ‘lsblk’ | Lists all block devices (SD card) | ‘lsblk’ |
These terminal commands can help you update your system, install new software, and manage your SD card. Mastering the command line will empower you to innovate and create custom OS images on your Raspberry Pi with ease. Happy tinkering
Installing Steps Explained
When you’re ready to install Raspberry Pi Imager on your Raspberry Pi OS, the process is straightforward and efficient. Follow these steps for a seamless experience:
- Download the latest version from the official Raspberry Pi website.
- For Linux, open the terminal and run ‘sudo apt install rpi-imager’.
- Run the installer and follow the prompts.
- Launch the Raspberry Pi Imager once installation completes. Raspberry Pi is a compact, affordable computer that makes creating custom OS images a valuable skill to learn. Ensure you use a suitable power supply to prevent performance issues during the installation process. It’s also important to configure your network settings properly, including static IP configuration, for stable connectivity.
- Troubleshoot any issues by checking your internet connection or trying another method if needed.
After launching the Imager, you can choose your desired operating system or customize your installation using a non-listed image.
Remember to connect your SD card or USB drive and select it under “Choose storage.” It’s essential to double-check that you’ve selected the correct device to prevent data loss.
When you click the “Write” button, confirm the action to start the writing process, which will typically take 5 to 15 minutes.
Once the “Write Successful” message appears, you’re ready to boot your Raspberry Pi with the installed OS.
Keep these installation tips in mind for a smoother experience
Accessing Imager Menu
Accessing the Imager menu on Raspberry Pi OS opens a range of advanced customization options that can greatly enhance your setup experience. To reveal the secret menu, simply press ‘CTRL + SHIFT + X’ after you’ve selected your OS and storage device. This menu provides advanced features tailored for users enthusiastic to customize their OS settings prior to writing the image to the SD card.
Within this menu, you can modify essential settings like hostname, enabling SSH for remote access, configuring WiFi, and adjusting locale settings. You can even set overscan to guarantee optimum display on your screen. Additionally, the secret menu enables enhanced user experience through hidden functionalities that advanced users appreciate. Now, with the latest update, users can access advanced configuration options that further facilitate the setup process.
A standout advantage is the option to apply settings only for the current session or to make them persistent for future imaging tasks.
Additionally, you can toggle telemetry options, play a sound notification once the process concludes, and automatically eject the SD card.
Selecting the Custom Image
To select a custom image in the Raspberry Pi Imager, click on the “Choose OS” button, then scroll down to the “Use custom” option.
Make sure your image file is in a supported format like ISO, IMG, or ZIP and is compatible with your Raspberry Pi model. This process sets the stage for configuring your custom image before writing it to your chosen media. Additionally, ensure that you have the necessary dependencies installed to avoid complications during the custom OS setup. The Raspberry Pi Imager allows you to flash any compatible image, including supported operating systems, enhancing the customization experience.
Supported File Formats
Selecting a custom image file for use with Raspberry Pi Imager involves understanding the supported formats.
It’s essential to choose the right image formats to avoid compatibility issues with your Raspberry Pi setup. Here are the primary formats you can use:
- .img: The standard format containing the entire file system.
- .zip: Compressed archives, which need extraction before use.
- .tar: Another archive type, requiring extraction.
- .gz: Gzip compressed files that also need to be extracted.
- Custom Image Files: Any other compatible custom images available online.
When using these formats, it’s important to verify your selected image aligns with your Raspberry Pi model and the version of the Imager tool. The Raspberry Pi Imager was designed with user-friendly interfaces to enhance the experience for both newcomers and seasoned users. Additionally, always ensure to create a custom .img file to avoid issues with standard configurations.
Files that are compressed will require additional steps to extract, which can slow you down when dealing with larger images.
Remember to check the contents of custom images for specific configurations or scripts that might introduce compatibility issues.
Custom Image Selection Process
Choosing a custom OS image in Raspberry Pi Imager is a straightforward process that enhances your setup experience, especially when considering the performance enhancements of newer models like the Raspberry Pi 5.
Start by clicking the “Choose OS” button within the application. A menu pops up, displaying the available operating systems. Scroll down and select “Use custom” to access an OS image that’s not part of the standard offerings. This flexibility is similar to how mini PCs like the Blackview MP80 offer versatile use cases such as office work and gaming with their powerful processors.
Once you select “Use custom,” a file explorer opens. Navigate to where your custom OS image file is stored and select it. After this, the explorer closes, confirming your choice is now visible in the Imager. Double-check to verify you’ve selected the right image before moving on.
Next, choose the target storage device using the “Choose Storage” option. Make sure it has enough capacity for your custom OS image, much like ensuring sufficient storage space with a 512GB M.2 SSD fast data handling. This process is made easier by the Raspberry Pi Imager’s functionality, which helps in flashing images quickly and efficiently. Additionally, RPi Imager primarily targets physical SD cards for image creation, making it a reliable choice for your project.
Remember, there are custom image benefits like tailored functionality, but there are also custom image drawbacks, such as the risk of stability issues. The Imager will alert you that this action will erase existing data on your storage device, so confirm before proceeding to ensure proper backup strategies are in place.
Now, you’re ready to begin writing your custom OS image.
Configuring OS Customization
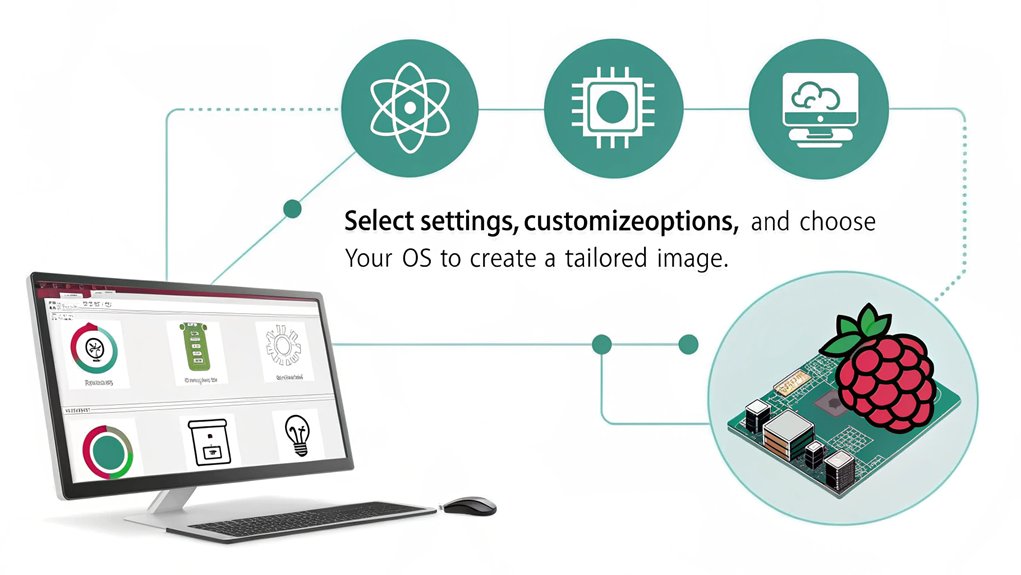
When configuring OS customization for your Raspberry Pi, you can easily tweak various settings to enhance your experience right from the start. The advanced menu offers exciting features for user management and network customization that help you streamline your device setup. This includes options for theme customization, allowing you to personalize the appearance of your OS from the very beginning. Additionally, consider implementing custom first boot setup tailored to specific countries for a more localized experience.
Here are some key options to evaluate:
- Change Hostname: Personalize your device by altering the default hostname.
- Enable SSH: Allow remote access and set up your SSH password or use public-key authentication.
- WiFi Setup: Input your SSID, password, and WiFi country for seamless internet connectivity.
- Locale Settings: Configure your language and location preferences to suit your needs.
- Skip First-Run Wizard: Bypass the initial configuration screen to jump straight into using your Raspberry Pi.
Writing the Image
After configuring your OS customization, the next step involves writing the image to your selected SD card or USB drive.
Start by inserting the SD card or USB drive into your computer, ensuring it isn’t write-protected. Launch the Raspberry Pi Imager, and it will automatically detect the inserted media. Click on the “Write” button to begin the process. Additionally, it’s beneficial to ensure you have a Linux environment with GParted installed to prepare for any future image modifications.
You’ll see a confirmation screen where you can verify the selected OS and target drive. This stage is vital for image optimization; double-check that you’ve selected the correct media to avoid accidental data loss. Additionally, remember that you can streamline the process of creating custom images by utilizing Project Pi Baker’s feature for burning multiple SD cards simultaneously.
If you experience any issues during this step, stay calm and troubleshoot errors by ensuring the drive is functioning properly or trying a different USB port.
The writing process usually takes between 5 to 15 minutes, based on the image size and drive speed, so it’s ideal to remain patient.
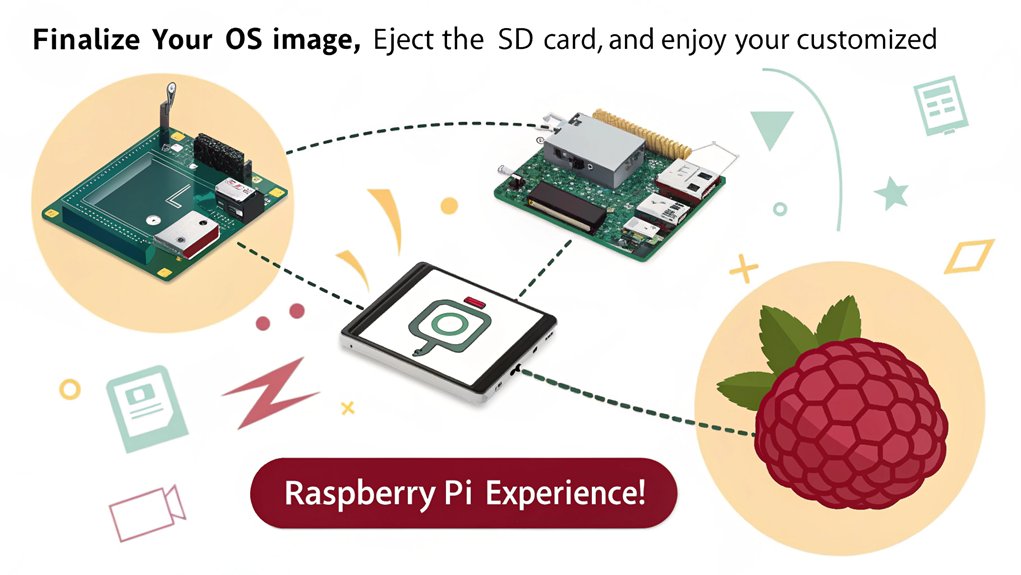
Once the writing is complete, a “Write Successful” message will confirm that you’re ready to proceed. Eject the drive, and it’s now primed to boot your Raspberry Pi with the custom OS.
Your innovation journey continues as you fire up your device for the first time.
Monitoring the Progress
Monitoring the progress of the imaging process is essential to guarantee everything goes smoothly. The Raspberry Pi Imager offers various ways to track your project, whether you’re using the graphical interface or the terminal output. Here’s what to keep an eye on:
- Progress Indicators: Watch the percentage completed to track your progress effectively.
- Current Step Status: Know which task it’s performing, such as downloading or writing the OS image.
- Error Notifications: Stay alert for any warnings or errors that pop up during the process.
- Interactive Interface: You can cancel the operation if something seems off, maintaining control over the process.
- Real-Time Updates: The terminal provides immediate feedback on each action, ensuring you’re informed.
If you notice slow progress, it might indicate hardware compatibility issues or network problems. Ensure you are using a Class 10 microSD card as recommended for optimal performance.
Remember, keeping tabs on progress indicators and error notifications can help you troubleshoot before they escalate into bigger issues.
Hence, monitoring effectively mitigates potential setbacks, paving the way for a smooth imaging experience.
Final Steps
The final steps in creating your custom OS image with Raspberry Pi Imager are essential for ensuring everything works smoothly.
First, make sure your custom OS image file is ready. Launch the Raspberry Pi Imager, click on the “Choose OS” button, and select “Use custom” to load your file.
Next, insert the target SD card into your computer. Remember, any data on the SD card will be erased, so back up anything important first.
Select your SD card in the Imager, and once ready, click the “Write” option. This process can take several minutes, so don’t unplug or shut down your computer.
After the writing process is complete, you’ll receive a notification confirming setup completion.
If you’re using a monitor, you can start using your custom OS right away. For a headless setup, access advanced options (CTRL + SHIFT + X) to enter your Wi-Fi credentials and locale settings.
Follow user recommendations to tweak any additional OS parameters if necessary.
Finally, insert the SD card into your Raspberry Pi, power it on, and enjoy the experience of your newly created custom OS!
Verifying the Installation

Once you’ve finished writing your custom OS image to the SD card, it’s time to verify the installation. This critical step guarantees that your image’s integrity remains intact and is essential for a smooth experience on your Raspberry Pi.
Here’s what you can expect during the verification process:
- Writing Duration: The process typically takes 5-15 minutes based on image size and drive speed.
- Automatic Verification: The Raspberry Pi Imager automatically verifies the image after writing, checking for discrepancies.
- Quick Confirmation: This verification process usually takes less than a minute.
- Notification: Once verification is complete, you’ll receive a notification confirming the success and safety of removing the SD card or USB drive.
- Post-Verification Readiness: After confirmation, you’ll be ready to boot your Raspberry Pi with the new OS.
Utilizing robust verification methods enhances data integrity, minimizing potential issues down the road.
If any discrepancies arise during verification, the process will fail, prompting you to recheck your image.
Frequently Asked Questions
Can I Use Any MicroSD Card for Flashing the OS Image with Raspberry Pi Imager?
You can use any microSD card, but it’s best to pick reputable brands like SanDisk or Samsung. Aim for at least 16GB storage capacity for peak performance, ideally choosing A2-class cards for speed.
What File Formats Are Supported for Custom Images on Raspberry Pi Imager?
You can use various formats for custom images, including ‘.img’ files, which represent raw disk images. Additionally, formats like ‘.zip,’ ‘.tar,’ and ‘.gz’ are supported after extraction, ensuring flexibility for your projects.
How Do I Safely Eject a MicroSD Card After Writing?
Did you know that improper SD card handling can lead to data loss in 60% of cases? To safely remove your microSD card, guarantee the Raspberry Pi is powered off and unmount all partitions before removal.
Can I Flash Images on an SD Card Without an Internet Connection with Raspberry Pi Imager?
You can’t reliably flash images without an internet connection. While you can create custom OS images, selecting them offline may not work due to cache selection issues in the Raspberry Pi Imager’s current version.
What Should I Do if the Raspberry Pi Doesn’t Boot After Installation?
If your Raspberry Pi doesn’t boot, don’t assume it’s the image. First, check your power supply for stability. Next, explore boot troubleshooting, examining hardware connections, SD card integrity, and software compatibility for potential issues.
Conclusion
Creating a custom OS image with Raspberry Pi Imager is like crafting a tailored suit—it’s all about fitting the software to your specific needs. By preparing your environment, selecting the right image, and customizing settings, you’ve guaranteed a seamless experience for your project. Once you’ve verified the installation, your Raspberry Pi is ready to perform at its best. Embrace the power of personalization and watch your custom setup come to life!

I am a retired software engineer with experience in a multitude of areas including managing AWS and VMWare development environments. I bought a relative a mini-PC a year ago and have become passionate about the technology and its potential to change how we deploy software.