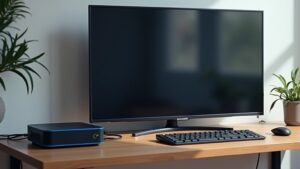
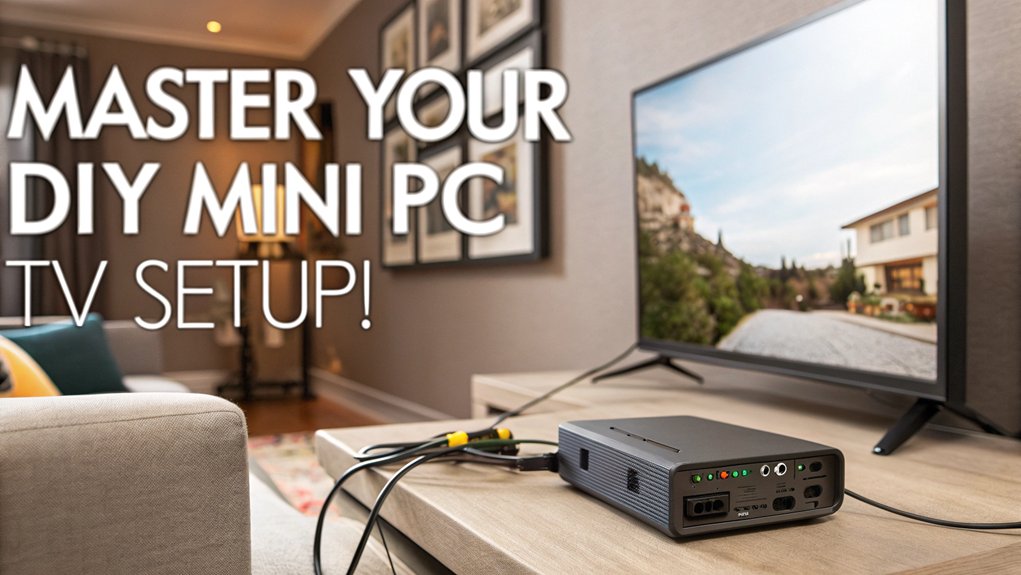
To master a DIY mini PC TV setup, start by selecting a mini PC with a solid Intel Core i5 or AMD Ryzen processor and at least 8GB RAM. Connect it to your TV using an HDMI cable for the best audio and video quality. Install a user-friendly operating system and media center software like Kodi or Plex. Optimize the display settings to match your TV’s resolution and refresh rate. Regular maintenance is key—keep your software updated and manage cables to avoid clutter. Stick around to uncover more tips for maximizing your DIY entertainment system!
You also need a few other things:
- Keyboard and mouse
- HDMI cable to the TV
Key Takeaways
- Select a mini PC with at least an Intel Core i5 CPU, 8GB RAM, and SSD for optimal performance and fast boot times.
- Use an HDMI cable for high-quality audio/video connection and ensure the mini PC has multiple ports for connecting peripherals.
- Install a suitable operating system and media center software like Kodi or Plex for seamless streaming and content access.
- Adjust display settings to match your TV’s resolution and enable HDR for improved color vibrancy and contrast.
- Regularly update software and check connections to maintain performance, and troubleshoot issues by confirming input settings and restarting devices.
Essential Components for Setup
When selecting a mini PC, you’ll want to contemplate factors like CPU power, RAM size, and storage options to guarantee it meets your needs. Additionally, ensure the mini PC supports HDMI specifications for optimal audio and video transmission.
Don’t forget to gather essential peripheral accessories like a keyboard and mouse, which enhance your user experience.
With the right components, you’ll be well on your way to setting up a fantastic mini PC TV system. Additionally, consider using HDMI cables for a reliable connection between your mini PC and smart TV.
Mini PC Selection Criteria
Selecting the right mini PC for your DIY TV setup is essential for achieving the best performance. Aim for models with at least an Intel Core i5 CPU and 8GB of RAM to guarantee smooth streaming and multitasking. Additionally, consider options like the AMD Ryzen 9 8945HS processor for powerful performance.
Mini PCs come with various connectivity options, so make certain yours has multiple HDMI and USB ports for easy connections to your TV and peripherals. If gaming or graphic-intensive applications are on your agenda, check for dedicated GPU support or robust integrated graphics.
Choose an operating system that meets your needs, like Windows or Linux, while ensuring compatibility with your media center software. Finally, opt for an SSD for quicker boot times, and consider additional storage solutions for your media library. Additionally, look for systems with expandable RAM options to accommodate future multitasking demands and enhance overall performance.
Required Peripheral Accessories
To create a seamless DIY Mini PC TV setup, you’ll need several essential peripheral accessories that enhance both functionality and convenience.
Start with an HDMI cable to connect your mini PC to the TV, ensuring high-quality video and audio for your media center experience. A keyboard and mouse are vital for maneuvering the interface and performing tasks smoothly. Additionally, using a USB display adapter can provide an alternative connection method if your TV has limited HDMI ports.
Consider adding a remote control or wireless input device for easier media playback from a distance. For better sound quality, external speakers or a soundbar can greatly improve your audio experience.
Finally, don’t forget a power strip or surge protector to manage the power supply, safeguarding your setup from electrical surges. Additionally, ensuring your TV has low input lag will enhance the responsiveness of your setup, especially for interactive tasks.
These accessories will elevate your overall enjoyment and productivity.
Connecting Your Mini PC
When connecting your mini PC, start by choosing the right cables, like an HDMI, to guarantee a seamless audio and video experience.
It’s essential to check that your mini PC and TV are compatible for the best performance. Compatibility with smart TV OS is crucial for seamless integration.
Once you have everything set up, configuring your display settings will help you get the most out of your setup. Additionally, ensure that your mini PC has the necessary graphics capability to handle high-resolution content for an optimal viewing experience.
Choosing the Right Cables
Three main types of cables can connect your mini PC to a TV, each with its own advantages depending on your setup.
HDMI cables are the go-to choice for most modern setups, as they easily carry high-definition video and audio signals, making them perfect for media consumption. Additionally, selecting the right HDMI cable type can ensure optimal performance based on your mini PC capabilities and TV resolution.
If you’re using an older TV, you might need a VGA cable, but remember that you’ll also need separate audio cables since VGA only transmits video.
For high-performance needs, consider a DisplayPort, which supports higher resolutions and refresh rates. You can convert it to HDMI if necessary.
Finally, wireless options like Google Chromecast and Apple AirPlay can eliminate cable clutter, offering a flexible way to stream content from your mini PC to your TV. Additionally, utilizing wireless screen mirroring technology provides an easy method to display your PC content on larger screens without the hassle of cables.
Ensuring Compatibility and Setup
Ensuring compatibility between your mini PC and TV is essential for a smooth setup.
Start by checking that your mini PC has an HDMI output, as this is the easiest way to connect to modern TVs for seamless audio and video.
Next, verify that your TV supports the same resolution as your mini PC’s output settings to avoid any quality loss.
Pay attention to the refresh rates as well; they should match or exceed your TV’s capabilities for a better viewing experience.
For added convenience, consider using wireless peripherals like keyboards or remote controls, allowing you to navigate easily from a distance.
Finally, keep your mini PC’s operating system updated to maintain compatibility with the latest apps and streaming services.
Software Configuration Steps
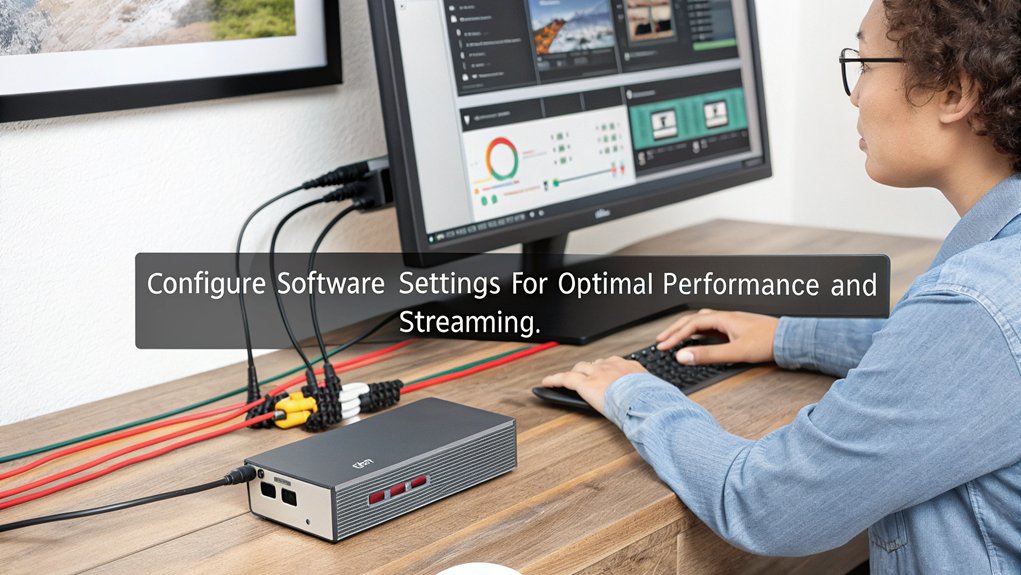
Now that you’ve connected your mini PC, it’s time to configure the software.
Start by installing your chosen operating system to set up a solid foundation for your media experience.
After that, you’ll want to get your media center software and network settings sorted for seamless streaming and access to your content.
Operating System Installation
Before diving into the operating system installation, you’ll need to download the OS image that best suits your mini PC’s hardware and desired functionalities.
Create a bootable USB drive using reliable software tools, as this will be your medium to deploy the OS onto the mini PC.
Once you’ve got the USB ready, connect it to your mini PC and access the BIOS settings to set the USB drive as the primary boot device.
Follow the on-screen prompts during installation, selecting the installation type and formatting the drive if necessary.
Configure local settings as per your preferences to guarantee the best audio output for streaming.
After installation, install essential drivers and updates to enhance your experience before connecting your PC to your TV for a seamless setup.
Media Center Software
Once your operating system is installed, the next step is to set up media center software, which will transform your mini PC into a powerful entertainment hub.
You can choose popular options like Kodi or Plex to optimize your streaming experience. Follow these steps for a smooth setup:
- Download and install your preferred media center software.
- Configure the settings to point to your media libraries, ensuring your photos, music, and videos are indexed correctly.
- Customize the user interface with skins or add-ons for enhanced functionality, enabling access to both local media and your favorite streaming services.
Network Configuration Settings
As you immerse yourself in configuring your mini PC for peak performance, it is crucial to establish a reliable network connection. Make certain your mini PC is connected to a stable internet source, either via Wi-Fi or Ethernet. Access the network settings in your operating system to set up your connection.
Here’s a quick guide:
| Connection Type | Steps | Notes |
|---|---|---|
| Wi-Fi | Select network, enter password | Guarantee strong signal |
| Ethernet | Connect LAN cable | Auto-detects network |
| Software | Update OS and apps | Maintain security |
| Media Center | Set up library directories | Fetch metadata for organization |
Regularly check for updates to guarantee you’re using the latest features and security patches!
Optimizing Performance and Settings
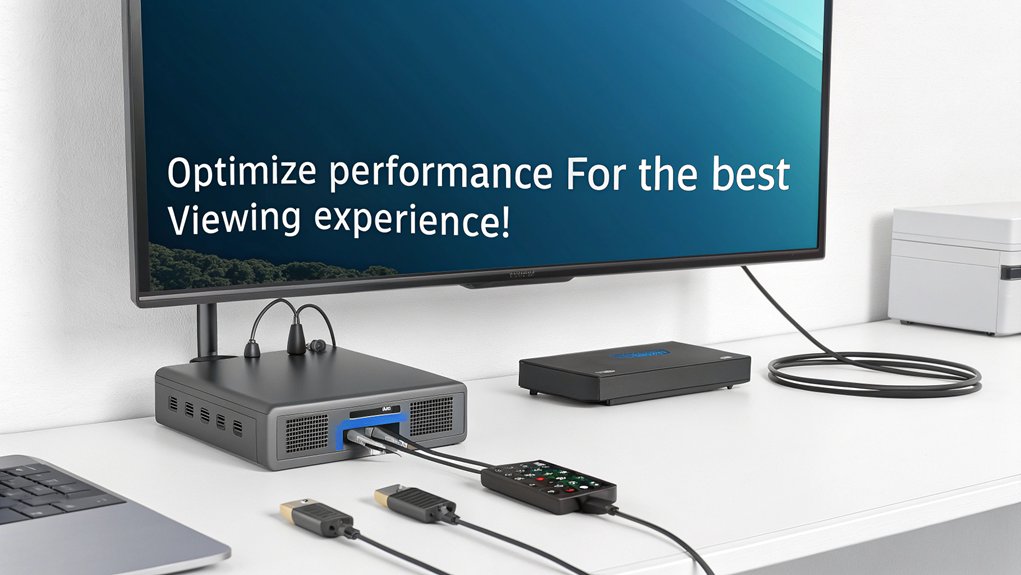
To get the best performance from your DIY mini PC TV setup, start by adjusting the display settings to match your TV’s native resolution.
Next, manage resource usage by optimizing graphics settings in your applications, striking a balance between quality and performance.
These tweaks can greatly enhance your viewing and gaming experience.
Adjusting Display Settings
Getting your display settings just right is crucial for a seamless viewing experience with your DIY Mini PC TV setup.
By adjusting display settings, you can greatly enhance your visuals. Make certain to follow these steps:
- Match Resolution: Set your mini PC resolution to your TV’s capability, like 1080p or 4K, to prevent pixelation.
- Adjust Refresh Rate: Verify the refresh rate on your mini PC matches or exceeds your TV’s to improve fluidity during fast-paced scenes.
- Enable Color Settings: Activate HDR or other color settings if supported, for vibrant colors and better contrast.
Regularly calibrate your display settings using built-in tools or software to maintain superior performance and visual fidelity.
Happy viewing!
Managing Resource Usage
Once you’ve fine-tuned your display settings, it’s time to focus on managing resource usage for a smoother experience.
Start by guaranteeing your mini PC has at least 8GB RAM to handle multitasking while streaming in your living room.
Regularly clear cache and temporary files to free up storage space and maintain peak performance.
Adjust video output settings to match your TV’s resolution, which helps prevent lag during media playback.
Utilize performance monitoring tools to identify CPU or RAM bottlenecks, allowing you to tweak settings or close unnecessary applications.
Finally, keep your operating system and software up to date for the latest performance optimizations and security patches.
This proactive approach will guarantee your mini PC runs efficiently.
Maintenance and Troubleshooting Tips
To keep your DIY Mini PC TV setup running smoothly, regular software updates are key.
Make sure to manage your cables properly to avoid any connectivity issues that could disrupt your experience.
Regular Software Updates
While it may seem tedious, regular software updates are vital for maintaining the performance and security of your DIY mini PC TV setup. By keeping your system up to date, you guarantee smooth operation and improve your overall experience.
Here are three key benefits of regular software updates:
- Enhanced Security: Updates fix vulnerabilities, protecting your setup from potential threats.
- Improved Performance: Updates address bugs and optimize system functionality, leading to better streaming and gaming experiences.
- Compatibility: Regular software updates guarantee your media applications run smoothly, reducing issues with playback.
Next time you think about skipping an update, remember that these maintenance steps are vital for extending the lifespan and reliability of your mini PC TV setup.
Don’t overlook this important aspect!
Cable Management Techniques
Maintaining your DIY mini PC TV setup goes beyond software updates; effective cable management is equally important for both aesthetics and functionality. Start by using cable ties or Velcro straps to bundle your cables neatly. Label each cable at both ends to simplify troubleshooting later. Consider employing cable raceways to conceal cables along walls, creating a cleaner look.
| Technique | Benefit |
|---|---|
| Cable Ties/Velcro Straps | Reduces clutter |
| Labeling Cables | Simplifies troubleshooting |
| Cable Raceways | Protects cables and enhances appearance |
Regularly inspect and clean connections directly on the device. Keep a maintenance schedule, checking for wear; a little bit of proactive care can prevent disruptions in connectivity.
Common Connectivity Issues
Connectivity issues can be frustrating, especially when you’re keen to enjoy your DIY mini PC TV setup.
Here are some common problems and quick fixes to keep in mind:
- Loose HDMI Connections: Confirm the HDMI cable is securely connected at both ends. A loose connection often causes “no display” issues.
- Incorrect TV Input: Check your TV’s input settings to confirm it’s set to the correct HDMI port your mini PC is connected to.
- Audio Settings: If you’re facing audio issues, verify that your mini PC’s audio output matches the TV’s settings, particularly for HDMI connections.
Frequently Asked Questions
Can You Hook up a Mini PC to a TV?
Yes, you can hook up a mini PC to a TV easily. Just use an HDMI cable to connect them, ensuring the mini PC’s resolution matches your TV for the best viewing experience. Enjoy your setup!
What Is the Downside to a Mini PC?
When considering a mini PC, you’ll notice limitations like restricted upgrade options, potential overheating issues, and inadequate performance for demanding tasks. You might also face connectivity challenges, making it less versatile for your needs.
Can You Build a Mini PC Yourself?
Absolutely, you can build a mini PC yourself! Think of it as crafting your own digital masterpiece. Just gather the right components, follow compatibility guidelines, and soon, you’ll have a personalized machine tailored to your needs.
Can You Connect a PC Directly to a TV?
Yes, you can connect a PC directly to a TV using an HDMI cable. Just guarantee your TV has an HDMI input, and you’ll enjoy seamless audio and video for an enhanced viewing experience.
Conclusion
Now that you’ve transformed your living room into a vibrant entertainment hub, imagine sinking into your couch, remote in hand, ready to plunge into a world of endless streaming and gaming. With your DIY mini PC TV setup running smoothly, you’re not just watching shows; you’re experiencing them. Every pixel pops, every sound immerses you deeper, and productivity flows effortlessly. So, kick back, enjoy your creation, and let the magic of technology elevate your home experience like never before!

I am a retired software engineer with experience in a multitude of areas including managing AWS and VMWare development environments. I bought a relative a mini-PC a year ago and have become passionate about the technology and its potential to change how we deploy software.