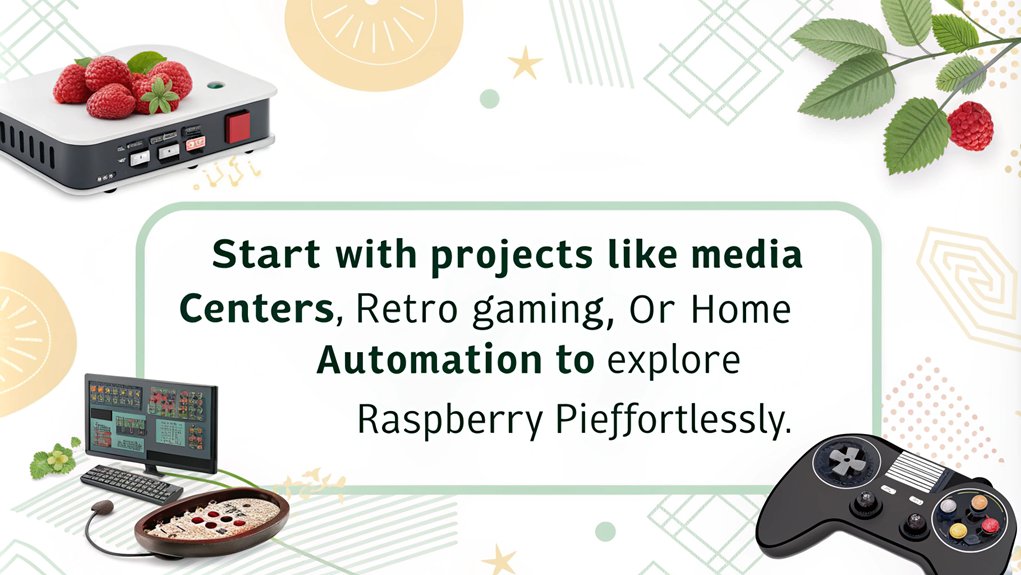
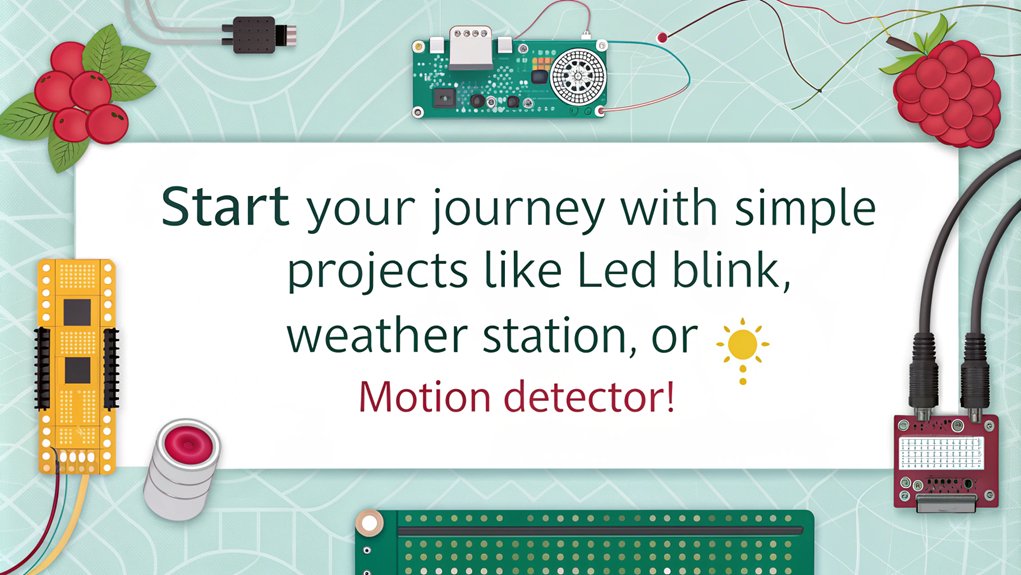
If you’re new to computing, there are plenty of easy Raspberry Pi projects to get you started! You can build a retro gaming console or set up an internet radio player. Try creating a simple weather station to display real-time data or even develop a smart lighting system for your home. Projects like a media center using Kodi or automation with sensors are enjoyable to implement too. As you explore these options, you’ll gain confidence and skills in programming and hardware. Keep going, and you’ll discover even more exciting projects and tips to enhance your Raspberry Pi experience.
Key Takeaways
- Create a media center using OSMC or LibreELEC to stream Netflix and local media effortlessly.
- Build a basic weather display using internet data to showcase real-time forecasts.
- Set up a retro gaming console with RetroPie for a nostalgic gaming experience.
- Develop an interactive LCD screen project, such as a digital picture frame or home assistant dashboard.
- Automate smart lighting systems with Raspberry Pi and enjoy easy control via smartphone applications.
Basic Setup and Configuration for Easy Raspberry Pi Projects
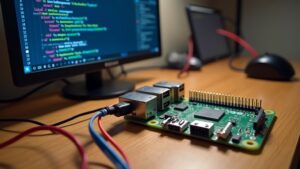
Setting up your Raspberry Pi for the first time can be an exciting project, and with the right components, you’ll be ready to dive in quickly.
First, gather your Raspberry Pi board, a Class 10 microSD card, a suitable power supply, an HDMI cable, and a USB keyboard and mouse. These are the essential pieces for your Raspberry Pi basics.
Start by flashing the operating system onto your microSD card using the Raspberry Pi Imager. Choose an OS like Raspberry Pi OS or Ubuntu that suits your needs. Once you have selected the OS, make sure to enable SSH access for remote control during the installation process.
Once you’ve inserted the microSD card into the Pi, connect your peripherals, and power it up. Follow the on-screen prompts for initial setup, including selecting your language, timezone, and setting a password. The device promotes digital creativity and innovation across various demographics, enhancing education through real-world applications.
To ensure smooth operation, connect your Raspberry Pi to the internet via Ethernet or Wi-Fi.
After booting, it’s crucial to configure your user settings. Enable SSH for remote access and create user accounts as necessary.
Lastly, run ‘sudo apt update’ and ‘sudo apt upgrade’ in the terminal to keep your system updated.
With these steps, you’re well on your way to exploring the innovative possibilities of your Raspberry Pi.
Simple Software Projects
When you’re ready to explore the capabilities of your Raspberry Pi, diving into easy Raspberry Pi projects around software is a great way to get started. These projects not only enhance your skills but also showcase the versatility of your device.
You can create a local weather forecast display that pulls data from the internet, keeping you informed about current conditions. Setting up a live departures board will provide real-time updates for trains, flights, or buses, making your travel planning smoother. For added functionality, configure your Pi to send email notifications on reboot, ensuring you’re always in the loop. Additionally, you can set up a Pi-hole for ad-blocking on the network, which will improve your browsing experience. You can even run a Google Calendar Display to stay updated on your schedule right from your monitor.
If you’re interested in monitoring, consider a broadband speed or outage monitor that logs data to cloud storage like Google Drive, or a CPU temperature monitor that flashes LEDs when temperatures exceed 70°C.
You can also transform your Raspberry Pi into a media server using Kodi or set up an internet radio player with Volumio.
With these projects, you’ll not only learn about software but also how to utilize remote access for various applications. Embrace innovation and let your Raspberry Pi lead the way!
Engaging Hardware Projects

Now that you’ve explored simple software projects, it’s time to ramp up your skills with easy Raspberry Pi projects with hardware. You can create an interactive LCD screen display, set up an ultrasonic distance sensor, or even build a retro gaming console. Each project offers a hands-on way to learn about hardware integration and programming with your Raspberry Pi. Additionally, these projects can greatly enhance your understanding of versatile uses of Raspberry Pi in various applications. By diving into these projects, you will also gain valuable insight into hardware integration and its significance in the Raspberry Pi ecosystem.
Interactive LCD Screen Display
With an interactive LCD screen display, you can transform your Raspberry Pi into an engaging and functional device. By integrating touchscreen functionality and LCD customization, you can create projects that truly stand out. One of the key aspects of this book is that it provides step-by-step guidance for each project, making it easier for beginners to follow along.
Here are three innovative ideas to get you started:
- Mini Weather Forecaster: Build a weather station that displays real-time weather conditions. Use sensors to gather data and show it on your LCD.
- Home Assistant Dashboard: Create a smart home control interface. Display your smart devices and manage them directly from your interactive screen. This project can serve as a centralized control hub for all your smart home devices.
- Digital Picture Frame: Turn your LCD into a digital picture frame that showcases images based on ambient light conditions, enhancing your home decor.
To bring these ideas to life, you’ll need Python drivers for programming your display, and you can use a capacitive touch screen like the 2.8″ ILI9341 for interactive projects.
Don’t forget to mount everything securely on a breadboard for stability. With a little creativity and technical know-how, your Raspberry Pi and interactive LCD screen can become a centerpiece of innovation in your home!
Ultrasonic Distance Sensor Setup
Building on the interactive possibilities of your Raspberry Pi, incorporating an ultrasonic distance sensor can add a whole new layer of functionality to your projects.
To get started, you’ll need an HC-SR04 ultrasonic sensor module, a Raspberry Pi, a breadboard, jumper wires, a logic level shifter, and some resistors for voltage division. Begin by wiring the sensor: connect the VCC to the positive rail and GND to the negative rail of your breadboard. The Trig wire goes to a GPIO pin (like GPIO 23), while the Echo wire connects to another GPIO pin (like GPIO 24) through a resistor. This setup ensures proper voltage levels for accurate sensor calibration. Proper rail connections are essential for the ultrasonic sensor to function accurately. It’s important to note that ultrasonic sensors measure distance using emitted sound waves.
Next, you’ll write a Python script to measure distance. Send a trigger pulse to the Trig pin, and measure the time it takes to receive the echo signal.
Use the formula D = 0.5 * T * C to calculate distance measurement, where D is distance, T is time, and C is the speed of sound.
Implement a loop in your code to continuously measure distance, keeping an eye on connections to avoid errors. Happy coding!
Retro Gaming Console Build
Transform your Raspberry Pi into a retro gaming console and relive your favorite childhood games in style. With a few simple steps, you can create a customizable gaming experience that boasts a diverse game library and retro aesthetics.
Start by selecting your hardware—opt for a Raspberry Pi 4 or 5 for optimal performance. Raspberry Pi 4 Model B is recommended for compactness and performance. The Raspberry Pi 5 is particularly notable for its ability to emulate a wide range of gaming systems, enhancing graphics and gameplay beyond original systems.
Here’s how to get started:
- Install Software: Use the Raspberry Pi Imager to install RetroPie or Batocera, ensuring you choose the right emulator selection for your model.
- Configure Controller Customization: Map your USB gaming controller or custom buttons for seamless gameplay, enhancing your user interface.
- Optimize Performance: Enable system updates and multitasking features for game streaming and retro achievements.
Once everything is set up, consider adding a battery for portability or a custom case for that perfect handheld console feel.
Don’t forget to connect to Wi-Fi and enable SSH for easy access.
With your Pi ready, you’ll be all set to enjoy classic games while experiencing the thrill of performance optimization and retro gaming nostalgia.
Fun Automation and IoT Ideas
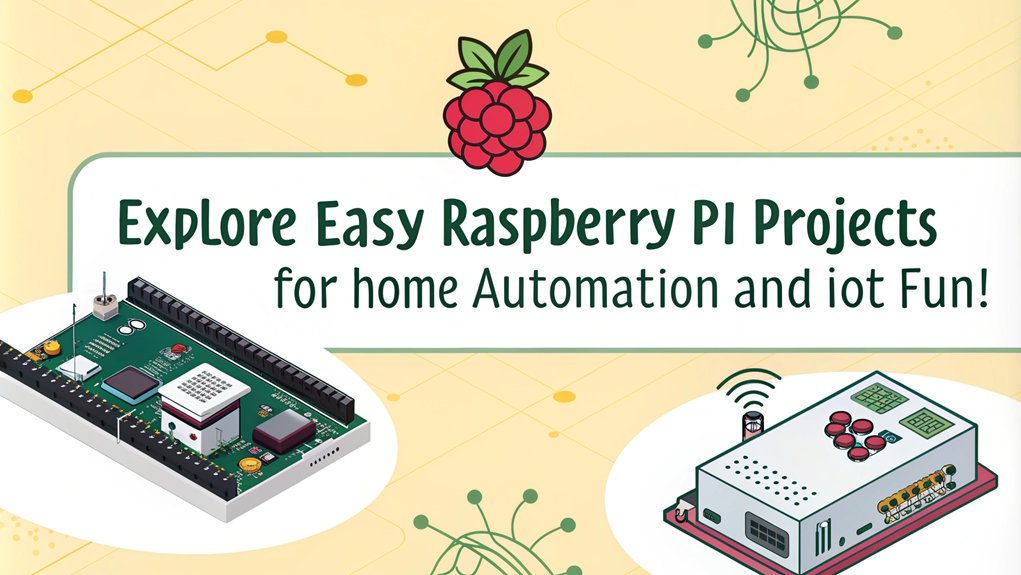
As you explore the world of Raspberry Pi, you’ll discover a variety of fun automation and IoT projects that can enhance your home life.
One exciting venture is smart lighting automation. You can control your lighting systems using a portable switch panel, tablet, or smartphone, making it especially useful for elderly or needy individuals. Integrating your setup with platforms like Homegenie or OpenRemote can further enrich your experience. Additionally, this project can be expanded with home automation using Raspberry Pi to create a fully integrated smart home system.
For pet owners, automated pet care is a game-changer. With a Raspberry Pi, camera, and motor, you can create a smart feeder that dispenses treats and meals while you’re away. This project can even leverage computer vision to monitor your furry friends, ensuring that pet recognition is accurately implemented.
Security monitoring is another critical aspect of home automation. Using a Raspberry Pi camera, microphone, and speaker, you can keep an eye on your home and communicate with family members. Plus, linking sensors to social media can alert you to events like an open front door.
Lastly, consider building robotic assistants to make daily tasks easier. These can transport beverages or snacks, and with features like obstacle avoidance, they can seamlessly navigate your home.
Dive into these innovative projects to elevate your living space!
Creative Media and Entertainment
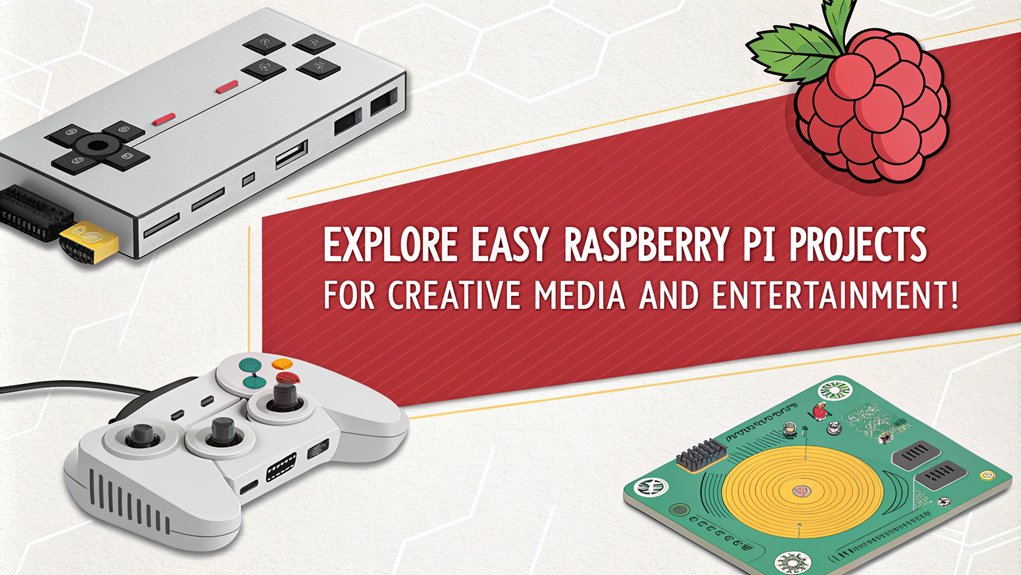
Dive into the world of creative media and entertainment with your Raspberry Pi, where you can turn a simple device into a powerful multimedia hub. By leveraging its capabilities, you can enjoy a range of media experiences, from streaming services to music playback.
Here are three easy Raspberry Pi projects to get you started:
- Build a Media Center: Use OSMC or LibreELEC with Kodi to create a robust media center. Flash the OS onto a MicroSD card, connect to your Wi-Fi or Ethernet, and start streaming Netflix and local media effortlessly. Raspberry Pi can run OSMC for media playback, making it an excellent choice for a home theater setup. Additionally, the latest model of Raspberry Pi supports 4K video, enhancing your viewing experience.
- Music and Radio Playback: Set up Pi Music Box to stream music from services like Spotify. You can control playback from your smartphone, making it a convenient music hub. Consider using Volumio or Moode for additional features.
- Remote Control Integration: Enhance your user interface with Kodi add-ons. Use your TV remote through HDMI-CEC or download Kodi remote apps on your smartphone for seamless navigation.
With cloud integration options and various add-ons available, you’ll transform your Raspberry Pi into an innovative entertainment powerhouse.
Learning Electronics and Coding
To get the most out of your Raspberry Pi, you’ll need to understand the basics of electronics and coding.
Start by exploring GPIO pins to connect and control various components, and learn Python for scripting your projects. Raspberry Pi is ideal for building and coding hardware projects, making it a perfect platform for beginners. Engaging with hands-on projects will further enhance your understanding and skills in electronics.
Mastering these skills will open up a world of possibilities for your creative ideas.
Basics of Electronics
Understanding the basics of electronics is essential for anyone eager to embark on Raspberry Pi projects. Familiarizing yourself with key components and concepts will empower you to create innovative circuits.
Here are three fundamental aspects to grasp:
- Component Functions:
- Resistor functionality helps set appropriate current levels.
- Transistor types allow you to amplify signals, crucial for digital applications.
- Capacitor uses introduce time delays, acting like mini batteries. Understanding these basic electronics components will enhance your ability to construct effective circuits. Additionally, knowledge of GPIO pin usage is crucial for successful project execution.
- Current and Voltage:
- Understanding current flow and voltage control is vital. Current only flows in a closed loop, propelled by the potential difference of a battery.
- Schematic Diagrams:
- Learning to read schematic symbols enables you to visualize and design circuits effectively. They’re indispensable for circuit debugging, ensuring you can identify and fix issues.
GPIO and Connections
Getting started with GPIO and connections on your Raspberry Pi opens up a world of possibilities for electronics projects. GPIO pins are your main tools for interacting with the physical world, allowing you to control devices like LEDs or communicate with sensors.
First, familiarize yourself with GPIO pin numbering; you can choose between physical pin numbers or the BCM numbering system.
Ensure your Raspberry Pi OS is updated and the GPIO package is installed. Enable I2C and SPI using the raspi-config tool, and verify their functionality with specific commands.
When connecting devices, use breadboards to organize your components, and don’t forget to add resistors to protect your LEDs.
When coding, remember to import the RPi.GPIO library and configure your pins as inputs or outputs using the GPIO.setup() function.
If you run into issues, follow these GPIO troubleshooting tips: double-check your wiring, verify your pin configurations, and ensure you’re using the correct voltage levels.
Python Programming Basics
Diving into Python programming on your Raspberry Pi opens the door to countless creative projects and practical applications. To get started, you’ll need to grasp some fundamentals:
- Python Syntax & Data Types: Understanding the basic syntax and data types is crucial. You’ll learn how to declare variables, manipulate strings, and work with numbers.
- Python Scripts & File Handling: Write and execute Python scripts to automate tasks. Save your code using a text editor, and use Python’s file handling capabilities to read from and write to files.
- Python Interpreter & Debugging: The Python interpreter allows you to test commands interactively. Use it as a calculator or for quick code snippets, and take advantage of debugging tools to troubleshoot your projects.
As you explore Python libraries and modules, you’ll find endless possibilities, from creating functions to implementing loops for more complex tasks.
These skills will serve as the foundation for innovative projects, like building a weather station or automating your home.
Embrace the journey into Python programming, and watch your Raspberry Pi transform into a powerful tool for creativity.
Building a Retro Gaming Console

While creating your own retro gaming console might seem daunting, it’s an enjoyable and rewarding easy Raspberry Pi project that anyone can tackle.
Start by gathering essential components: a Raspberry Pi board, a microSD card, a power supply, an HDMI cable, and USB controllers. For game emulator setup, install RetroPie on your microSD card, ensuring your Raspberry Pi is updated for optimal performance.
Once you’ve booted up, follow the on-screen instructions for controller configuration. This is crucial for a smooth gaming experience.
Add your game ROMs by transferring them to the appropriate folders on your Raspberry Pi, facilitating easy game ROM management.
Dive into retro gaming customization by personalizing RetroPie’s interface and integrating retro achievements to enhance your gameplay. For multiplayer fun, consider a netplay setup, allowing friends to join in on the action.
Don’t forget HDMI connection tips; using the right cable ensures crisp visuals on your display.
Lastly, optimize your Raspberry Pi settings for performance, enabling hotkeys and cheats for an enriched experience.
With these steps, you’ll have a fully functional retro gaming console that’s ready to take you back in time!
Setting Up a Weather Station
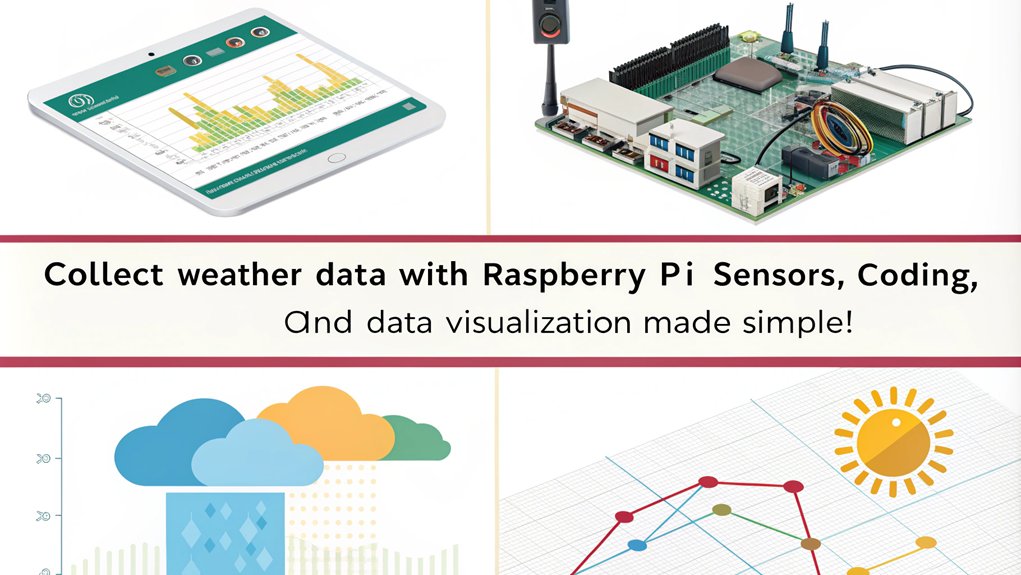
After enjoying some retro gaming fun, you might want to explore another exciting project: setting up your own weather station. This project lets you monitor temperature, humidity, and more, while honing your skills with the Raspberry Pi.
To get started, you’ll need a few key components:
- Raspberry Pi Board: A newer model like the Raspberry Pi 4 is recommended for better performance.
- Sensors: Use a DHT22 for temperature and humidity, and consider adding sensors for wind speed and barometric pressure.
- Wiring: Connect the sensors to the GPIO pins using jumper wires, ensuring proper power connections.
Once everything’s wired up, focus on sensor accuracy. Take initial readings and compare them with a calibrated weather station. Adjust readings using software libraries, and remember to periodically check calibration for consistent results.
To visualize your data, install Raspbian and relevant Python libraries. You can display the information on a 7-inch screen or publish it to Google Sheets for real-time updates.
This way, you’ll not only learn about weather patterns but also gain valuable experience in data visualization and programming.
Developing a Smart Home System

To develop a smart home system with your Raspberry Pi, you’ll need essential hardware components like a MicroSD card and a reliable power supply.
Setting up relay circuits can help control various devices, while integrating with APIs will expand your system’s capabilities.
With these elements in place, you can create a seamless and automated smart home experience.
Essential Hardware Components
Building your smart home system starts with the essential hardware components that make it all possible. To ensure your Raspberry Pi operates efficiently, focus on the following key elements:
- Raspberry Pi Board & Power Supply: Choose a compatible Raspberry Pi model and a reliable power supply for optimal power management.
- MicroSD Card & Case: Use a microSD card for storage and consider a case to protect your setup, enhancing performance improvement and project scalability.
- Sensor Integration Components: Integrate various sensors, like temperature and motion sensors, to monitor your environment effectively.
Additionally, consider digital input/output modules for device control and a relay module for switching appliances like lights and heaters.
These components will help streamline workflow optimization and ensure hardware compatibility with your existing smart devices.
You may also want to explore wireless communication modules, such as Wi-Fi or Bluetooth, to enhance connectivity.
Setting Up Relay Circuits
Setting up relay circuits is a crucial step in developing your smart home system, allowing you to control various appliances with ease.
Start by ensuring your relay module is compatible with your Raspberry Pi model, whether it’s A+, B+, 2B, or 3B. Connect the relay’s power and ground to the Raspberry Pi’s 5V and ground pins, then use GPIO pins for control.
When connecting devices, cut the power line of the appliance and route it through the relay. For AC devices, ensure you’re using the hot wire for safety; for DC devices, cut the negative line. Choose your relay configurations wisely, deciding between normally open (NO) or normally closed (NC) setups based on your application.
Relay safety is paramount, so double-check your wiring to prevent short circuits. Utilize indicators on the relay to monitor status.
Once everything’s connected, you can control the relay using programming languages like Python or integrate it with home automation platforms for a more seamless experience.
Integrating With APIs
Integrating with APIs opens up a world of possibilities for your smart home system, allowing you to connect and control various devices seamlessly.
By leveraging API integration techniques, you can enhance your home automation experience through smart device interoperability and efficient energy monitoring systems.
Here are three key aspects to consider:
- Voice Command Functionality: Integrate voice command APIs to control your devices effortlessly. This functionality provides hands-free convenience, whether you’re adjusting lights or checking thermostat settings.
- Sensor Data Collection: Utilize sensor APIs to gather data from your environment. For instance, you can monitor temperature and humidity through 1-Wire sensors, making real-time adjustments to your home climate.
- Energy Monitoring: Connect to energy meter APIs to track and manage your energy consumption. This data can help you make informed decisions to reduce waste and optimize usage.
Creating an Internet Radio Player
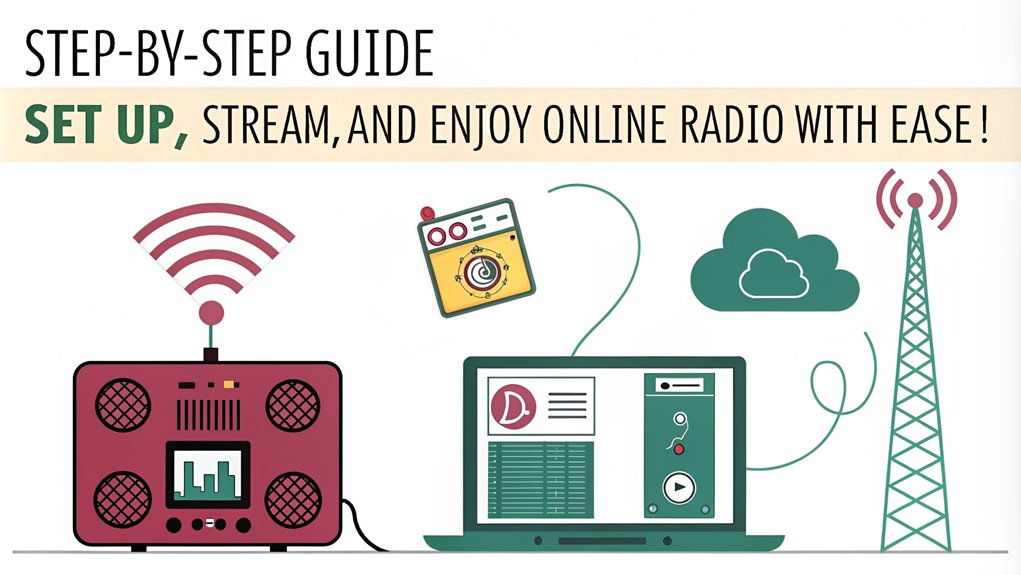
Transform your Raspberry Pi into a versatile internet radio player and enjoy streaming your favorite stations from around the globe. With a few simple steps, you’ll have a powerful audio device at your fingertips.
Hardware and Software Requirements
| Requirements | Details |
|---|---|
| Hardware | Raspberry Pi, USB Wifi adapter |
| Software | Media Player Daemon (MPD), MPC |
| Audio Setup | Speakers, USB sound card |
Start by installing the Raspbian OS on your Raspberry Pi. Set up your wifi and hostname, and log in using the default credentials. Next, install MPD and MPC, then clone a radio script from GitHub to customize your player. Update the MPD configuration to include your playlist directory, ensuring it supports various audio formats.
For a user-friendly interface, consider adding an LCD display and controls like buttons or rotary encoders. You can also set up SSH access for easy remote control. By using streaming protocols, you’ll have access to a world of music and news, making your Raspberry Pi a central hub for entertainment. Enjoy your customized internet radio experience!
Frequently Asked Questions
What Operating System Should I Install on My Raspberry Pi?
When choosing an operating system for your Raspberry Pi, consider popular distributions like Raspberry Pi OS or Ubuntu. Follow installation guidelines to ensure optimal performance and customization based on your project’s specific needs and preferences.
How Do I Troubleshoot Boot Issues with My Raspberry Pi?
Frustration can arise when your Raspberry Pi won’t boot. Check your boot configuration and inspect for SD card issues. A simple fix might just be a compatible OS image or a properly inserted SD card.
Can I Power My Raspberry Pi With a Battery?
Yes, you can power your Raspberry Pi with various battery types. For effective power management, choose batteries that provide stable 5V output, and consider using regulators to ensure optimal operation and longevity of your device.
What Peripherals Are Compatible With Raspberry Pi?
When you’re looking for compatible peripherals for your Raspberry Pi, consider options like HDMI displays, Raspberry Pi cameras, USB gamepads, cooling fans, wireless keyboards, Bluetooth speakers, GPIO accessories, and external storage for enhanced functionality.
How Can I Back up My Raspberry Pi Setup?
You can back up your Raspberry Pi setup using various backup methods, like full SD card backups for complete data recovery or incremental backups to save only changes. Automate these processes for hassle-free protection.
Conclusion
In a nutshell, diving into Raspberry Pi projects can really open up a world of creativity and learning for you. Whether you’re setting up a weather station or building a retro gaming console, you’re bound to have a blast while honing your tech skills. So, don’t hesitate to roll up your sleeves and get started. With a bit of patience and experimentation, you’ll find that the sky’s the limit when it comes to what you can create!

I am a retired software engineer with experience in a multitude of areas including managing AWS and VMWare development environments. I bought a relative a mini-PC a year ago and have become passionate about the technology and its potential to change how we deploy software.