
We’ve all been there – you’ve got your Raspberry Pi set up with the perfect display, ready to stream your favorite content or demo your latest project, but there’s one frustrating problem: complete silence. Getting HDMI audio output on Raspberry Pi working can feel like solving a puzzle where half the pieces are missing. But don’t worry – whether you’re building a home media center or creating an interactive display, this comprehensive guide will walk you through every step needed to get crystal-clear audio flowing through your HDMI connection. From checking physical connections to tweaking system configurations, we’ll turn that silence into sound.
Key Takeaways
- Securely connect the HDMI cable to the HDMI0 port and ensure the display device is set to the correct HDMI input.
- Use the terminal command ‘amixer cset numid=3 2’ to set HDMI as the audio output and adjust settings in ‘alsamixer’.
- Modify the ‘/boot/config.txt’ to uncomment ‘hdmi_drive=2’, set ‘hdmi_group=1’, and potentially comment out ‘dtparam=audio=on’.
- Launch Raspi-config to select HDMI audio output on Raspberry Pi under “System Options” and confirm the correct HDMI port is in use.
- Reboot the Raspberry Pi with ‘sudo reboot’ to apply all changes and verify audio output settings afterward.
Checking Hardware and Connections
To guarantee proper HDMI audio output on Raspberry Pi, start by checking your hardware and connections.
Begin with the HDMI cable; make sure it’s securely connected to the HDMI0 port (right next to the USB-C port for Pi 4) and your display device. Cable quality considerations matter here, so opt for a high-quality HDMI cable to reduce signal degradation. In addition, be mindful that site downtime may also affect the accessibility of related resources and information.
If your display has multiple HDMI ports, confirm you’ve selected the correct one and that the display is set to receive audio via HDMI. Additionally, remember that HDMI audio may not work with certain monitors.
Next, verify that your display device, whether it’s a TV or monitor, supports audio output through HDMI. You’ll want to check its settings for any adjustments needed to enable HDMI audio, and make sure the volume isn’t muted or too low.
Also, inspect the device itself—confirm it’s capable of HDMI audio output on Raspberry Pi and that all cables are firmly connected, with no signs of physical damage to the HDMI port.
Pay attention to your environment, eliminating any potential interference from other devices.
Following these HDMI troubleshooting tips helps set a solid foundation for a seamless audio experience.
Configuring HDMI Audio Output on Raspberry Pi
Configuring audio output in Raspberry Pi OS is often a straightforward process that guarantees you get the best sound experience from your Raspberry Pi. Start by confirming that the ALSA utilities are correctly installed. Use the terminal to remove any corrupted versions with ‘sudo apt-get remove –purge alsa-utils*’, then reinstall by running the installation commands. This confirms ideal audio performance.
Next, select your desired audio output. You can easily set your HDMI audio output on Raspberry Pi via the GUI by right-clicking the speaker icon in the taskbar and selecting HDMI. Alternatively, use the command ‘amixer cset numid=3 2’ to force HDMI as the output. It’s important to ensure that you configure HDMI audio settings correctly in the ‘/boot/config.txt’ file to prevent any issues.
To fine-tune your audio experience, open ‘alsamixer’ and adjust volume levels for specific devices. Don’t forget to save your changes with ‘sudo alsactl store’. Additionally, ensure that you have the correct boot files configured, as this can impact HDMI audio output on Raspberry Pi functionality.
For volume normalization, confirm the connected monitor or TV volume is appropriately set. Finally, reboot the system to apply all changes. By following these simple steps, you’ll achieve a quality audio performance that elevates your Raspberry Pi setup.
Editing Configuration Files
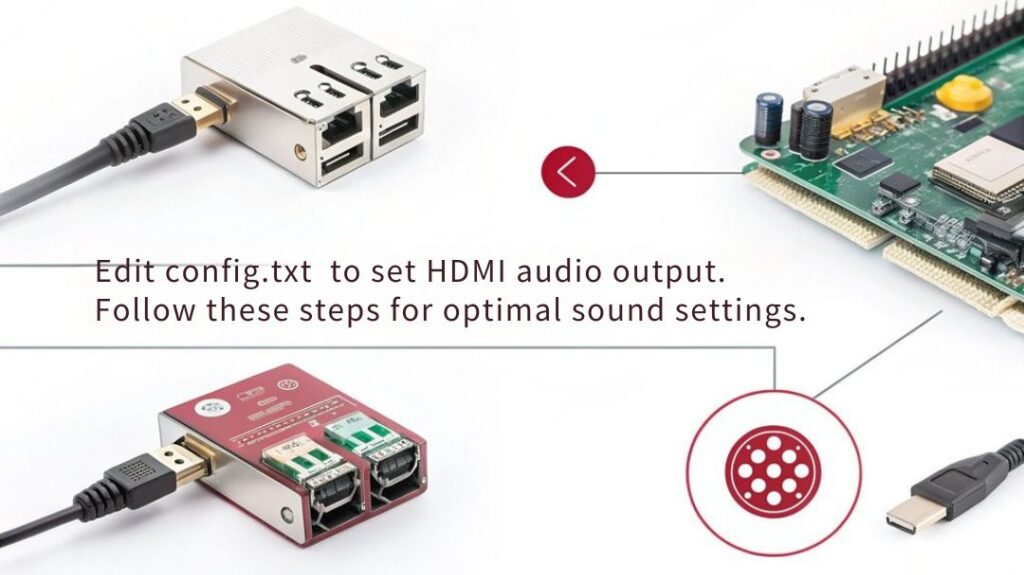
Editing configuration files is crucial for maximizing your HDMI audio output on Raspberry Pi. Start by locating the ‘config.txt’ file in the ‘/boot’ directory, accessible via terminal or a file manager on your computer. It’s a good idea to make configuration file backups before diving in. You can easily create a backup by copying the original file. When using text editor options like ‘nano’, open the terminal and type ‘sudo nano /boot/config.txt’. To force HDMI audio output, uncomment the line ‘#hdmi_drive=2’ by removing the ‘#’ symbol. You should also add or modify ‘hdmi_group=1’ to guarantee accurate HDMI group selection. If you’re using external audio devices, comment out the line ‘dtparam=audio=on’ for peak performance. The Raspberry Pi 4’s recommended hardware ensures optimal performance, particularly when managing audio configurations. Remember to also verify that your HDMI device supports HDMI audio capabilities to avoid any misidentification issues. After making necessary modifications, save your changes by pressing ‘Ctrl+X’, followed by ‘Y’, and then ‘Enter’ to confirm. Finally, reboot your Raspberry Pi with ‘sudo reboot’ to apply the updates effectively. This streamlined process guarantees that your Raspberry Pi delivers high-quality audio through HDMI, enhancing your multimedia experience.
Troubleshooting ALSA Drivers
Troubleshooting ALSA drivers is vital for guaranteeing your Raspberry Pi’s audio functions smoothly. If you encounter alsa errors, it’s essential to address them promptly. First, verify you have the latest ALSA utilities installed. Use the command ‘sudo apt-get install alsa-utils‘ to install or update.
Check for device permissions, especially if ‘alsamixer’ fails to open. You might need to adjust group memberships for audio users, confirming your user belongs to the necessary groups. Verify the driver loading by running ‘sudo modprobe snd-bcm2835‘, followed by ‘sudo lsmod | grep 2835’ to confirm it’s active. Additionally, it’s important to load the correct sound driver to ensure that your system recognizes the audio hardware.
If you see “Unknown PCM cards” errors, edit your ALSA configuration file at ‘/usr/share/alsa/alsa.conf’ and change to ‘pcm.front cards.pcm.default’. After making changes, test your audio setup using ‘aplay’ to verify functionality. Ensure that you have performed a system update before proceeding with these steps, as this can resolve many conflicts. Implementing effective ALSA management will help you configure audio settings properly for optimal performance.
In case you still experience issues after a kernel update, hold the kernel version with ‘sudo apt-mark hold raspberrypi-kernel’ to prevent future disruptions. Finally, avoid complex ALSA chains with “type copy” or “type equal” to reduce the risk of additional errors. By following these steps, you’ll have a smoother audio experience.
Using Raspi-config
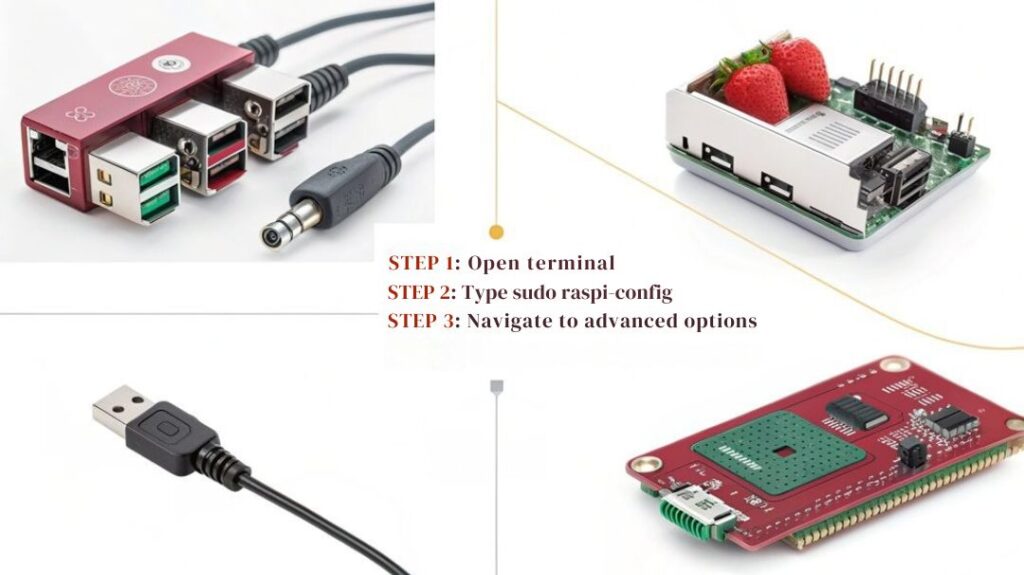
To set up HDMI audio output on Raspberry Pi, you’ll want to use the Raspi-config tool, which simplifies the configuration process. Follow these steps for a seamless setup.
First, open the terminal and enter ‘sudo raspi-config’ to launch the configuration tool. If you’re using the desktop, navigate through Preferences > Raspberry Pi Configuration instead. Ensure your system is stable and well-cooled, especially if you’re managing complex setups like solar system monitoring. The new hardware layout of the Raspberry Pi 5 may require specific accessories for optimal performance.
Next, in the Raspi-config menu, go to “System Options,” then select “S2 Audio.” Here, you’ll access the audio settings where you can pick your audio output device.
If you want HDMI audio, choose option ‘1’ for ‘vc4-hdmi-0’ or ‘2’ for ‘vc4-hdmi-1’, depending on which HDMI port you’re utilizing. Always make sure your HDMI cable is connected to the correct port.
Additionally, you can modify audio output settings using the desktop volume control or through the raspi-config tool for easier management of audio configurations. It’s also beneficial to increase GPU memory if you’re working with high-quality video playback to ensure optimal performance.
Finally, save your changes and reboot the system to apply them. After your Raspberry Pi restarts, check the ‘/boot/config.txt’ file for the line ‘hdmi_drive=2’, ensuring your monitor supports the dual 4Kp60 HDMI output setup.
| Step | Action |
|---|---|
| Access Raspi-config | Open terminal & run command |
| Select Audio Output | Choose ‘S2 Audio’ |
| Reboot to Apply Changes | Save and select reboot |
Frequently Asked Questions
Can I Use Bluetooth Speakers for Audio Output on Raspberry Pi?
Yes, you can use Bluetooth speakers for audio output on your Raspberry Pi. Just guarantee a stable Bluetooth connection, as audio latency may impact playback quality. Pair the speaker, and select it in the audio settings.
What Should I Do if My HDMI Display Shows No Signal?
Did you know that nearly 30% of HDMI issues stem from improper connections? For no signal solutions, try these HDMI troubleshooting tips: re-seat cables, check power, adjust settings, and guarantee the display’s input matches the HDMI port.
Is It Necessary to Update Raspbian for HDMI Audio to Work?
It isn’t necessary to update Raspbian for HDMI audio to work, but doing so can resolve HDMI compatibility issues. Regular updates help fix bugs and improve audio performance, ensuring a better overall experience.
How Can I Check if My HDMI Cable Is Faulty?
To check if your HDMI cable’s faulty, perform signal testing using a Vector Network Analyzer. Look for issues like excessive insertion loss or cross talk, which indicate problems affecting the cable’s performance and data transfer.
Can Audio Output Settings Be Changed From the Command Line?
You can easily transform your audio settings using the command line. Just release the power of ‘amixer’ or ‘alsamixer’ to adjust your audio output and find your perfect audio paradise. It’s that simple
Conclusion
As you commence your audio journey with the Raspberry Pi, think of yourself as a skilled conductor orchestrating a symphony. Each step you’ve taken—checking connections, adjusting settings, and troubleshooting—brings you closer to the harmonious sound you crave. Embrace the adventure, knowing that with every tweak, you’re fine-tuning your masterpiece. So, sit back, listen, and enjoy the melodic results of your efforts as your Raspberry Pi serenades you with impeccable HDMI audio output.

I am a retired software engineer with experience in a multitude of areas including managing AWS and VMWare development environments. I bought a relative a mini-PC a year ago and have become passionate about the technology and its potential to change how we deploy software.