How Can Running Home Assistant on a Raspberry Pi Give you a Smart Home?
Just as a skilled conductor orchestrates dozens of musicians into a harmonious symphony, you’ll find that Home Assistant on a Raspberry Pi can coordinate all your smart devices into a seamless home automation experience. You don’t need extensive technical knowledge to get started, but you’ll want to understand the key components and steps before jumping in. Whether you’re automating lights, monitoring sensors, or creating complex scenarios, your journey toward a smarter home begins with proper setup and configuration.
Key Takeaways
- Raspberry Pi 4 or 5 with 4GB RAM minimum is recommended for optimal performance when running Home Assistant.
- Flash Home Assistant OS onto a minimum 32GB A2-rated microSD card using Raspberry Pi Imager tool.
- Connect the Raspberry Pi via ethernet for stability and access Home Assistant through homeassistant.local:8123 in a web browser.
- Install essential add-ons and integrate smart devices using the Conbee II stick for Zigbee device compatibility.
- Implement regular backups and monitor system resources to maintain smooth operation of Home Assistant.
Essential Hardware Requirements for Your Home Assistant Build
When setting up Home Assistant on a Raspberry Pi, you’ll need specific hardware components to guarantee peak performance and reliability.
Your hardware selection should start with a Raspberry Pi 4 or 5, equipped with at least 4GB RAM for superior operation. While a Pi 3B+ can work, it’ll limit your expansion options. In fact, using older Pi models is not recommended due to insufficient RAM.
A Raspberry Pi 4 or 5 with 4GB RAM delivers optimal Home Assistant performance, offering greater flexibility than older models.
For storage, choose an A2-rated microSD card with 32GB minimum capacity, or better yet, upgrade to an SSD with a USB3-SATA adapter for enhanced reliability. Docker Compose services can help manage multiple applications efficiently.
Performance considerations should include a proper power supply and ethernet connectivity for stable operations.
If you’re planning to integrate smart devices, you’ll need a Conbee II stick for Zigbee functionality, possibly with a USB extension cable to minimize interference.
These core components establish a solid foundation for your home automation system.
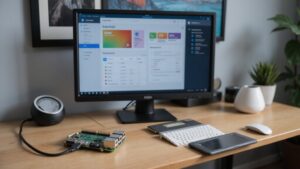
Preparing Your Raspberry Pi for Installation
A successful Home Assistant installation starts with proper Raspberry Pi preparation. You’ll need a model 3 or later Pi, a 32GB+ microSD card, and essential Raspberry Pi accessories like a power supply and case. Connect your Pi to a monitor during initial setup for installation troubleshooting if needed. Since Home Assistant Container requires Docker version 19.03.9 or newer, ensure your Pi’s operating system supports this requirement. The initial boot process typically takes 10-15 minutes to complete when first starting up Home Assistant.
| Setup Component | Required | Optional |
|---|---|---|
| Hardware | Pi, SD card, power supply | Heat sink, case |
| Network | Ethernet cable | Wi-Fi credentials |
| Tools | SD card reader, computer | USB extensions |
Before powering up, flash the Home Assistant OS using Balena Etcher, verify your network settings, and connect any USB dongles you’ll need. Position your Pi where it’ll have stable network access, preferably via ethernet. You can access the interface at your Pi’s IP address on port 8123 once it’s running.
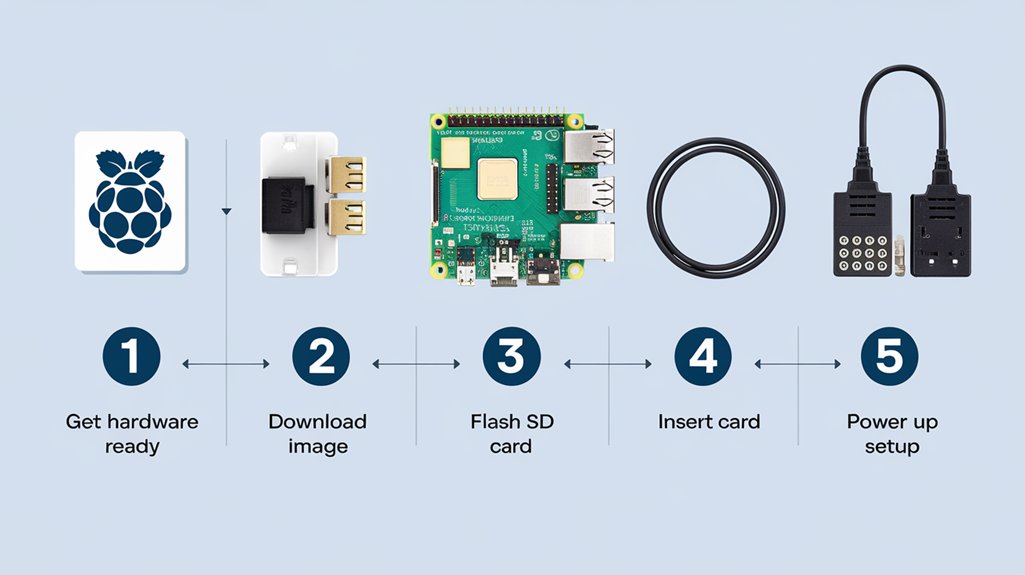
Step-by-Step Home Assistant OS Installation Guide

You’ll need a Raspberry Pi (model 3, 4, or 5), a power supply rated for your Pi model, and a microSD card with at least 32GB storage to begin the Home Assistant OS installation.
Using the Raspberry Pi Imager tool, select your Pi model and choose the Home Assistant OS from the “Other specific-purpose OS” menu.
Insert your microSD card into your computer, click write to flash the image, and wait for completion before safely ejecting the card. After writing is complete, allow approximately five minutes to boot when starting your Raspberry Pi. This DIY approach offers a low-cost mini computer solution for setting up your smart home system.
Prepare Hardware Requirements
Successfully setting up Home Assistant OS starts with gathering three essential hardware components: a compatible Raspberry Pi device (preferably Pi 4 or 5 with 4GB RAM), a high-quality Application Class 2 micro SD card (32GB minimum), and a USB-C power supply.
Users transitioning from older models will notice much quicker setup with modern Raspberry Pi versions. While Raspberry Pi alternatives like the Odroid-N2 offer hardware compatibility, make certain you’ve got these critical items for peak performance: The platform’s open-source nature allows for extensive customization and control of your smart home devices.
- A micro SD card reader and ethernet cable for initial setup and reliable connectivity
- A Conbee II or similar Zigbee stick to enable smart device integration and automation
- An SSD with USB3-SATA adapter for enhanced reliability and faster performance
Consider adding heat sinks or a cooling fan to maintain stable temperatures during operation, especially if you’re planning to run multiple add-ons simultaneously.
Flash OS Image
Installing Home Assistant OS begins with three essential software components: the Raspberry Pi Imager tool, your chosen OS image file, and a compatible SD card reader.
To start the flashing process, download and install the Raspberry Pi Imager from the official website.
Launch the imaging software and select “Other specific-purpose OS” followed by “Home assistants and home automation.” Choose the correct Home Assistant OS version for your Raspberry Pi model.
Insert your SD card, ensuring it has adequate space, as the flashing techniques will erase existing data.
Select your SD card as the target device and click “Next” to begin writing the image. Once the process completes, safely eject the card.
If you encounter issues, alternative flashing techniques using Balena Etcher offer a reliable backup solution.
Network Configuration and Initial Setup
You’ll need a stable network connection, either Wi-Fi or Ethernet, to begin setting up your Home Assistant on Raspberry Pi.
Access your new Home Assistant installation through a web browser at http://homeassistant:8123 or by using the device’s local IP address with port 8123.
During first-time setup, you’ll create your admin account and configure basic network settings through the intuitive web interface. A wired connection is strongly recommended over WiFi for optimal stability and performance. Consider reserving an IP address in your router settings to maintain consistent access to your Home Assistant system.
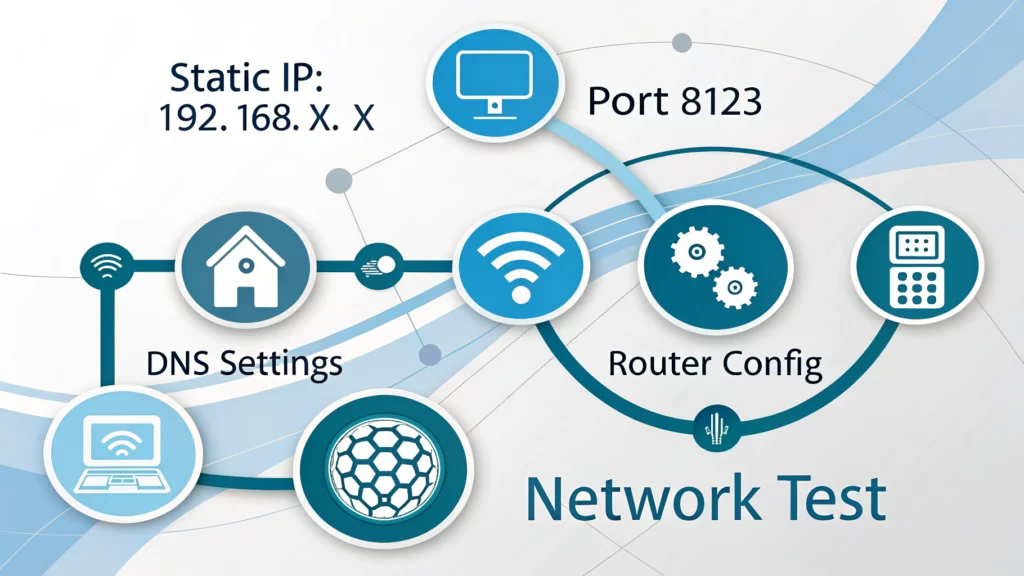
Network Connection Requirements
When setting up Home Assistant on a Raspberry Pi, proper network configuration forms the foundation for reliable system operation.
You’ll need a stable local network with DHCP enabled and internet access for updates and cloud service integration. While wireless connectivity options exist, starting with an Ethernet connection guarantees the most reliable initial setup and helps avoid network security complications.
For peak performance, verify your network meets these critical requirements:
- Your router must allow multicast traffic for mDNS discovery, enabling homeassistant.local functionality.
- Port 8123 needs to be accessible for both inbound and outbound traffic through your firewall.
- Network hardware should support stable connections with minimal interference, particularly if shifting to Wi-Fi post-setup.
Consider implementing static IP addressing to maintain consistent access to your Home Assistant interface, especially in environments where DHCP assignments frequently change.
Accessing First-Time Setup
Once your Raspberry Pi boots up with Home Assistant installed, accessing the initial setup requires connecting to the web interface through your local network.
You’ll need to open your browser and navigate to homeassistant.local:8123 or use your device’s IP address. The first access may take several minutes while the system initializes. The initial configuration time typically requires about 20 minutes to complete.
If you don’t see the interface after 5 minutes, begin setup troubleshooting by checking your SD card’s flash integrity or reviewing the console output for potential errors. For users experiencing installation challenges, choosing Home Assistant OS over Supervised is recommended for a more streamlined setup process.
Once you’ve successfully connected, you’ll be guided through the basic configuration process, where you can initialize your settings and start adding integrations.
The interface is designed for intuitive navigation, making it straightforward to begin configuring your smart home devices and creating your first automations.
Optimizing Performance and Stability
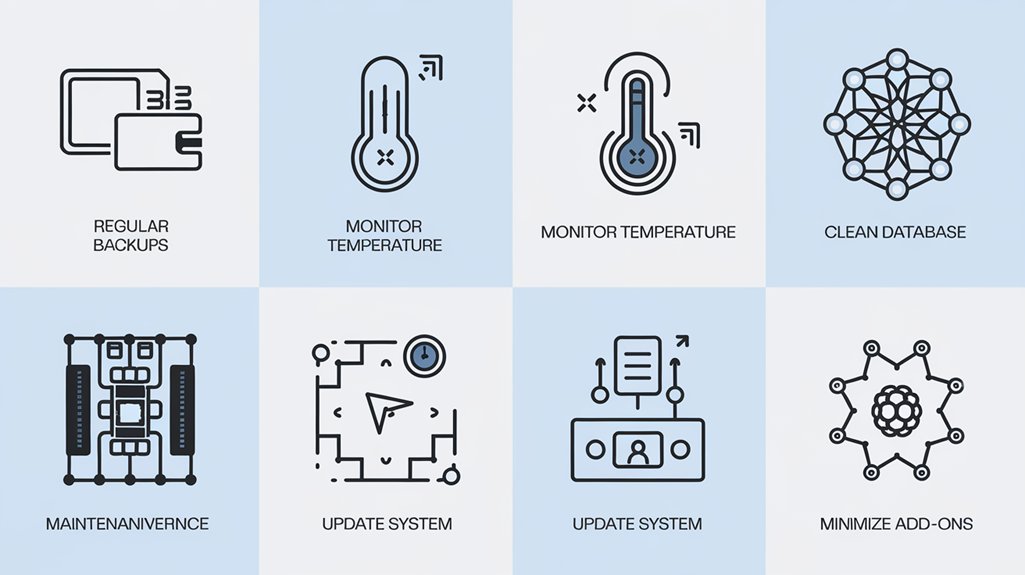
Running Home Assistant smoothly on a Raspberry Pi requires careful attention to both hardware and software enhancement strategies. Your performance tuning efforts should focus on maximizing system reliability through strategic hardware choices and software configurations.
For ideal results:
- Upgrade to a Raspberry Pi 5 with adequate RAM and implement active cooling to prevent thermal throttling during intensive operations.
- Configure MariaDB with enhanced settings and regularly maintain your database to reduce system overhead. Since default MariaDB settings are designed for low-end devices, careful tuning is essential for optimal performance.
- Monitor CPU, RAM, and disk I/O using tools like `htop` to identify and resolve performance bottlenecks.
Keep your system lean by removing unnecessary add-ons and simplifying automations. While Raspberry Pi can work well initially, consider upgrading to a small form factor PC for better long-term performance.
Regular backups, system updates, and log monitoring will guarantee your Home Assistant installation remains stable and responsive over time.
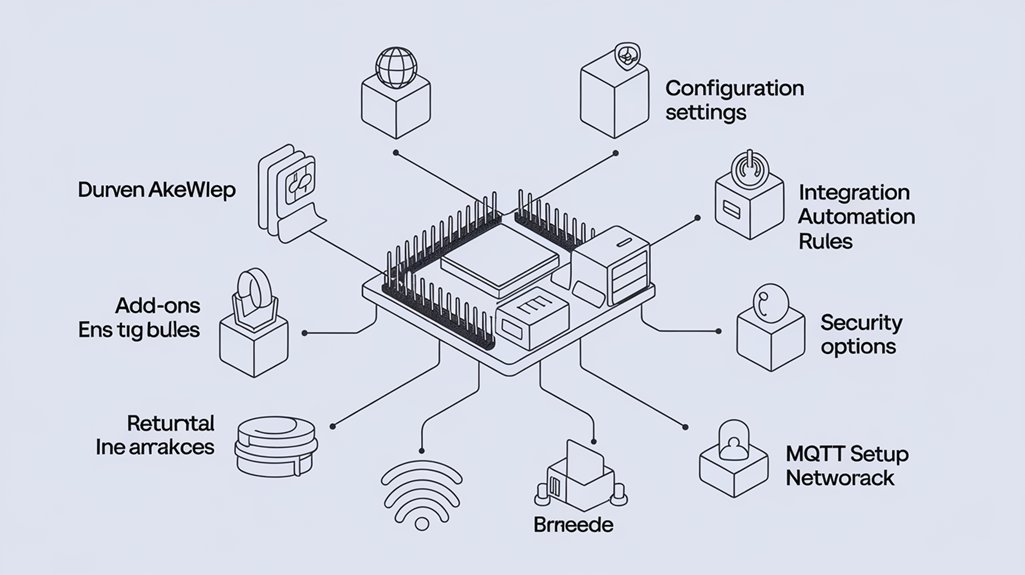
Integrating Smart Home Devices and Sensors

As you begin expanding your Home Assistant setup, integrating smart home devices and sensors forms the foundation of a thorough automation system.
You’ll start by connecting essential components like smart lighting through Zigbee or Z-Wave protocols, temperature control via smart thermostats, and security automation through cameras and door sensors. Motion detection capabilities enhance your system’s responsiveness to environmental changes. Be sure to configure your GPIO binary sensors by editing the configuration.yaml file to read sensor values from your Raspberry Pi. Consider using ESPHome devices for simpler LED control and sensor integration.
To maximize functionality, integrate various sensors that monitor temperature, humidity, air quality, and potential water leaks.
You can control these devices remotely through Home Assistant’s web interface or voice commands using Google Assistant, Alexa, or Apple HomeKit. For advanced automation, utilize MQTT and HACS to expand your system’s capabilities, and implement GPIO integration on your Raspberry Pi to control physical devices directly through custom scripts.
Backup Strategies and System Maintenance
While Home Assistant runs reliably on a Raspberry Pi, implementing robust backup and maintenance strategies remains essential for protecting your smart home system. Your backup methods should include both local and cloud storage solutions, ensuring multiple layers of protection against data loss. Following the 3-2-1 backup rule enhances your data protection strategy significantly. Consider scheduling backups during off-peak hours to minimize system impact during the process.
Protecting your smart home system requires comprehensive backup strategies combining both local storage and cloud-based solutions for maximum data security.
Implement automated backup scripts using tools like rsync for efficient incremental backups, and regularly verify your backup integrity.
For effective disaster recovery, follow these critical steps:
- Create weekly full-system backups of your SD card using specialized imaging tools.
- Store configuration files in an off-site cloud location for quick restoration.
- Maintain a detailed system restoration plan that you can execute immediately during failures.
Set up automated monitoring to alert you of backup failures, and keep your Home Assistant installation updated to prevent security vulnerabilities.
Advanced Configuration and Customization Options
Home Assistant’s advanced configuration on Raspberry Pi opens up extensive customization possibilities through YAML files, network optimization, and hardware-specific enhancements.
You’ll maximize your system’s potential by implementing static IP configurations and leveraging multicast DNS for reliable network access. Create sophisticated custom scripts and YAML automations to control your smart home ecosystem with precision.
To boost performance, you can expand storage beyond the microSD card using USB drives or NAS solutions, while ensuring proper cooling through specialized enclosures with heat sinks. Setting up a segregated IoT network helps protect your home network by isolating smart devices from secure LAN segments.
Take advantage of the Developer Tools interface to fine-tune your setup and troubleshoot configurations effectively. For remote access, configure your firewall settings and port forwarding rules carefully to maintain security while enabling cloud service integrations and external connectivity options.
Frequently Asked Questions
How Long Does a Typical Home Assistant Installation Take From Start to Finish?
Like planting a digital garden, your Home Assistant installation time blooms in 20-40 minutes, but you’ll need another 1-2 hours for setup requirements and device integration completion.
Can I Run Other Applications Alongside Home Assistant on My Raspberry Pi?
You can run additional applications alongside Home Assistant, but carefully consider application compatibility and performance considerations. Your Pi’s resources are limited, so prioritize essential services to maintain system reliability.
What Happens to My Automations During a Power Outage?
Ever wonder about your smart home’s resilience? Your automations won’t run during outages, but you can implement automation recovery scripts and power management strategies to restore device states when power returns.
How Often Should I Replace the SD Card in My Raspberry Pi?
You should replace your SD card every 2-3 years under normal use, but monitor for signs of data corruption or system instability. Quality cards with proper shutdowns can last longer.
Does Running Home Assistant Significantly Increase My Home’s Electricity Consumption?
Your home’s energy efficiency won’t be considerably impacted. Home Assistant’s power usage is minimal, typically adding only $5-10 to your annual electricity costs when running on efficient hardware.
Conclusion
Like a digital lighthouse guiding your smart home journey, your Raspberry Pi-powered Home Assistant serves as the central nervous system of your automated environment. You’ll find that with proper hardware selection, careful installation, and strategic optimization, you’ve built more than just a hub – you’ve created a robust foundation for endless automation possibilities. Keep your system maintained, backed up, and you’ll enjoy seamless home control for years to come.

I am a retired software engineer with experience in a multitude of areas including managing AWS and VMWare development environments. I bought a relative a mini-PC a year ago and have become passionate about the technology and its potential to change how we deploy software.