Why Do You Need to Worry About the I2C Bus on Raspberry Pi?
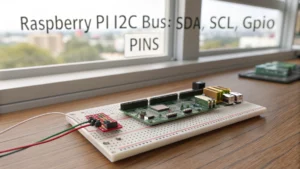
While USB ports handle your keyboard and mouse, the I2C bus on Raspberry Pi connects directly to sensors and displays using just two wires. You’re not limited to one device—this protocol lets you manage multiple peripherals with efficient, address-based communication. Setting up I2C requires precise configuration and attention to hardware details, but once you understand the basics, you’ll reveal new ways to expand your Pi’s capabilities. Let’s break down how this bus transforms your projects.
Key Takeaways
- The I2C bus is a two-wire serial communication protocol using SDA (data) and SCL (clock) lines for connecting multiple devices to the Raspberry Pi.
- Raspberry Pi’s I2C interface allows the Pi (as master) to communicate with sensors, displays, and other peripherals efficiently using minimal wiring.
- Each I2C device must have a unique address, and all devices share the same SDA and SCL lines connected to GPIO 2 and 3.
- Proper voltage levels and pull-up resistors (typically 1kΩ to 4.7kΩ) are essential for reliable and safe I2C communication on the Raspberry Pi.
- Enabling and managing I2C on Raspberry Pi involves system configuration, installing utilities like i2c-tools, and verifying device connections using simple terminal commands.
Understanding the I2C Protocol
Although I2C appears simple on the surface, understanding its protocol is crucial for robust hardware integration on the Raspberry Pi.
I2C’s two-wire design—SDA for data, SCL for clock—enables efficient, synchronous communication between a master and multiple slaves. This architecture, first introduced by Philips in 1982, delivers key I2C advantages: minimal wiring, bidirectional messaging, and straightforward scalability for sensor networks and displays. Each message includes an address frame, data frames, start/stop conditions, read/write bits, and ACK/NACK bits, which ensures that data is properly organized and transmitted between devices. In addition, the use of pull-up resistors on the data and clock lines is essential for correct signal restoration and reliable communication.
However, I2C limitations exist: slower performance compared to SPI, address conflicts, and basic I2C security, as all devices share the bus. You’ll see I2C excel in applications such as real-time clocks, EEPROM, and GPIO expansion.
Arbitration, clock stretching, and ACK/NACK signals guarantee reliable operation, but careful protocol adherence is crucial.
Evaluate I2C vs SPI, considering trade-offs in performance and scalability for your innovative projects.
Setting Up I2C on Your Raspberry Pi

To set up I2C on your Raspberry Pi, you’ll first enable the I2C interface through the system configuration utility.
Next, install the essential tools required for I2C communication and device management. I2C devices can also be controlled using command-line utilities such as i2cdetect, i2cset, and i2cget, which allow you to scan for devices, write values to registers, and read data directly from the bus. Keep in mind that each device has a unique address, which is often set by jumper settings on the hardware.
Once that’s done, you can detect connected devices on the bus to confirm proper hardware and protocol integration.
Enabling I2C Interface
When you want to connect I2C devices to your Raspberry Pi, you must first enable the I2C interface at the system level. Start by launching the `raspi-config` tool, which streamlines I2C configuration and updates `/boot/config.txt` for hardware compatibility. For automation or scripting, execute `sudo raspi-config nonint do_i2c 0` to enable I2C non-interactively. Device Tree is used for driver configuration in modern setups, which means manual blacklist steps are generally unnecessary with current Raspberry Pi OS releases.
You can verify if the I2C port is enabled by running the get_i2c command, which returns 0 for enabled and 1 for disabled. After configuration, a system reboot is essential to load the required I2C kernel modules, guaranteeing ideal I2C performance and device communication.
Once rebooted, your hardware is ready to accept multiple I2C devices, each identified by a unique address. Confirm the setup with the `i2cdetect` command, selecting the correct bus number for your model.
This process guarantees a robust, scalable environment for innovative sensor and module integration.
Installing Essential Tools
With the I2C interface enabled and your Raspberry Pi rebooted, you’ll need the right software tools to interact with connected devices.
Start by installing the `i2c-tools` package using `apt-get`, as it provides essential command-line utilities for I2C tools usage, including `i2cdetect` to scan for devices. If you plan on using certain expansion chips, you will also benefit from pre-compiled kernels, which can simplify setup for less-experienced users. For beginners, having a Class 10 microSD card is recommended to ensure fast and reliable system performance during I2C operations.
For Python integration, add the `python3-smbus` library, allowing you to script I2C communication efficiently. To ensure proper access, it’s important to add your user to the i2c group, which grants the necessary permissions to use the I2C bus.
To activate hardware support, load kernel modules like `i2c-dev` and `i2c-bcm2708` using `modprobe` or configure them to load at boot.
These steps guarantee seamless protocol-level access to I2C peripherals.
- Install `i2c-tools` for command-line I2C management
- Add `python3-smbus` for Python scripting
- Load essential kernel modules for hardware-level support
Detecting Connected Devices
Once the I2C interface is enabled on your Raspberry Pi, verifying device connections is essential to confirm reliable communication across the bus. Begin device scanning with `i2cdetect -y 1`, substituting `1` with your identified bus number. The resulting grid visually confirms connection verification: detected devices appear as hexadecimal addresses, matching your hardware’s expected address identification. If the grid is blank or addresses flicker, prioritize bus troubleshooting—inspect physical wiring, verify 3.3V pull-up resistors, and ascertain proper device power. Recent updates for the Raspberry Pi 5 have addressed previous detection issues by applying a timing adjustment patch, which has significantly improved I2C device recognition and reliability.] Cross-reference addresses with manufacturer documentation to prevent conflicts.
For deeper analysis, leverage `i2cdump` or `i2cget` to probe devices at the protocol level. Successful scans display a list of addresses for detected devices, making it easy to identify which hardware is communicating on your I2C bus. Always monitor system logs (`dmesg | grep i2c`) for instant insight into bus errors or timeout events.
Exploring the I2C Pinout and Hardware Features
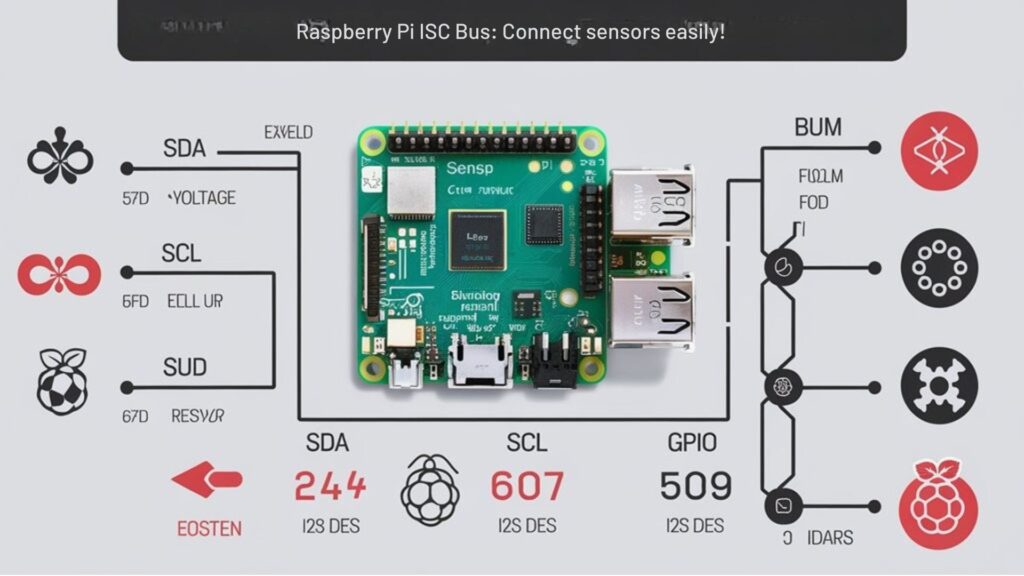
The I2C interface on the Raspberry Pi delivers a straightforward, two-wire bus for connecting multiple digital devices using just dedicated GPIO pins.
I2C1 runs on GPIO 2 (SDA) and GPIO 3 (SCL), equipped with fixed 1.8 kΩ pull-up resistors at 3.3V, essential for reliable I2C hardware operation. This topology enables I2C bus design that supports multiple devices with unique addresses—an I2C advantage over UART’s point-to-point nature. Proper connections prevent potential damage to components, making power management and accurate wiring crucial for stable I2C operation. The kernel driver for I2C on Raspberry Pi allows multiple applications to safely communicate with devices on the same bus without causing conflicts. In addition to proper wiring, using a reliable power source is critical for the optimal performance and stability of I2C communications.
Yet, these built-in pull-ups introduce I2C limitations, especially when repurposing pins or dealing with I2C device compatibility.
- Multiple I2C applications leverage the multi-drop bus, allowing expansion with minimal wiring.
- Bus speed, typically 100 kHz or 400 kHz, can be software-configured for specific I2C troubleshooting needs.
- Addressing and hardware features distinguish I2C vs UART in complex protocol comparisons.
Connecting Devices to the I2C Bus
Building on the hardware layout and I2C pinout, connecting devices to the I2C bus on a Raspberry Pi means wiring each device’s SDA and SCL lines in parallel to GPIO 2 and GPIO 3.
For ideal I2C device compatibility, make certain each device has a unique address—this is vital for I2C device selection and preventing address conflicts. The I2C bus topology naturally supports master-slave communication, with the Raspberry Pi acting as the master. Multiple devices can be connected in parallel on the I2C bus, making it possible to expand your project by adding a variety of sensors and modules as long as power and addressing requirements are met.
When working with I2C on Raspberry Pi, understanding block categories in programming tools like Scratch can help you structure your code for better hardware integration and troubleshooting. It’s also important to pay attention to proper voltage levels to avoid damaging your Raspberry Pi’s GPIO pins during I2C communication.
Assign a unique address to each I2C device to ensure smooth communication and avoid conflicts on the Raspberry Pi’s I2C bus.
When mixing devices, prioritize short wires; longer connections increase noise risk and may require stronger pull-up resistors for dependable I2C data rates. Follow I2C wiring tips: keep traces short, avoid daisy-chaining, and group all SDA and SCL lines together. I2C allows multiple devices to share the same two communication lines, as long as each device has a unique address.
After wiring, verify connections using tools like `i2cdetect` for accurate device recognition.
Communicating With Devices using the I2C Bus On Raspberry Pi Using Python
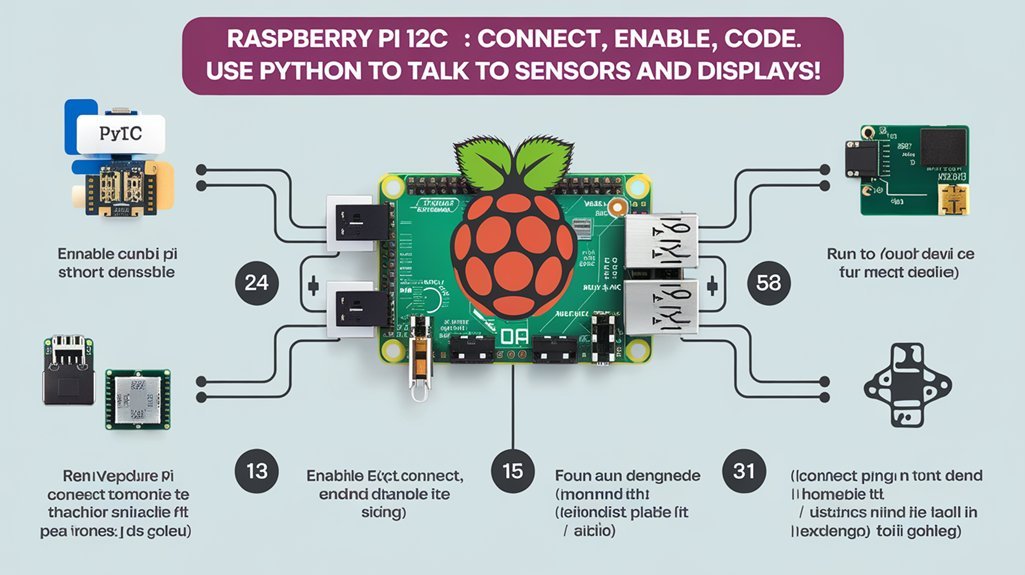
Harness Python to control I2C devices on your Raspberry Pi by leveraging dedicated libraries that speak directly to the protocol. Start by installing the `smbus2` library for Python 3, ensuring seamless access to I2C communication methods.
With this library, you’ll use functions like `write_byte_data` and `read_byte_data` to transmit and receive data following standard I2C data formats. Every I2C device has a unique address, and you must specify this address for precise communications. The MCP23017 I/O controller is a popular example of an I2C device, providing 16 extra GPIO pins that can be programmed using these Python libraries.
The I2C bus allows you to connect multiple devices to your Raspberry Pi using only two pins, simplifying circuit design and reducing wiring complexity.
Byte-by-byte operations are the foundation of I2C, and these libraries abstract much of the protocol’s complexity.
- Use `smbus2` or `pigpio` for hardware-level I2C communication
- Manipulate I2C data formats to match device-specific requirements
- Implement synchronous data transfers to interact with multiple devices efficiently
Troubleshooting Common I2C Issues

When troubleshooting I2C on your Raspberry Pi, start by checking device detection, address conflicts, and voltage or pull-up resistor issues. On some boards, you may also need to confirm that I2C kernel modules are loaded correctly and not blacklisted, as this can prevent the bus from functioning entirely. Use tools like `i2cdetect` to confirm devices are present and guarantee each device has a unique address.
Verify SDA and SCL lines have proper pull-up resistors and stable voltage levels to maintain reliable communication on the bus. If you encounter persistent communication failures, consider checking your soldering on component modules, as poor solder joints or excessive flux can cause unreliable I2C behavior.
Device Detection Problems
Occasionally, I2C devices connected to your Raspberry Pi won’t appear during a bus scan, leading to common detection problems that stem from both hardware and software sources. You must approach these issues methodically to guarantee I2C device connections are robust and reliable. I2C bus limitations, such as bus capacitance or excessive cable length, can degrade I2C signal integrity, resulting in missed device detection. I2C timing issues between the master device (the Pi) and slave devices may also cause I2C communication errors, especially if devices use different voltage levels or support different speed modes.
Confirming I2C device compatibility is essential for reliable operation. Checking for sufficient pull-up resistors on the I2C data and clock lines is crucial, as improper pull-up strength can prevent devices from being detected by the Raspberry Pi. If you have tried multiple configuration changes—such as updating the OS, modifying `/boot/config.txt`, and loading I2C modules—but still see no devices detected, your issue may be related to deeper system compatibility or hardware support, as seen in recent Raspberry Pi 5 troubleshooting attempts. Choosing the appropriate Raspberry Pi models can also impact I2C detection success, as older boards may have limited compatibility with certain I2C peripherals.
- Verify power and ground connections for all I2C slave devices.
- Use `i2cdetect -y 1` to confirm physical presence and address assignment.
- Review kernel logs (`dmesg | grep i2c`) for protocol-specific errors.
Address Conflicts and Errors
After confirming your I2C devices are physically detected, you’ll often encounter issues rooted in address conflicts. Each device needs a unique address—otherwise, address collisions will disrupt traffic control, causing devices to disappear or behave erratically during address debugging with tools like `i2cdetect`.
To achieve effective collision management, start by isolating devices and verifying their addresses. Use hardware solutions like I2C multiplexers for device isolation or adjust external address pins for address remapping.
If hardware limits persist, software methods such as time-multiplexed access or driver-level address remapping can help. Robust error handling routines must catch repeated NACK responses, indicating persistent conflicts.
For scalable designs, always scan the bus pre-initialization to proactively log conflicts and keep the bus communication reliable and innovative.
Voltage and Pull-up Issues
Although the I2C protocol is robust, voltage mismatches and improper pull-up resistor selection frequently undermine communication stability on the Raspberry Pi. You must guarantee all devices on the I2C bus share compatible voltage levels—remember, the Pi uses 3.3V logic.
Applying pull up resistors to 5V risks damaging GPIO pins due to internal diode conduction above safe thresholds, jeopardizing device protection and signal integrity. For mixed voltage setups, always use level-shifters to maintain logic compatibility.
Select pull up resistor values (typically 1kΩ–4.7kΩ) based on bus capacitance and speed; low values increase current draw and risk hardware failure. Proactive voltage management is central to consistent I2C troubleshooting.
- Measure SDA/SCL voltages to diagnose I2C issues
- Verify resistor values and connections for maximum signal integrity
- Use level-shifters in mixed voltage environments
Frequently Asked Questions
Can I Use I2C and SPI Simultaneously on the Raspberry Pi?
Over 80% of embedded systems rely on both I2C and SPI. You can use them simultaneously on Raspberry Pi, leveraging SPI advantages like speed, while managing I2C limitations such as bus speed and address conflicts for maximum innovation.
How Secure Is I2C Communication From External Interference?
You shouldn’t assume I2C offers strong data integrity by default—it’s vulnerable to external interference. To maximize interference protection, you need proper shielding, signal filtering, and isolation. Innovative setups demand robust hardware strategies for reliable protocol performance under noisy conditions.
What Are the Power Consumption Implications of Using I2C Devices?
When you connect I2C devices, you benefit from strong power efficiency, but total consumption depends on device compatibility and count. Minimize draw by leveraging sleep modes, optimizing clock speed, and ensuring peripherals support low-power states for innovative, battery-friendly designs.
Are There Wireless Alternatives to I2C for Raspberry Pi Projects?
Think of wireless alternatives as bridges connecting isolated islands. You can deploy Bluetooth modules, WiFi modules, Zigbee communication, or LoRa connectivity for your Raspberry Pi projects, each offering unique tradeoffs in protocol overhead, range, and integration complexity.
Can I Use I2C for Long-Distance Communication Between Devices?
You shouldn’t rely on I2C for long-distance communication between devices due to strict long distance limitations and short communication range. Use hardware bus extenders or shift to RS-485 if you need robust, innovative solutions beyond several meters.
Conclusion
Mastering the I2C bus on your Raspberry Pi isn’t just about connecting wires and running code—it’s about understanding the theory that efficient communication depends on shared protocols and reliable hardware. When you follow the right steps, you prove that even complex systems can work harmoniously on two simple lines. So, as you build and troubleshoot, remember: every successful I2C connection confirms the truth that precision and protocol turn potential into real-world results.

I am a retired software engineer with experience in a multitude of areas including managing AWS and VMWare development environments. I bought a relative a mini-PC a year ago and have become passionate about the technology and its potential to change how we deploy software.