I2C vs SPI: Which to Choose?
To connect or not to connect—that’s the interface dilemma you’ll face when adding peripherals to your Raspberry Pi. While I2C offers simplicity with just two wires, SPI delivers speeds up to 20 Mbps with full-duplex communication, making it ideal for data-intensive applications. You’ll need to weigh these protocols against your project’s specific requirements, balancing between I2C’s address-based simplicity and SPI’s performance advantages that could make or break your next build. Let’s compare I2C vs SPI and see when to use each one of these protocols.
Key Takeaways
- Use SPI for high-speed applications requiring data rates up to 20 Mbps, significantly faster than I2C’s 100-400 kHz.
- SPI’s full-duplex operation enables simultaneous reading and writing, ideal for real-time applications with minimal latency requirements.
- Choose SPI when connecting high-performance displays like TFT or OLED modules that benefit from precise synchronization.
- SPI offers better noise immunity and reliability in multi-device setups due to dedicated data lines and CS pins.
- Implement SPI on Raspberry Pi for SD card interfacing, high-speed sensor integration, and industrial automation projects.
Understanding Protocols: I2C vs SPI on Raspberry Pi
When working with Raspberry Pi for embedded projects, you’ll inevitably encounter two common serial communication protocols: SPI (Serial Peripheral Interface) and I2C (Inter-Integrated Circuit).
These protocols offer distinct approaches to peripheral connections with unique implementation nuances.
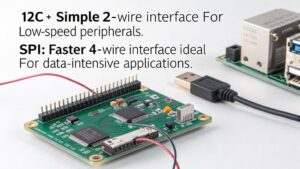
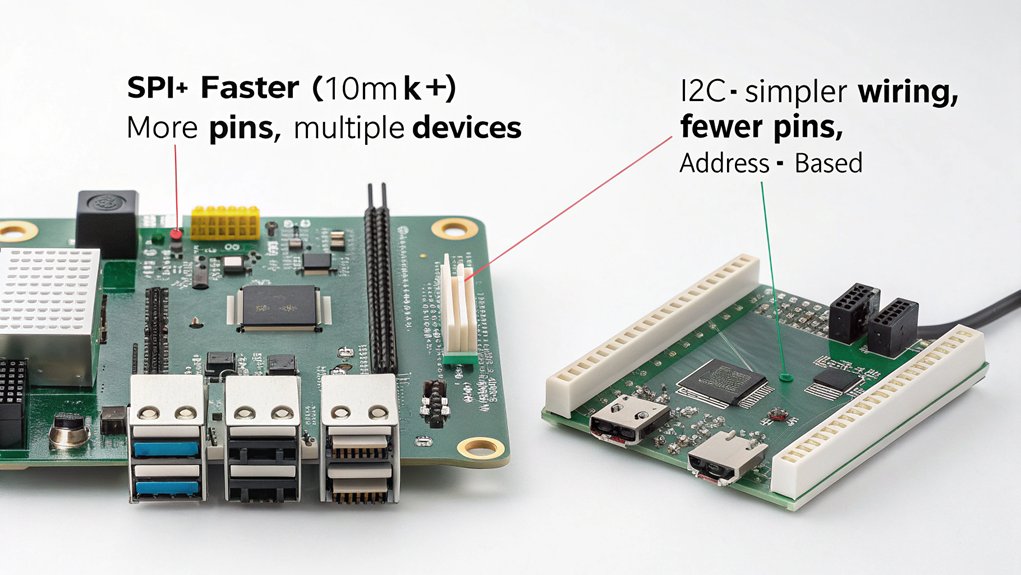
SPI advantages include higher speed communication efficiency using four wires (MOSI, MISO, SCK, CS), making it ideal for high-speed data applications like SD cards. However, device compatibility becomes challenging beyond two peripherals due to limited chip select lines.
Both interfaces require extra configuration for use on Raspberry Pi through either the Desktop GUI or terminal methods using raspi-config.
I2C offers simpler Raspberry Pi integration with just two wires (SCL, SDA) supporting up to 127 devices, though with certain I2C limitations in speed. It’s generally more cost-effective, noise-resistant, and easier to implement.
Your protocol selection should depend on your project’s specific needs—SPI for speed-critical applications or I2C for multiple peripheral support with simpler wiring.
When choosing between these protocols, remember that proper pin numbering systems are critical for correctly configuring your connections in Python code. The Raspberry Pi 4 B‘s quad-core processor provides ample processing power for handling these communication protocols efficiently.
Speed Advantages of SPI for Raspberry Pi Projects
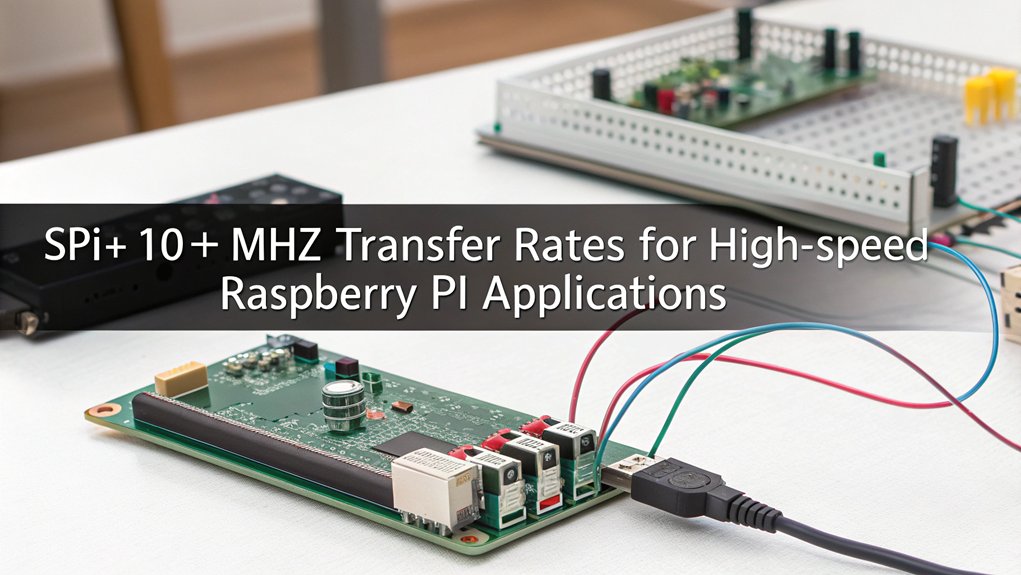
SPI offers transfer rates up to 20 Mbps on Raspberry Pi, enabling faster data acquisition for time-sensitive applications like high-frequency sensor sampling or fast ADC readings.
You’ll get superior performance when reading multiple sensors simultaneously, as SPI’s full-duplex operation and lack of addressing overhead maximize throughput compared to I2C’s slower speeds.
Your real-time display projects will benefit from SPI’s higher bandwidth, allowing smoother updates for OLED, TFT, and e-paper displays that require large data payloads. The synchronous communication interface ensures precise timing between master and slave devices, reducing data transfer errors. For projects requiring precise timing measurements, the GP22 chip can be interfaced with Raspberry Pi using SPI at speeds of up to 32 MHz for high-frequency time-to-digital conversion.
Faster Data Acquisition
Because real-time applications demand minimal latency, understanding the speed advantages of SPI becomes essential for many Raspberry Pi projects. SPI’s theoretical speeds of 4+ MHz translate to data throughput that greatly outpaces I2C’s modest 100-400 kHz rates. This performance gap directly impacts sensor sampling capabilities, allowing you to capture rapidly changing signals without missing critical data points.
When implementing high-frequency sensor polling, SPI’s full-duplex operation enables simultaneous reading and writing, enhancing protocol efficiency. You’ll experience considerable latency reduction when collecting accelerometer readings or processing time-sensitive inputs. SPI provides twice the speed compared to I2C for data transfer operations. Typical SPI implementations can achieve 10-20 Mbit/s or faster data rates, making them ideal for demanding applications.
The absence of addressing overhead in SPI maximizes bandwidth considerations, though you’ll need to maintain signal integrity with proper wiring. For applications requiring rapid data buffering, SPI’s deterministic timing provides the performance edge necessary for innovation at the hardware interface level. Using Node.js bindings for hardware interfaces can further enhance your SPI implementation with modern JavaScript capabilities. This makes SPI particularly valuable when creating Scratch extensions that connect to physical hardware with your Raspberry Pi.
Multi-Sensor Reading Benefits
Multi-sensor environments represent a significant advantage for SPI protocols in Raspberry Pi implementations.
When managing a sensor array, SPI’s dedicated CS lines for each slave device guarantee uninterrupted communication while maintaining system reliability. You’ll achieve higher throughput compared to I2C, especially critical when synchronizing readings across multiple devices. For high-speed data applications, SPI is ideal as it can operate at significantly faster clock rates than I2C.
SPI’s full-duplex capability allows simultaneous transmission and reception of data, optimizing your resource utilization when handling complex sensor configurations. This bidirectional communication reduces latency and enhances data synchronization across your entire system. Unlike OSC protocol, SPI provides direct hardware control without requiring network configuration when connecting sensors to your Raspberry Pi.
While requiring more physical connections than I2C, SPI’s noise immunity in multi-device setups provides superior reliability for mission-critical applications. The separate data lines of SPI contribute to better resistance against signal interference compared to I2C’s shared bus configuration. Before implementing SPI on your Raspberry Pi, ensure you’ve installed all essential package dependencies to avoid compatibility issues.
The protocol’s versatility across different operating modes gives you flexibility when integrating diverse sensors into a cohesive, high-performance monitoring system.
Real-time Display Performance
Real-time display performance represents a major advantage when you’re selecting communication protocols for Raspberry Pi visual interfaces.
SPI delivers data transfer rates approximately twice as fast as I2C, reaching several megabits per second for smoother graphics rendering. The architecture’s dedicated clock line enables precise display synchronization, while separate select lines provide direct peripheral control. This design minimizes real-time latency—critical for TFT and OLED modules requiring rapid refresh rates. SPI’s lack of complex slave addressing makes it simpler to implement for display controllers that require high-speed data throughput.
SPI’s deterministic timing and absence of address negotiation reduce protocol overhead, while full-duplex communication allows simultaneous data transmission and receipt. The master-controlled clock signal virtually eliminates timing jitter. SPI is particularly efficient for real-time display applications because it offers faster communication speed compared to I2C alternatives. This efficiency makes it ideal for quad-core CPUs that can handle multiple display tasks simultaneously. When implementing Kodi on a Raspberry Pi music server, SPI-based display interfaces provide superior responsiveness for media control interfaces and visualizations.
For optimum performance, keep cable runs short to maintain signal integrity. Libraries like PIL, pygame, and ST7789 offer native SPI support, with abundant documentation for implementation in your visual-intensive Pi projects.
Hardware Setup: Connecting SPI Devices to Your Raspberry Pi
When setting up SPI communication on your Raspberry Pi, you’ll need to properly configure both the software and hardware components to guarantee reliable data transfer. Start by enabling SPI through `raspi-config` and verify activation with `lsmod | grep spi`. You can use `showPins(mypi)` to easily locate SPI pins on your Raspberry Pi for proper connections. When initialized, these pins will be automatically configured by bcm2835_spi begin() function for SPI operation. Consider using error handling techniques from ChatGPT-generated scripts to ensure your SPI communication remains stable during data transmission. Using a static IP address for your Raspberry Pi setup ensures consistent and reliable remote access to your SPI-based automation projects.
| Component | Implementation Detail |
|---|---|
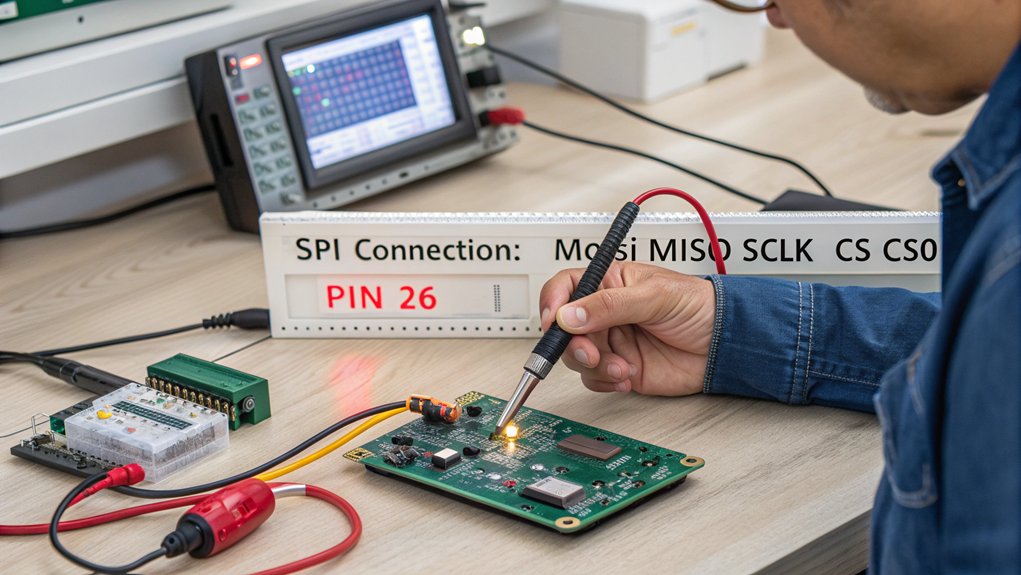
| Pin Mapping | MOSI (GPIO10), MISO (GPIO9), SCLK (GPIO11) |
| Device Selection | Connect CE0 (GPIO8) or CE1 (GPIO7) for chip select |
| Wiring Techniques | Use short jumpers on breadboard for signal integrity |
| Power Considerations | Match voltage levels between Pi and SPI device |
| Testing Methods | Verify connections with `gpio readall` command |
For reliable connections, match your device’s pinout carefully against the Pi’s GPIO layout. Keep wires short to maintain signal integrity, and double-check your physical connections before running your first communication tests.
Real-World Applications of SPI on Raspberry Pi
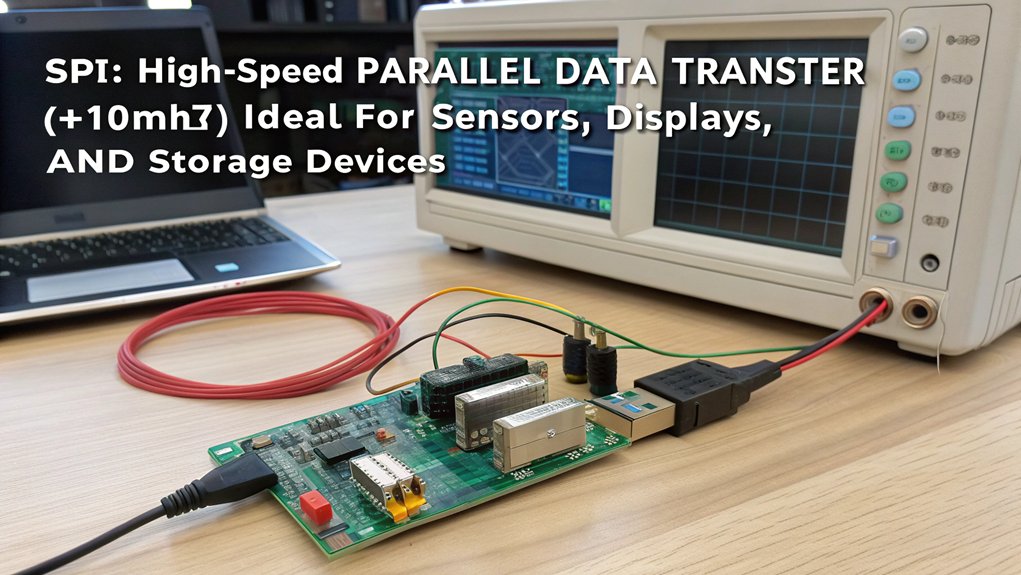
When implementing SPI on your Raspberry Pi, you’ll find it excels at high-speed sensor integration where rapid data sampling is critical for applications like environmental monitoring or motion detection.
You can efficiently connect display modules such as OLED or TFT screens that require fast refresh rates and complex graphical data transfer. However, be aware that SPI interfaces may experience timing jitter when running under standard Linux operations on the Raspberry Pi.
SPI’s high throughput capabilities also make it ideal for SD card interfacing, allowing your Pi to read and write data quickly for data logging projects or multimedia applications. For industrial automation purposes, the PI-SPI-DIN series provides specialized modules that leverage SPI for analog inputs, relay outputs, and other control functionalities.
For home automation projects, you can utilize SPI to create smart lighting control systems by connecting LED controllers and motion sensors to your Raspberry Pi. This approach can be integrated with a comprehensive home automation system that manages both lighting and temperature for improved energy efficiency.
High-Speed Sensor Integration
SPI’s superior data transfer rates make it the protocol of choice for high-speed sensor integration on Raspberry Pi projects. When connecting accelerometers, gyroscopes, or pressure sensors like the BME280, you’ll benefit from SPI’s ability to handle real-time data acquisition with minimal latency.
Configure your Pi to support multiple sensors simultaneously by assigning unique chip select lines to each device. This enables complex sensor arrays for robotics or environmental monitoring stations without sacrificing performance. Unlike Bluetooth connections which offer no command-line access, SPI provides direct and efficient communication for sensor data retrieval.
Data synchronization between various sensors becomes seamless, while sensor calibration routines execute more efficiently due to SPI’s full-duplex communication. The communication process begins by activating the chip select line by bringing it to a low voltage state. For users with limited space, SPI protocols work exceptionally well on compact systems like the ultra-lightweight WVX Mini PC.
For projects requiring time-sensitive readings, SPI’s low overhead delivers the responsiveness needed in autonomous vehicles and precise medical equipment. SPI operates in synchronous fashion using a separate clock line for precise data sampling across connected devices.
Whether you’re using Python with spidev library or MicroPython on a Pi Pico, SPI offers the technical advantage your innovative projects demand.
Display Module Communication
The versatility of SPI protocol shines particularly bright in display module applications on Raspberry Pi systems. Its full-duplex communication enables real-time visual feedback while supporting multiple display modules through separate slave select lines.
When connecting display module types such as TFT screens (like the ST7735), touchscreens, or LCD panels, you’ll benefit from SPI’s higher data rates and simplified wiring compared to parallel interfaces. SPI-based LCDs can be connected to the Raspberry Pi using specific pins including VCC, Ground, and Chip Select pinouts. Unlike I2C which uses just GPIO 2 (SDA) and GPIO 3 (SCL), SPI requires more pins but offers faster transmission rates for responsive displays.
Display module compatibility is extensive across various Raspberry Pi models, including Pi 3 and 4, requiring minimal configuration changes.
For implementation, enable SPI flags in your Pi’s configuration file and utilize libraries like spidev for Python projects. The MAX7219 display is a popular example that can be controlled using SPI communication interface, as demonstrated in code examples featuring digit writing functions.
Consider optimizing clock speeds for your specific display requirements and implement appropriate shielding for high-frequency applications to minimize noise interference in your visual output. For more advanced projects, you might choose the Raspberry Pi 4 Model B with 2GB RAM for improved performance when handling complex display applications.
SD Card Interfacing
Although Raspberry Pi‘s primary SD card interface uses the native SD protocol for its boot device, SPI mode offers an alternative approach for interfacing with secondary SD cards through GPIO pins. This configuration is particularly valuable for data logging applications where you need additional storage beyond the boot device.
When implementing SPI SD card compatibility, you’ll encounter some hardware limitations—notably reduced SPI performance compared to native SD protocol. However, the trade-off brings improved power efficiency, making it ideal for battery-powered projects. For optimal reliability, consider using A2 class cards which provide better command queuing for SPI operations.
For microcontroller integration, connect MISO, MOSI, SCK, and CS pins to your Pi’s GPIO. This setup works excellently for educational projects teaching fundamental storage interfaces. For proper initialization, ensure the SD CLK signal frequency is set between 100 to 400 kHz during the initial communication phase.
The Raspberry Pi Model B communicates with the MicroSD Card Adapter by acting as the SPI master device controlling the data transfer process. Using a Raspberry Pi 4 with 8GB RAM variant can significantly improve performance when handling multiple SPI devices simultaneously.
Remember that effective error handling becomes essential with SPI mode, as you’ll need to implement more robust checking routines due to the lower-level nature of the protocol.
Overcoming SPI Implementation Challenges
Implementing SPI on Raspberry Pi correctly involves maneuvering several technical hurdles that can prevent successful communication between devices.
When troubleshooting SPI connections, verify proper firmware flashing by confirming the momentary offline status in the IDE. For persistent issues, consider unclaiming the device and running setup again to reset the SPI agent state.
You’ll likely encounter permission issues with SPI device nodes. Modify udev rules or add your user to the appropriate group instead of defaulting to sudo access.
For ideal signal integrity solutions, use an oscilloscope to verify waveforms when working with high-frequency communications.
When configuring master-slave configurations, explicitly specify chip select lines (CE0/CE1) rather than using generic initialization commands. Pay careful attention to clock polarity (CPOL) and phase (CPHA) settings to guarantee reliable data transmission.
Consider implementing Hall-effect sensors for applications requiring accurate current measurement with minimal interference to your SPI circuit.
When working with dual display setups, utilize Intel UHD Graphics capabilities to ensure smooth data visualization while running processor-intensive SPI operations.
Choosing Between SPI and I2C for Your Specific Raspberry Pi Project
Selecting the right communication protocol remains critical when designing Raspberry Pi projects, as both SPI and I2C offer distinct advantages that align with different project requirements. Your choice should balance performance trade-offs with project considerations such as device expansion needs and wiring complexity.
| Parameter | SPI Advantages | I2C Advantages |
|---|---|---|
| Speed | Higher throughput (MHz range) | Simpler implementation |
| Wiring | Better signal integrity | Fewer pins (2 vs 4+) |
| Scalability | Full-duplex communication | Up to 127 devices on one bus |
Choose SPI when your project demands high-speed data transfer for displays, ADCs, or SD cards. Opt for I2C when implementing sensor networks or when GPIO pins are limited. Device compatibility and data integrity needs will further guide your selection, with I2C offering built-in error checking that SPI lacks.
Frequently Asked Questions
Can I Use Both SPI and I2C Simultaneously on a Raspberry Pi?
Yes, you’ll find simultaneous usage of I2C and SPI beneficial as they use different pins with independent clock rates. Each protocol offers advantages—I2C for multiple devices with minimal wiring, SPI for faster data transfers.
How Does SPI Affect Raspberry Pi Power Consumption Compared to I2C?
Oh, you’ve found power’s greatest paradox! SPI devours more juice than I2C due to multiple signal lines and higher data transfer speeds, but rewards your power sacrifice with blazing efficiency for data-intensive applications.
Are There Built-In Python Libraries for SPI on Raspberry Pi?
Yes, you’ll find Spidev library built into Raspberry Pi’s ecosystem. It enables Python integration with SPI devices through simple commands while maintaining broad device compatibility for your hardware projects.
Can SPI Communication Be Secured on Raspberry Pi?
You can secure SPI on Raspberry Pi by implementing hardware security features, utilizing SPI encryption methods, and adopting software implementation strategies that encrypt data before transmission, ensuring secure data transmission between devices.
What’s the Maximum Number of SPI Devices on Standard Raspberry Pi?
While the Pi’s SPI interface has theoretical flexibility, you’re looking at just two devices with standard Raspberry Pi configurations. You can stretch beyond these SPI device limitations using custom GPIO chip selects if needed.
Conclusion
You’ll find SPI shines like a turbocharged data highway when your project demands rapid transmission. Visualize its full-duplex channels pumping data at 20 Mbps while I2C crawls along congested pathways. Wire your Raspberry Pi’s SPI pins carefully, implementing proper chip select logic for ideal device management. When milliseconds matter, implement SPI’s lightning-fast protocol—but when simplicity trumps speed, I2C remains your steady companion.

I am a retired software engineer with experience in a multitude of areas including managing AWS and VMWare development environments. I bought a relative a mini-PC a year ago and have become passionate about the technology and its potential to change how we deploy software.