
Why Pi-Hole on a Raspberry Pi?
Implementing Pi-hole on a Raspberry Pi can greatly enhance your network by blocking unwanted ads. With a simple setup process, you’ll configure your Pi as your network’s DNS server, intercepting ad requests effectively. You’ll not only experience faster browsing but also gain control over what content gets through. Curious about the best configurations and potential hurdles? Let’s explore the steps to maximize your ad-blocking capabilities.
Key Takeaways
- Begin with a compatible Raspberry Pi model and ensure it runs Raspberry Pi OS for optimal Pi-hole installation.
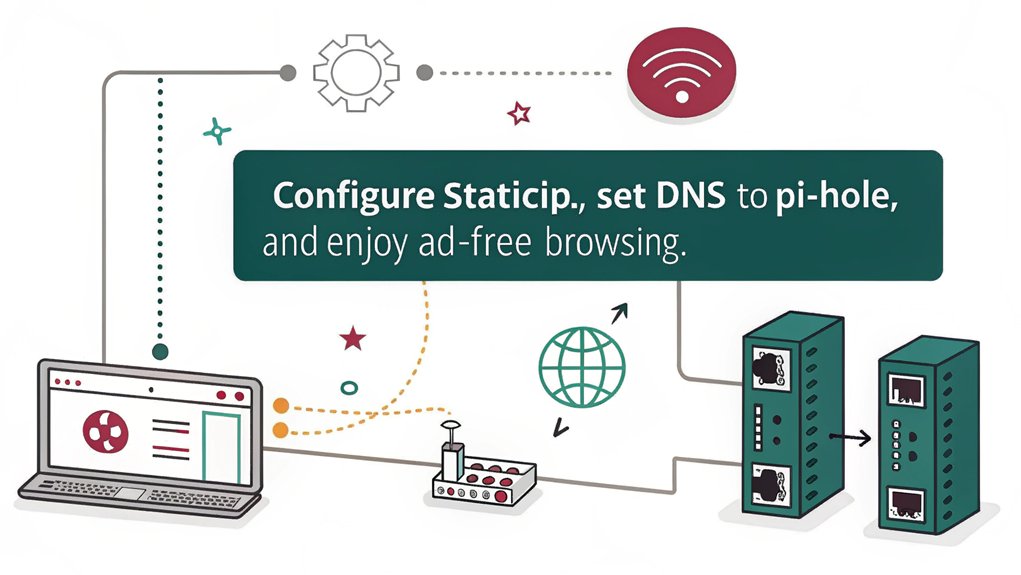
- Assign a static IP address to your Raspberry Pi to ensure consistent connectivity and accessibility for the Pi-hole service.
- Install Pi-hole using the command `curl -sSL https://install.pi-hole.net | sudo bash` and follow the setup prompts for configuration.
- Configure your router’s DNS settings to point to the Pi-hole’s static IP to enable network-wide ad blocking.
- Regularly update Pi-hole’s blocklists with `pihole -g` to maintain effective ad-blocking capabilities and enhance security.
Hardware Requirements for Pi-hole Setup
To set up Pi-hole on a Raspberry Pi, you’ll need specific hardware to guarantee peak performance. While you can use any Raspberry Pi models, opt for a Raspberry Pi 3 or newer for efficiency. Confirm you meet the MicroSD card requirements by using at least an 8GB card, preferably 16GB or more to support future updates. Your setup needs power supply specifications of at least 2A; newer models utilize USB-C connectors. An Ethernet connection benefits stability and speed, vital for DNS operations.
Take advantage of software compatibility options by using the official Raspberry Pi OS. Pi-Hole functions as an internal DNS server that intercepts requests to block ads, enhancing your browsing experience. You can simplify the installation using a Pi-Hole installation script, and consider hardware alternatives if you lack a Raspberry Pi while maintaining performance considerations. Pi-hole installation is not resource-intensive and can run on virtual machines or Docker containers, providing flexibility for different setups.
Configuring Network Settings for Raspberry Pi
To set up Pi-hole on a Raspberry Pi effectively, you’ll need to assign a static IP address to guarantee constant accessibility. This is crucial because Pi-hole acts as a DNS sinkhole to block ads by translating domain names into IP addresses. Additionally, it’s important to ensure that your Raspberry Pi model has WiFi capability, as this will make connectivity much easier. Next, configure your router’s DNS settings to route requests through the Pi-hole, enhancing your ad-blocking capabilities. Finally, adjust individual device settings to point to the Pi-hole’s static IP, securing consistent ad protection across your network.
Assigning Static IP
Assigning a static IP to your Raspberry Pi guarantees a stable network connection, which is essential for running services like Pi-hole effectively. The static IP benefits include predictable addresses that enhance network management and reliability. This main factual point ensures that your Raspberry Pi is consistently accessible, preventing interruptions from dynamic IP changes. Additionally, setting a static IP on both the Raspberry Pi and the router can help avoid network conflicts.
You’ll want to begin by opening the terminal and editing the configuration file with `sudo nano /etc/dhcpcd.conf`. Insert your static IP configuration, detailing the static IP, router IP, and DNS server IP.
Once you save the changes, restart services using `sudo systemctl restart dhcpcd`. Finally, verify your configuration with `ip addr show`.
This process confirms that your Pi-hole setup maintains accessibility and efficiency, contributing to consistent network-wide ad blocking and a seamless server hosting experience.
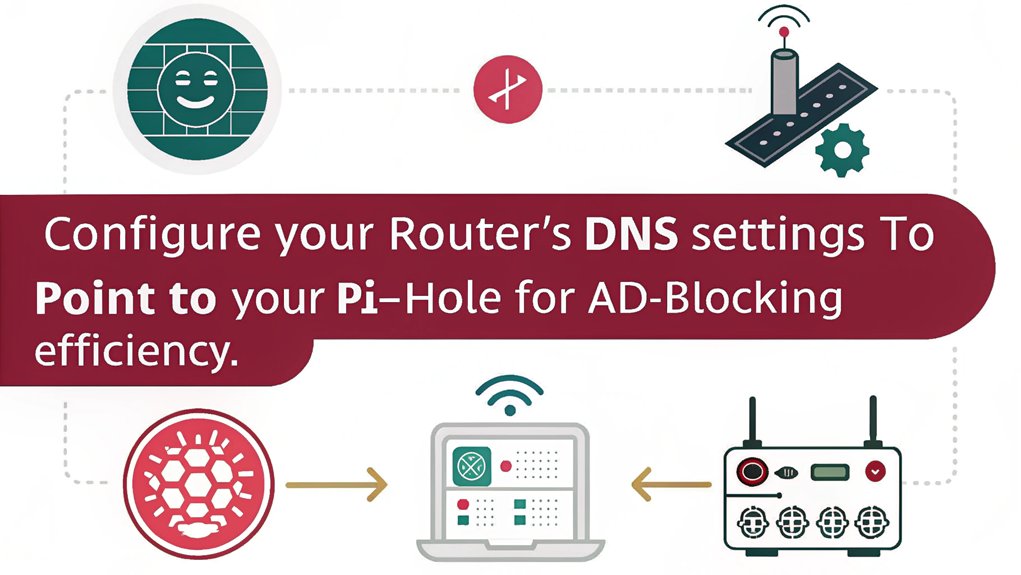
Configuring Router DNS
After setting up a static IP, the next step is configuring your router’s DNS settings to utilize Pi-hole on a Raspberry Pi as the network-wide ad blocker. Log into your router’s configuration page and input the Pi-hole’s IP address as the primary DNS server. This change guarantees that all devices connected to the router benefit from enhanced router security and improved DNS performance. Moreover, having Pi-hole as the only DNS server is crucial to effectively intercept and block queries, preventing any potential bypassing of its filtering capabilities.
Additionally, utilizing a DNS sinkhole means that unwanted ads and trackers are blocked at the network level. If your router supports DHCP configuration, set it to advertise the Pi-hole as the DNS server automatically. Advanced firmwares like OpenWRT can provide further customization options. Once everything is configured, test your network to verify ad blocking operates effectively across all devices, confirming that you’re fully leveraging the capabilities of your innovative setup.
Manual Device Settings
Configuring network settings on individual devices to utilize Pi-hole is essential for guaranteeing effective ad blocking across your network. Start by assigning a static IP to your Raspberry Pi for uninterrupted communication. Navigate to the network preferences of each device and access the “Advanced” section to make manual configuration easy. Enter the Pi-hole’s IP address as the DNS server. Remember that device compatibility may vary, and some may offer tools to streamline this process.
Pi-hole detects IPs of devices on the network, which allows for easier management of ad-blocking configurations. Consistency is key; verify all devices are set up to route queries through Pi-hole’s DNS blocking. Utilizing the Pi-hole admin interface lets you manage logs and customize block lists, enhancing your ad-blocking capabilities while optimizing performance across your entire network.
Installing Pi-hole on a Raspberry Pi
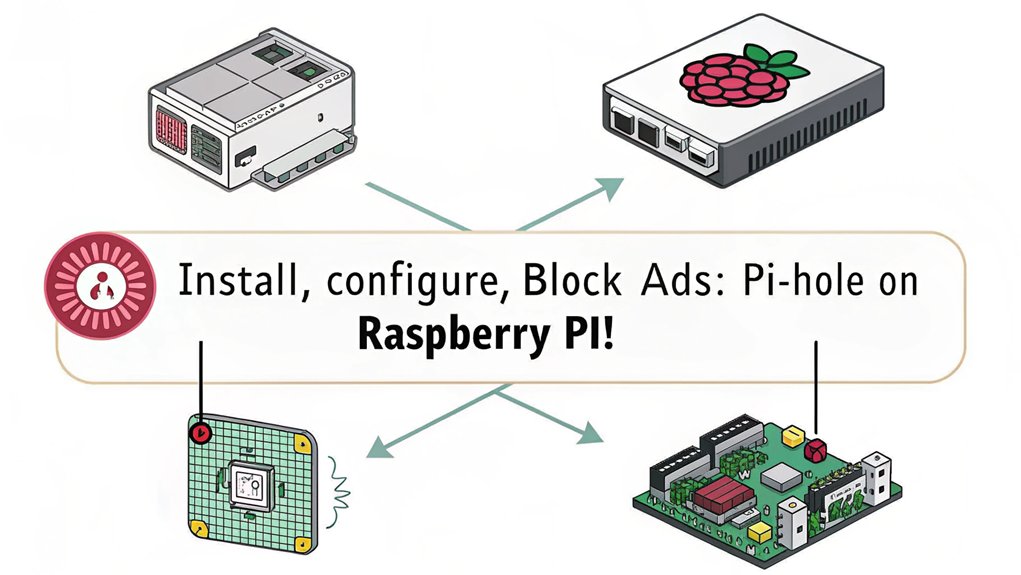
To get started with installing Pi-hole on a Raspberry Pi, you’ll first need to confirm that your device is properly prepared. Verify you’re running Raspberry Pi OS, ideally Raspbian Bullseye, and that your Raspberry Pi has at least 512 MB RAM and 2 GB storage. Update your package list with `sudo apt update` and upgrade using `sudo apt upgrade -y`. Next, install necessary dependencies, particularly the `curl` package. With stable connectivity, run the installation script by entering `curl -sSL https://install.pi-hole.net | sudo bash`. This automated setup will prompt for user interaction to configure network settings.
Pi-hole acts as a DNS server to block domains associated with advertising, and it provides a solution for devices that lack ad blocker extensions, ensuring a comprehensive network-wide ad blocker for your setup. Follow the prompts to complete the setup efficiently, confirming you create a robust ad-blocking solution for your network.
Setting Up DNS for Your Router
Once you’ve installed Pi-hole on a Raspberry Pi, it’s essential to direct your router’s DNS requests to the Pi-hole’s IP address. This is particularly important because a proper gateway configuration helps in maintaining network stability.
Follow these steps for seamless configuration:
- Router Access: Use a web browser to enter your router’s IP, typically http://192.168.0.1 or http://192.168.1.1.
- Locate DNS Settings: Navigate to sections like “Internet,” “DHCP,” or “Advanced.”
- Configure DNS: Set your router’s primary DNS to the static IP address of your Pi-hole. Configuring DDNS in your router can help with automatic updates of IP addresses if your Pi-hole’s IP ever changes.
- DNS Verification: Confirm that all devices on your network resolve through Pi-hole by checking their DNS settings.
Ensure your configuration is precise to maintain uninterrupted internet access and enjoy an ad-free experience across your devices.
Understanding Pi-hole’s Ad-Blocking Mechanism

While using Pi-hole, understanding its ad-blocking mechanism is essential for optimizing your network experience.
Pi-hole operates at the DNS level, intercepting ad requests before they load, using a customizable blacklist to identify ad domains. This robust ad blocking strategy enhances network privacy by blocking both ads and trackers across all connected devices, eliminating the need for client-side software. Additionally, this DNS-level approach significantly contributes to network-wide ad blocking, effectively filtering unwanted content for all users on the network. Moreover, Pi-hole utilizes a blacklist that helps in blocking ads and protecting against malicious domains. By reducing data downloaded, it improves network performance and browsing speed. Additionally, Pi-hole on a Raspberry Pi protects against malicious domains and phishing attempts, supporting multiple blocklists for thorough security.
Its real-time monitoring capabilities allow you to track blocked traffic and maintain effectiveness, making it a powerful tool in the battle against unwanted advertising and enhancing your overall digital experience.
Advanced Configuration for Enhanced Protection
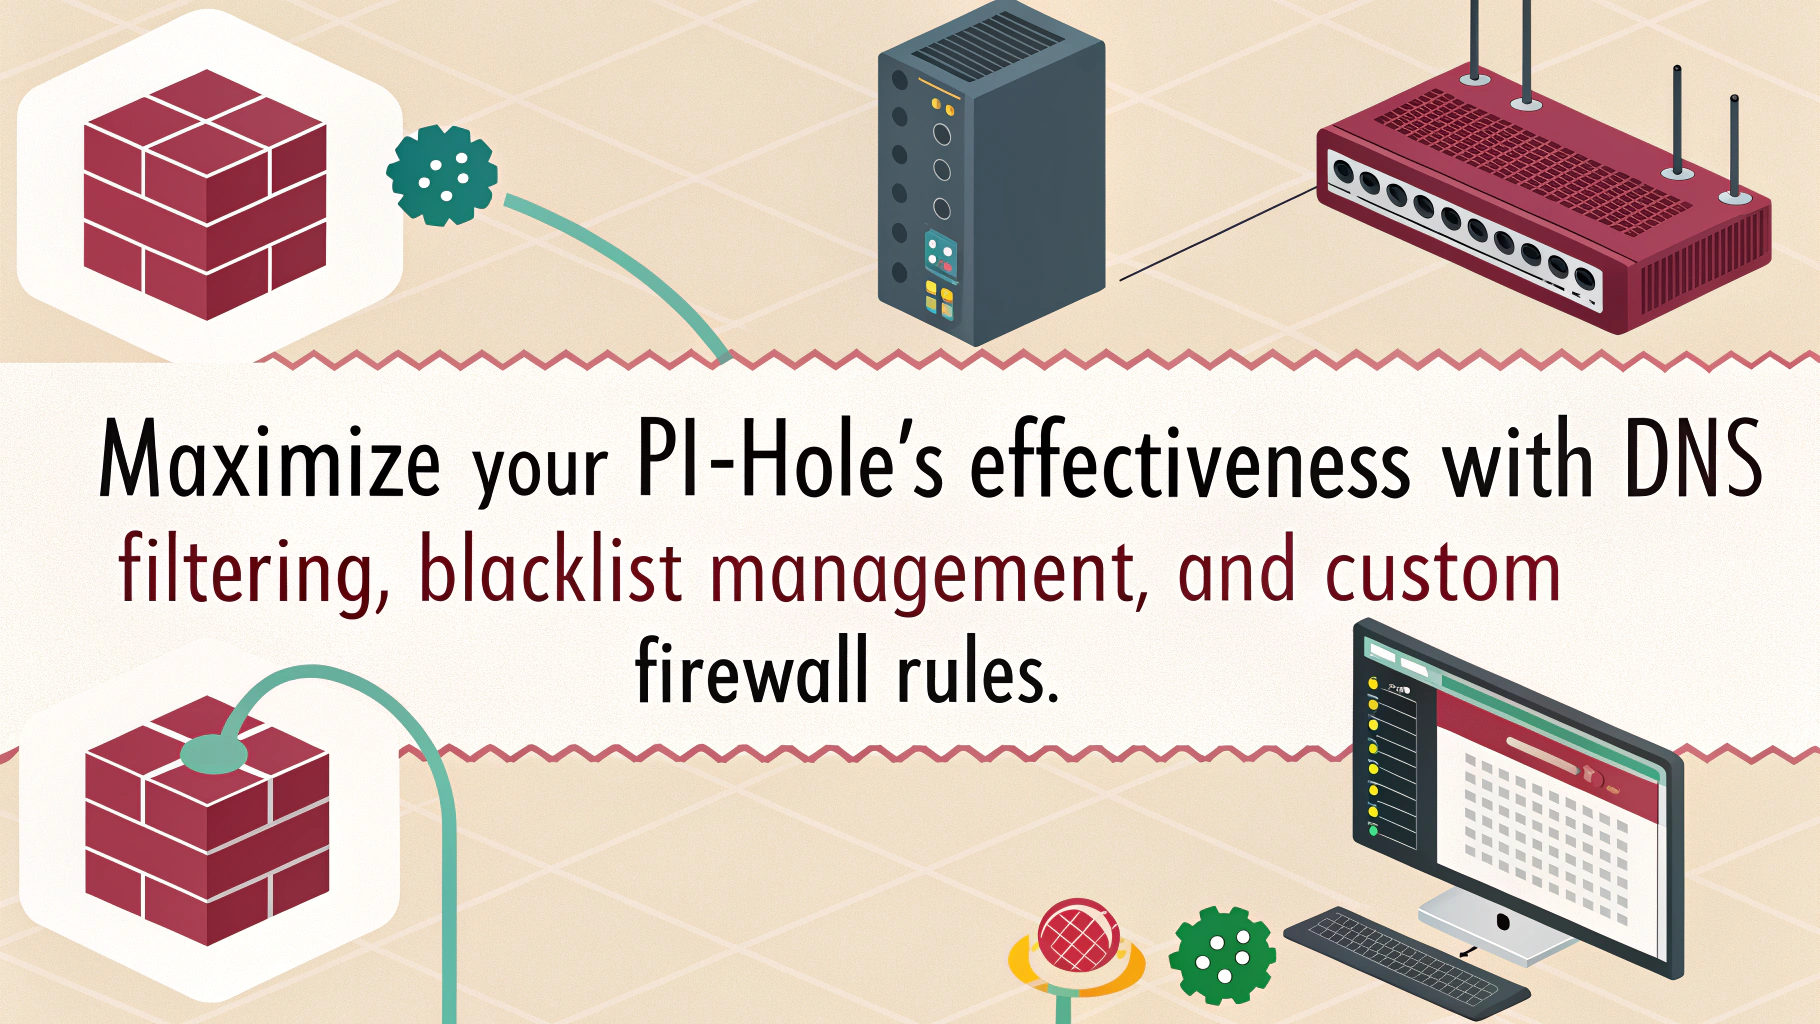
To boost your Pi-hole’s effectiveness, consider creating custom block lists tailored to your specific needs, blocking unwanted content more efficiently. Adjusting query logging settings allows you to monitor DNS queries in real time, providing insights into traffic patterns and potential threats. Additionally, implementing Pi-hole as a network-wide DNS server will further enhance your blocking capabilities across all connected devices. These advanced configurations will greatly enhance your network’s protection against unwanted ads and malicious domains. Moreover, leveraging well-maintained block lists is essential for ensuring that your Pi-hole remains effective in blocking the latest threats.
Custom Block List Creation
Creating custom blocklists for Pi-hole on a Raspberry Pi not only enhances your network protection but also allows you to tailor the filtering process to meet your specific needs.
The benefits of custom blocklists include:
- Targeted Filtering: Block specific unwanted categories like ads or malicious sites.
- Integration Ease: Seamlessly add lists from various reputable sources online.
- Automation: Utilize automation scripts to simplify the creation and updating of blocklists, ensuring your lists remain current. An example is the creation of a heavy list with approximately 2 million domains to block extensive unwanted content.
- Local Control: Host custom lists locally to enhance privacy and manage content filtering efficiently. Additionally, custom block pages provide a unique message when access is denied, enhancing user clarity in the filtering process.
Query Logging Settings
How can you optimize your Pi-hole’s query logging settings for better protection?
Start by addressing privacy concerns; you can disable query logging entirely using the command `sudo pihole logging off` or through the web interface by moving to Settings > System.
Remember, disabling logging doesn’t affect statistics displayed on the interface.
For a balance between functionality and privacy, adjust your privacy level; set it to 1 to hide domain names while still logging queries internally.
Keep in mind that full logs are stored in `/var/log/pihole.log`, so consider a “no logs” policy if privacy is your priority.
Regularly review and rotate your logs to maintain both security and storage efficiency.
Performance Optimization Tips for Pi-hole

While optimizing the performance of Pi-hole on a Raspberry Pi, implementing several key strategies can greatly enhance its efficacy and responsiveness.
Here are four essential tips:
- Custom Upstream DNS: Choose a reliable upstream DNS provider to improve query speeds and accuracy.
- Optimize Cache Management: Use Unbound for advanced caching and enable query prefetching to minimize response times.
- Regular Updates: Frequently run `pihole -g` to update block lists and maintain performance and security.
- Static IP Configuration: Assign a static IP to your Raspberry Pi to avoid conflicts and guarantee consistent network performance.
Troubleshooting Common Issues With Pi-Hole
Enhancing Pi-hole’s performance lays the groundwork for a seamless ad-blocking experience, but issues can still arise that impede its functionality.
Common troubleshooting starts with checking your DNS settings; make certain your devices point to the Raspberry Pi’s IP address. If you’re seeing low query volume, it’s a signal that not all devices are using the Pi-hole server correctly.
Also, check your router configuration to make sure it directs DNS queries appropriately. Make sure there’s only one DNS server set on each device to prevent bypassing.
Check your router settings to ensure proper DNS query routing and limit each device to a single DNS server to avoid bypassing.
Regularly verify the query log for intermittent queries and consider restarting your Pi-hole server if issues persist. Keeping your software updated can enhance performance against ad networks, promoting ideal operation.
Frequently Asked Questions
Can Pi-Hole Block Ads on Mobile Devices?
Yes, Pi-hole can effectively block mobile ads by directing your DNS settings to its IP address. For peak performance, guarantee proper Pi-hole setup and consider disabling conflicting features like “Private DNS” on your device.
Will Using Pi-Hole Slow Down My Internet Connection?
Studies show that over 40% of web traffic is ad-related. Using Pi-hole generally enhances performance by reducing internet latency, as it blocks ads at the DNS level—keeping your browsing experience smooth and efficient.
How Do I Update the Block Lists in Pi-Hole?
To manage your block lists in Pi-Hole, click “Update Gravity” for manual updates, or adjust the update frequency in the cron job settings for regular automatic updates, ensuring effective block list management tailored to your needs.
Is Pi-Hole Compatible With All Internet Service Providers?
Pi-hole’s configuration generally supports various ISPs, but compatibility can depend on specific router settings and ISP policies. Always verify your router’s capability to change DNS settings for ideal Pi-hole performance and effectiveness.
Can I Use Pi-Hole With a VPN?
You can absolutely use Pi-Hole with a VPN. By configuring your VPN for network security, you’ll enhance privacy and effectively block ads, ensuring your online experience is both secure and streamlined across all devices.
Conclusion
By implementing Pi-hole on your Raspberry Pi, you’ve created a digital fortress against unwanted advertising. This simple yet powerful tool acts as a vigilant gatekeeper, ushering only the content you choose to see while gracefully blocking distractions. With its real-time monitoring and customizable settings, you enhance your network’s privacy and efficiency. Embrace this elegant solution for a smoother, more enjoyable browsing experience that keeps your digital environment tidy and free from intrusive ads.

I am a retired software engineer with experience in a multitude of areas including managing AWS and VMWare development environments. I bought a relative a mini-PC a year ago and have become passionate about the technology and its potential to change how we deploy software.