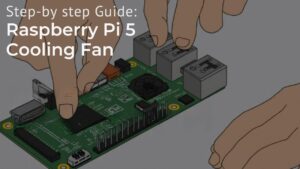
To install and configure a Raspberry Pi 5 cooling fan, start by ensuring the device is powered off. Remove any obstructions to access the board easily. Attach the active cooler using the clips and thermal pads provided. Connect the fan cable to the appropriate header: for a 2-pin fan, red goes to 5V and black to ground. Modify the ‘config.txt’ file for fan control settings, setting temperature thresholds as needed. Finally, use command-line tools for monitoring temperatures and fan speeds. Explore further for tips on optimizing performance and tracking your system’s efficiency effectively.
Check out our picks for Cooling Fans for Raspberry Pi 5
Key Takeaways
- Power off the Raspberry Pi 5 and ensure a clean installation area before attaching the active cooler and fan.
- Secure the active cooler using push pins and connect the fan to the ‘FAN’ header with appropriate wiring.
- Download and configure the latest DTB files and modify ‘config.txt’ for effective Raspberry Pi 5 cooling fan control and speed settings.
- Monitor the Raspberry Pi’s temperature in real-time using command line tools for optimal cooling performance.
- Implement data logging to track temperatures and fan metrics, aiding in performance adjustments and system stability.
Preparing the Components For the Raspberry Pi 5 Cooling Fan
Before you immerse yourself in installing your Raspberry Pi 5 cooling fan, it’s crucial to prepare your components properly.
We selected some that will help get you started with this great computer!

Start by confirming the Raspberry Pi 5 is powered off. This critical step guarantees safety during installation. Next, remove any case or obstructions to expose the board fully. Inspect all connectors and components, making sure they’re clear of debris, as these particles can hinder thermal management. The active cooler is designed for optimal performance enhancement during heavy use.
Ensure that you are using a reliable power supply to avoid any potential issues with the device’s performance and stability.
Place the Raspberry Pi 5 on a stable, non-conductive surface to prevent any accidental short circuits. Refer to the diagram on the box or manual for accurate positioning and orientation to streamline your installation process. Ensure that the device’s temperature does not exceed 50.5°C, which is the recommended operating temperature with active cooling.
Now, focus on unpacking and inspecting the Active Cooler for the Raspberry Pi 5 Cooling Fan. Carefully open the packing supplies, taking note of the preassembled Active Cooler. Remove the backing paper from the thermal pads and confirm they’re undamaged, as they’re crucial for effective heat transfer. The active cooler includes a fan and heatsink that work together to enhance cooling performance.
Finally, check the spring-loaded push pins for integrity.
Mounting the Active Cooler
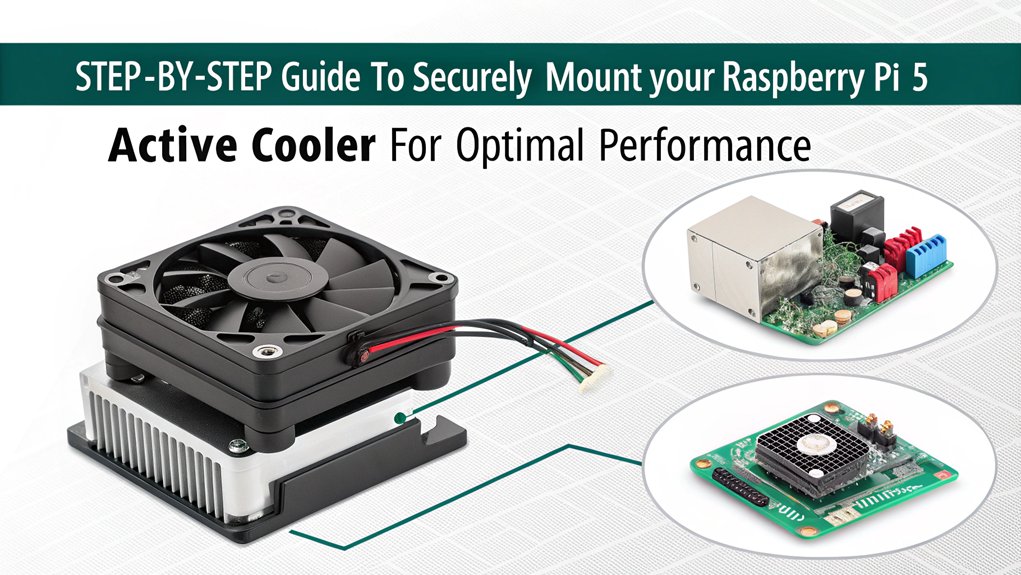
Now that you’ve prepared your components, it’s time to mount the Active Cooler for your Raspberry Pi 5 Cooling Fan. This step is essential for effective thermal management and enhancing the cooling solutions for your setup. Parts Check is crucial, so ensure that the Active Cooler is compatible with your Raspberry Pi model before proceeding. Additionally, the Active Cooler is automatically controlled by firmware, ensuring optimal cooling performance without manual intervention.
Ensuring proper cooling can also help in maintaining stable performance during resource-intensive tasks, similar to how a NAS supports high-definition streaming for uninterrupted playback. Proper thermal management can also enhance audio quality during resource-intensive audio applications such as those requiring high-resolution audio.
- Unpack the Active Cooler and remove the backing paper from the thermal pads.
- Verify your Raspberry Pi 5 is powered off before proceeding.
- Position the cooler in the designated area, being careful not to obstruct any connectors.
Here’s a quick reference to guide you through the mounting process:
| Step | Action |
|---|---|
| 1. Positioning | Align the cooler avoiding connectors. |
| 2. Securing | Clip the two white push pins into the heatsink holes. |
| 3. Fit Check | Confirm there’s no obstruction for ventilation. |
| 4. Final Verification | Check all components and make sure the cooler is secure. |
The Active Cooler should remain permanently mounted for peak performance. Avoid removing it, as this can lead to degradation. Handle it with care, as parts may get hot. Taking these precautions guarantees your Raspberry Pi runs efficiently under various loads, greatly improving its overall performance with enhanced thermal management.
Connecting the Raspberry Pi 5 Cooling Fan Cable
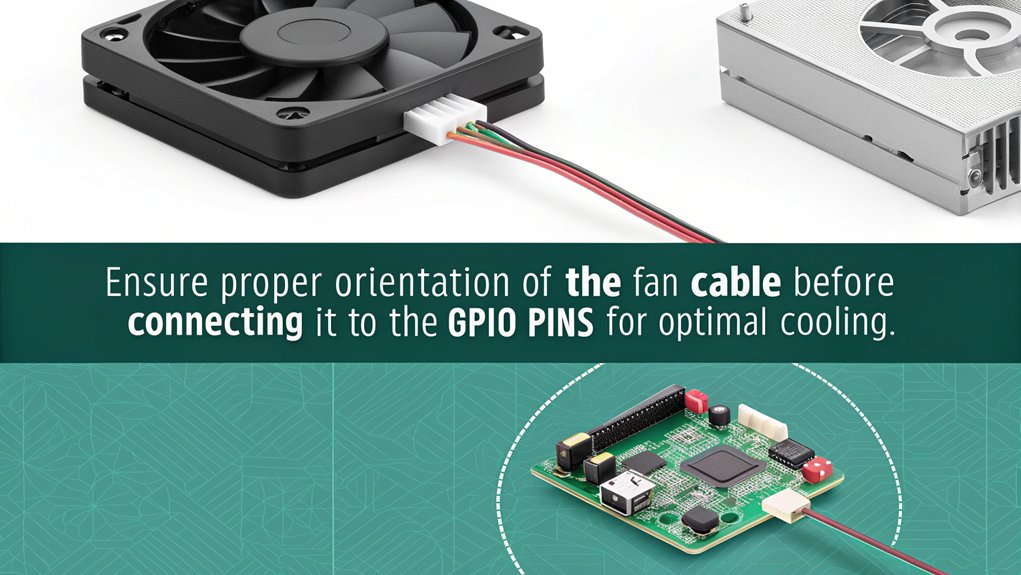
Connecting the fan cable to your Raspberry Pi 5 cooling fan is a straightforward task that’s critical for guaranteeing effective cooling.
Begin by identifying the fan header on your Raspberry Pi, typically labeled ‘FAN.’ This four-pin connector is designed specifically for fan connections, aiding in pulse width modulation (PWM) control for adjustable fan speed.
When connecting the Raspberry Pi 5 cooling fan, pay attention to cable colors. If you’re using a 2-pin fan, connect the red wire (5V) to GPIO pins 2 or 4 and the black wire (ground) to pin 6. If you have a 3-wire fan, connect the red to 5V, black to ground, and the blue wire to GPIO 14 for PWM control. Make sure to verify that the fan operates on 5V DC to ensure compatibility and proper functionality. The Raspberry Pi 5’s built-in cooling solutions can significantly enhance temperature management when properly configured.
Make sure the connections are snug and free from resistance; if you feel any resistance, stop and check for damage to the cable or connector.
It’s essential that your power supply is adequate to support both the fan and Raspberry Pi. Any incorrect connections might prevent your Raspberry Pi from booting, so guarantee each cable is aligned correctly and inserted fully.
Doing this properly now will keep your device cooler and running efficiently later.
Configuring Fan Settings
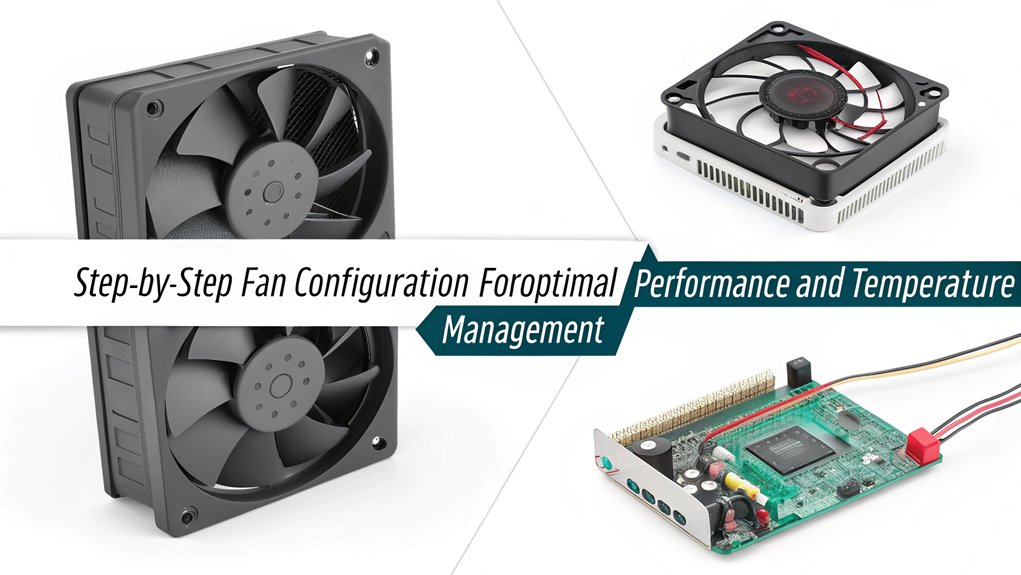
Configuring fan settings is essential for enhancing your Raspberry Pi 5 cooling fan’s performance.
Begin by confirming you have the latest DTB files to enable efficient fan control. Download the updated ‘bcm2712-rpi-5-b.dtb’ from the rpi-firmware repository and verify it’s compatible with your OS, like Ubuntu 23.10. Additionally, ensure you have the correct custom cooling solution implemented to maximize the effectiveness of your fan, similar to how the Mac Mini 2024 emphasizes energy efficiency.
Next, set your temperature thresholds and fan speeds using ‘dtparam’ commands. You might configure settings such as ‘dtparam=fan_temp0=35000’ for the threshold and ‘dtparam=fan_temp0_speed=175’ to define the fan’s operating speed. It is important to note that the Raspberry Pi 5 Auto Fan Controller reduces the necessity for manual scripts, allowing for easier setup and automation.
Consider multiple cooling levels by defining additional thresholds, such as ‘fan_temp1’, ‘fan_temp2’, etc., adjusting hysteresis values for precision.
Don’t forget to modify the ‘config.txt’ file in the boot partition to activate these settings. Use a simple text editor, like ‘vi’, to incorporate your ‘dtparam’ configurations.
For improved control, consider creating a Python script that dynamically monitors temperature and adjusts fan speed based on your predefined boundaries, ensuring seamless integration similar to how the Mac Mini integrates with other Apple devices.
This way, you confirm your Raspberry Pi 5 maintains peak performance without overheating, providing an innovative solution for efficient cooling management.
Picks for Cooling Fans
Here are some possible cooling fans. These are affiliate links. As an Amazon Affiliate, I might make a small commission on every purchase. There is no extra cost to you, and it helps to support this blog.

- Single-piece anodised aluminium heatsink
- Heatsink-mounted, temperature-controlled blower fan attached by three screws
- Spring-loaded push pins for mounting onto Raspberry Pi 5

- Compatible with Raspberry Pi 5 --- This Armor Lite V5 Aluminum Heatsink is only designed for Raspberry Pi 5 4GB/8GB.
- Support PWM Speed Control --- Different from ordinary fans, this cooling fan supports PWM speed regulation, which is perfectly compatible with Raspberry Pi OS.
- Good Heat Dissipation Effect --- With 3510 ultra-quiet cooling fan and thermal pads, it can lower the temperature of Raspberry Pi Board quickly.

- Super charged Raspberry Pi 5 NVME case - boot your Raspberry Pi 5 from M.2 NVME to experience improvements in speed, reliability and storage capacity
- Argon NEO Raspberry Pi 5 NVME Case includes a built-in heatsink for your Raspberry Pi 5 M.2 NVME Drive to keep it cool, efficient and working longer
- Faster and higher storage access by connecting M.2 NVME drives via the PCIe slot on your Raspberry Pi 5 NVME
Monitoring Performance

Monitoring performance is key to guaranteeing your Raspberry Pi system runs smoothly and efficiently. To achieve this, temperature monitoring is essential. You can use the command line tool ‘vcgencmd measure_temp’ for one-time readings of your SoC temperature.
For real-time updates, combine it with ‘watch -n 2 vcgencmd measure_temp’, allowing you to track temperatures every two seconds. Alternatively, the ‘sensors’ command from the ‘lm-sensor’ package can provide CPU temperature specifics.
For GUI enthusiasts, adding a CPU Temp applet in Raspbian lets you visualize CPU and GPU usage, along with temperature in the top panel. Customizing colors for critical thresholds enhances immediate awareness of overheating risks. Maintaining optimal temperature is vital to system stability and performance.
Don’t forget to monitor your fan speed as well. By executing ‘watch cat /sys/devices/platform/cooling_fan/hwmon/*/fan1_input’, you stay informed about the real-time fan RPM. It’s important to note that the reported fan speed may only be 74% of actual performance, which can lead to potential overheating issues if not addressed.
Implementing scripts to log this data enables detailed performance analysis, particularly during overclocking or stress tests. Collecting these metrics at frequent intervals will guarantee that your Raspberry Pi remains stable and performs effectively under various loads.
Emphasizing these practices ensures innovative and efficient Raspberry Pi operation.
Frequently Asked Questions
Can I Use Third-Party Cooling Fans With Raspberry Pi 5?
Yes, you can use third-party cooling fans with Raspberry Pi 5. Just verify fan compatibility with the mounting holes and connectors, and enjoy improved performance from aftermarket cooling solutions tailored to your innovative projects.
What Are the Signs of Overheating in Raspberry Pi 5?
When your Raspberry Pi’s like a boiling pot, it signals overheating symptoms. Watch for thermal throttling, slow performance, and temperature warnings—these indicators show it’s time to cool down before things get too fiery.
Is It Safe to Run Raspberry Pi 5 Without a Cooling Fan?
Running your Raspberry Pi 5 without a cooling fan isn’t ideal. The impact of overheating can severely affect performance. Implementing effective thermal management strategies is essential to guarantee stability and longevity for demanding tasks.
How Do I Clean the Cooling Fan if It Gets Dusty?
Dust can be a silent thief, robbing performance. For effective fan maintenance, use gentle cleaning methods like a soft brush or compressed air. Always power off your device to avoid risks during cleaning.
Will Using a Cooling Fan Void My Raspberry Pi Warranty?
Using a cooling fan typically won’t void your Raspberry Pi warranty if you follow the warranty policies regarding fan installation. Confirm you don’t alter the device, and you’ll maintain your warranty protection effectively.
Conclusion
You’ve successfully transformed your Raspberry Pi 5 into a cool, breezy machine! By installing and configuring a cooling fan, you’ve guaranteed its longevity and performance. With your newfound expertise, you can embrace the delightful challenge of maintaining ideal temperatures while enjoying all your projects. Keep an eye on the performance, and feel free to tweak the settings as needed. Your Raspberry Pi is now ready to take on the world—comfortably and efficiently!

I am a retired software engineer with experience in a multitude of areas including managing AWS and VMWare development environments. I bought a relative a mini-PC a year ago and have become passionate about the technology and its potential to change how we deploy software.