
What is Caddy?
Caddy isn’t just a web server; it also handles automatic HTTPS and reverse proxying, making it a powerful tool for your Raspberry Pi. If you’ve been wanting to host your own website or service with minimal hassle, Caddy on a Raspberry Pi might be the solution you need. Ready to find out how to set it up effectively? You’ll start with some essential preparations you can’t overlook.
Key Takeaways
- Prepare your Raspberry Pi by ensuring it has the latest Raspberry Pi OS and essential accessories for a successful installation.
- Install required dependencies using the command: ‘sudo apt update && sudo apt install -y libc6 libpcre3 libssl-dev’ to support Caddy’s functionality.
- Download the appropriate Caddy binary for your Raspberry Pi architecture via ‘wget’ from the official Caddy releases page.
- Configure Caddy on a Raspberry Pi by creating a Caddyfile with server blocks, enabling HTTPS, and setting up reverse proxy settings for your applications.
- Manage Caddy as a service with systemd, enabling it to start on boot and monitoring its status for any issues.
Preparing Your Raspberry Pi
Before you jump into installing Caddy on a Raspberry Pi, it’s vital to prepare your Raspberry Pi properly.
Start by selecting the right operating system choices, such as Raspberry Pi OS Lite for better performance or a more full-featured version if you need a graphical interface.
Choosing the right operating system is crucial; consider Raspberry Pi OS Lite for optimal performance or a full-featured version for a graphical interface.
Make sure your Raspberry Pi is equipped with essential accessories like a reliable power supply, a microSD card (at least 16GB), and a network connection for seamless updates.
It’s also wise to have a keyboard and monitor handy for setup.
Verify your Raspberry Pi is updated by running system updates.
This preparation guarantees your Caddy installation process goes smoothly, allowing you to focus on utilizing Caddy’s powerful capabilities in managing your web services efficiently.
Installing Required Dependencies

Once your Raspberry Pi is set up and running, the next step involves installing the necessary dependencies for Caddy.
Start by verifying your system meets Caddy’s requirements; it’ll typically need the latest version of Raspbian.
Use the terminal to install required packages that support web server functionality. You can do this by executing the command: ‘sudo apt update && sudo apt install -y libc6 libpcre3 libssl-dev’.
These are essential for Caddy’s operation, allowing it to effectively serve web content.
After completing this installation, it’s a good idea to check the dependencies are correctly installed by checking their versions.
This will guarantee you’re primed for a smooth Caddy installation process ahead.
Downloading Caddy
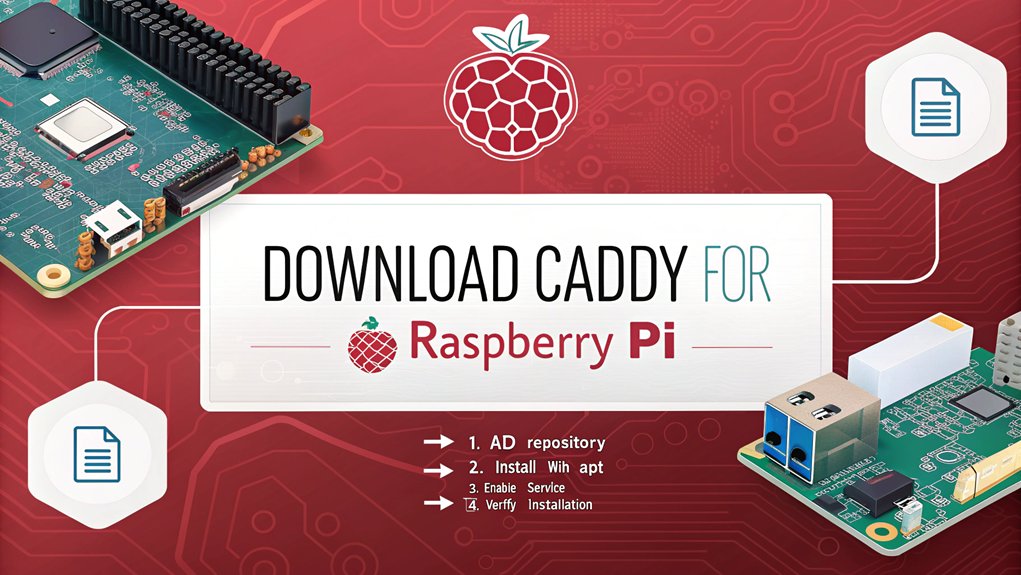
To download Caddy on a Raspberry Pi, you’ll want to select the version compatible with your Raspberry Pi architecture.
Visit the official Caddy download page and identify the appropriate binary for your device’s architecture—typically ARM for most Raspberry Pi models.
Verify you’re tapping into the latest release to take advantage of Caddy’s features, including automatic HTTPS and HTTP/2 support, which enhance performance and security.
Once you’ve chosen the correct version, download it using the ‘wget’ command in your terminal.
For instance, you might use ‘wget https://github.com/caddyserver/caddy/releases/download/v2.x.x/caddy_arm’—just replace ‘x.x’ with the current release.
This straightforward process guarantees you’re set up with the latest version, assuring peak Raspberry Pi compatibility and functionality.
Configuring Caddy
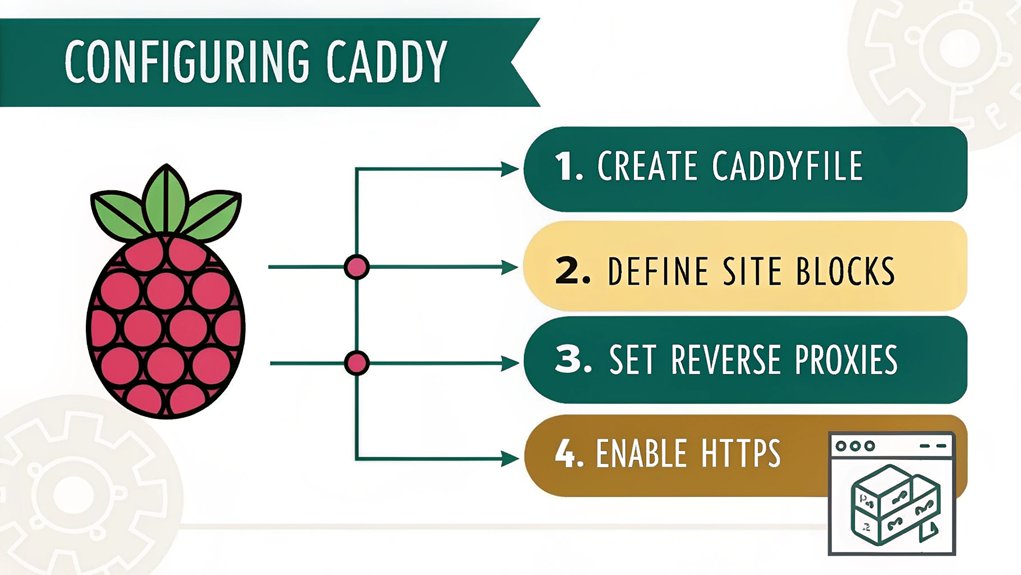
Now that you’ve downloaded Caddy on a Raspberry Pi, it’s time to configure it for your Raspberry Pi.
Start with the basic configuration settings to define your site and its resources.
Don’t forget to enable HTTPS support to secure your connections automatically.
Basic Configuration Settings
While configuring Caddy, you’ll want to guarantee that you set the appropriate directives in the Caddyfile. This is essential for ideal Caddy security and performance tuning.
Follow these key steps for effective configuration:
- Define the server block: Specify the domain and root path for your web application.
- Set up reverse proxy: If you’re serving applications, make sure to configure the reverse proxy for seamless connections.
- Adjust timeouts: Tune request and read timeouts to improve performance and prevent unnecessary delays.
Getting these settings right assures your Caddy server operates efficiently, meets security standards, and performs well under load.
With careful attention to these aspects, you’re on your way to a reliable, high-performance web server on your Raspberry Pi.
Enabling HTTPS Support
Next on the agenda is enabling HTTPS support, which is essential for ensuring secure communications between your server and clients.
Caddy makes this process straightforward by automatically managing your SSL certificates. To get started, edit your Caddyfile and define your site’s address, ensuring it begins with ‘https://’. Caddy will automatically obtain an SSL certificate for you through Let’s Encrypt.
You can also configure HTTPS redirection effortlessly. Just add a redirection rule in your Caddyfile to enforce HTTPS, ensuring that all HTTP requests are redirected to their secure counterparts.
This setup not only enhances security but also improves your site’s SEO. Remember to test your setup, ensuring everything runs smoothly, promoting a robust, innovative server environment.
Setting Up a Caddyfile

Setting up your Caddyfile is essential for configuring your server’s behavior and managing site blocks.
You’ll want to understand the basic structure of the Caddyfile, define site blocks accurately, and learn how to add plugins easily.
With these steps, you can efficiently customize Caddy to meet your needs.
Basic Caddyfile Structure
To effectively configure your Caddy server, you need a well-structured Caddyfile, which serves as the instruction manual for the server.
Understanding the basics helps you leverage Caddy’s features and advantages. Here are essential components to include:
- Global options: Set directives that affect the overall server behavior.
- Site addresses: Specify the domains or IPs your server will respond to.
- Handlers: Define how different requests are processed.
Defining Site Blocks
Defining site blocks in your Caddyfile allows you to tailor server behavior for specific domains or applications, offering precise control over how requests are managed. Each site block begins with a domain name or IP address, followed by configuration directives.
For instance, you can specify how you want Caddy on a Raspberry Pi to handle HTTPS, redirect traffic, or serve static files. This level of traffic management guarantees that your users receive a seamless experience, minimizing delays and optimizing performance.
Adding Plugins Easily
When you’re ready to enhance your Caddy server with additional functionality, adding plugins to your Caddyfile is straightforward and efficient.
To effectively manage your plugins, follow these simple steps:
- Identify the custom plugins you need for your server’s requirements.
- Edit your Caddyfile to include the plugin directives, ensuring proper syntax.
- Reload the Caddy server to apply your changes and activate the plugins.
With these steps, you’ll streamline your plugin management process, allowing for rapid advancements in your server’s capabilities.
Leveraging custom plugins not only optimizes performance but also tailors your server to fit specific use cases.
Embrace innovation, and watch your Caddy server thrive!
Running Caddy as a Service

Running Caddy on a Raspberry Pi as a service is a straightforward process that guarantees your web server starts automatically on boot and remains active in the background.
To set this up, you’ll utilize systemd for efficient service management. First, create a service file in ‘/etc/systemd/system/’ for Caddy. Include the necessary configurations, specifying the user, group, and the executable path.
Set up Caddy as a service using systemd by creating a service file in ‘/etc/systemd/system/’ with the required configurations.
Then, enable the service to make certain it launches at startup. Caddy’s built-in logging mechanism allows for easy log rotation, preventing excessive disk usage.
To implement this, configure your log storage and rotation settings within the service file or use external tools like ‘logrotate’.
After setup, you can start, stop, and monitor Caddy on a Raspberry Pi with standard systemd commands, streamlining your web server operation.
Verifying the Installation
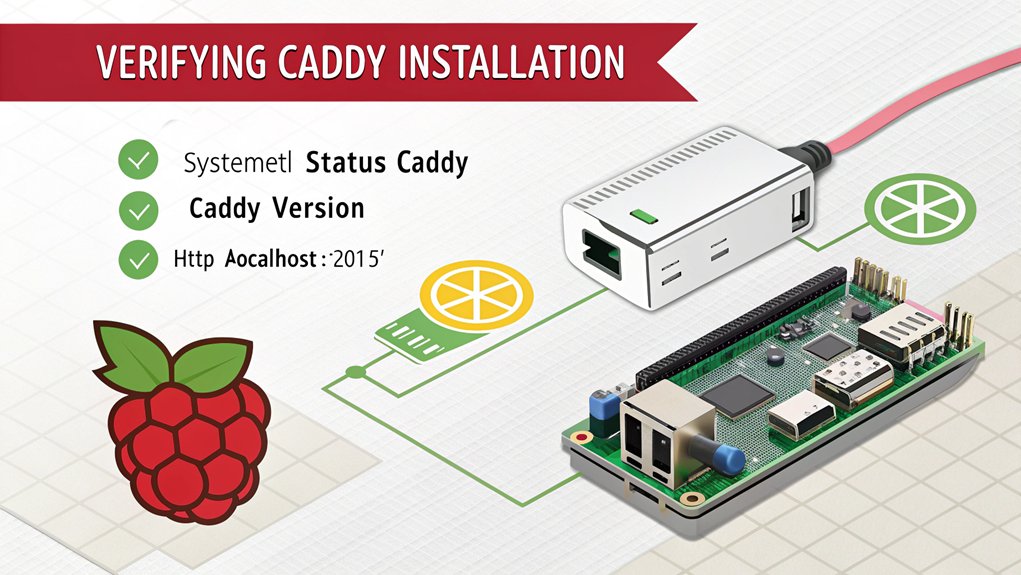
To guarantee Caddy is working correctly after installation, you should verify its status and functionality. This installation verification assures it’s ready for your projects.
Here are a few straightforward steps to follow:
- Check the Caddy service status with ‘systemctl status caddy’ to see if it’s active.
- Access your Raspberry Pi’s IP address in a web browser; you should see the default Caddy page.
- Review the Caddy logs for any errors by running ‘journalctl -u caddy’ for troubleshooting tips.
If you encounter issues, revisit your configuration files or permissions, as they can be common trouble spots.
With these checks, you’ll ascertain that Caddy is running smoothly and ready to handle your web traffic efficiently.
Frequently Asked Questions
Can I Use Caddy for Multiple Websites on One Raspberry Pi?
Yes, you can use Caddy for multiple websites on one Raspberry Pi. By employing proper Caddy configuration and implementing virtual hosting, you’ll efficiently manage various sites without sacrificing performance or complicating setup.
How Do I Secure Caddy On A Raspberry Pi With HTTPS?
Did you know that nearly 80% of websites now use HTTPS? To secure Caddy, simply configure HTTPS by obtaining SSL certificates via Let’s Encrypt, integrating them into your Caddyfile for automatic renewal and enhanced security.
Is Caddy Suitable for Low-Powered Raspberry Pi Models?
Yes, Caddy’s lightweight architecture makes it ideal for low-powered Raspberry Pi models. With effective resource optimization, it guarantees excellent performance compared to other servers, allowing you to innovate without overwhelming your hardware’s capabilities.
How Can I Update Caddy After Installation?
Keeping Caddy fresh is like nurturing a garden; regular updates guarantee it flourishes. To update Caddy, simply run the command for fetching Caddy updates and check the release notes for versioning changes. It’ll bloom beautifully!
What Are the Common Troubleshooting Steps for Caddy Issues?
When troubleshooting Caddy, check your Caddy configuration for errors, and examine Caddy logs for specific issues. Confirm domain resolution is correct and verify any firewall settings that might be blocking access to your server.
Conclusion
Now that you’ve got Caddy set up on your Raspberry Pi, the real adventure begins. Ready to test your configuration? Fire up your web browser and type in your Pi’s IP address. Can you feel the anticipation? If everything’s gone smoothly, Caddy’s default page should greet you. But what if there’s an issue lurking behind the scenes? Stay vigilant and check your logs—success is just a glance away. Are you prepared to dive deeper into this powerful tool?

I am a retired software engineer with experience in a multitude of areas including managing AWS and VMWare development environments. I bought a relative a mini-PC a year ago and have become passionate about the technology and its potential to change how we deploy software.