
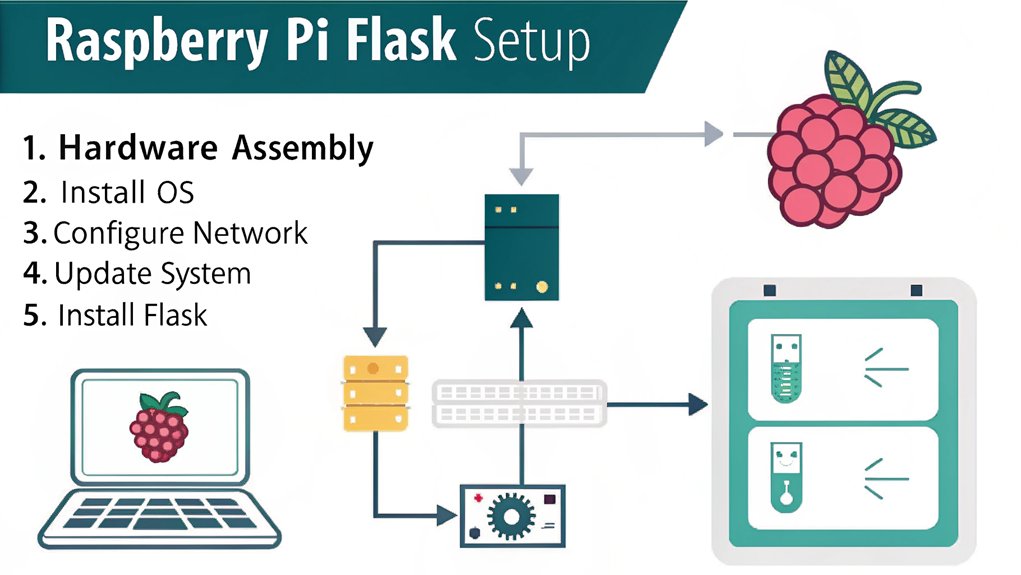
To install Flask on a Raspberry Pi, you need to prepare your environment, set up your system, and make certain all necessary components are in place. It’s crucial to have a compatible OS and the correct version of Python. You’ll encounter various commands along the way, including those for updating packages and creating a virtual environment. Understanding these steps will help you efficiently run your Flask applications on the Pi. Are you ready to get started?
Key Takeaways
- Ensure your Raspberry Pi is running Raspbian with Python 3.6 or higher installed for optimal Flask performance.
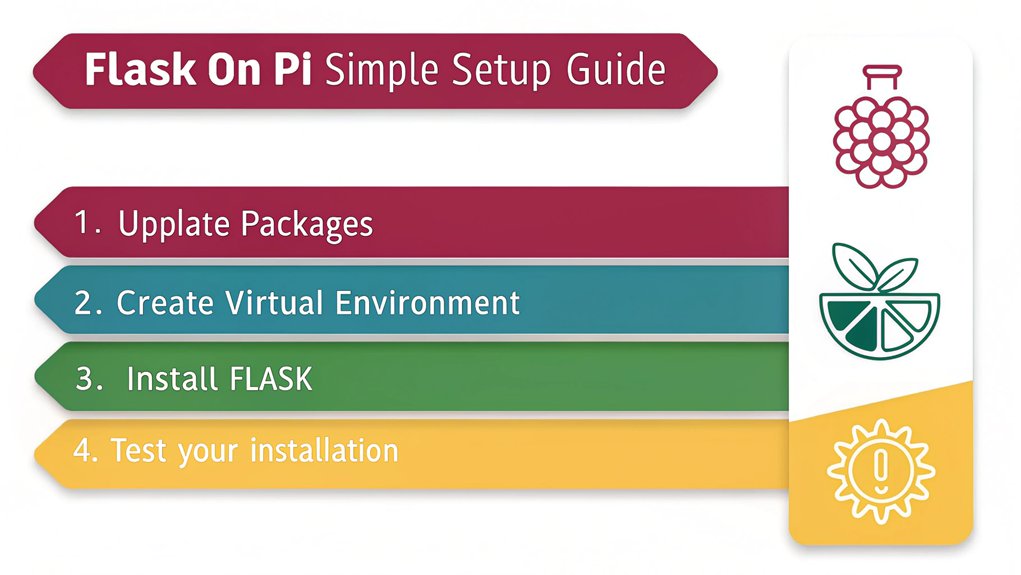
- Update your system packages by executing ‘sudo apt update’ and ‘sudo apt upgrade’ in the terminal.
- Install Pip using ‘sudo apt install python3-pip’ to manage Flask and other Python packages efficiently.
- Create a virtual environment for your Flask project with ‘python3 -m venv myenv’ to isolate dependencies.
- Activate your virtual environment with ‘source myenv/bin/activate’ before installing Flask using ‘pip install Flask’.
Note: There are affiliate links in this post. As an Amazon Affiliate, I may make a small commission on every purchase. No extra cost to you and it helps to support this blog.
Prerequisites for Installing Flask on a Raspberry Pi
Before you jump into installing Flask on your Raspberry Pi, make certain you have the necessary components in place. Flask can run on a Raspberry Pi Zero. Here is a kit to get you started:

- A RASPBERRY PI KIT FROM AN APPROVED RESELLER: Basic Starter Kit for Pi Zero W 2 Includes Raspberry Pi 4 Model Pi Zero W 2 with basic accessories to get started.
- INCLUDES BASIC VITAL ACCESSORIES TO GET STARTED: 9 part Includes:1. Raspberry Pi Zero W 2 Board 2.Multi Use Case 3. Power Supply 4. Micro USB to USB OTG Adapter 5.HDMI to MINI HDMI Adapter 6.40 Pin...
- Raspberry Pi Zero 2 W Key features: 1GHz quad-core, 64-bit ARM Cortex-A53 CPU VideoCore IV GPU 512MB LPDDR2 DRAM 802.11b/g/n wireless LAN Bluetooth 4.2 / Bluetooth Low Energy (BLE) MicroSD card slot...
Verify your Raspberry Pi is running a compatible operating system, such as Raspbian or Raspberry Pi OS, to take full advantage of Flask features. You’ll need Python 3, as Flask relies on it for peak performance.
Ensure your Raspberry Pi runs Raspbian and Python 3 for optimal Flask performance.
Check that you have a stable internet connection, as you’ll require access to install Flask and any dependencies. Familiarize yourself with the command line; this is where you’ll execute installation commands.
Additionally, consider updating your package list using ‘sudo apt update’ to prevent compatibility issues.
Setting Up Your Raspberry Pi
Setting up your Raspberry Pi correctly is essential for a smooth Flask installation experience.
Begin with your hardware setup by securely connecting peripherals including a monitor, keyboard, and mouse. Then, power on your Raspberry Pi and verify that the operating system is functioning effectively.
Next, turn your attention to software configuration. Connect to a reliable Wi-Fi network and prepare your Raspberry Pi for innovative project ideas by installing necessary packages. You can do this through the terminal by updating repositories and confirming you have the latest software versions.
A properly configured Raspberry Pi lays the groundwork for a fruitful development environment, allowing you to fully harness Flask’s capabilities in your upcoming projects.
Updating the System Packages
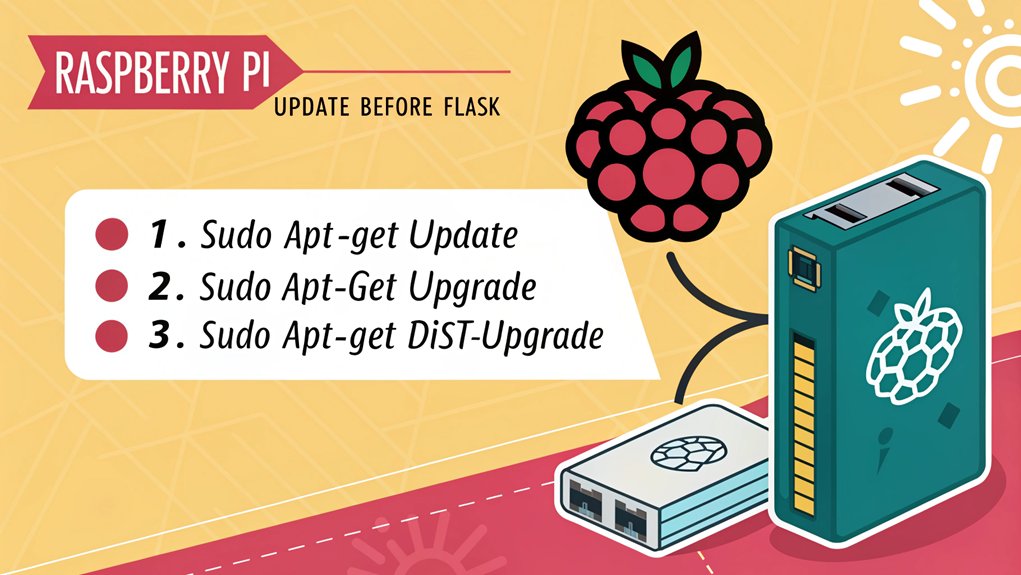
Once your Raspberry Pi is up and running, the next step involves ensuring that all system packages are up-to-date.
After getting your Raspberry Pi set up, it’s crucial to keep all system packages updated for optimal performance.
This essential aspect of system maintenance not only enhances performance but also secures your device.
Here’s how you can effectively manage your system packages:
- Open the terminal on your Raspberry Pi.
- Update your package list by executing: ‘sudo apt update’.
- Upgrade the installed packages using: ‘sudo apt upgrade’.
Installing Python and Pip
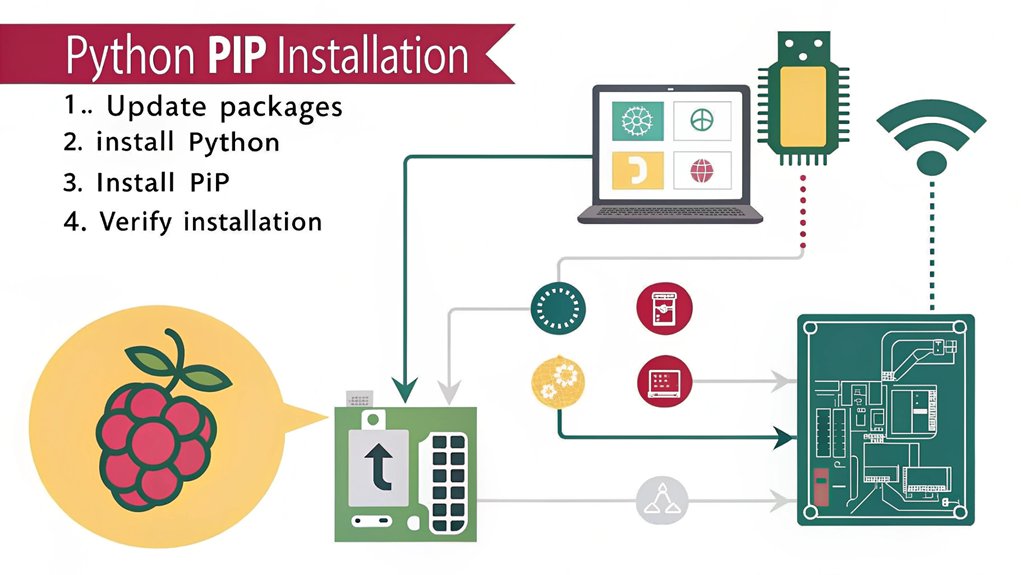
Before you can run Flask, you need to guarantee you have the correct version of Python installed on your Raspberry Pi.
Check your Python version using the command line, and if it’s not available, you can easily install it.
After that, install Pip to manage your Python packages efficiently.
Check Python Version
To guarantee Flask runs smoothly on your Raspberry Pi, it’s essential to check your Python version first. Flask requires specific Python compatibility to function correctly.
Follow these steps for a quick version check:
- Open your terminal.
- Type ‘python –version’ or ‘python3 –version’.
- Press Enter.
You’ll see the installed Python version displayed. Confirm you have Python 3.6 or higher, as earlier versions may not support Flask.
If your version is outdated, you’ll need to update your Python installation to assure full compatibility with Flask and its dependencies.
Accurately checking your Python version is a vital step before proceeding with the installation. This simple check helps you avoid potential issues down the line.
Install Pip Package
With your Python version verified, the next step involves installing pip, the package manager for Python, which simplifies the process of adding and managing Python packages, including Flask. To install pip on your Raspberry Pi, run the following command in your terminal:
”’bash
sudo apt install python3-pip
”’
Pip is widely used, but there are also pip alternatives like ‘Poetry’ and ‘Pipenv’ that some developers prefer. Below is a comparison of some package management tools:
| Tool | Features |
|---|---|
| Pip | Basic, widely used |
| Poetry | Dependency management, builds |
| Pipenv | Virtual environments, dependency lock |
| Conda | General package management, environments |
| Apt | System package manager |
Once installed, you can start utilizing pip to install Flask and other desired packages.
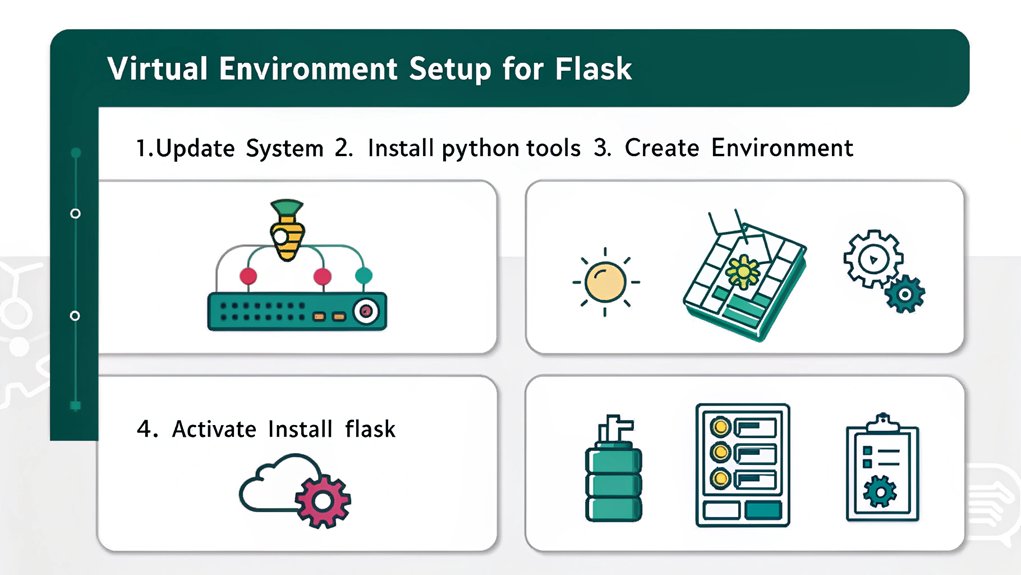
Creating a Virtual Environment
Creating a virtual environment is essential for managing dependencies and avoiding conflicts between projects.
You’ll isolate your Flask application’s requirements within a dedicated space, ensuring a clean development setup.
Let’s go through the steps to create your virtual environment effectively.
Why Use Virtual Environments?
When working on multiple projects, using python virtual environments becomes essential for maintaining organized and manageable dependencies. They provide several key benefits:
- Isolation: Each virtual environment keeps your projects separate, preventing conflicts between package versions and ensuring that a project’s needs won’t disrupt others.
- Managing Dependencies: With virtual environments, you can easily replicate and manage the exact packages required for each project, which is vital for consistent development and deployment.
- Cleaner Workflow: They help streamline your workflow, allowing you to focus on project-specific requirements without the clutter of globally installed packages.
Steps to Create Environment
To set up a virtual environment on your Raspberry Pi, start by ensuring you have Python and the ‘venv’ module installed.
Open your terminal and navigate to your project directory. Use the command ‘python3 -m venv myenv’ to create a virtual environment named ‘myenv’.
Activate it by running ‘source myenv/bin/activate’. With your environment active, you can now install Flask and any other packages you need.
It’s essential to focus on choosing dependencies specific to your project to avoid bloat. When using ‘pip’, you can also manage versions by specifying them, such as ‘pip install Flask==2.0.1’.
Finally, don’t forget to deactivate your environment with the ‘deactivate’ command when you’re done!
Installing Flask
Installing Flask on your Raspberry Pi involves a few straightforward steps that set the groundwork for your web application.
Follow these instructions to get Flask up and running:
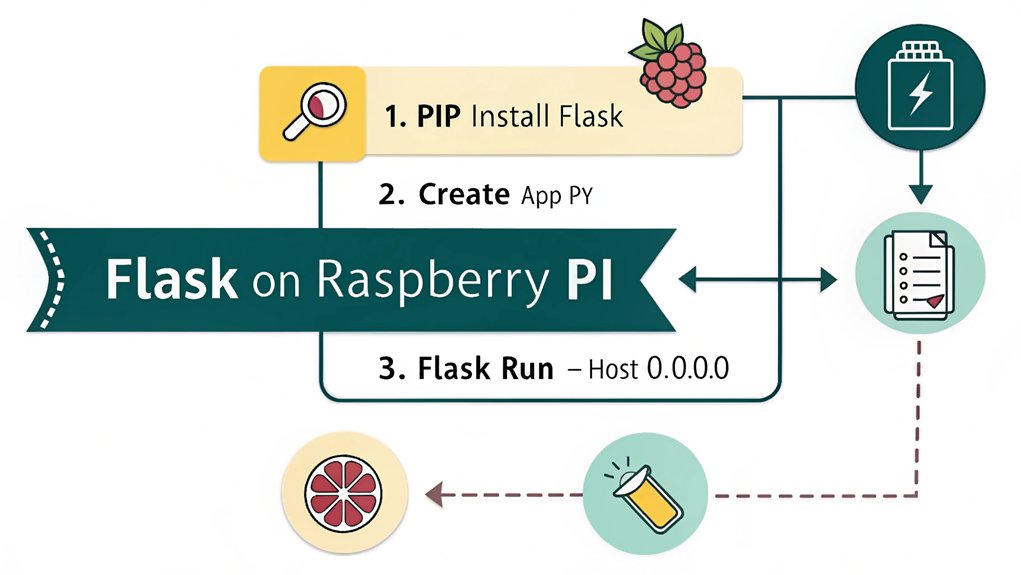
- Install Flask: Use the command ‘pip install Flask’ in your terminal. This installs the core Flask framework along with its essential libraries.
- Add Flask Extensions: If your application requires additional functionalities, consider installing Flask extensions using ‘pip install ‘. These can enhance your app’s capabilities.
- Enable Flask Debugging: For better development insights, set the environment variable with ‘export FLASK_ENV=development’. This allows Flask debugging, making it easier to troubleshoot your code.
Running a Simple Flask Application
Running a simple Flask application on your Raspberry Pi can be accomplished in just a few organized steps.
First, create a basic Flask app by defining routes using Flask routing in your ‘app.py’ file. Next, you’ll want to utilize Flask templates to render HTML dynamically for better presentation.
To guarantee your application runs smoothly, enable Flask debugging, which will help troubleshoot any issues that arise during development.
Finally, when you’re ready to share your application, focus on Flask deployment, choosing the appropriate server options for your needs.
Frequently Asked Questions
Can I Use Flask for a Web App on Raspberry Pi?
Yes, you can definitely use Flask to create a web app on your Raspberry Pi. Its lightweight nature makes it perfect for a compact environment, allowing you to deploy innovative applications efficiently and effectively.
Will Flask Run on Raspberry Pi Zero?
Absolutely, Flask can run on a Raspberry Pi Zero. While evaluating its performance benchmarks, consider optimizing your Raspberry Pi configurations to enhance responsiveness, especially in projects like lightweight IoT dashboards or simple web interfaces.
How Does Flask Compare to Django on Raspberry Pi?
Flask offers lightweight advantages, ensuring better performance on Raspberry Pi, while Django’s complexity can hinder efficiency. If you prioritize simplicity and speed, Flask’s minimalistic design makes it a more suitable choice for your projects.
Can I Use SQLITE With Flask on Raspberry Pi?
SQLite integration with Flask is like a perfect dance, effortlessly blending simplicity with power. You can absolutely use SQLite as your Flask database, allowing for efficient data management on your Raspberry Pi without breaking a sweat.
Is Flask Suitable for Iot Projects on Raspberry Pi?
Flask’s lightweight architecture and impressive performance make it an excellent choice for IoT projects. It seamlessly integrates with various IoT frameworks, allowing you to create efficient, scalable applications on Raspberry Pi devices. Your innovation starts here.
Conclusion
In summary, installing Flask on your Raspberry Pi opens up a world of web development possibilities. While some might worry about performance limitations, rest assured that Flask is lightweight and performs well even on lower-powered devices. With the proper setup, including a virtual environment, you can easily customize your applications without affecting the system. So don’t hesitate—dive into Flask development and release the potential of your Raspberry Pi today!

I am a retired software engineer with experience in a multitude of areas including managing AWS and VMWare development environments. I bought a relative a mini-PC a year ago and have become passionate about the technology and its potential to change how we deploy software.