
To install Lighttpd on your Raspberry Pi, you’ll need to verify your device meets the necessary specifications. Start by updating your system to avoid any compatibility issues. After that, the installation process is straightforward using terminal commands. However, configuring Lighttpd settings correctly is vital for peak performance. Once that’s done, you’ll want to confirm the installation. Let’s explore each step to guarantee a smooth setup of Lighttpd on a Raspberry Pi!
There are affiliate links in this post. As an Amazon Affiliate, I might make a small commission on every sale. No extra cost to you and it helps to support this blog.
Key Takeaways
- Ensure your Raspberry Pi meets the necessary hardware and software prerequisites, including RAM and compatible OS, before starting the installation.
- Update your Raspberry Pi system by running ‘sudo apt-get update’ and ‘sudo apt-get upgrade’ in the terminal.
- Install Lighttpd by executing ‘sudo apt-get install lighttpd’ in the terminal and verify the installation status with ‘sudo systemctl status lighttpd’.
- Configure Lighttpd by editing the ‘/etc/lighttpd/lighttpd.conf’ file, adjusting settings like virtual hosts, document root, and enabling necessary modules.
- Test your installation by accessing the Raspberry Pi’s IP in a web browser and reviewing error logs for any issues.
Prerequisites for Installing Lighttpd on a Raspberry Pi
Before you start installing Lighttpd on a Raspberry Pi, there are a few prerequisites you need to have in place.
First, verify your Raspberry Pi meets the hardware requirements: a minimum of 1GB RAM and a compatible OS, preferably Raspberry Pi OS or similar.
Next, you’ll want to check for essential software dependencies. You’ll need to have the necessary libraries installed, such as libmicrohttpd and any required development tools.
Also, verify your package manager is up-to-date to facilitate smooth installations.
Additionally, a stable internet connection will help in downloading any required packages efficiently.
Here are some Starter Kits that you can use to jumpstart installing lighttpd on a Raspberry Pi:

- Pi5 8GB Pack: RasTech Pi 5 8GB kit includes 1 x Pi5 8GB board ,1 x 64GB Card, 2 x Card Readers,1 x Active Cooler,1 x Case for Pi5, 2 x 4K Micro HD Out Cable,1 x GaN 27W 5A USB-C Power supply,1 x...
- Pi5 8GB Board: The Pi5 board is equipped with a 64-bit quad-core Arm Cortex-A76 processor running at 2.4GHz and an 800MHz VideoCore VII GPU with support for OpenGL ES 3.1 and Vulkan 1.2, which...
- Important Graphics Features: Equipped with an 800MHz VideoCore VII GPU and providing better graphics performance, suitable for multimedia applications,gaming,and graphics intensive tasks.Provides 1...

- Includes Raspberry Pi 4 8GB Model B with 1.5GHz 64-bit quad-core CPU (8GB RAM)
- Includes Pre-Loaded 32GB EVO+ Micro SD Card (Class 10), USB MicroSD Card Reader
- CanaKit Premium High-Gloss Raspberry Pi 4 Case with Integrated Fan Mount, CanaKit Low Noise Bearing System Fan

- PI ZERO BASIC STARTER KIT: Features the Raspberry Pi Zero W With Power Supply, Case, Basic Adapters, and more to get you up and running with Pi zero
- RASPBERRY PI ZERO W FEATURES: 802.11 b/g/n wireless LAN, BCM 2835 SOC @ 1GHz processor, wifi and Bluetooth 4.1 & Low Energy (BLE), 40 pin GPIO pin, 1GHz single-core CPU, Micro SD slot, 512MB RAM,...
- 7 PART KIT: Includes: 1. Raspberry Pi Zero W Board 2.Multi-Function Case with 2 covers for various kinds of use 3.Vilros Pi Zero Compatible Power Supply 4. Mini HDMI to Standard HDMI adapter...
Updating the Raspberry Pi System
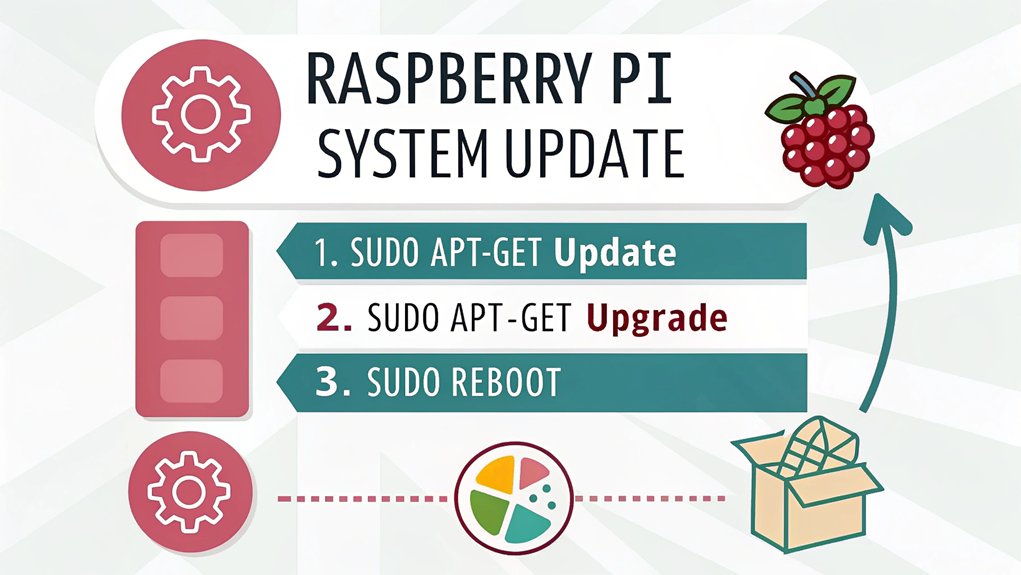
To guarantee a smooth installation of Lighttpd on a Raspberry Pi, it’s vital to start by updating your Raspberry Pi system. First, open the terminal and execute ‘sudo apt-get update’. This command fetches the latest package lists from your configured repositories, ensuring you have access to current software versions.
Next, run ‘sudo apt-get upgrade’ to install any available system updates, enhancing security and functionality. After completing these steps, you can choose to use ‘sudo apt-get dist-upgrade’ for a more thorough update, which handles dependency changes intelligently.
Staying updated through effective package management is important, as it prepares your Raspberry Pi for peak performance and compatibility with Lighttpd. Don’t skip this process; it lays the foundation for a successful installation.
Installing Lighttpd on Raspberry Pi
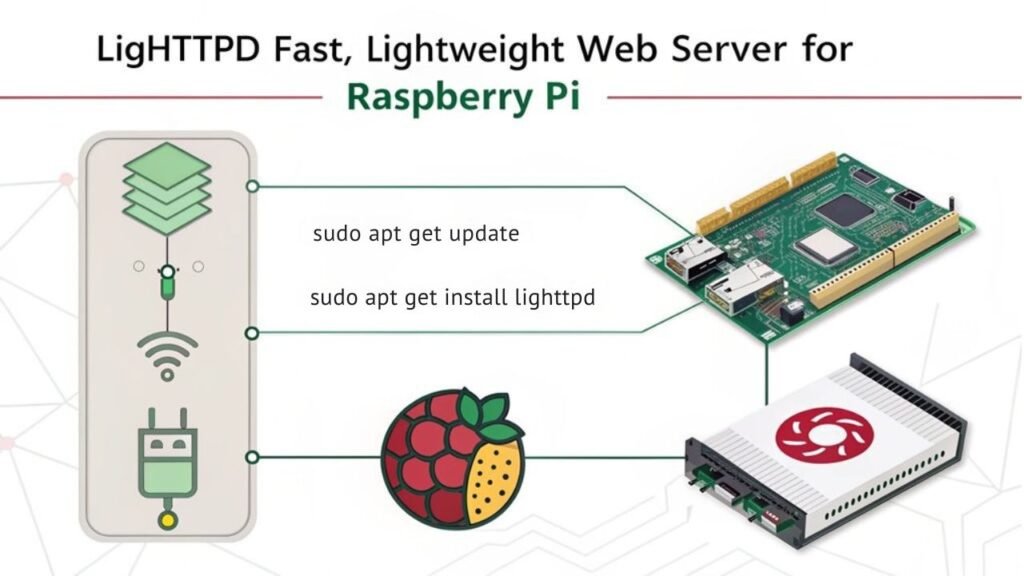
With your system updated and ready, you can proceed to install Lighttpd on a Raspberry Pi. This lightweight server will enhance both performance and security for your web applications.
Follow these steps to install:
- Open a terminal window on your Raspberry Pi.
- Run the command: ‘sudo apt-get install lighttpd’ to initiate the installation.
- Once installed, verify the service with: ‘sudo systemctl status lighttpd’.
- Finally, configure your firewall to allow traffic, ensuring ideal lighttpd security.
Configuring Lighttpd Settings
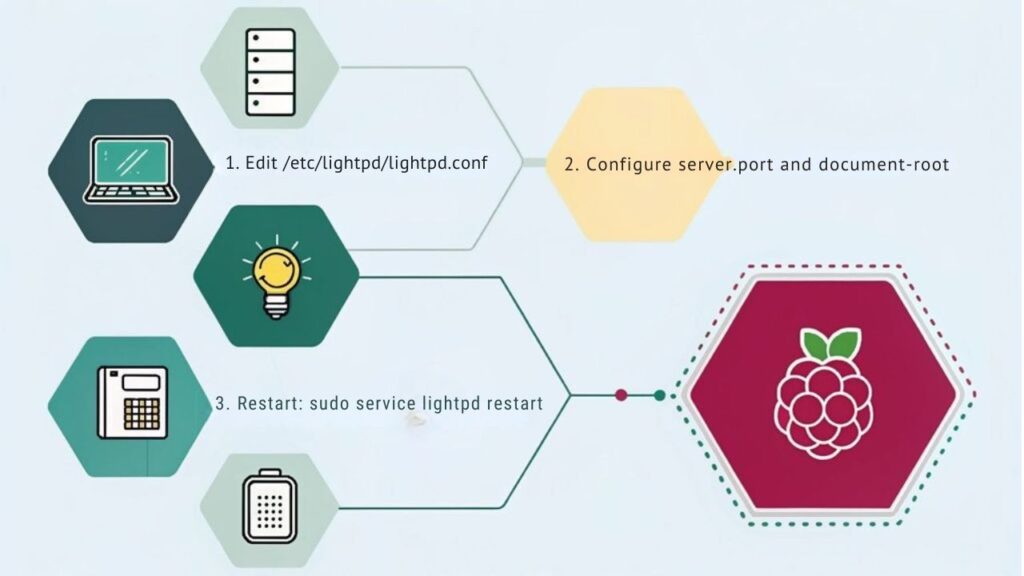
Once Lighttpd is installed, it’s crucial to configure its settings to optimize performance and enhance security.
Start by editing the Lighttpd configuration file, typically located at ‘/etc/lighttpd/lighttpd.conf’. For better resource management, consider configuring virtual hosts to maintain dedicated settings for each host. This separation helps you streamline your server’s response times and improve load balancing.
Edit the Lighttpd configuration file to set up virtual hosts, ensuring optimal resource management and improved response times.
Additionally, enable features like ‘mod_compress’ to reduce response size and ‘mod_deflate’ for better bandwidth management. Make sure to specify the correct document root and adjust the server port if necessary.
After making these changes, save the configuration and restart Lighttpd to apply them. Properly configured settings will guarantee that your Lighttpd installation runs efficiently and securely.
Testing Your Lighttpd Installation
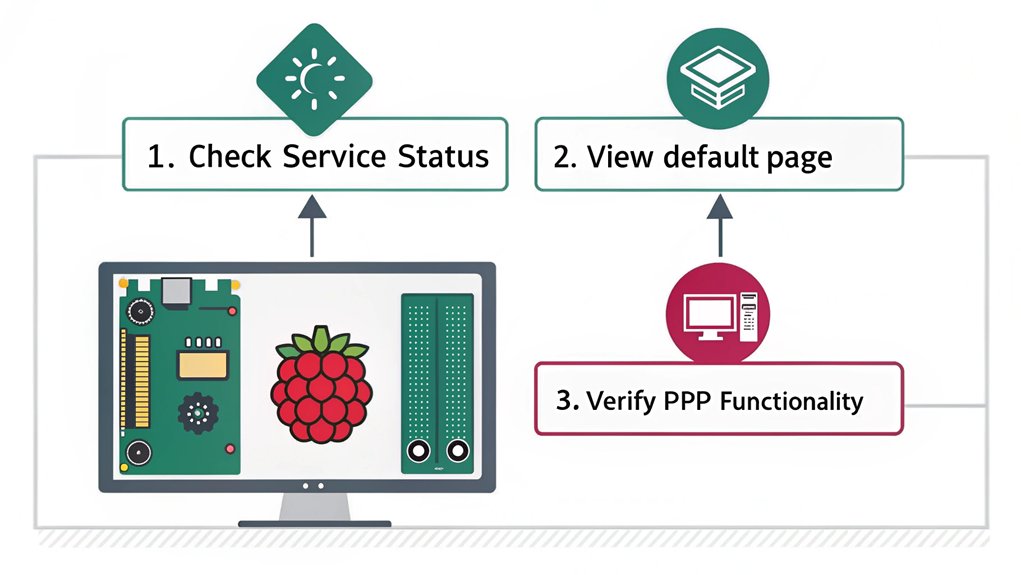
After configuring Lighttpd settings, it’s time to verify that your installation is functioning correctly.
You’ll want to guarantee peak lighttpd performance and assess lighttpd security.
Follow these steps to test your installation:
- Access the Default Page: Open a web browser and navigate to your Raspberry Pi’s IP address. You should see the Lighttpd welcome page.
- Check the Logs: Review the Lighttpd error logs to identify any potential issues.
- Perform a Load Test: Utilize tools like Apache Benchmark to assess response times and server performance under stress.
- Verify Security Configurations: Confirm SSL certificates are correctly configured, enhancing lighttpd security for your web traffic.
These steps will confirm that your Lighttpd installation is robust and ready for production.
Frequently Asked Questions
Can I Run Multiple Websites Using Lighttpd on Raspberry Pi?
Yes, you can run multiple websites using Lighttpd on your Raspberry Pi. With effective server management, you’ll efficiently handle web hosting, enabling seamless access and performance for each site you choose to host.
What Other Software Works Well With Lighttpd on a Raspberry Pi?
When you weave together software, Lighttpd sings in harmony with Nginx integration and PHP compatibility, creating a powerful web environment. This combo enhances your site’s performance, fostering a seamless experience for users and developers alike.
How Do I Secure My Lighttpd Server?
To secure your Lighttpd server, implement proper firewall configuration and regularly update your software. Utilize SSL certificates for encrypting traffic, ensuring safe connections. This way, you enhance security while maintaining ideal performance for your applications.
What Are the Performance Limitations of Lighttpd on Raspberry Pi?
Lighttpd on a Raspberry Pi faces performance constraints due to limited CPU and memory resources. You’re likely to experience reduced resource utilization, impacting response times and concurrent connections, especially under heavy loads or resource-intensive applications.
Where Can I Find Lighttpd Documentation and Support?
You can find Lighttpd documentation and support by visiting the official website for a thorough features overview, or by exploring community resources on forums and GitHub for additional insights and troubleshooting assistance.
Conclusion
By following these steps, you’ve successfully installed Lighttpd on your Raspberry Pi. You might wonder if this lightweight server truly enhances performance compared to others. Many users report faster load times and better resource management, especially on devices with limited capabilities. So, explore Lighttpd’s features and optimizations to find out if it meets your needs. Overall, you’re now equipped to host small to medium web applications effectively on your Raspberry Pi!

I am a retired software engineer with experience in a multitude of areas including managing AWS and VMWare development environments. I bought a relative a mini-PC a year ago and have become passionate about the technology and its potential to change how we deploy software.