Why Install Node.js on a Raspberry Pi?
If you want to build web servers, automate smart devices, or explore Internet of Things (IoT) projects, you’ll need a reliable runtime environment. That’s where Node.js comes in. Learning how to install Nodejs on a Raspberry Pi unlocks these possibilities, turning your Pi into a powerful development tool. In this guide, we’ll walk you through the steps—from preparing your system to verifying the installation—so you can get up and running quickly, even if you’re new to Raspberry Pi or Node.js. Let’s get started!
Key Takeaways
- Begin by updating your Raspberry Pi with ‘sudo apt update’ and ‘sudo apt upgrade’ to ensure all packages are current.
- Install prerequisites using ‘sudo apt install -y ca-certificates curl gnupg’ for Node.js installation.
- Set up the NodeSource repository by downloading the GPG key and adding the appropriate repository for your Node.js version.
- Install Node.js with ‘sudo apt install -y nodejs’, and verify the installation by checking versions using ‘node -v’ and ‘npm -v’.
- For managing multiple Node.js versions, consider using Node Version Manager (NVM) to avoid compatibility issues.
Preparing the Raspberry Pi
Preparing to install nodejs on Raspberry Pi involves several important steps to guarantee a smooth process.
Start by updating your package repository to guarantee you access the latest package information. Run the command ‘sudo apt update’, followed by ‘sudo apt upgrade’, to upgrade existing packages. This practice is essential for maintaining system integrity and addressing security considerations, ultimately contributing to performance optimization in your applications.
Next, install the necessary software prerequisites. Use ‘sudo apt install -y ca-certificates curl gnupg‘ to facilitate secure interactions with external repositories. These packages are important for downloading and verifying installations; they also enhance your Raspberry Pi’s overall security posture. Moreover, Node.js allows for building various applications that can enhance the functionality of your Raspberry Pi.
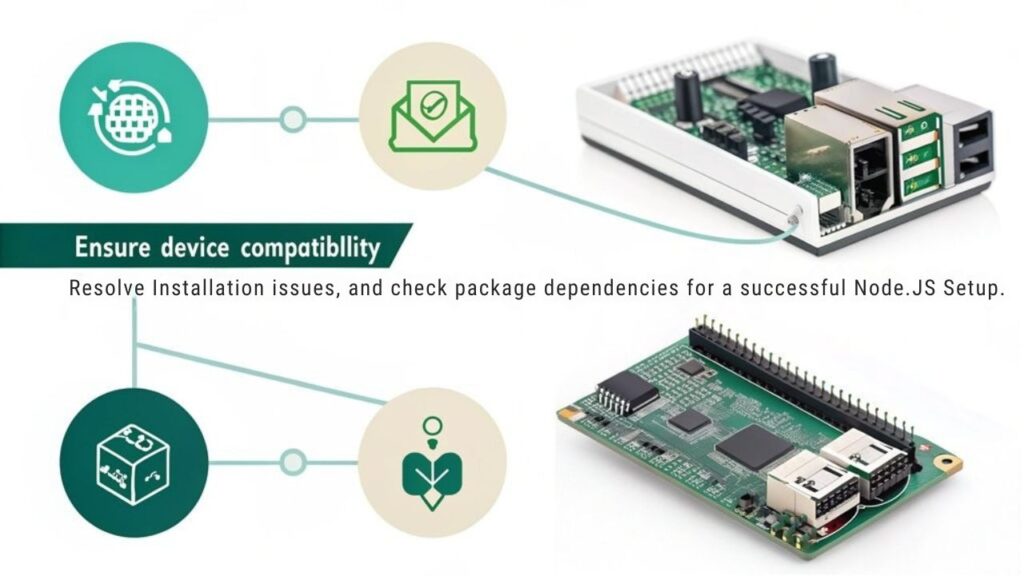
You must also confirm your Raspberry Pi’s architecture is compatible with Node.js. Execute ‘uname -m’ to detect your ARM version, as different models require specific Node.js binaries.
Once confirmed, make certain your Raspberry Pi runs the latest operating system, like Bullseye or Bookworm, and check that your hardware—micro SD card, power supply, and network connectivity—is correctly set up.
With these steps complete, your Raspberry Pi is ready for an efficient Node.js installation.
Setting Up NodeSource Repository

With your Raspberry Pi set up and ready, the next step is to establish the NodeSource repository, which will provide the necessary packages for your Node.js installation. Start by downloading and adding the GPG key to guarantee GPG verification of the packages. Use the command:
”’bash
curl -fsSL https://deb.nodesource.com/gpgkey/nodesource-repo.gpg.key | sudo gpg –dearmor -o /usr/share/keyrings/nodesource.gpg
”’
This key will safeguard the integrity of the software you’ll install. Once that’s complete, define the Node.js version you wish to install by setting an environment variable. For instance, you can use:
”’bash
NODE_MAJOR=20
”’
This variable dictates the version of Node.js you’ll download. Next, you’ll add the NodeSource repository for repository management. Execute the following command:
”’bash
echo “deb [signed-by=/usr/share/keyrings/nodesource.gpg] https://deb.nodesource.com/node_$NODE_MAJOR.x nodistro main” | sudo tee /etc/apt/sources.list.d/nodesource.list
”’
Additionally, configuring the repository ensures compatibility with the latest NodeJS version. Using the NodeSource repository is an alternative installation method that is highly recommended for its reliability. Finally, update your package list to make the new repository’s packages available:
”’bash
sudo apt update
”’
You’re now ready for the next steps!
Installing Node.js

Installing Node.js
Before you start installing Node.js, make sure that your Raspberry Pi is fully updated and prepped with the necessary packages. Utilizing VNC for remote access allows you to streamline operations by removing the need for physical monitors and keyboards during your installation process. You’ll then proceed to install Node.js using the package manager or manually by downloading binaries. After installation, it’s essential to verify both Node.js and NPM functionality to confirm they operate correctly. Additionally, ensure you install essential packages before proceeding with the Node.js installation.
Installation Requirements and Preparation
To successfully install Node.js on your Raspberry Pi, you must first determine the correct version that matches your specific ARM architecture. Use the ‘uname -m’ command to identify your Raspberry Pi’s ARM version. Here are the common versions:
| Model | ARM Version | System Requirements |
|---|---|---|
| Raspberry Pi Zero W | ARMv6 | 512 MB RAM or more |
| Raspberry Pi 2 | ARMv7 | 1 GB RAM or more |
| Raspberry Pi 3/4/5 | ARMv8 | 1 GB RAM or more |
Before installation, verify you’ve met the installation prerequisites. Update the package list with ‘sudo apt update’, and upgrade existing packages using ‘sudo apt upgrade’. You’ll need to install necessary packages like ‘ca-certificates’, ‘curl’, and ‘gnupg’. It’s also important to note that upgrade to Raspbian Buster is recommended for compatibility with newer Node.js versions. Additionally, ensure that you have adequate resources as Node-RED operation can require extra memory, especially on a Raspberry Pi.
Next, download the NodeSource GPG key for repository access and add the NodeSource repository to your sources list. Afterward, follow the provided steps to download and extract the appropriate Node.js version compatible with your Raspberry Pi’s ARM architecture. This preparation guarantees a smooth installation process.
Verifying Node.js Functionality
How can you verify that Node.js is functioning correctly after installation? Start by updating your system to avoid compatibility issues.
Run ‘sudo apt update’ followed by ‘sudo apt upgrade’ to guarantee everything is current. This is essential before diving into functionality tests. Additionally, ensure that you are using a compatible hardware configuration for optimal performance.
Next, verify your installation by checking the Node.js version. Execute ‘node -v’ in the terminal and confirm that the version matches your expectations—ideally, something like ‘v22.11.0’. This simple command is a quick indicator of proper installation and functionality.
To perform a more thorough functionality test, access the Node.js REPL by typing ‘node’ in your terminal. If you see the prompt, it confirms a successful setup. Additionally, using Node.js in combination with a Raspberry Pi allows for innovative projects that enhance your programming experience.
Finally, you could run performance benchmarks to assess Node.js’s speed and efficiency in various tasks, which will give you insight into its operational capabilities.
Alternative Installation Method

While there are various methods to install Node.js on a Raspberry Pi, leveraging the NodeSource repository stands out as a highly efficient alternative, guaranteeing you get a modern version of Node.js with minimal hassle. Begin by confirming your architecture supports ARMv7 or ARMv8 using the ‘uname -m’ command. Then, add the NodeSource repository with the command: ‘curl -sL https://deb.nodesource.com/setup_7.x | sudo -E bash -‘. This method enhances dependency management, allowing you to easily manage updates with the package manager. In fact, it is recommended to remove old Node.js versions before installation, as preinstalled versions may be outdated. Once the repository is added, update your package list using ‘sudo apt-get update’. Now, install Node.js by executing ‘sudo apt-get install -y nodejs’, verifying the installation via ‘node -v’. This alternative installation guarantees you access the latest Node.js features and improvements, unlike manual setups that may restrict version control. Additionally, using Node.js enables you to control real-world objects like turning lights on and off via a simple API, showcasing the versatility of this runtime. If you opt for the official Raspberry Pi script, you’ll execute a different approach, but it still focuses on dependency and service configuration. Whichever method you choose, these practices facilitate streamlined script execution and efficient service management on your Raspberry Pi, setting you up for innovative development.
Troubleshooting and Compatibility

When installing Node.js on your Raspberry Pi, you may encounter compatibility issues that stem from version mismatches or architecture specifics. Familiarize yourself with common error messages to streamline troubleshooting, and be aware of unofficial builds that could offer alternative solutions. Ensuring smooth installation requires understanding these challenges and addressing them methodically. Utilizing Node Version Manager (NVM) can significantly simplify the process by allowing you to manage multiple Node.js versions more effectively. Additionally, it is crucial to regularly perform updates and upgrades to maintain compatibility with new software installations.
Compatibility Issues Overview
Compatibility issues can arise during the Node.js installation process on Raspberry Pi, particularly due to the varying architectures and models. Key architecture considerations come into play with devices like the Raspberry Pi 1 and Zero, which utilize arm32v6 architecture; they aren’t supported by official Node.js repositories. You’ll need to rely on unofficial builds or compile from source for those models. Additionally, dependencies are unmet when trying to install Node.js through ‘apt-get’, which can further complicate the installation process. Dependency management is another important factor. If you try installing Node.js via ‘apt-get’, you may encounter broken packages or unmet dependencies. It’s vital to pre-install libraries like ‘gcc’, ‘g++’, and ‘make’ to streamline the process.
For your reference, here’s a summary of compatibility issues:
| Issue | Solution |
|---|---|
| Arm32v6 Device | Use unofficial builds |
| Unmet Dependencies | Manually install required packages |
| Broken Packages | Check for held packages |
| Architecture Compatibility | verify correct Node.js version |
| Resource Management | Configure Node.js for peak performance |
Remember to keep your Raspberry Pi’s OS updated to enhance compatibility with the latest Node.js versions.
Common Error Messages
Installing Node.js on your Raspberry Pi can lead to several common error messages that primarily stem from dependency issues, hardware limitations, or incorrect installation methods.
One frequent issue is the “unmet dependencies error,” which occurs when Node.js isn’t installed through the package manager. You can verify the installation with ‘sudo dpkg -s nodejs’. If it shows issues, it might prevent installing packages dependent on Node.js, like ‘remoteit’.
If you’re using ARMv6 hardware, you might encounter an error stating it’s not supported by NodeSource distributions. In this case, utilize unofficial binary tarballs from nodejs.org for Node.js versions 4 and later, since official scripts won’t work. Alternative installation scripts can also provide compatible Node.js versions specifically tailored for ARMv6 devices.
Another common pitfall arises when Node.js isn’t recognized by the package manager, leading to errors like “dpkg-query: package ‘nodejs’ isn’t installed.” This usually means Node.js was installed manually. The fix is to uninstall and properly reinstall it through the package manager. Additionally, you may want to ensure that you have installed the appropriate Node.js installation process as some variations can cause confusion.
Lastly, version compatibility errors can arise, indicating that the package required a Node.js version that isn’t met.
Verify you install a compatible version for seamless operation; this encapsulates key error resolutions you need to be aware of.
Unofficial Builds Availability
While official Node.js builds for ARMv6 devices have been discontinued since version 12.x, you can still access newer versions through unofficial builds. This is essential for utilizing updated features on older Raspberry Pi models.
Here’s a quick summary of what to take into account when opting for unofficial builds:
- Unofficial builds are available from sources like ‘unofficial-builds.nodejs.org’.
- You’ll be limited to Node.js versions < 12.x with official builds.
- Compatibility issues may arise due to outdated OS and libraries. Ensuring your microSD card meets the minimum requirements, such as a Class 10 microSD card, can help mitigate some of these issues.
- Errors related to missing library versions often occur; updating may be needed. Additionally, using newer hardware can mitigate many issues.
- Using a Raspberry Pi model with newer hardware can mitigate many issues.
To get started, you’ll need to download the unofficial builds via methods such as ‘curl’. After downloading, extract the files and move them to a suitable directory.
Don’t forget to update your PATH to include the Node.js binary directory. While sticking to older LTS versions can provide some baseline support, adopting official builds may not be viable. Proper network configuration using tools like ‘ifconfig’ is also crucial for smooth operation.
Embrace innovation by leveraging these unofficial builds to stay at the forefront of development.
Post-Installation Steps

After successfully installing Node.js on your Raspberry Pi, you’ll want to follow some vital post-installation steps to configure your environment effectively.
Start with post installation optimization by running ‘sudo apt update’ to refresh your package lists, guaranteeing that you can smoothly install other dependencies. Then, consider installing additional packages like ‘nginx’ for proxying requests, which enhances your server’s capabilities. NGINX Setup will further solidify your Raspberry Pi as a reliable web server.
Next, set up networking to guarantee your Raspberry Pi is connected and accessible. It’s essential to enable a stable internet connection for further installations.
After this, write your Node.js code, test it by executing the scripts with the ‘node’ command, and confirm everything runs as expected.
Server performance monitoring becomes necessary here. Implement tools like ‘pm2’ to manage your server process and maintain uptime.
Don’t overlook security hardening techniques; enable SSL for secure communication and configure CORS if your web server interacts with other domains.
Lastly, focus on dependency management strategies by regularly updating Node.js and npm to keep your environment secure and efficient.
These steps lay a solid foundation for a functional and secure Node.js environment on your Raspberry Pi.
Verifying the Installation

To guarantee Node.js was installed correctly on your Raspberry Pi, you’ll want to start by verifying the installation through a series of straightforward commands. This installation validation affirms everything’s working fine.
Here’s a quick checklist you can follow:
- Check Node.js Version: Use ‘node -v’ to retrieve the version number and confirm it’s as expected (e.g., ‘v16.14.2’).
- Check NPM Version: Run ‘npm -v’ to check the version of NPM; it should be compatible with your Node.js version.
- Run Node.js Commands: Test functionality by executing a JavaScript command like ‘node -e “console.log(‘Hello World’);”‘.
- Verify Binary Availability: Use ‘which node’ and ‘which npm’ to confirm that the binaries are accessible in your system’s PATH.
- Test JavaScript File Execution: Create and run a JavaScript file using ‘node filename.js’ to validate execution capabilities.
Completing these steps will ascertain proper installation and version compatibility, setting the stage for your innovations using Node.js on your Raspberry Pi.
Updating Node.js and NPM

Keeping your Node.js and NPM up to date is essential for ensuring ideal performance and access to the latest features and security patches. To start, check your current Node.js version with ‘node -v’. Then, update your package lists using ‘sudo apt update’. Upgrade Node.js within the major release by running ‘sudo apt install nodejs’. Confirm the update with another ‘node -v’ command.
For more control over node versioning, consider using Node Version Manager (nvm). To install nvm, run ‘curl -o- https://raw.githubusercontent.com/nvm-sh/nvm/v0.39.5/install.sh | bash’. After that, install the latest version of Node.js with ‘nvm install –lts’. Switching between versions is straightforward; use ‘nvm use ‘ as needed.
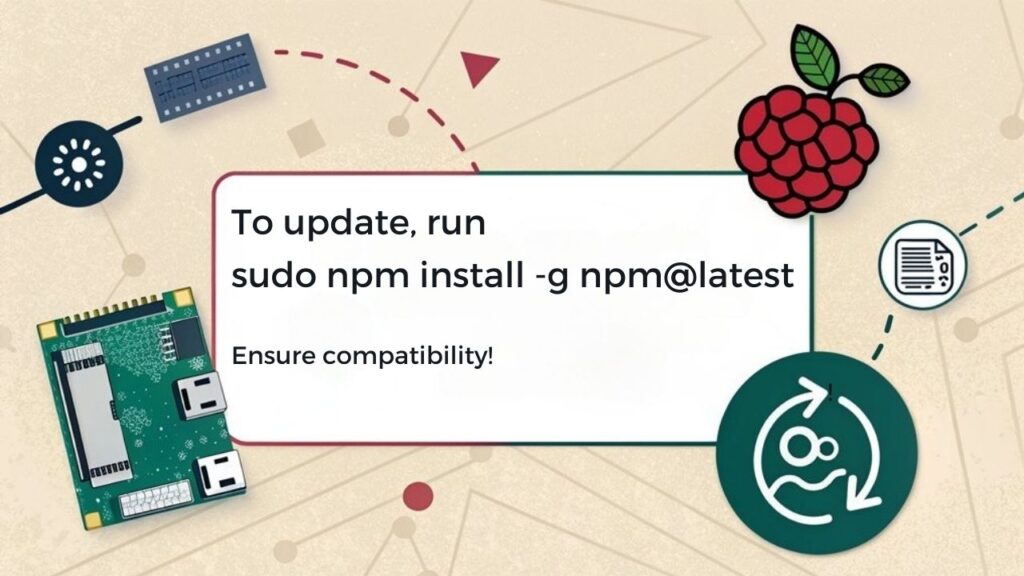
Additionally, updating your NPM can enable npm benefits such as improved speed and new features. You can update NPM by running ‘npm install -g npm@latest’. If you encounter issues where the version doesn’t change, use nvm for more flexible version management. Regularly manage your dependencies and consider reinstalling any native modules for compatibility after updates.
Frequently Asked Questions
Can I Install Node.Js on Older Raspberry Pi Models?
You can install Node.js on older Raspberry Pi models, but compatibility is limiting due to ARMv6 architecture. Unofficial builds or older versions can be used, though they may face dependency issues and performance constraints.
How Can I Uninstall Node.Js From My Raspberry Pi?
To manage Raspberry Pi efficiently, you can uninstall Node.js by using commands like ‘sudo apt purge remove nodejs’ or ‘nvm uninstall ‘. Always confirm Node.js removal effectively with ‘node -v’.
What Are the Advantages of Using Node.Js on Raspberry Pi?
Using Node.js on your Raspberry Pi offers lightweight performances, ideal for real-time applications like home automation systems. Its resource efficiency, extensive ecosystem, and seamless updates make it perfect for innovative projects in constrained environments.
Can I Run Multiple Node.Js Versions Concurrently?
Yes, you can run multiple Node.js versions concurrently using Node Version Manager (NVM). It allows you to switch between versions effortlessly, ensuring compatibility with various projects and their dependencies for innovative development.
How Do I Check for Node.Js Security Updates?
You might be vulnerable without knowing it. To check for Node.js security updates, monitor the official security blog, subscribe to the mailing list, and stay informed about vulnerabilities and best security practices for your applications.
Where to Go From Here?
Now that you’ve installed Node.js on your Raspberry Pi, you’re ready to release its potential. Imagine creating a weather station that displays real-time data on a local webpage, making your Raspberry Pi an informational hub. With your new environment set up, consider exploring various libraries and frameworks to enhance your projects. Don’t forget to keep your Node.js and npm updated to leverage the latest features and improvements for your next innovative project!

I am a retired software engineer with experience in a multitude of areas including managing AWS and VMWare development environments. I bought a relative a mini-PC a year ago and have become passionate about the technology and its potential to change how we deploy software.

