
Why Install NodeJs with Express on a Raspberry Pi?
Did you know that over 50% of Raspberry Pi users experiment with web development? If you’re among them, learning to install Nodejs with Express on a Raspberry Pi can considerably enhance your projects. This combination allows for efficient server-side applications right from your device. Follow these steps to set up your environment, and you’ll be well on your way to building robust web applications that leverage the capabilities of your Raspberry Pi.
Note: This post contains affiliate links. As an Amazon Affiliate, I might make a small commission on every purchase. No extra cost to you and it helps to support this blog.
Key Takeaways
- Set up your Raspberry Pi with essential accessories like a microSD card and peripherals for initial software installation.
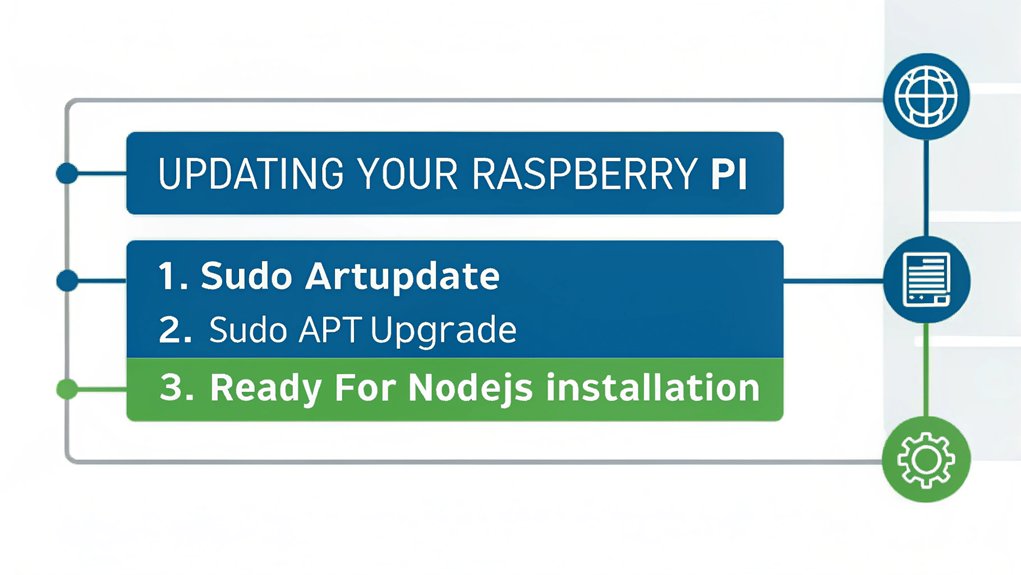
- Update the system packages using ‘sudo apt update’ and ‘sudo apt upgrade’ for security and performance improvements.
- Install Node.js by running ‘sudo apt install nodejs’ and verify the installation with ‘node -v’ and ‘npm -v’.
- Navigate to your project directory, then install Express using ‘npm install express’ to start building your application.
- Launch your application with ‘node app.js’ or ‘nodemon app.js’, and access it via ‘http://localhost:3000’ for testing.
Setting Up Your Raspberry Pi
Before you immerse yourself in installing Node.js and Express, it’s important to prepare your Raspberry Pi properly.
Start by gathering the necessary Raspberry Pi accessories, like a reliable power supply, a microSD card (16GB or larger), and a proper heat sink to prevent overheating during intensive projects.
Here are some options to get you going quickly:

- Includes Raspberry Pi 4 4GB Model B with 1.5GHz 64-bit quad-core CPU (4GB RAM)
- Includes Pre-Loaded 32GB EVO+ Micro SD Card (Class 10), USB MicroSD Card Reader
- CanaKit Premium High-Gloss Raspberry Pi 4 Case with Integrated Fan Mount, CanaKit Low Noise Bearing System Fan

- Complete Set - Contains everything you need to get started in the world of Raspberry Pi 5 - Computer, Power Supply, Case, Memory Card, USB-Reader, HDMI Cable.
- Powerful Computer - Equipped with the latest Raspberry Pi 5, featuring a high-speed 2.4GHz quad-core processor and 8GB of RAM, ideal for even the most demanding applications.
- Practical Case - Protect your Pi, the integrated fan ensures efficient cooling, keeping your device running smoothly even during intense use.

- Package Included: RasTech 4GB kit for Raspberry Pi 4 includes 1 x RPi 4 4GB board, 1 x 32GB card, 4 x pure copper heat sinks,1 x 5V 3A power supply with on/off, 2 x HD Out cables,1 x cooling fan, 2 x...
- Powerful Performance: RasTech Pi 4 4gb with a powerful CPU and the ability to run dual 4K displays at 60FPS, and its performance is 3 times that of the Pi 3B+. For many Pi hobbyists, it means that...
- Latest Upgrade: RasTech Raspberry Pi 4 model B has been completely upgraded. 1.5GHz quad core 64 bit ARM Cortex-A72 CPU. Dual monitor support with resolutions up to 4K. Transfers via 2 USB 3.0 & 2 USB...
You’ll also want a keyboard and mouse for initial setup, as well as a monitor for visual feedback.
Connect your Raspberry Pi to a network—either via Wi-Fi or Ethernet—for easy access to online resources.
Once you’ve confirmed proper connectivity and equipped your Pi, you can engage in exciting Raspberry Pi projects that leverage Node.js and Express.
With your setup solidified, you’re primed to access the full potential of your device.
Updating the System
To guarantee your Raspberry Pi runs smoothly, start by upgrading the operating system packages.
Next, install any available firmware updates to enhance performance and security.
Finally, clean the system cache to free up space and improve efficiency.
Upgrade Operating System Packages
Upgrading your operating system packages is essential for maintaining ideal performance and security on your Raspberry Pi. Regularly updating guarantees you’re leveraging the latest features and security patches, which can markedly enhance your system’s stability.
To start, open your terminal and use the package management tool by running ‘sudo apt update’ followed by ‘sudo apt upgrade’. This command checks for available upgrades, allowing you to easily manage your system’s dependencies. When you confirm the upgrade, the most current versions of installed packages will be downloaded and installed.
Don’t forget to routinely check for these updates to avoid outdated software that can lead to vulnerabilities. Consistent upgrades reflect a proactive approach to safeguarding your innovative projects.
Install Firmware Updates
Guaranteeing your Raspberry Pi runs smoothly requires installing firmware updates, especially after performing system upgrades. Firmware compatibility is essential for peak operation, so you’ll want to keep your device’s firmware up to date.
Begin by running the command ‘sudo rpi-update’ in the terminal; this guarantees you fetch the latest firmware version. After the update is complete, a reboot will apply the changes effectively.
If you encounter issues, be prepared for firmware troubleshooting—check for known issues related to your specific hardware model or the versions you’re using.
Regularly updating firmware not only enhances performance but also strengthens security, making your Raspberry Pi more reliable in executing innovative projects. Stay proactive to avoid compatibility headaches down the line.
Clean System Cache
Cleaning the system cache is an essential step for maintaining an efficient Raspberry Pi, especially after updates.
Effective cache management is vital for system optimization, ensuring your device runs smoothly.
Follow these steps to clean your cache:
- Open your terminal.
- Update your package list with ‘sudo apt update’.
- Clean the apt cache using ‘sudo apt clean’.
- Remove unnecessary packages with ‘sudo apt autoremove’.
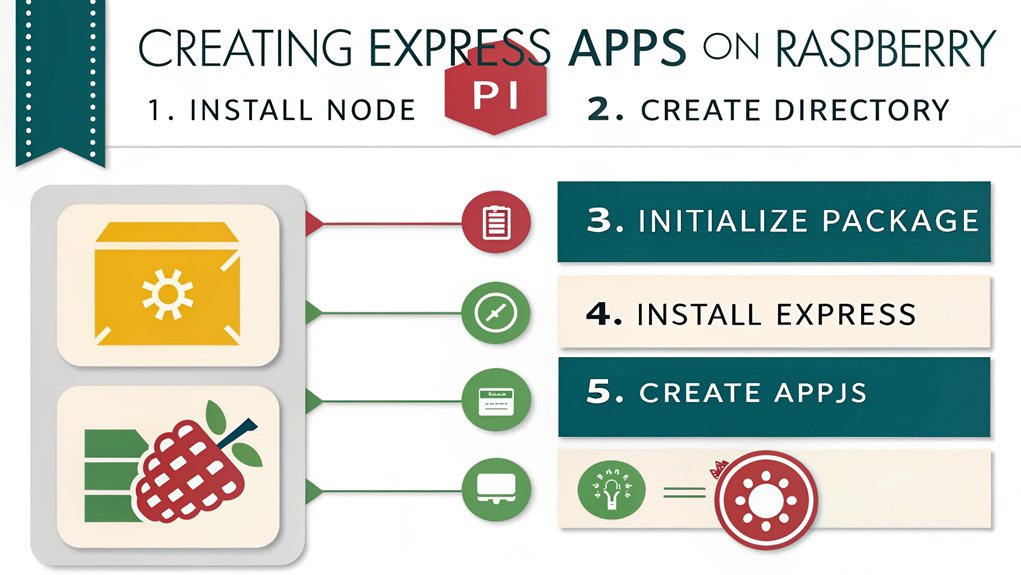
Installing Nodejs with Express on a Raspberry Pi
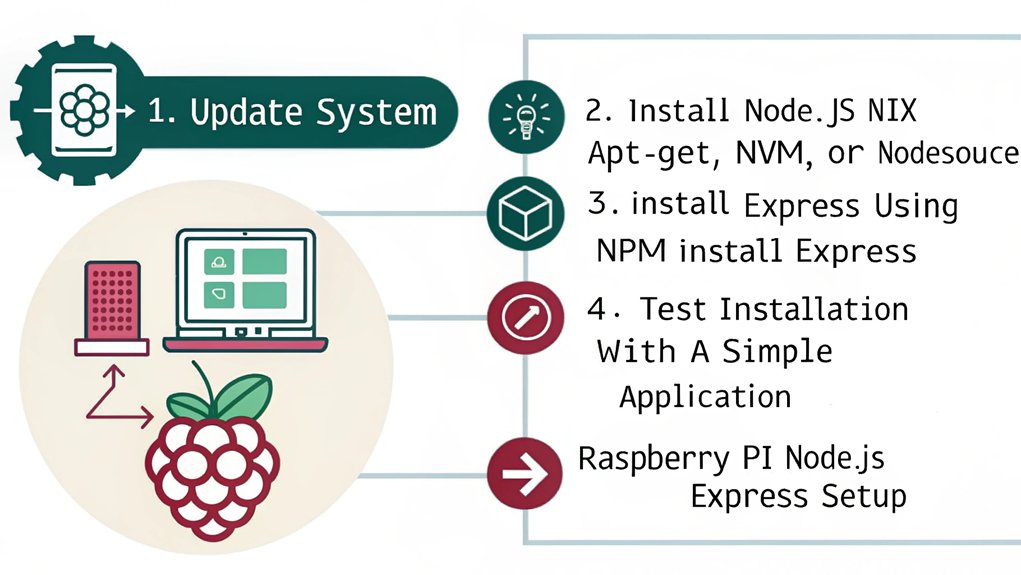
Before you can start developing applications with Express, you need to install Node.js on your Raspberry Pi. Node.js, with its non-blocking architecture, offers significant performance benefits, making it ideal for building scalable applications.
To get started, open your terminal and update your package list with ‘sudo apt update’. Then, install Node.js by executing ‘sudo apt install nodejs’. This process installs the latest version available in the repository.
After installation, you’ll have access to npm, Node.js’s package manager, which simplifies managing dependencies. By utilizing Express, you’ll enjoy advantages like a lightweight framework and simplified routing, allowing you to focus on building innovative web applications.
With Node.js and Express set up, you’re ready to plunge into development!
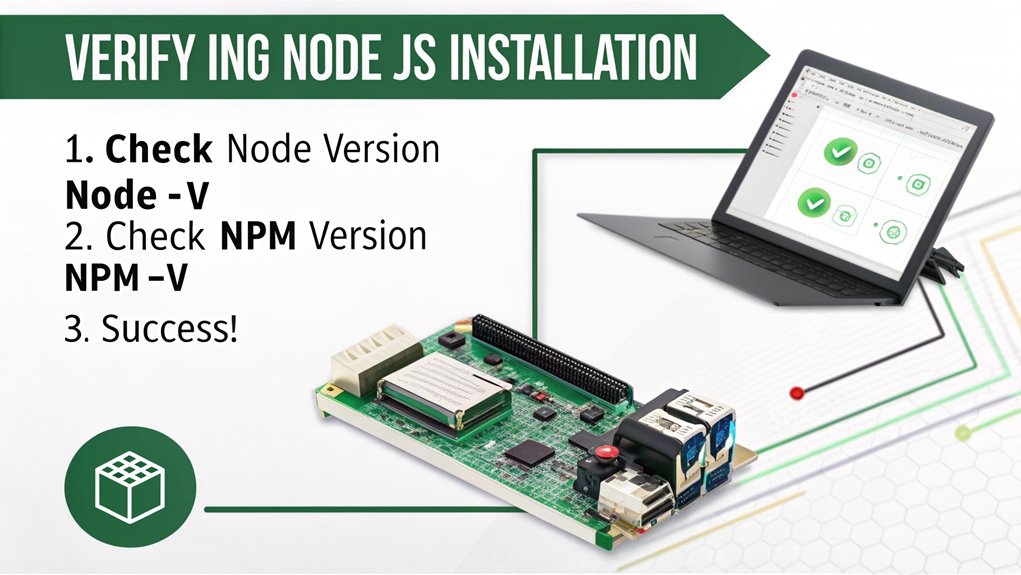
Verifying Node.js Installation
To confirm your Node.js installation, you should first check the version installed by running a simple command.
After verifying the version, test your Express setup to verify everything is working correctly.
This process guarantees that you’re ready to develop applications on your Raspberry Pi.
Check Node Version
Wondering how you can confirm that Node.js is properly installed on your Raspberry Pi?
It’s crucial to check the version to verify Node compatibility for your projects. Here’s how you can do that:
- Open a terminal on your Raspberry Pi.
- Type ‘node -v’ and hit enter. This command retrieves the current Node.js version.
- For npm, type ‘npm -v’ to check the version of Node Package Manager.
- Verify both versions align with the requirements of your specific project or framework.
If the versions are incompatible, consider using version management tools like NVM (Node Version Manager) to switch between different Node.js versions seamlessly.
This flexibility allows you to innovate without the hassles of conflicting dependencies.
Test Express Setup
After ensuring Node.js is correctly installed on your Raspberry Pi, the next step is to test your Express setup for a smooth development experience. To do this, create a simple Express app and check how it handles requests. Here’s a basic structure you can use, including express middleware for enhanced functionality and error handling.
”’markdown
| Step | Command/Code | Description |
|---|---|---|
| Initialize | npm init -y | Create a package.json file |
| Install Express | npm install express | Add Express to your project |
| Create Server | const express = require(‘express’); | Import Express and create an app instance |
| Start Server | app.listen(3000, () => console.log(‘Running on port 3000’)) | Launch your Express server |
| Test Route | app.get(‘/’, (req, res) => res.send(‘Hello World!’)); | Create a basic route to test |
”’
Navigate to ‘http://localhost:3000’ and confirm you see “Hello World!” to verify your setup!
Installing Express Framework
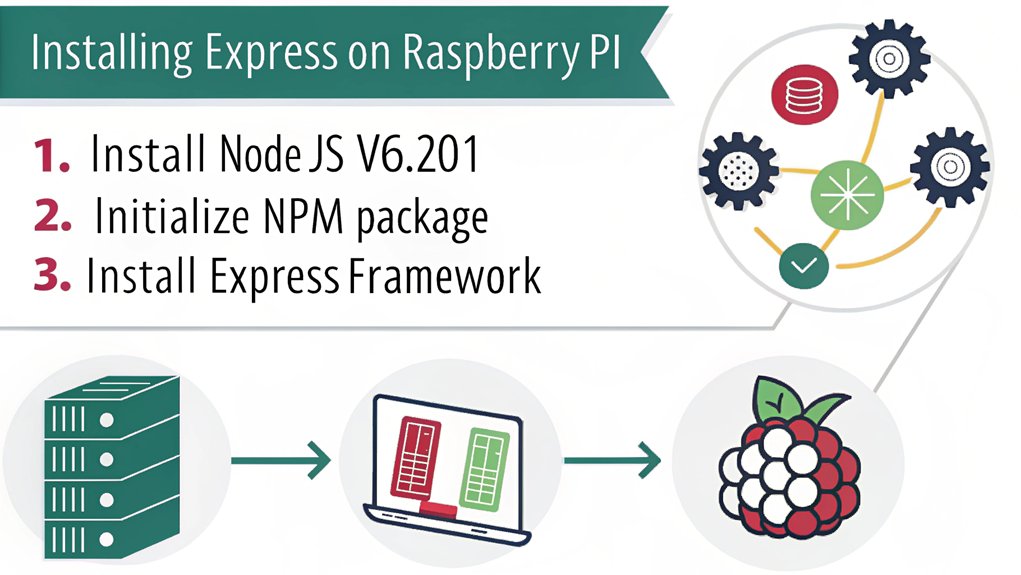
Once you have Node.js installed on your Raspberry Pi, setting up the Express framework is a straightforward process that enhances your web development capabilities.
Follow these steps to install Express:
- Open your terminal.
- Navigate to your project directory using ‘cd your-project-directory’.
- Run ‘npm install express’ to install the Express framework.
- Create an ‘index.js’ file to start utilizing express middleware and express routing.
With Express installed, you’ll benefit from its robust features to manage routes and handle requests efficiently.
This framework simplifies building server-side applications, offering flexibility and scalability for your innovative projects.
Immerse yourself in the world of Node.js with Express and elevate your web development experience on the Raspberry Pi!
Creating a Simple Express Application
To kick off your journey in creating a simple Express application, you’ll need to set up a basic server that responds to incoming requests.
Begin by requiring Express in your JavaScript file and initializing an app instance. Use routing techniques to define endpoint behavior; for instance, ‘app.get(‘/’)’ can serve a simple welcome message.
Start your Express journey by initializing your app and defining routes, like a welcoming message with ‘app.get(‘/’)’.
Integrate express middleware to enhance your application’s functionality, like ‘body-parser’ for parsing incoming request bodies. This streamlines handling user requests, making your app more dynamic.
Make sure to specify the port your server will listen on, enabling it to receive traffic.
With these fundamentals in place, you’ll establish a solid foundation for your Express application, ready for further development.
Running the Express Application
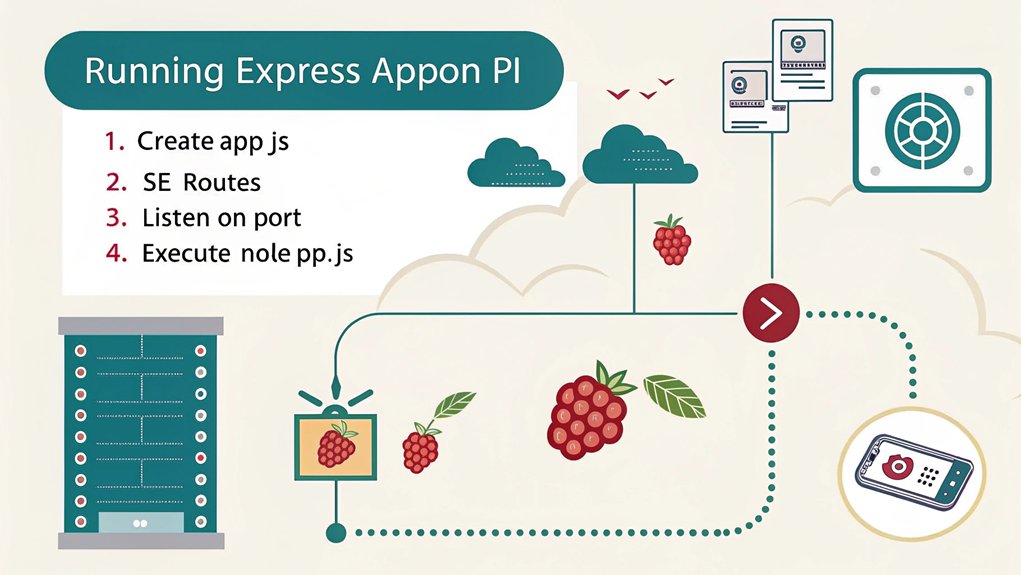
Running your Express application is a straightforward process that guarantees your server is ready to handle requests. To get started, follow these steps:
- Launch your command line interface and navigate to your project directory.
- Start your server with the command ‘node app.js’ or ‘nodemon app.js’ for auto-restarts during development.
- Test your application by accessing ‘http://localhost:3000’ in your web browser to confirm it’s running correctly.
- Utilize built-in debugging tools by adding ‘DEBUG=express:* node app.js’ to identify issues while optimizing performance.
Frequently Asked Questions
Can I Install Node.Js with Express on a Raspbery Pi without an Internet Connection?
You can install Node.js offline by downloading the package and its dependencies beforehand. Transfer them to your target system and use a package manager to complete the installation process without an internet connection.
What Is the Difference Between Node.Js and Express?
Over 50% of web applications utilize Node.js for its non-blocking architecture. While Node.js features asynchronous I/O, Express advantages lie in its minimalist framework for building robust APIs, simplifying web server development and enhancing productivity.
How Do I Uninstall Node.Js or Express?
To uninstall Node.js, use your package manager, like ‘apt-get remove nodejs’ or ‘brew uninstall node’. To remove Express, run ‘npm uninstall express’ in your project directory. This guarantees a clean slate for future installations.
Can I Run Multiple Express Applications Simultaneously?
You can run multiple Express applications simultaneously by managing application ports effectively. Just assign a unique port to each app, and they’ll coexist without conflicts, allowing for innovative projects to flourish seamlessly.
What Alternatives to Express Can I Use With Node.Js?
If you’re exploring alternatives to Express, consider using Koa for its lightweight structure, Hapi for robust routing capabilities, Fastify for performance optimization, or Sapper for building high-performance server-rendered applications with minimal effort.
Conclusion
Now that you’ve successfully installed Node.js and the Express framework on your Raspberry Pi, you’re ready to build web applications. This setup proves that even a compact device can serve complex functionalities. By leveraging Node.js’s efficiency and Express’s simplicity, you can create powerful projects. As you dive deeper, explore more middleware options and routes to enhance your application. Embrace the potential of your Raspberry Pi, transforming it into a robust server capable of handling various tasks.

I am a retired software engineer with experience in a multitude of areas including managing AWS and VMWare development environments. I bought a relative a mini-PC a year ago and have become passionate about the technology and its potential to change how we deploy software.