
Introduction
To master Python for Raspberry Pi projects, start by setting up your Raspberry Pi with the necessary hardware, including a micro SD card, keyboard, mouse, HDMI monitor, and the correct power supply. Follow on-screen instructions to install the OS and complete initial configurations like network setup and enabling SSH. Familiarize yourself with preinstalled editors like Mu and Thonny for debugging and live coding. Install and manage Python libraries using ‘apt’ and ‘pip’, and use GPIOzero for simplified interactions with GPIO pins. Explore advanced projects such as computer vision with OpenCV or robotics. Regularly update your system and use remote development tools for ease of management. Continue to learn more about these steps to enhancing your Raspberry Pi projects.
Key Takeaways
- Initial Setup: Configure your Raspberry Pi with the necessary hardware and initial OS setup, including network and user account creation.
- Development Tools: Familiarize yourself with preinstalled editors like Mu and Thonny, and use SSH for remote project management.
- Library Management: Use ‘apt’ and ‘pip’ to manage Python libraries, and create virtual environments to isolate project dependencies.
- GPIO Interactions: Configure and use GPIO pins for input/output operations using libraries like GPIOzero for simplified component interactions.
- Advanced Projects: Implement advanced projects such as computer vision with OpenCV, wildlife monitoring, and AI-powered robotics using Python on Raspberry Pi.
Setting Up Your Raspberry Pi
To set up your Raspberry Pi, you first need to confirm you have all the necessary hardware components. Make sure you have a micro SD card, preferably preloaded with NOOBS or the operating system image, with a minimum capacity of 8 GB.
You’ll also need a USB keyboard and mouse, or a mini keyboard with touchpad, an HDMI monitor, and the appropriate cable (HDMI, HDMI to DVI, HDMI to VGA, or composite).
Next, focus on hardware compatibility. Use a micro USB power supply that matches your Raspberry Pi model (e.g., 2.5A for Pi 3, 3A for Pi 4, 5A for Pi 5). Optionally, include a network cable or Wifi adaptor for connectivity.
For the initial setup guide, insert the SD card into the Raspberry Pi’s card slot and follow the on-screen instructions. Select your preferred operating system from the NOOBS menu; Raspbian is a popular choice. The installation process takes about 20 minutes.
Connect your USB keyboard and mouse, HDMI cable to the monitor, and any optional peripherals like a network connection or Wifi adaptor. Make sure your monitor is turned on before connecting the power supply to the microUSB socket.
When you power on the Raspberry Pi, it will boot up in about 15-20 seconds. Complete any initial configuration steps such as setting up your network and user account. This will ready your system for use.
During this process, pay attention to the boot sequence overview and configuration tips provided on screen to guarantee a smooth setup. Ensure that you enable necessary interfaces such as SSH for remote access and hardware communication.
For network setup guide, follow the prompts to connect to your network. With these steps, you’ll be ready to plunge into Raspberry Pi basics and start mastering Python for your projects.
Using Python Editors and Tools
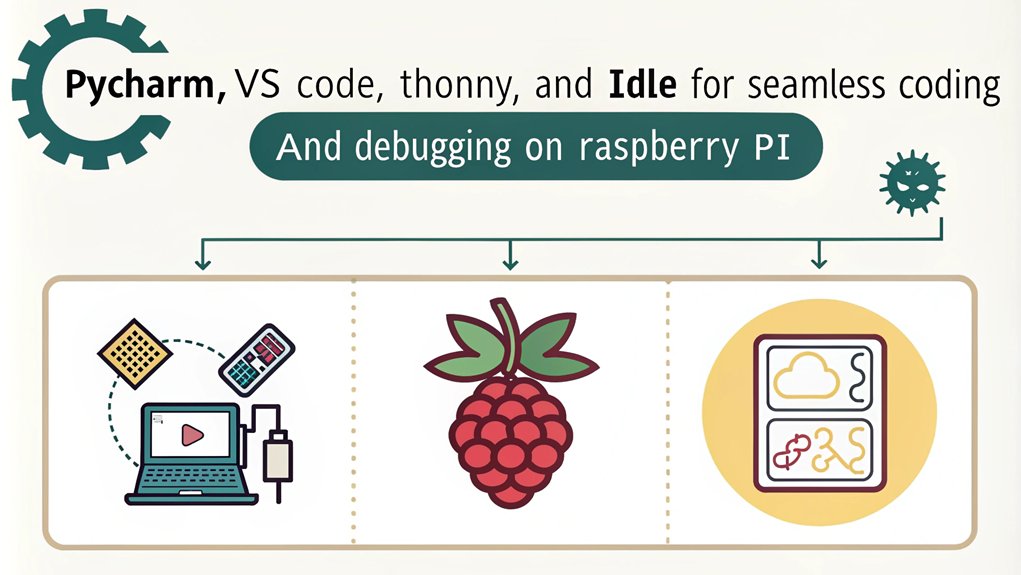
To start coding Python for Raspberry Pi, you’ll want to familiarize yourself with the preinstalled editors like Mu and Thonny. These tools offer essential features such as built-in debuggers and live coding capabilities that can greatly enhance your development experience. Additionally, you can use SSH tools to remotely access and manage your Raspberry Pi, making it easier to work on projects from any machine. Given the Raspberry Pi’s ability to interface with sensors and external devices, you can leverage these editors to create complex projects involving GPIO pins.
Using Mu Editor
When working with Python for Raspberry Pi, one of the most intuitive and powerful tools at your disposal is the Mu Editor. Designed specifically for beginner programmers, Mu offers a user-friendly interface that simplifies the process of creating, running, and revising Python programs.
The Mu Editor features a clear and organized layout. The Title Bar displays the version of Mu and the name of the current Python file being edited. The Button Bar contains round buttons with tool-tips that provide information on their functions, changing depending on the mode you’re in. The Mode Button allows you to switch between different modes, each with unique capabilities.
In Python 3 Mode, you have access to buttons for “Run”, “Debug”, “REPL”, and “Plotter”. The Run Button executes your script and displays input/output in a panel. The Debug Button starts Mu’s visual debugger, enabling you to pause, inspect, and step through your code. The REPL Button opens a panel for interactive Python input and output, while the Plotter Button visualizes numeric data produced by your program.
File management is also streamlined in Mu. Files are auto-saved every 5 seconds if they’ve a name, and you can rename files by double-clicking on their names in the tabs. You can close files by clicking the cross in their tabs and reorder them by dragging the tabs. Additionally, Mu’s text editor features color coding to enhance code readability as you type.
Mu is particularly beneficial because it integrates well with other tools like Geany, making it easy to transition between editors as you become more comfortable with coding.
This makes code debugging and interactive REPL sessions seamless, enhancing your overall coding experience.
Thonny and SSH Tools
Thonny, a powerful Python IDE, comes bundled with the latest version of Raspbian with PIXEL operating system, making it a staple tool for developers working on python for Raspberry Pi projects. It includes Python 3.6 built-in, eliminating the need for additional installation and offers advanced features not available in the Python 3 (IDLE) program.
Here are some key Thonny features to get you started:
- Script Editor and Shell: Thonny includes a script editor and a shell, allowing you to interact with your program directly.
- Font Size Adjustment: You can increase the font size using ‘File > Increase Font Size’ for better visibility.
- Running Scripts: To run a script, enter the code in the script editor, save the file, and click ‘Run current script’ or press F5.
- MicroPython Support: Thonny supports writing and executing scripts for devices like the Raspberry Pi Pico with MicroPython.
Thonny is particularly useful for beginners due to its simplified debugging features, which enhance the learning experience with python for Raspberry Pi.
When you need to access your Raspberry Pi remotely, SSH is your go-to tool. Here are some SSH benefits:
- Enable SSH on your Raspberry Pi through the application menu, Preferences, Raspberry Pi Configuration.
- Connect to your Raspberry Pi using SSH via a command prompt or PowerShell with the command ‘ssh pi@’.
- Use SSH to run Python scripts that collect data from sensors or perform other tasks remotely.
- Transfer scripts to the Raspberry Pi using SFTP via SSH and execute them in real-time.
- Utilizing SSH allows for remote access even when physical access to the Raspberry Pi is unavailable.
These tools combined—Thonny’s robust features and SSH’s remote access capabilities—make managing and executing Python scripts on your Raspberry Pi seamless and efficient.
Installing Python Libraries
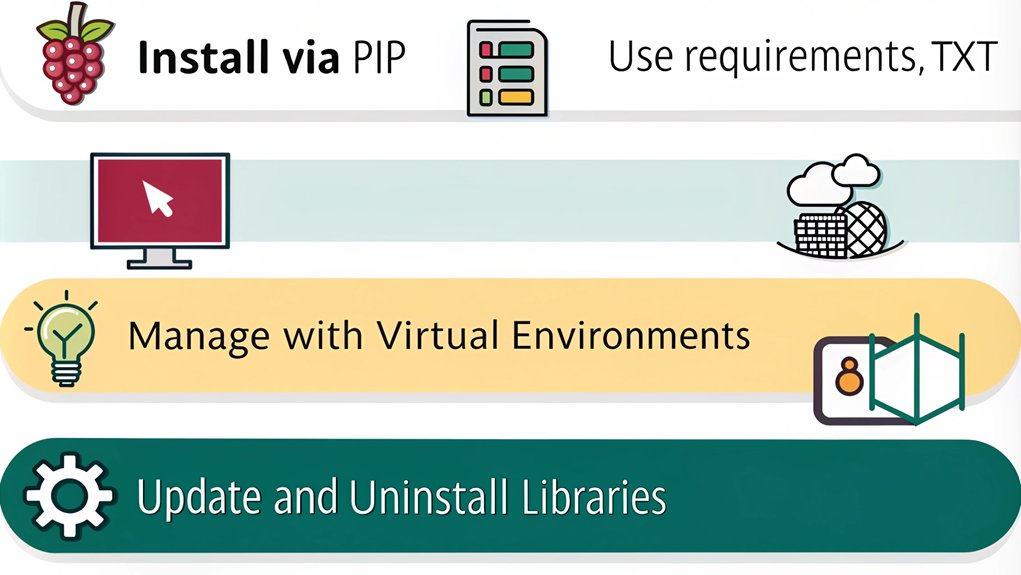
To install libraries in Python for Raspberry Pi, you can use ‘apt’ to access packages from the APT repositories or install ‘pip’ to tap into the vast library of packages available on the Python Package Index (PyPI). For packages not available via APT, PIP serves as a secondary package manager for Python libraries. Installing Pip is a straightforward process and enhances Python development capabilities on Raspberry Pi. If you need faster installation times, consider utilizing ‘piwheels’, a pre-compiled wheel repository specifically for Raspberry Pi.
Using ‘apt’ for Packages
On your Raspberry Pi, you frequently rely on the ‘apt’ package manager to install and manage Python libraries. This method offers several advantages, including guaranteeing package compatibility with the Raspberry Pi OS and simplifying the update process.
Here are the key steps to use ‘apt’ for installing Python packages:
- Update the Package List: Start by updating the package list with ‘sudo apt update’ to guarantee you have the latest package information.
- Install Specific Packages: Install specific Python packages using ‘sudo apt install python3-library’. For example, ‘sudo apt install python-picamera’ installs the Picamera library. Make sure to include ‘python3-‘ in the package name for Python 3 compatibility.
- Check Pre-Installed Libraries: Some libraries like RPi.GPIO, wiringPi, gpiozero, NumPy, OpenCV, SciPy, and Pandas come pre-installed with the standard Raspberry Pi OS. You can view and manage these through Thonny or the terminal.
- Graphical Installation Option: If you prefer a graphical interface, use the “Add/Remove Software” tool from the Preferences menu to search and install packages.
Using ‘apt’ guarantees that your Python libraries are compatible with your Raspberry Pi OS and can be easily updated through the standard OS update process, making it a preferable method for maintaining your project’s dependencies. Additionally, ensuring you have pip installed is essential for managing additional Python modules not available via ‘apt’. This approach also ensures that your system benefits from over 137,000 Python libraries available for various applications.
Using ‘apt’ guarantees that your Python libraries are compatible with your Raspberry Pi OS and can be easily updated through the standard OS update process, making it a preferable method for maintaining your project’s dependencies.
Installing ‘pip’ and Packages
When it comes to managing libraries for Python for Raspberry Pi, installing ‘pip’ is an important step. To begin, verify your system is up to date by opening a terminal window and running ‘sudo apt update‘ followed by ‘sudo apt full-upgrade -y’ or ‘sudo apt upgrade’. This guarantees stability and prepares the system for Pip installation.
Next, install Pip for Python 3 using the command ‘sudo apt install python3-pip -y’. Python 3 is recommended due to Python 2’s end of life. Verify the installation with ‘pip3 –version’.
For managing packages, use commands like ‘pip3 install package_name’ to add dependencies, ‘pip3 list’ to see installed packages, and ‘pip3 uninstall package_name’ to remove them. Verify package compatibility with your Raspberry Pi and check availability on PyPI or piwheels.
It is also crucial to ensure you have the correct version of Python installed, such as Python 3.8.1, which is recommended for many projects.
Dependency resolution is simplified with Pip; for example, you can install Flask with ‘pip3 install Flask’, Sense HAT with ‘pip3 install sense-hat’, or OpenCV with ‘pip3 install opencv-python’.
You can manage Pip in the terminal or use Thonny IDE’s graphical interface for package management. Creating virtual environments helps isolate project dependencies and avoid conflicts between different Python versions.
Effective Pip management is important for seamless dependency resolution in your Python projects.
Utilizing ‘piwheels’ for Speed
Leverage piwheels to greatly speed up the installation of libraries with Python for Raspberry Pi. This innovative project automates the building of Python wheels for all projects on PyPI, guaranteeing compatibility across various Raspberry Pi models, including Pi 1, 2, 3, 4, and others.
Here are some key advantages of using piwheels:
- Significant Time Savings: Piwheels saves you a substantial amount of time, especially for packages that require long build times on slower models like the Pi 1 and Pi Zero. The total time saved exceeds 165 years of build time.
- Broad Compatibility: The project supports all current Raspberry Pi models and guarantees package compatibility across different hardware architectures like Armv6, Armv7, and Armv8.
- Efficient Installation Process: Using piwheels streamlines the installation process, making it particularly beneficial for users of older Raspberry Pi models where build times are much longer. Additionally, it ensures that you are using pip version 9 or higher, which is mandatory for piwheels usage.
- Pre-configured for Ease: Raspbian, the primary OS for Raspberry Pi, is pre-configured to use piwheels through the ‘/etc/pip.conf’ file, making it an additional index for pip.
Working With GPIO Pins
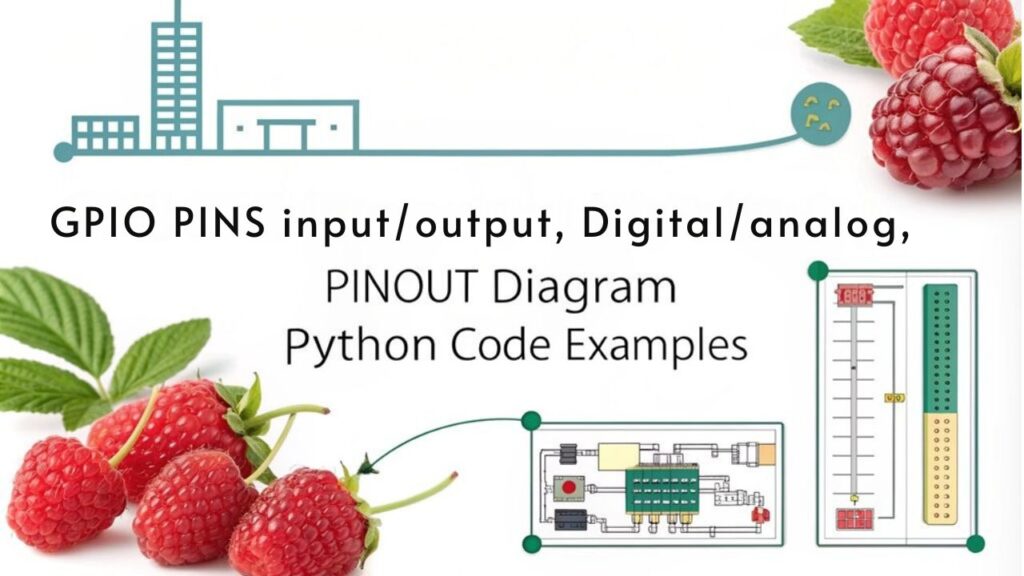
GPIO Basics
Configure your pins using ‘GPIO.setup(pin, GPIO.IN)’ for input and ‘GPIO.setup(pin, GPIO.OUT)’ for output. Optionally, set the initial state of an output pin with ‘initial=GPIO.HIGH’ or ‘initial=GPIO.LOW’. Ensure you import the RPi.GPIO module using ‘import RPi.GPIO as GPIO’ to access these functions.
Pin Configuration
Read input pins with ‘GPIO.input(pin)’, which returns ‘True’ or ‘False’. Write to output pins using ‘GPIO.output(pin, state)’, where ‘state’ can be ‘GPIO.HIGH’, ‘GPIO.LOW’, or equivalent values.
Library Comparison
For a more intuitive approach, use the GPIOzero library. Import it with ‘from gpiozero import Button’ or other components. GPIOzero simplifies interactions with buttons, LEDs, and buzzers.
Button Handling and LED Control
Use ‘button.is_pressed’ to check button states and methods like ‘led.on()’ or ‘led.off()’ to control LEDs.
Sensor Integration and Traffic Simulation
Read sensor inputs using GPIO pins and process the data in Python. For complex projects, simulate a traffic light sequence by connecting multiple LEDs to different GPIO pins. This approach leverages the RPi.GPIO library for precise control over each LED.
Project Examples
Create projects such as a blinking LED, button-controlled LED, or interactive games using these techniques. These skills are essential for innovative Raspberry Pi projects that interact with the physical world and require PWM for analog-like signals.
Advanced Project Ideas

Advanced Project Ideas
As you explore advanced project ideas using python for Raspberry Pi, you’re opening the door to a world of complex and innovative applications. Here are some cutting-edge projects that leverage the power of Python programming:
Advanced Project Ideas
- Raspberry Pi in Computer Vision Using OpenCV
- Utilize the official camera module for AI applications like object detection, image classification, and facial recognition. This is essential for self-driving vehicles and other computer vision applications.
- Real-Time Object Detection with YOLOv8
- Employ YOLOv8 for enhanced speed and accuracy in object detection and tracking, ideal for scenarios requiring low latency and local data processing for privacy.
- AI-Powered Delivery Robot
- Combine computer vision, path planning, and object detection to create an autonomous delivery robot using the latest Raspberry Pi 5 model and camera module.
- AI-Based Wildlife Camera and Home Security
- Use object detection to identify and track animals or detect security breaches, sending alerts or recording footage as needed. This functionality is particularly useful for wildlife monitoring and enhancing home safety measures.
These projects highlight the versatility of Raspberry Pi in various domains such as robotics applications, wildlife monitoring, delivery automation, and edge computing.
For more demanding tasks, consider setting up a Raspberry Pi cluster to enhance performance. Ensuring a solid foundation in Python is crucial before diving into these advanced projects to avoid frustration and ensure smooth execution of your project ideas.
With detailed guides and video tutorials available, you can easily integrate camera modules and other sensors into your projects using Python programming.
Utilizing Additional Resources
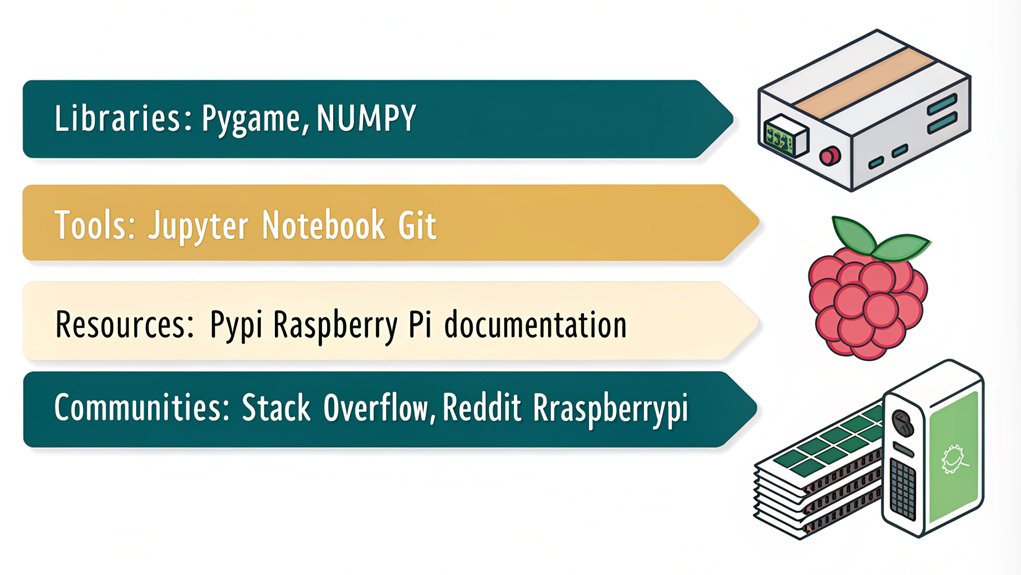
After exploring advanced project ideas with python for Raspberry Pi, you’ll need to guarantee you have the right tools and libraries to bring your projects to life. Utilizing additional resources is vital for mastering Python on your Raspberry Pi.
To expand your skill set, investigate Python tutorials that are specifically tailored for Raspberry Pi projects. These tutorials often cover installation of essential libraries such as RPi.GPIO, Gpiozero, and Picamera.
Community forums like the official Raspberry Pi forum or Stack Overflow are invaluable for troubleshooting and gaining insights from experienced users.
Open source projects on platforms like GitHub can serve as excellent learning resources. Project showcases on websites like Instructables or YouTube can inspire and guide you through complex projects.
For structured learning, consider online courses offered by platforms like Coursera, Udemy, or Raspberry Pi’s own educational resources.
Attending Raspberry Pi events or meetups can provide hands-on experience and direct interaction with experts and enthusiasts. These events often feature workshops, project demonstrations, and opportunities to network with like-minded individuals.
Remote Editing and Execution
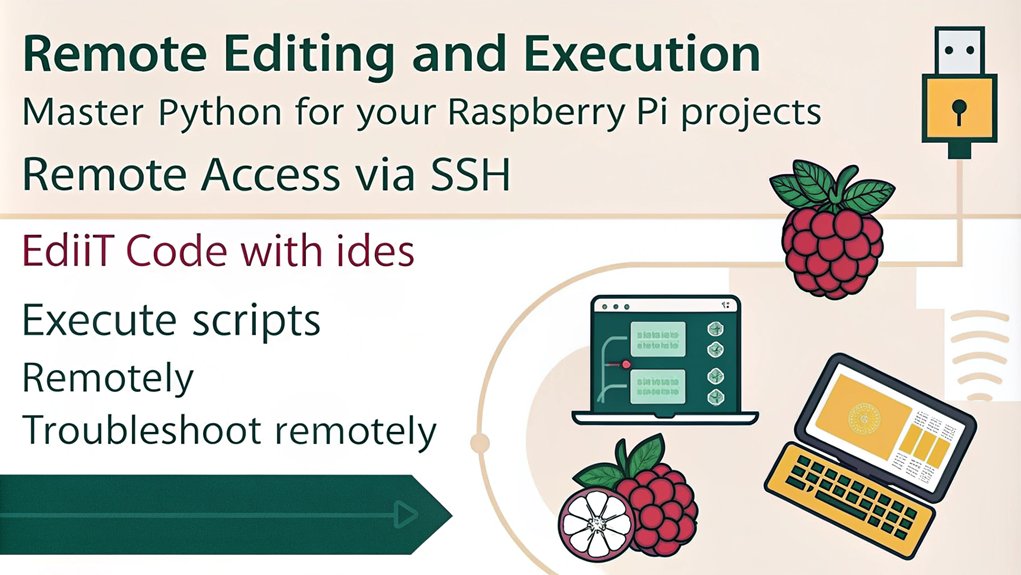
Mastering remote editing and execution of python for Raspberry Pi greatly enhances your development workflow, allowing you to manage and run projects efficiently from the comfort of your primary computer.
Here’s how you can set it up:
Setting Up Remote SSH Connection
To start, verify SSH is enabled on your Raspberry Pi and you have Visual Studio Code (VS Code) with the Remote-SSH extension installed on your computer.
Here are the key steps:
- Refresh Remote Menu: Refresh the Remote menu in VS Code to see the Raspberry Pi host.
- Connect to Host: Click on the Raspberry Pi host to connect in a new window and enter the password.
- Open Folder: Open a folder on the Raspberry Pi using the Open Folder button in VS Code.
- Secure SSH Configuration: Verify SSH is securely configured to avoid unauthorized access.
Remote File Management
Once connected, you can perform various tasks:
- Create new files by hovering over a folder and clicking on the New File… button.
- Write and save code directly in VS Code.
- Delete or move files as needed.
Executing Python Files Remotely
You can execute Python files using the Terminal window in VS Code:
”’bash
python filename.py
”’
View the output in the Terminal window and debug if necessary.
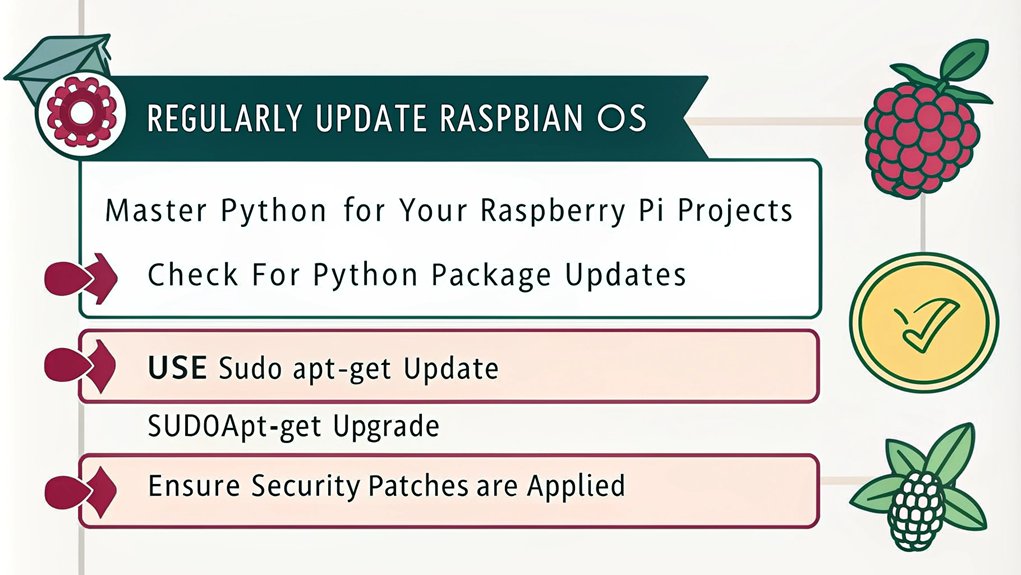
Keeping Your System Updated
| Step | Command | Description |
|---|---|---|
| Update Package Lists | ‘sudo apt update’ | Fetches the latest package lists from the software repository. |
| Upgrade System | ‘sudo apt upgrade’ | Installs the latest versions of all installed packages. |
| Reboot | ‘sudo reboot’ | Reboots the system to apply changes. |
Dependency Installation and Rebooting
Before updating or installing new versions of Python for Raspberry Pi, make certain to install any necessary dependencies. After major updates, it’s vital to reboot your system to confirm all changes take effect.
Updating Python
When updating Python, download the source code for the desired version from the official website, compile it, and use ‘altinstall’ to avoid replacing the system Python. Verify the new installation using ‘pythonX.Y –version’.
Frequently Asked Questions
How Do I Troubleshoot Common Errors in My Python Scripts on the Raspberry Pi?
To troubleshoot common errors in your Python scripts, check error messages in log files like ‘/tmp/script.err’. Use debugging techniques such as reviewing code for syntax errors, ensuring correct package installations, and handling I/O exceptions with try-except blocks.
Can I Use Other Operating Systems Besides Raspbian on My Raspberry Pi?
Yes, you can use alternative operating systems like Ubuntu, Fedora Linux, Kali Linux, and others on your Raspberry Pi. Each has its own installation procedures and compatibility requirements.
What Are the Differences Between RPI.Gpio and Gpiozero Libraries?
Using GPIO libraries is like choosing between a sports car and a muscle car: GPIO Zero is the sports car, offering a sleek, high-level interface with fewer lines of code and pre-defined classes for common components, but it consumes more CPU resources. In contrast, RPi.GPIO is the muscle car, providing low-level control with more detailed configuration and lower CPU usage, though it requires more manual setup and lacks the ease of use and versatility of GPIO Zero. GPIO Zero’s advantages include simplicity and extensive documentation, while RPi.GPIO’s limitations are its complexity and lower flexibility.
How Can I Optimize Performance for Resource-Intensive Python Projects on the Raspberry Pi?
To optimize performance for resource-intensive Python projects, use Cython to compile code, implement memory management, and conduct CPU profiling. Utilize C extensions, cache mechanisms, and monitor resources to identify and address bottlenecks efficiently.
Are There Any Security Considerations When Using SSH for Remote Access to My Raspberry Pi?
To guarantee ssh security for remote access, disable root login and password authentication in ‘sshd_config’, use SSH keys, set proper permissions, and consider two-factor authentication and port knocking for enhanced protection.
Conclusion
You’ve mastered Python for your Raspberry Pi projects, but don’t think you’re done yet. The real challenge lies in the endless possibilities and pitfalls ahead. With GPIO pins to tame and libraries to manage, your journey is just beginning. Keep your system updated, utilize additional resources, and be prepared for the unexpected twists that come with tinkering. Ironically, the more you know, the more you’ll realize how little you know. Immerse yourself and enjoy the ride.

I am a retired software engineer with experience in a multitude of areas including managing AWS and VMWare development environments. I bought a relative a mini-PC a year ago and have become passionate about the technology and its potential to change how we deploy software.