
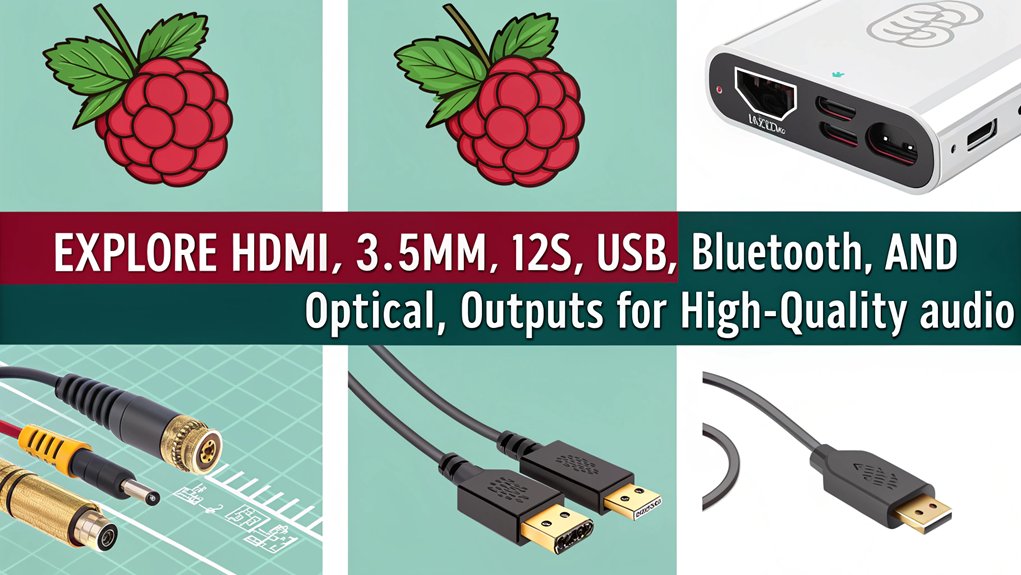
Mastering Raspberry Pi audio is easier than you think with six versatile output methods. You can choose HDMI for high-quality surround sound, or connect your favorite headphones via the 3.5mm jack for retro vibes. USB audio devices offer plug-and-play convenience, while Bluetooth lets you enjoy wireless streaming. For exceptional fidelity, consider I²S or S/PDIF outputs that minimize distortion. Each method has its unique advantages, making it simple to tailor your audio setup to your needs. Keep exploring further to uncover tips and tricks that will elevate your Raspberry Pi audio projects even more!
Key Takeaways
- Raspberry Pi supports various audio output methods, including HDMI, 3.5mm, USB, Bluetooth, I²S, and S/PDIF for versatile audio setups.
- HDMI provides high-quality, uncompressed audio and is ideal for home theater systems, simplifying connections with a single cable.
- USB audio devices enhance sound clarity and are user-friendly, making them suitable for music production and DIY audio projects.
- Bluetooth offers the convenience of wireless streaming, although it may introduce some audio latency issues.
- For high-fidelity audio, consider using I²S for low latency or USB DACs for premium sound performance in advanced setups.
Overview of Raspberry Pi Audio
Raspberry Pi offers incredible versatility for audio applications, allowing you to explore various setups to suit your needs.
Choosing the right audio output method is essential for achieving the best sound quality and compatibility with your devices.
In this section, you’ll discover how to make the most of your Raspberry Pi’s audio capabilities.
Overview of Raspberry Pi’s versatility in audio applications.
Exploring the versatility of a Raspberry Pi in audio applications reveals a world of possibilities for enhancing your listening experience.
With its ability to support multiple audio output methods, you can easily tailor your setup to meet your unique preferences. Whether you’re looking to connect high-quality speakers, integrate with home automation systems, or stream music wirelessly, Raspberry Pi audio has got you covered.
You can experiment with diverse configurations, from HDMI to analog outputs, ensuring excellent sound quality across various platforms. The flexibility of this mini-computer empowers you to innovate and customize your audio playback, making it an ideal choice for enthusiasts keen to push the boundaries of digital sound reproduction.
Importance of selecting the appropriate audio output method.
Selecting the right audio output method can greatly impact your listening experience with a Raspberry Pi.
Whether you’re streaming music, playing games, or creating immersive audio projects, the choice of output directly influences sound quality and clarity.
For instance, using a Raspberry Pi DAC can notably enhance your audio settings, delivering richer tones and more accurate sound reproduction.
If you opt for HDMI, you might benefit from surround sound capabilities, while analog outputs could offer a nostalgic charm.
Each method has its strengths, so understanding how they align with your goals is essential.
HDMI Audio Output

When you connect your Raspberry Pi to a display via HDMI, you’re accessing a powerful digital audio and video interface. This setup offers several advantages, like high-quality sound and simplified connections, but it also comes with certain limitations.
Let’s explore how to configure HDMI audio on your Raspberry Pi to maximize your audio experience.
HDMI as a digital audio and video interface.
Raspberry Pi’s HDMI output offers an impressive solution for delivering both digital audio and video through a single cable, simplifying your setup while enhancing sound quality.
This versatile interface allows you to connect directly to your TV or audio system, ensuring seamless transmission without additional converters or adapters.
Consider these key advantages of using HDMI for audio:
- High-Quality Sound: Experience uncompressed audio formats that elevate your listening experience.
- Multi-Channel Support: Enjoy surround sound capabilities, perfect for immersive entertainment.
- Easy Integration: Pair effortlessly with modern displays and audio systems.
With HDMI, you don’t just connect; you transform how you enjoy audio and video, making your Raspberry Pi a powerful multimedia hub.
Advantages and potential limitations
One of the standout features of using HDMI for audio output is its ability to deliver high-fidelity sound while maintaining a straightforward setup. This innovation allows you to connect multiple audio applications seamlessly, ensuring an immersive listening experience.
With HDMI, you benefit from digital audio transmission, eliminating the noise and distortion often seen in analog connections. However, there are some potential limitations—like the need for a compatible power supply and the possibility of lag in certain configurations.
Additionally, if you’re using older devices, you might encounter compatibility issues. Overall, HDMI offers an excellent balance of quality and convenience, making it a top choice for modern audio enthusiasts seeking to enhance their Raspberry Pi audio setup.
Steps to configure HDMI audio on Raspberry P
Configuring HDMI audio on your Raspberry Pi is a straightforward process that can greatly enhance your audio experience.
Follow these steps to set it up effectively:
- Confirm your Raspberry Pi is connected to your HDMI device.
- Boot up your Raspberry Pi with the appropriate SD card that has the latest OS installed.
- Access the terminal and type ‘sudo raspi-config’, then navigate to ‘Advanced Options’ and select ‘Audio.’ Choose HDMI as your output.
Once you’ve made these selections, your audio should seamlessly route through the HDMI.
This configuration unlocks high-quality sound, making it perfect for media playback or gaming.
Embrace the innovation this setup offers and elevate your audio journey with your Raspberry Pi!
3.5mm Analog Audio Output
When you’re ready to explore the 3.5mm analog audio output on your Raspberry Pi, you’ll find it’s a straightforward way to connect various audio devices.
You’ll want to follow some simple guidelines to guarantee a solid connection and best sound quality.
Let’s also consider common use cases that highlight this versatile audio option.
3.5mm audio jack functionality
With the mm audio jack functionality, you can easily connect your Raspberry Pi to a variety of audio devices, including speakers and headphones.
This straightforward solution allows you to enjoy high-quality sound without the complexity of additional hardware.
- Experience rich audio playback directly from your Raspberry Pi.
- Utilize the mm audio jack for seamless integration with everyday devices.
- Enhance your projects with innovative sound capabilities.
Guidelines for connecting analog devices
Connecting analog devices to your Raspberry Pi through the 3.5mm audio jack opens up a world of audio possibilities. To get started, verify you’re using the right cables and adapters based on the devices you’re connecting. Here’s a quick reference table to guide you:
| Device Type | Connection Type |
|---|---|
| Speakers | 3.5mm stereo plug |
| Headphones | 3.5mm stereo plug |
| External DAC | 3.5mm audio output |
When connecting, remember that some hardware attached on top might affect audio outputs. Make sure your Raspberry Pi settings are optimized for the best audio experience, verifying you’re harnessing the full potential of your analog devices. Enjoy experimenting with sound!
Quality considerations and common use cases
For ideal audio quality through the Raspberry Pi’s 3.5mm analog output, it’s important to take into account both the hardware and the environment. High-quality components and excellent settings can make a world of difference.
Here are some key considerations:
- Use high-fidelity cables to minimize interference.
- Verify your power supply is clean to avoid noise.
- Select quality speakers or headphones to fully appreciate the audio.
Common use cases for this output include connecting to vintage audio equipment, creating a compact home audio system, or even integrating with DIY projects.
USB Audio Devices
When you’re looking to enhance your Raspberry Pi’s audio capabilities, USB audio devices are a great option.
They offer compatibility with a wide range of sound cards and speakers, providing excellent sound quality and convenience.
Setting up these devices is straightforward, making it easy for you to elevate your listening experience.
Overview of USB audio interfaces compatible with Raspberry Pi
USB audio interfaces are often the go-to choice for enhancing the audio capabilities of your Raspberry Pi. They offer a simple way to upgrade your audio outputs and guarantee compatibility with various sound systems.
With a plethora of options available, you can easily find one that suits your needs.
- High-fidelity sound reproduction
- Plug-and-play convenience
- Support for multiple audio formats
These interfaces not only improve audio quality but also provide versatility for different audio setups.
Whether you’re a music enthusiast or a DIY audio tinkerer, USB audio interfaces can considerably elevate your Raspberry Pi’s audio performance.
Benefits of using USB audio devices
Upgrading your audio experience with USB audio devices can greatly enhance sound quality and versatility. These devices offer a remarkable level of flexibility, allowing you to connect various audio sources effortlessly.
Whether you’re using a high-end DAC, external sound card, or USB speakers, you’ll notice a significant improvement in audio clarity and detail. USB audio devices are often plug-and-play, making setup a breeze—perfect for those who crave innovation without the hassle.
Additionally, they’re compatible with a wide range of applications, from music production to gaming, ensuring you can enjoy rich soundscapes tailored to your preferences.
Instructions for setting up USB sound cards or speakers.
Setting up a USB sound card or speakers on your Raspberry Pi is a straightforward process that can greatly enhance your audio experience.
With just a few steps, you can achieve remarkable audio playback that elevates your projects. Here’s how to get started:
- Plug your USB sound card or speakers into a USB port on the Raspberry Pi.
- Open a terminal and run ‘lsusb’ to verify your device is recognized.
- Use the ‘alsamixer’ command to adjust volume levels and settings.
Once you’ve completed these steps, you’re ready to enjoy a richer sound.
Embrace the innovation of USB sound cards and access the full potential of your Raspberry Pi’s audio capabilities!
Bluetooth Audio
Bluetooth audio streaming opens up a world of wireless convenience for your Raspberry Pi setup.
While there are definite perks, like eliminating cable clutter, you’ll also want to contemplate the potential downsides, such as audio latency.
Let’s go through the steps to easily pair your Bluetooth speakers or headphones for a seamless listening experience.
Introduction to Bluetooth audio streaming capabilities
When it comes to enhancing your Raspberry Pi audio experience, tapping into Bluetooth audio streaming capabilities opens up a world of convenience and flexibility. By leveraging Bluetooth, you can effortlessly connect to various devices, stream high-quality audio, and enjoy your favorite tracks without the hassle of cables.
Many Linux distributions support Bluetooth, making it easy to set up and integrate seamlessly into your existing audio setup.
- Stream music from your smartphone or tablet.
- Connect to wireless speakers for a clutter-free environment.
- Enjoy multi-device pairing for versatile listening options.
With Bluetooth audio, you’re not just embracing innovation; you’re transforming how you interact with sound, making your Raspberry Pi a powerhouse of audio creativity.
Pros and cons of wireless audio connections
Wireless audio connections, such as Bluetooth, offer both significant advantages and notable drawbacks for users looking to enhance their Raspberry Pi audio experience.
On the plus side, Bluetooth provides the freedom of mobility, letting you stream music without being tethered by cables. It’s also easy to set up, allowing you to connect various devices quickly.
However, there are some downsides to evaluate. Bluetooth can sometimes suffer from audio latency, which might be an issue for video playback or gaming. Additionally, the sound quality may not match that of wired connections, particularly in high-fidelity applications.
You’ll need to weigh these pros and cons carefully to decide if wireless audio fits your specific needs with Raspberry Pi.
Steps to pair Bluetooth speakers or headphones
Pairing Bluetooth speakers or headphones with your Raspberry Pi is a straightforward process that enhances your audio experience.
Start by ensuring your Pi is powered on and has Bluetooth capabilities. Then, follow these steps:
- Open the Bluetooth settings on your Pi, using the default desktop environment.
- Put your Bluetooth speakers or headphones in pairing mode.
- Select your device from the list and click “Pair.”
Once paired, you’ll enjoy seamless audio streaming.
If you encounter issues, make sure your Bluetooth drivers are updated and check the volume settings.
With this simple setup, you can elevate your listening experience, embracing the innovative possibilities of wireless audio on your Pi.
Get ready to immerse yourself in high-quality sound effortlessly!
I²S (Inter-IC Sound) Interface
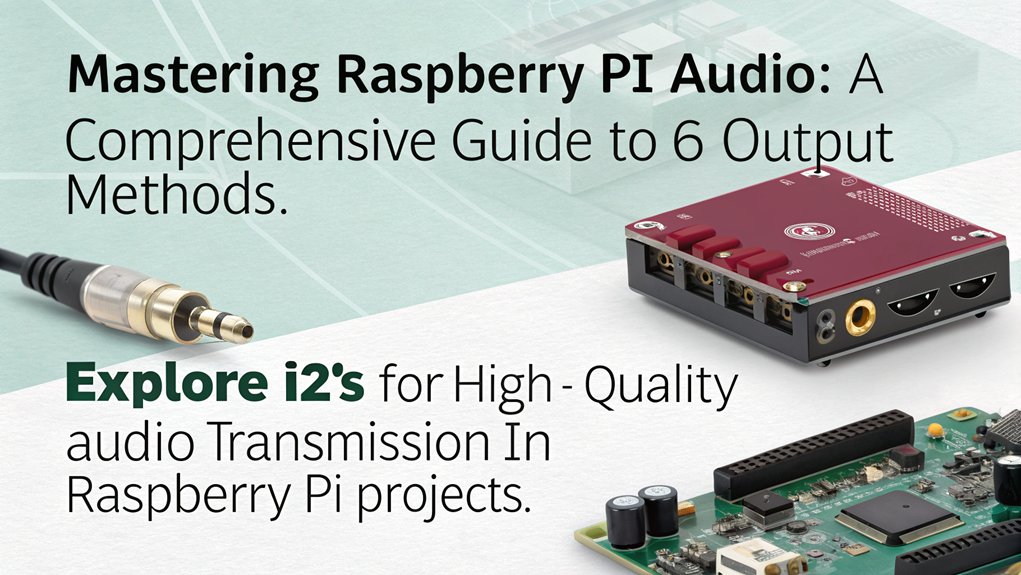
When you want to achieve high-quality audio output with your Raspberry Pi, the I²S (Inter-IC Sound) interface is essential.
It enables you to connect external DACs seamlessly, ensuring ideal sound reproduction for your projects.
Let’s explore how the I²S protocol works and its various applications in enhancing your audio experience.
the I²S protocol for digital audio
The I²S (Inter-IC Sound) protocol is an essential interface for digital audio, allowing efficient communication between audio devices. By employing I²S, you can achieve high-quality audio playback with minimal latency.
This protocol is particularly valuable for those who aim for innovation in their audio projects.
- It transmits audio data in a synchronous manner.
- You’ll find I²S commonly used in DACs and audio processors.
- The protocol supports multiple channels, enhancing your listening experience.
When you harness I²S in your Raspberry Pi setups, you’re not just upgrading your audio; you’re stepping into a world of possibilities.
Experiment with various configurations, and enjoy the superior sound quality that I²S brings to your digital audio endeavors!
Applications requiring high-quality audio output
For applications that demand high-quality audio output, the I²S interface stands out as an essential component.
It delivers superior sound fidelity, making it ideal for audiophiles and innovative projects where audio quality is paramount. If you’re streaming music, developing a digital audio workstation, or designing a home theater system, using I²S can provide the power you need to achieve an immersive listening experience.
Unlike standard audio outputs, I²S minimizes latency and distortion, ensuring your sound is more than just good enough. This makes it a preferred choice for anyone looking to push the boundaries of audio quality.
Guidelines for connecting external DACs via I²S
Connecting external DACs via the I²S interface can release a new level of audio performance for your Raspberry Pi projects.
To get started, follow these guidelines for ideal results:
- Choose a compatible third-party DAC that supports I²S.
- Guarantee you have the correct wiring: connect the Raspberry Pi’s GPIO pins to the DAC’s I²S input.
- Configure your audio settings in the operating system to recognize the I²S output.
S/PDIF (Sony/Philips Digital Interface) Output
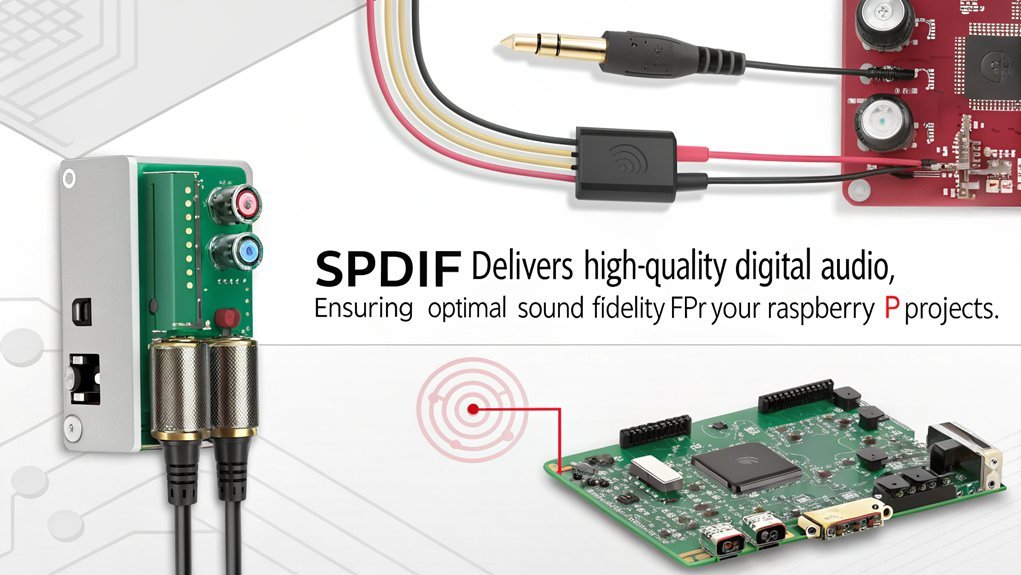
S/PDIF is a popular digital audio transmission method that can greatly enhance your Raspberry Pi audio setup.
You’ll find it advantageous in scenarios where you need to connect to high-fidelity audio equipment without compromising sound quality.
In the following section, we’ll walk you through how to implement S/PDIF output on your Raspberry Pi for an improved listening experience.
S/PDIF as a digital audio transmission method
When you’re looking to achieve high-quality audio transmission, S/PDIF (Sony/Philips Digital Interface) offers a reliable solution.
This method stands out for its ability to deliver pristine digital audio directly to your audio systems without the interference common in analog signals.
By utilizing S/PDIF, you can enjoy several benefits:
- Lossless audio quality: Experience uncompressed sound for a richer listening experience.
- Simplicity: Easy connections with a variety of devices streamline your setup process.
- Versatility: Compatible with numerous audio formats, making it a go-to choice for many applications.
Integrating S/PDIF into your Raspberry Pi audio project fosters innovation, enabling you to push the limits of your audio systems and enjoy superior sound quality.
Scenarios where S/PDIF is advantageous
In many audio setups, utilizing S/PDIF can substantially enhance your listening experience. If you’re keen on achieving high-fidelity sound without the mess of analog connections, S/PDIF is your go-to solution.
It’s particularly advantageous when connecting your Raspberry Pi to high-end audio receivers or DACs, as it supports lossless audio formats and minimizes interference. When you’re running a specialized operating system that optimizes sound output, S/PDIF shines by delivering crisp audio signals directly.
This setup is ideal for home theaters or audiophile listening environments where sound quality is paramount. Additionally, if you’re streaming digital audio or playing high-definition content, S/PDIF guarantees you capture every nuance, making it an essential component in innovative audio configurations.
Instructions for implementing S/PDIF output on Raspberry Pi
To implement S/PDIF output on your Raspberry Pi, you’ll need to guarantee your setup is properly configured for digital audio.
Follow these steps to achieve high-quality sound for your audio systems:
- Connect a compatible S/PDIF interface to your Raspberry Pi.
- Update your audio settings using the command line or graphical interface.
- Test the output with your preferred audio playback software.
Once configured, you can enjoy the benefits of S/PDIF output, delivering crystal-clear sound with minimal interference.
This digital interface is perfect for connecting to high-end audio systems, ensuring peak performance.
Don’t forget to explore various playback options and tweak settings to match your audio preferences.
Embrace innovation and elevate your Raspberry Pi audio experience!
Comparative Analysis of Audio Output Methods
When choosing an audio output method for your Raspberry Pi, you’ll want to take into account factors like audio quality, ease of setup, and how well each option fits your project requirements.
Different configurations can offer unique benefits, so it’s crucial to compare them to find the best match for your needs.
Let’s explore these aspects to help you make an informed decision.
Comparison of audio quality, ease of setup, and application suitability.
How do different audio output methods stack up against each other regarding quality, setup ease, and application suitability?
You’ll find that each method has its strengths and weaknesses.
- Audio Quality: HDMI and USB DACs often deliver superior sound, while the headphone jack is decent but limited.
- Ease of Setup: Bluetooth is user-friendly, but some may struggle with configuration. HDMI and USB connections are typically straightforward.
- Application Suitability: If you’re focused on high-fidelity listening, opt for USB DACs. For casual streaming, Bluetooth works well.
Ultimately, your choice hinges on what you prioritize: pristine audio quality, ease of setup, or specific application needs.
Embrace innovation and experiment to discover what suits you best!
Recommendations based on project requirements
While each audio output method has its unique advantages, selecting the right one really depends on your specific project requirements. To guide your decision-making process, consider the following recommendations based on common scenarios:
| Project Type | Recommended Audio Output |
|---|---|
| Home Theater | HDMI |
| DIY Audio Projects | I2S |
| Portable Devices | 3.5mm Jack |
| High-Fidelity Sound | USB DAC |
| General Use | Bluetooth |
Frequently Asked Questions
Can I Use Multiple Audio Outputs Simultaneously on Raspberry Pi?
Yes, you can use multiple audio outputs simultaneously on your Raspberry Pi. By configuring the settings and employing specific software, you’ll create an innovative audio experience that caters to your unique listening preferences.
What Software Is Best for Managing Audio on Raspberry Pi?
To manage audio on your Raspberry Pi, try using VLC for versatile playback, or explore PulseAudio for advanced routing options. Both offer innovative features that enhance your audio experience, adapting to your unique preferences effortlessly.
How Do I Troubleshoot Audio Issues on My Raspberry Pi?
To troubleshoot audio issues on your Raspberry Pi, check connections, confirm the correct audio output’s selected, update software, and test with different audio files. Restarting the device often resolves temporary glitches, too.
Is There a Way to Improve Audio Quality on Raspberry Pi?
You can elevate your Raspberry Pi’s audio quality by experimenting with DACs for superior sound, optimizing settings for your specific output, and integrating high-quality speakers. Innovation lies in customizing your setup to fit your unique listening experience.
Can Raspberry Pi Stream Audio From Online Services?
Yes, your Raspberry Pi can stream audio from online services. You can use applications like Kodi or Volumio, which support various streaming platforms, letting you enjoy high-quality sound from your favorite sources seamlessly.
Conclusion
In wrapping up your audio journey with the Raspberry Pi, you’ve opened a treasure trove of sound possibilities. Each output method offers its own charm, allowing you to tailor your listening experience to perfection. Whether it’s the crisp clarity of HDMI or the nostalgic warmth of analog, you’re now equipped to create an audio paradise. So go ahead, let your creativity flow, and transform your Raspberry Pi into the ultimate sound maestro in your home!

I am a retired software engineer with experience in a multitude of areas including managing AWS and VMWare development environments. I bought a relative a mini-PC a year ago and have become passionate about the technology and its potential to change how we deploy software.