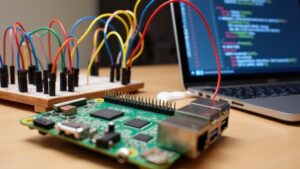
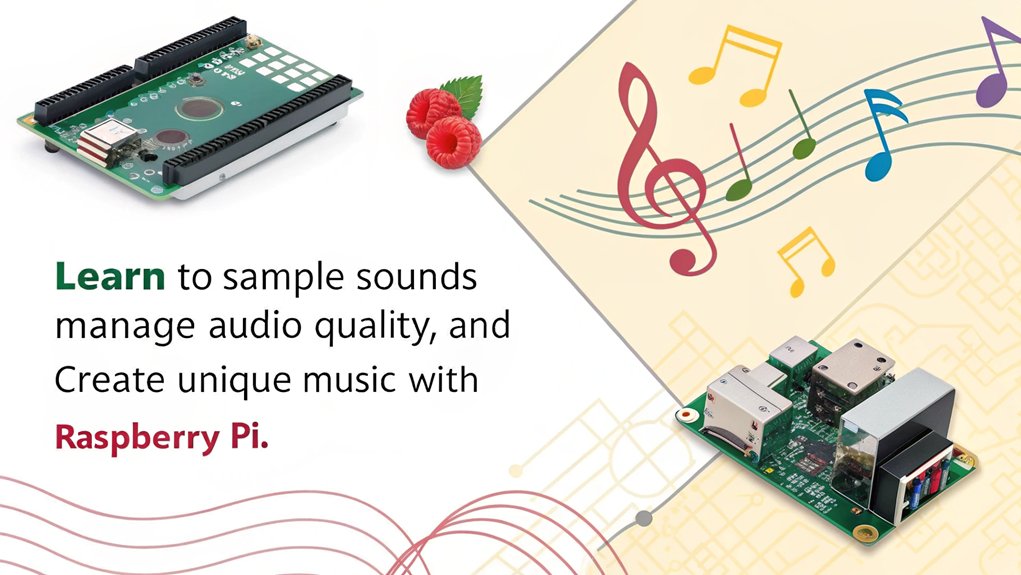
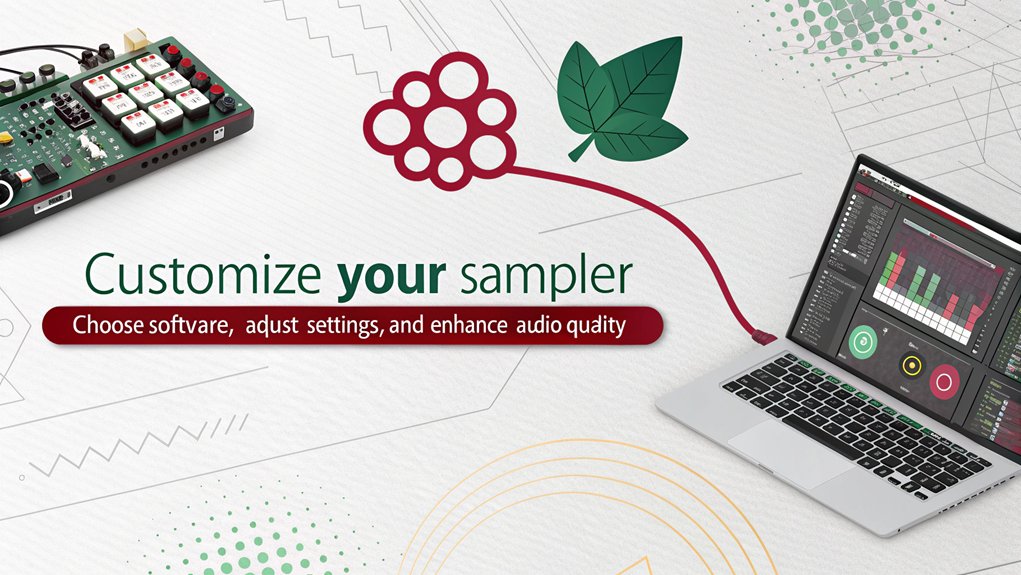
To build a MIDI sampler with a Raspberry Pi, start by gathering essential hardware like a Raspberry Pi, MIDI interface, and a microSD card. Install and configure Raspbian OS, then update and install necessary packages including Python and Fluidsynth. Set up your MIDI interface and configure audio output through HDMI or an external DAC. Test MIDI connections for proper functionality. By following these steps, you can further optimize your sampler and explore advanced configurations for enhanced performance.
Key Takeaways
- Gather necessary hardware components, including a Raspberry Pi, MIDI interface, and external USB DAC for audio quality enhancement.
- Install Raspbian OS on the microSD card, ensuring proper formatting and using a disk imaging tool like Etcher.
- Update the system and install required software packages such as Python, Carla, and Fluidsynth for soundfont management and MIDI triggering.
- Configure the MIDI interface by connecting the controller and verifying the MIDI events transmission using commands like ‘aconnect’ and ‘aseqdump’.
- Optimize audio output settings and performance, utilizing HDMI audio and adjusting sample rates for the best sound experience.
What is a Raspberry Pi MIDI Sampler and what can you do with it?
A Raspberry Pi MIDI sampler is a compact, cost-effective device that uses a Raspberry Pi computer to play back audio samples in response to MIDI input. Musicians can connect MIDI controllers, such as keyboards or drum pads, to trigger pre-recorded sounds stored on the Raspberry Pi. This setup offers a customizable and portable solution for live performances, studio work, and educational purposes, allowing users to design unique instruments and soundscapes without the need for expensive, traditional hardware samplers.
Examples of how this can be used:
- Portable Sound Module: Transform the Raspberry Pi into a compact sound module, enabling musicians to trigger high-quality samples during live performances.
- Educational Tool: Utilize the sampler to teach students about digital audio processing, MIDI protocols, and hardware-software integration in a hands-on environment.
- Custom Instrument Development: Develop unique digital instruments by assigning specific samples to MIDI inputs, fostering innovative sound design.
- Cost-Effective Studio Equipment: Replace expensive hardware samplers with a budget-friendly Raspberry Pi setup, maintaining professional audio quality.
- Interactive Art Installations: Incorporate the sampler into interactive exhibits, allowing participants to trigger sounds via MIDI controllers, enhancing engagement.
Required Hardware Components
To build a MIDI sampler with a Raspberry Pi, you’ll need several essential hardware components that guarantee peak performance.
Start with a Raspberry Pi (version 2 or later) and a micro SD card of at least 2GB. A MicroUSB power cord and a 2A-rated USB power adapter are necessary for reliable power. Additionally, using a Raspberry Pi as a USB media host can significantly streamline your MIDI connections.
For the MIDI interface, integrate a MIDI interface HAT like the PiMiDi. Additionally, the Raspberry Pi offers built-in UART for MIDI, which simplifies the connection process.
For best audio quality, consider using speakers or headphones, and an external USB DAC can enhance sound further.
Additionally, a prototyping PCB board will help you organize these components effectively.
Installing Raspberry Pi OS
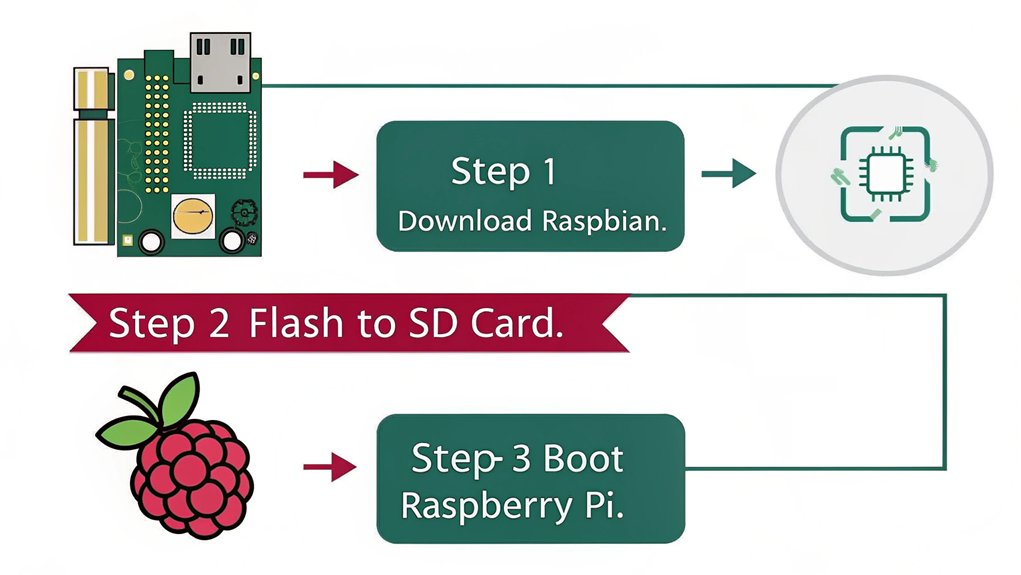
Before diving into building your MIDI sampler, you’ll need to install the Raspberry Pi OS on your microSD card.
Start by downloading the Raspberry Pi OS disc image from the Raspberry Pi Foundation’s website. Choose the version that best suits your needs, whether it’s the full desktop or the lite option. Confirm the file is in .img format, and extract it if necessary. Raspberry Pi OS can be downloaded from Raspberry Pi’s official site. Additionally, you’ll need to ensure that your microSD card is formatted correctly to support the Raspberry Pi’s operating system. Ensure compatibility with ARMv7 feature sets for successful installations.
For microSD preparation, use an 8GB class 10 microSD card, format it with an SD card formatter, and connect it to your computer. Ensure compatibility between the microSD card and your Raspberry Pi model for successful installations.
Next, download a disk imaging tool like Etcher, select the correct drive, and write the Raspbian image to the card using a tool that supports custom images.
Safely eject the card, and you’re ready to boot your Raspberry Pi.
Updating and Installing Necessary Packages
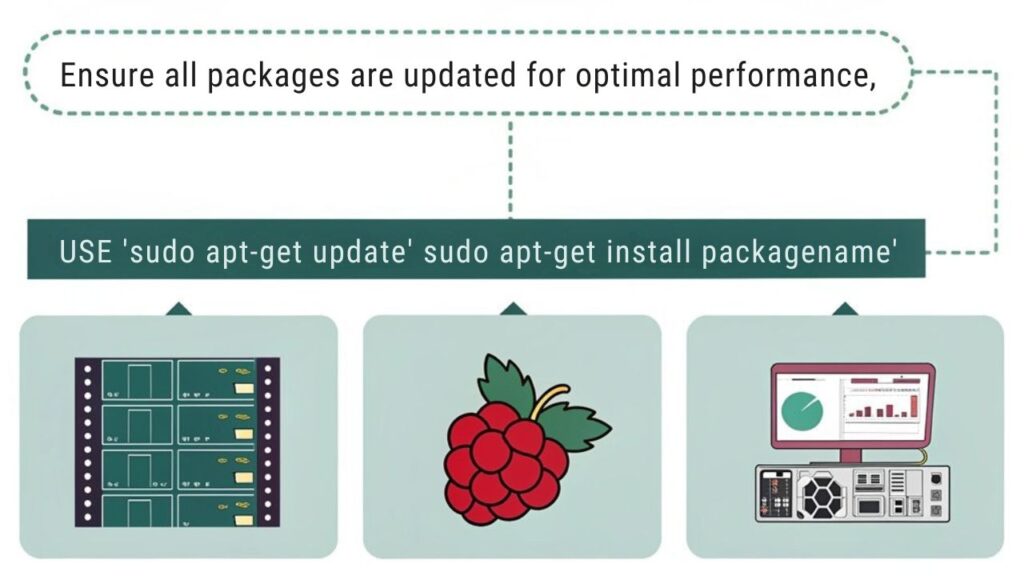
Updating your Raspberry Pi system is essential for guaranteeing ideal performance and compatibility with new software. Start by running the update command to refresh your package management system:
”’bash
sudo apt update
”’
This command updates your package list, resolving dependency issues and applying security patches. Next, install Python and relevant packages to support your SamplerBox project:
”’bash
sudo apt -y install python3-pip libportaudio2
”’
Ensure that your Raspberry Pi has the necessary Bluetooth functionalities for future audio configurations. It is also important to ensure you are using a compatible and stable power supply to prevent any system downtime.
Use the following table to track the package installations:
| Command | Purpose |
|---|---|
| ‘sudo apt -y install python3-pip’ | Installs Python package manager |
| ‘sudo pip3 install cython cffi’ | Installs essential libraries |
| ‘sudo pip3 install sounddevice’ | Enables audio functionalities |
| ‘sudo pip3 install git+https://…’ | Installs MIDI functionality |
Following these steps guarantees your Raspberry Pi is ready for the SamplerBox project. Additionally, ensuring that you have the latest commit updates is crucial for maintaining the functionality and security of your project. Remember that using community support can help you troubleshoot any installation challenges you may encounter. Regularly updating your system with ‘sudo apt full-upgrade’ will also enhance system security and performance.
Setting Up the MIDI Interface
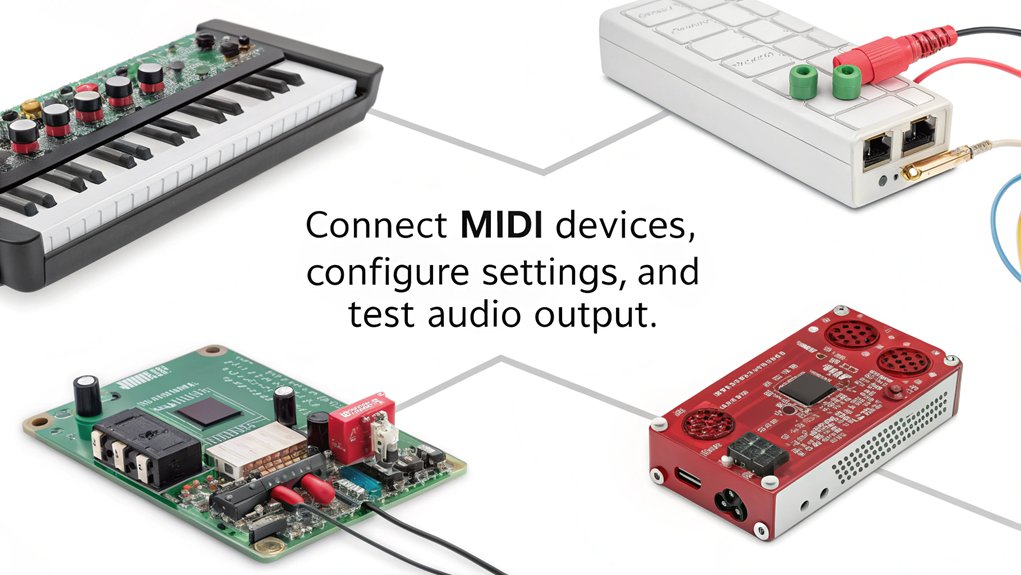
As you begin setting up the MIDI interface, make sure your MIDI controller is properly connected to one of the Raspberry Pi‘s USB ports and powered on.
- Attach the MIDI Interface HAT: Secure the HAT onto the Raspberry Pi’s GPIO pins, following the manufacturer’s instructions.
- Connect MIDI Devices: Use standard MIDI cables to connect your controller to the HAT’s MIDI input port.
- Verify Connections: Power on your Raspberry Pi and MIDI controller. Use the command
aconnect -oto list available MIDI output ports and ensure your device is recognized.
To verify proper midi controller compatibility, check that MIDI events are transmitted by executing ‘aseqdump -p *xx*’, replacing ‘xx’ with the client number.
Connect your USB MIDI input device and use ‘amidi -l’ to list device IDs. Utilize ‘aconnect’ to establish connections and address any potential midi latency issues. USB MIDI connections are generally cheaper and easier to implement, making them a favorable choice for your setup. Additionally, ensure your setup is compact to avoid RSI issues while playing, as a smaller setup can greatly enhance your experience.
For persistent connections, configure your setup to maintain functionality after rebooting. Document the client numbers for future reference, guaranteeing a seamless MIDI routing experience.
Configuring Audio Output
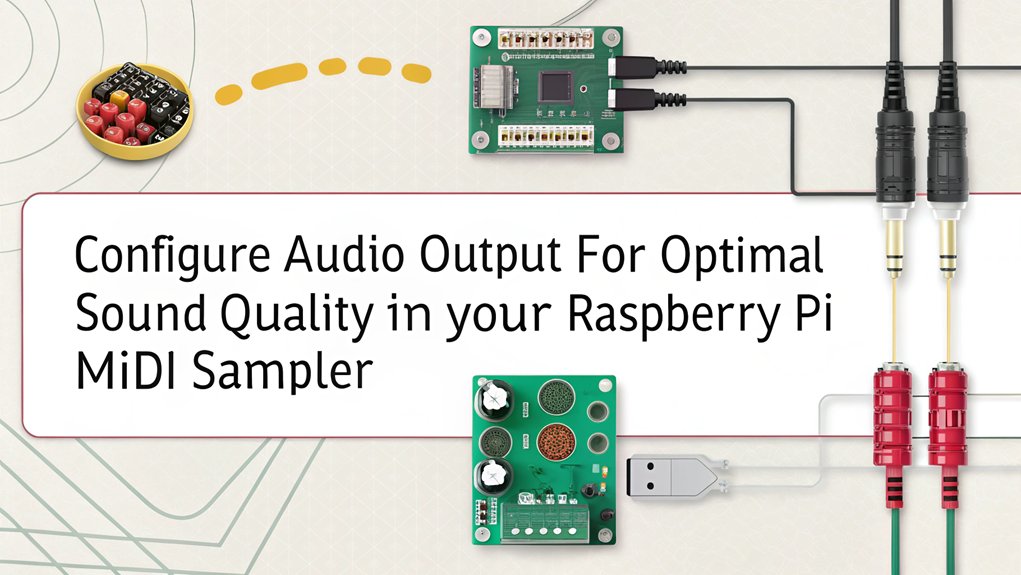
Configuring audio output on your Raspberry Pi is essential for ensuring that your MIDI sampler functions effectively. You can manage audio settings via the GUI or command line, optimizing output for your setup. For instance, using HDMI audio output can provide high-fidelity sound with minimal distortion. Additionally, utilizing XLR connectors in studio settings can enhance the overall audio quality.
For audio troubleshooting, consider the following options:
| Method | Steps | Purpose |
|---|---|---|
| GUI | Right-click volume icon, select output | Quick device switching |
| Command Line | Use ‘raspi-config’, select audio output | Direct configuration |
| External Devices | Edit ‘config.txt’, disable onboard audio | Utilize advanced audio setups |
| Advanced Configuration | Clone Pi-Codec, restore ALSA settings | Fine-tune audio preferences |
Additionally, adjusting the audio: sample rate is crucial for optimizing audio quality and performance in your setup. Ensuring proper DAC configuration can significantly enhance the audio output experience.
Sampling and Sound Management
To effectively manage your sampler’s sound output, it’s crucial to understand how to organize and trigger samples properly.
Begin with sound selection, using a consistent folder structure for your audio filetypes, specifically ‘.wav’, numbered from 0 to 15. This sample organization facilitates MIDI mapping; your ‘noteList’ directly triggers each sample based on its index. In addition, the sampler supports 4 polyphony, allowing multiple samples to play simultaneously, enhancing your sequences. Moreover, utilizing a MIDI logging system can help you analyze your sample triggering performance over time.
Employ triggering techniques that utilize MIDI note values from your controller, adjusting them as necessary with tools like ‘midihelp.py’. Guarantee polyphony management by allowing multiple samples to play simultaneously, enhancing your sequences.
For sample manipulation, easily extend or limit your samples by modifying the ‘noteList’ array and restructuring folder contents accordingly, promoting a seamless audio experience.
Using FluidSynth for Sound Generation
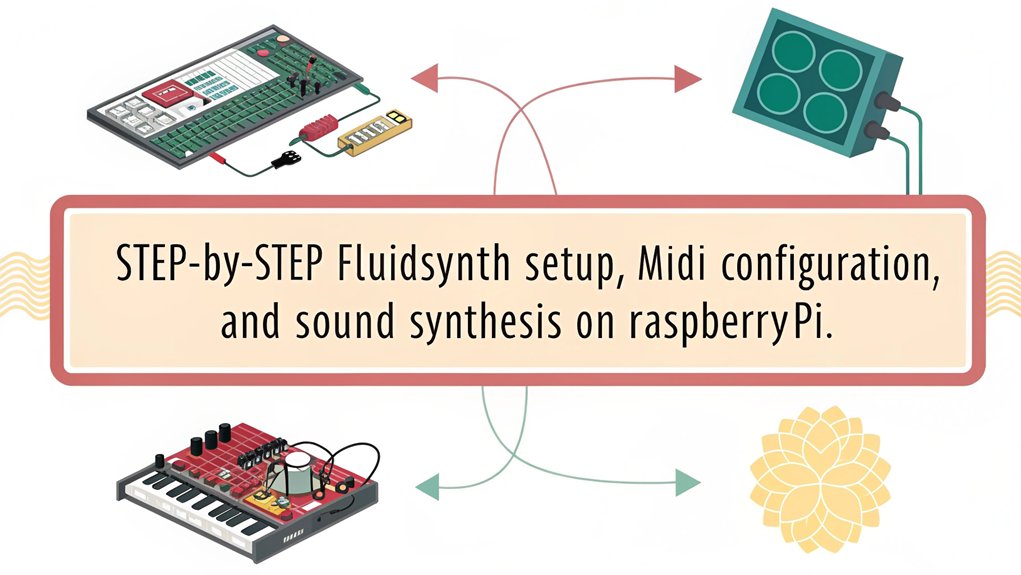
FluidSynth serves as a powerful sound synthesis tool that transforms your Raspberry Pi into a versatile MIDI sound generator. By installing FluidSynth and managing Soundfonts effectively, you can access a rich audio experience.
Start by installing necessary utilities with ‘sudo apt-get install fluidsynth alsa socat’ and copy your SF2 files into a dedicated directory. To run FluidSynth, execute it with ALSA audio driver settings and specify your soundfont file. Creating a MIDI sound module not only allows for high-quality instrument sounds but also enables musicians to leverage the capabilities of a Raspberry Pi.
You can automate startup using a bash script, ensuring seamless operation. FluidSynth features, such as multiple Soundfont loading and remote control via a web server, enhance your creative possibilities.
This setup not only streamlines sound management but also allows for advanced customization and experimentation.
Testing MIDI Connections
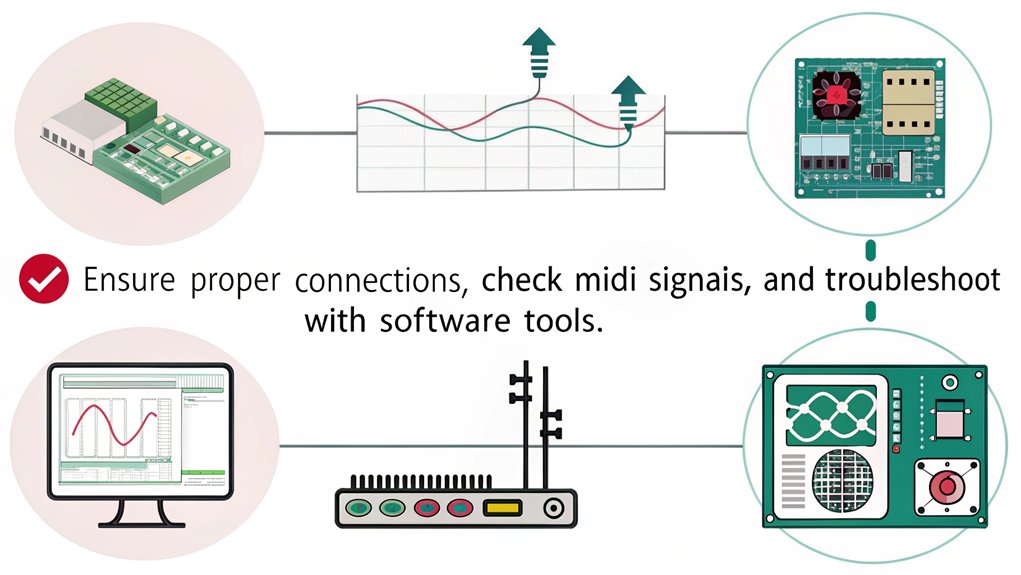
After setting up FluidSynth for sound generation, it’s time to ascertain your MIDI connections are functioning correctly.
Start by checking your kernel version to ascertain your configuration aligns with the requirements. Use the command ‘amidi -l’ to list your connected MIDI devices, confirming that they’re properly recognized. Additionally, ensure that your setup includes the necessary MIDI IN circuit involving an optoisolator and resistors for optimal performance.
For MIDI troubleshooting tips, ascertain the serial port isn’t cluttered with console text; modify ‘/boot/cmdline.txt’ as needed.
Next, run commands like ‘ttymidi’ to monitor incoming MIDI messages, testing signal flow effectively.
Finally, send test messages from your MIDI controller and observe the output.
Use tools like aseqdump to monitor incoming MIDI messages and confirm proper communication between your controller and the Raspberry Pi.
This systematic approach ascertains your MIDI setup is robust and ready for creative exploration.
Customizing the Sampling Software
To optimize your sampling software, you’ll want to focus on script optimization techniques that enhance performance and reduce latency. Adjusting MIDI parameters can greatly improve responsiveness and control over your samples, especially when using a Raspberry Pi as your main processing unit. Additionally, integrating advanced effects can elevate your sound quality, providing a richer audio experience. By ensuring your setup includes a General MIDI compatible sound bank, you can further enhance the versatility of your sampler.
Script Optimization Techniques
While customizing your sampling software, optimizing your scripts is essential for achieving efficient MIDI input and output handling. Focus on script efficiency by minimizing code complexity with JavaScript objects that enhance code organization, allowing for better readability and reusable functions across multiple controllers. Implement parameter optimization by confirming all functions accept relevant parameters, even if some remain unused. For real-time processing, leverage functions like ‘script.absoluteLin’ and ‘script.posMod’ to handle MIDI data effectively while avoiding costly operations like string manipulation. This approach will confirm your scripts manage real-time MIDI signals with minimal latency, enhancing performance and responsiveness in your MIDI sampler setup. Ensure you have a stable SSH connection to remotely manage and update your scripts efficiently. Prioritize these techniques to innovate your sampling software, as creating quality MIDI CC data is essential for professional sound. Moreover, consider utilizing Controller Scripting to further enhance the functionality of your MIDI sampler by allowing for customized mappings and behaviors.
MIDI Parameter Adjustments
Customizing your sampling software involves fine-tuning MIDI parameters to enhance performance and responsiveness. Start by utilizing MIDI parameter mapping to assign any adjustable parameter to your MIDI controller. Employ the MIDI Learn feature for full remote control, guaranteeing your assignments save with the project for seamless integration during live performances. This flexibility in controlling parameters is a key advantage as you configure your Raspberry Pi, connect an ADC chip and a potentiometer, allowing for effective MIDI control customization. Record parameter adjustments as MIDI CC values, enhancing your automation capabilities within the host software.
Consider leveraging HUI emulation to manage complex setups, translating incoming MIDI signals into actionable commands. This meticulous approach guarantees your sampler responds dynamically, elevating your creative possibilities. Ensure stability by using a recommended power supply of 5.1V for optimal Raspberry Pi performance.
Advanced Effects Integration
Integrating advanced effects into your sampling software greatly enhances the audio experience by adding depth and complexity to your soundscapes.
You can customize reverb settings to adjust parameters like room size and wet/dry ratio, shaping how your samples resonate in space. Chorus effects further enrich your sound, providing lushness and movement.
Utilizing scripts like Auto sampler.csd allows you to fine-tune these effects, enabling real-time adjustments during playback. Ensure you use a high-speed microSD card for optimal performance.
Keep in mind that older models like the Raspberry Pi 3 may struggle with multiple simultaneous effects, so performance optimization becomes essential.
Adjust parameters to manage latency and prevent glitches, ensuring your sampler operates smoothly while delivering high-quality audio. To achieve this, ensure you use a stable power supply to maintain optimal performance.
Embrace these innovations for an elevated sampling experience.
Connecting and Utilizing MIDI Controllers
To connect and utilize MIDI controllers with your Raspberry Pi, start by plugging your MIDI keyboard into one of the USB ports, confirming it’s powered on and properly recognized by the system. Run the command ‘aconnect -o’ to list all MIDI devices connected to the Pi. Identify the device IDs to establish connections effectively. Here’s a quick reference table for various MIDI controller types and USB connection troubleshooting:
| MIDI Controller Type | Connection Method | Troubleshooting Tips |
|---|---|---|
| Keyboard | USB | Check power and recognition |
| Drum Pad | USB | Verify device ID with ‘aconnect’ |
| Synthesizer | USB | confirm proper USB connection |
| MIDI Interface | USB/GPIO | Adjust UART clock settings |
| MIDI Footswitch | USB | Test with other USB ports |
Utilize this information to streamline your MIDI setup process.
Booting Up and Running the Sampler
Once you’ve connected your MIDI controller and confirmed all hardware is set up, it’s time to boot up the Raspberry Pi and run your sampler.
First, install the latest Raspbian and guarantee the Raspberry Pi is linked to a sound card or DAC. Update your software with ‘sudo apt update’ and ‘sudo apt upgrade’. Ensure you have performed system updates to maintain optimal performance.
Next, install Carla for soundfonts management and Fluidsynth to play your soundfonts. Configure MIDI input so that notes from your controller trigger the correct samples.
Launch the software using terminal commands, guaranteeing it’s set to the right MIDI protocol. Monitor performance during use, adjusting settings as needed.
Consider scripting the startup process to streamline your workflow.
Frequently Asked Questions
Can I Use a Different Operating System Instead of Raspberry Pi OS on a Raspberry Pi?
Yes, you can use alternative OS options like Ubuntu or Kali Linux. Performance comparison shows these systems might offer different benefits, enhancing your project’s capabilities while providing unique tools and user experiences tailored to your needs.
What MIDI Controller Brands Are Compatible With Raspberry Pi?
For MIDI controller compatibility with Raspberry Pi integration, consider brands like Akai, Novation, and M-Audio. These controllers guarantee seamless connectivity and performance, enhancing your projects while providing reliable MIDI communication and creative possibilities.
How Can I Troubleshoot Audio Issues During Playback?
To troubleshoot audio issues during playback, adjust buffer sizes for audio latency solutions and optimize sample rates for sound quality improvements. Testing different audio setups can also help isolate and identify performance bottlenecks effectively.
Is It Possible to Add Effects to the Sampled Sounds?
Think of your sounds as a canvas; effects processing transforms them into masterpieces. You can absolutely add effects for audio manipulation, enhancing your samples with reverb, distortion, or flanger, creating innovative and dynamic soundscapes.
How Do I Backup My MIDI Configurations and Samples?
To backup your MIDI configurations, employ MIDI backup strategies like using specific software for automatic preset backups. For sample management techniques, organize your samples by date or device serial numbers for efficient retrieval and restoration.
Conclusion
You’ve successfully built your own MIDI sampler with a Raspberry Pi, proving that necessity is the mother of invention. By following each step diligently, you’ve not only set up a functional device but also gained valuable technical knowledge along the way. Whether you’re sampling beats or experimenting with sounds, this project opens new doors for creativity. Now that you’ve got everything in place, it’s time to plunge in and start making music like a pro!

I am a retired software engineer with experience in a multitude of areas including managing AWS and VMWare development environments. I bought a relative a mini-PC a year ago and have become passionate about the technology and its potential to change how we deploy software.