
To monitor temperature on a Raspberry Pi, start by using the command line with the command ‘vcgencmd measure_temp’, which gives you real-time readings in °C. For ongoing updates, type ‘watch -n 1 vcgencmd measure_temp‘ to refresh every second. Alternatively, you can set up a DS18B20 sensor for precise measurements by connecting it to the GPIO pins and enabling the One-Wire interface. You can also automate temperature checks and set alerts using scripts and cron jobs. This way, you’ll guarantee your system stays cool and efficient. Explore further to discover more advanced monitoring options!
Key Takeaways
- Use the command line tool ‘vcgencmd measure_temp’ for real-time temperature readings directly on the Raspberry Pi.
- Enable the One-Wire interface to connect and read data from a DS18B20 sensor for precise temperature monitoring.
- Automate temperature monitoring by creating cron jobs to run scripts at set intervals for regular data logging.
- Set up alerts using services like Initial State to notify you about critical temperature threshold breaches.
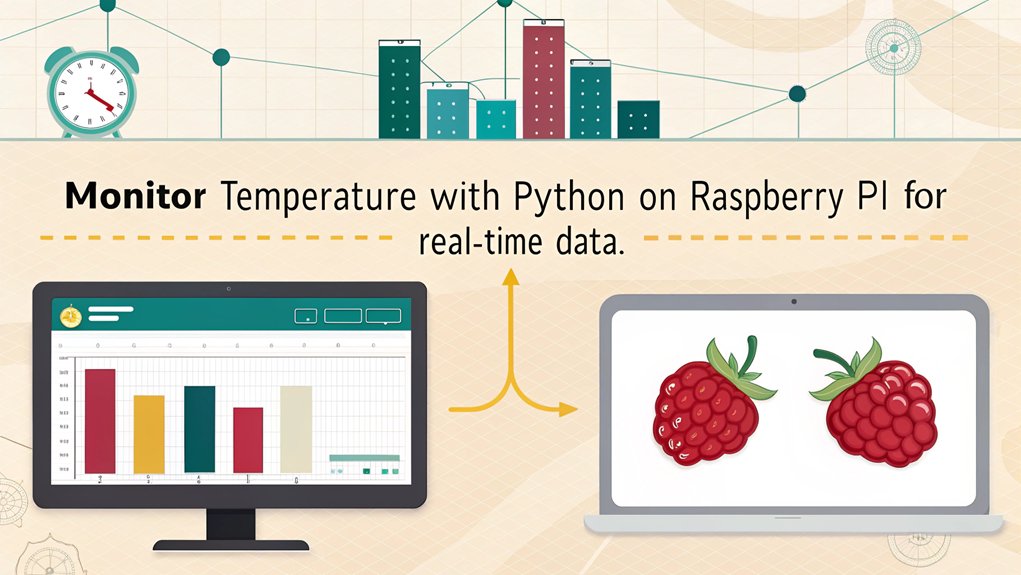
- Utilize visualization tools like Grafana to display real-time temperature data and monitor trends effectively.
Command Line Temperature Monitoring
Monitoring the temperature on your Raspberry Pi via the command line is straightforward and effective. You can use the ‘vcgencmd measure_temp’ command to get real-time temperature readings in degrees Celsius. For instance, the output looks like this: ‘temp=31.0’C’. If you want to extract just the temperature number, the command ‘vcgencmd measure_temp | egrep -o ‘[0-9]*\.[0-9]*” does the trick. Additionally, it’s worth noting that temperature fluctuations can occur due to varying workloads, with noted high temperatures being reasonable under intensive tasks. The DS18B20 temperature sensor is a great addition for precise measurements if you require external monitoring.
To continuously watch the temperature, employ the ‘watch’ command. For example, using ‘watch -n 1 vcgencmd measure_temp‘ allows you to see updated readings every second. Adjust the interval by changing the number after ‘-n’ according to your preferences. This method guarantees you monitor your device effectively and avoid overheating.
For convenience, you might want to create an alias in your ‘.bash_aliases’ or ‘.bashrc’ file. The alias ‘temp=’/opt/vc/bin/vcgencmd measure_temp” will let you check the temperature quickly using just the command ‘temp’. You can also write temperature scripts in Bash or Python for automated readings, enhancing your Raspberry Pi’s operational efficiency and innovation.
GUI Temperature Monitoring

For those who prefer a graphical user interface, adding a temperature monitor to your Raspberry Pi’s desktop is an intuitive solution. It provides real-time temperature readings and customizable display options to fit your needs. Monitoring the temperature is crucial as the Raspberry Pi can generate heat during intensive tasks, risking component damage. Additionally, integrating multiple sensors enhances data collection and ensures precise tracking of temperature levels.
Here’s how to set it up:
- Add the Temperature Monitor: Right-click the top panel, select “Add / Remove Panel Items,” then click “Add” and choose “CPU Temperature Monitor” or “Temperature Monitor.”
- Position the Monitor: Adjust its position in the panel using the “Up” or “Down” buttons in Panel Preferences.
- Customize Settings: Right-click the temperature monitor to access settings. Change the warning colors and thresholds to alert you when temperatures rise excessively.
- Ensure Visibility: Use spacers to create space between panel items, positioning your monitor prominently for easy access.
With these temperature display options, you gain a powerful tool for monitoring heat levels in real-time.
Customizing the user interface will make it visually easier to identify potential overheating issues, ensuring your Raspberry Pi runs smoothly during intensive tasks.
Keep an eye on performance and maintain system health effortlessly!
Using DS18B20 Sensor to Monitor Temperature on a Raspberry Pi
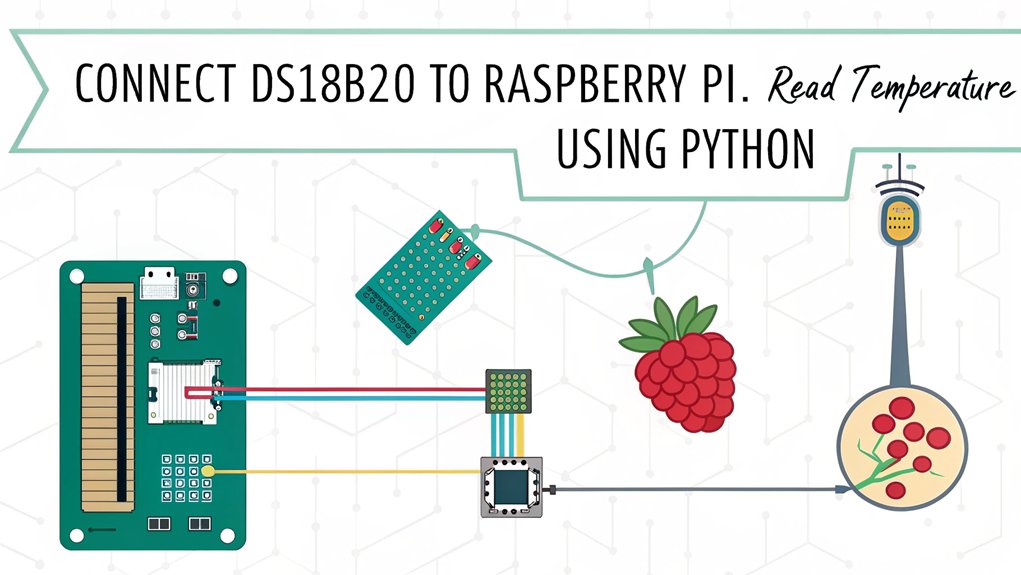
Often used for accurate temperature measurements, the DS18B20 sensor is a popular choice for Raspberry Pi projects. This digital temperature sensor boasts high accuracy, with ±0.05°C variance, making it ideal for both casual and precise applications. The DS18B20 operates via One-Wire protocol, needing only one wire for data transmission and allowing for multiple sensors on a single pin. Additionally, the DS18B20 can operate in parasite power mode, drawing power through the DQ pin, which simplifies the circuit design even further.
To get started, connect the VDD and GND pins of the DS18B20 to the Raspberry Pi’s 3.3V and GND pins. You’ll also want to include a pull-up resistor (4.7KΩ or 10KΩ) between the DQ pin and the 3.3V pin. This setup allows for seamless data logging as the sensor communicates over a 1-Wire interface.
Next, enable the One-Wire interface by editing your Raspberry Pi’s config.txt file. Simply add ‘dtoverlay=w1-gpio’ at the bottom, save, and reboot your device. After that, load necessary kernel modules using the commands provided.
Once everything’s connected, you’ll find that sensor calibration is straightforward, ensuring you maintain that ±0.05°C precision. The DS18B20 even comes in waterproof versions, further extending its usability. With this setup, you can reliably monitor and log temperature data in your innovation-driven projects.
Reading Temperature With Python
Once you have the DS18B20 sensor set up and communicating with your Raspberry Pi, it’s time to start reading temperature data using Python.
Follow these steps to smoothly gather and log temperature data:
1. Enable the One-Wire Interface****
Load the necessary kernel modules with:
”’bash
sudo modprobe w1-gpio
sudo modprobe w1-therm
”’
2. Install the w1thermsensor Library****
Use the command:
”’bash
sudo pip3 install w1thermsensor
”’
3. Write a Python Script****
Import required libraries (like ‘time’ and ‘W1ThermSensor’) and define the device folder. Then, read the ‘w1_slave’ file to extract and convert the data into Celsius or Fahrenheit. The DS18B20 sensor features a unique serial code that allows for multiple sensors to be connected on one wire for versatile applications. Additionally, the DS18B20 sensor offers high accuracy with ±0.5°C precision, ensuring reliable readings in various environments.
4. Run the Script
Execute your script in the terminal using:
”’bash
python3 temperature-sensor.py
”’
Once running, your script will continuously output the temperature, which you can use for sensor calibration and data logging.
With these steps, you’ll effectively monitor temperature and explore the innovative world of data analysis!
Setting Up Alerts and Automation
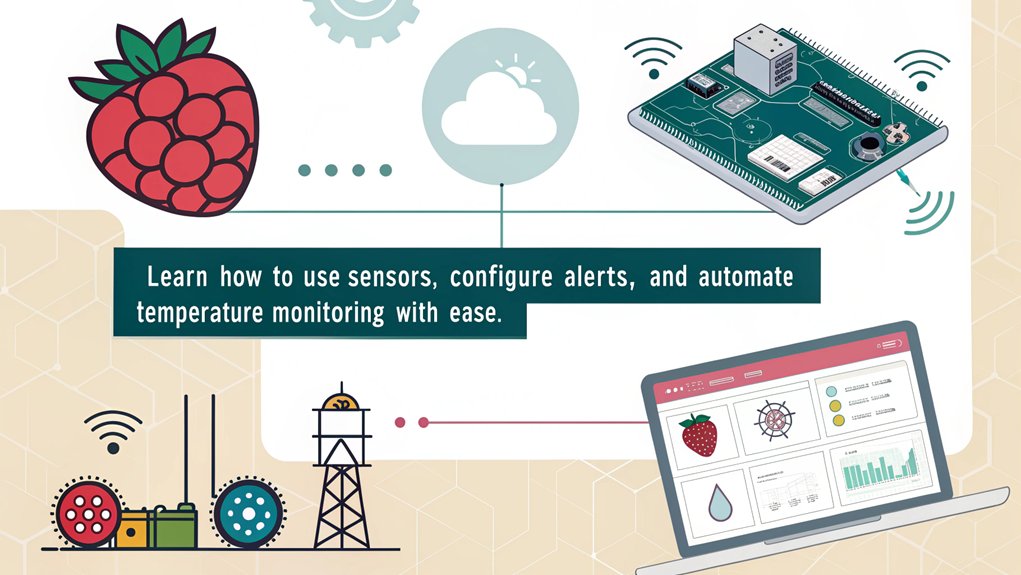
Setting up alerts and automation for your temperature monitoring system enhances its efficiency and responsiveness. By configuring alert thresholds, you can proactively manage heat levels. Use services like Initial State to send you text message alerts when temperatures exceed your specified limits. To ensure the reliability of your monitoring system, consider implementing effective cooling solutions that can help maintain optimal operating conditions.
With Python libraries and an access key from your chosen service, it’s easy to set this up on your Raspberry Pi, ensuring it’s connected to the internet. Additionally, ensure that you have the latest kernel installed to improve compatibility with your temperature sensor connection process.
For automated logging, leverage ‘cron’ jobs to regularly check and log temperature data. Edit the crontab file using ‘crontab -e’ and set your temperature monitoring scripts to run at defined intervals, like every two seconds. This setup allows you to capture detailed logs effortlessly.
Moreover, you can integrate multiple Raspberry Pis to create a centralized monitoring system. A master Pi can aggregate data from remote units, enhancing your overall insight. To visualize this data, consider using a web dashboard application.
Don’t forget to verify that all necessary modules are loaded on startup and automate any additional configurations to streamline your monitoring process even further. Embrace this technology to keep your environment in check!
Frequently Asked Questions
Can I Monitor Temperature Remotely on a Raspberry Pi?
Yes, you can monitor temperature remotely on a Raspberry Pi using remote sensors and various software tools. By configuring the sensors and network settings, you’ll access real-time temperature data from anywhere, empowering your innovative projects.
Is There a Temperature Range Limitation for Raspberry Pi Sensors?
Most sensors operate well between -55°C and 125°C. However, you’ll find temperature sensor limitations when considering Raspberry Pi specifications, as each component has unique ranges affecting functionality. Choose wisely for ideal performance and accuracy.
How Often Should I Read the Temperature?
You should adjust your monitoring frequency based on your needs. For precise temperature logging, consider short intervals. However, longer intervals can conserve resources, especially for low-load tasks. Balance is key for effective monitoring.
Can I Use Multiple Temperature Sensors Simultaneously?
Yes, you can use multiple sensor types simultaneously by wiring them in parallel. Proper wiring options, like the one-wire protocol for DS18B20 sensors, enable you to collect temperature data efficiently from each connected sensor.
What Are the Common Causes of Overheating in Raspberry Pi?
Overheating’s your Pi’s way of saying, “I’m working too hard!” To prevent this drama, make certain you’ve got stellar cooling solutions like fans and heatsinks, and avoid pushing it beyond its cozy limits.
Conclusion
In a world where every degree counts, keeping an eye on your Raspberry Pi’s temperature is essential for peak performance. Whether you prefer command line tools or a more visual GUI, there’s an option that suits your style. By integrating sensors like the DS18B20 or automating alerts through Python, you can guarantee your setup runs smoothly. So go ahead, implement these methods, and turn your Raspberry Pi into a temperature-savvy powerhouse, ready to tackle any challenge!

I am a retired software engineer with experience in a multitude of areas including managing AWS and VMWare development environments. I bought a relative a mini-PC a year ago and have become passionate about the technology and its potential to change how we deploy software.
This article is AI generated nonsense, complete with nonsense generated images. I’m looking for information on 1 wire, and this post came up. And it’s complete worthless garbage, just sitting here poisoning search results.
Take it down.
Think about all the fossil fuels you wasted generating this article too.
This article does what it says, “monitor temperature ON a Raspberry Pi”.
The English Language is soooo vague, I agree, but…
If you look on google and search “monitor temperature ON a Raspberry Pi”, you’ll get articles on measuring the temperature on a Raspberry Pi.
The article needs some cleanup. I agree, but what you need to do is look for “measuring temperature with a Raspberry Pi” and you’ll find what you’re looking for.
Hope this helps,
Michael