If you’ve ever wanted to automate tasks or integrate smart devices in your home, running an n8n server on a Raspberry Pi could be your solution. It’s a straightforward process that requires minimal hardware and can greatly enhance your home’s functionality. You might wonder what you’ll need and how to set it all up. Let’s explore the steps to get you started and reveal the potential of home automation.
Key Takeaways
- Use a Raspberry Pi Zero W or newer model with a minimum 3A power supply and a high-speed microSD card of at least 16 GB.
- Install Raspberry Pi OS Lite for optimal performance and ensure the system is fully updated before proceeding.
- Download the n8n installation script using ‘wget n8n-install-pi.sh’ and grant execution permissions with ‘chmod +x n8n-install-pi.sh’.
- Execute the installation script with ‘./n8n-install-pi.sh’ and manage the n8n service using ‘pm2’ for automatic startup.
- Configure workflows in n8n to integrate smart devices, automate tasks, and set up alerts based on specific conditions like temperature.
What Do You Need
To run an n8n server on a Raspberry Pi, you’ll need a few essential components.
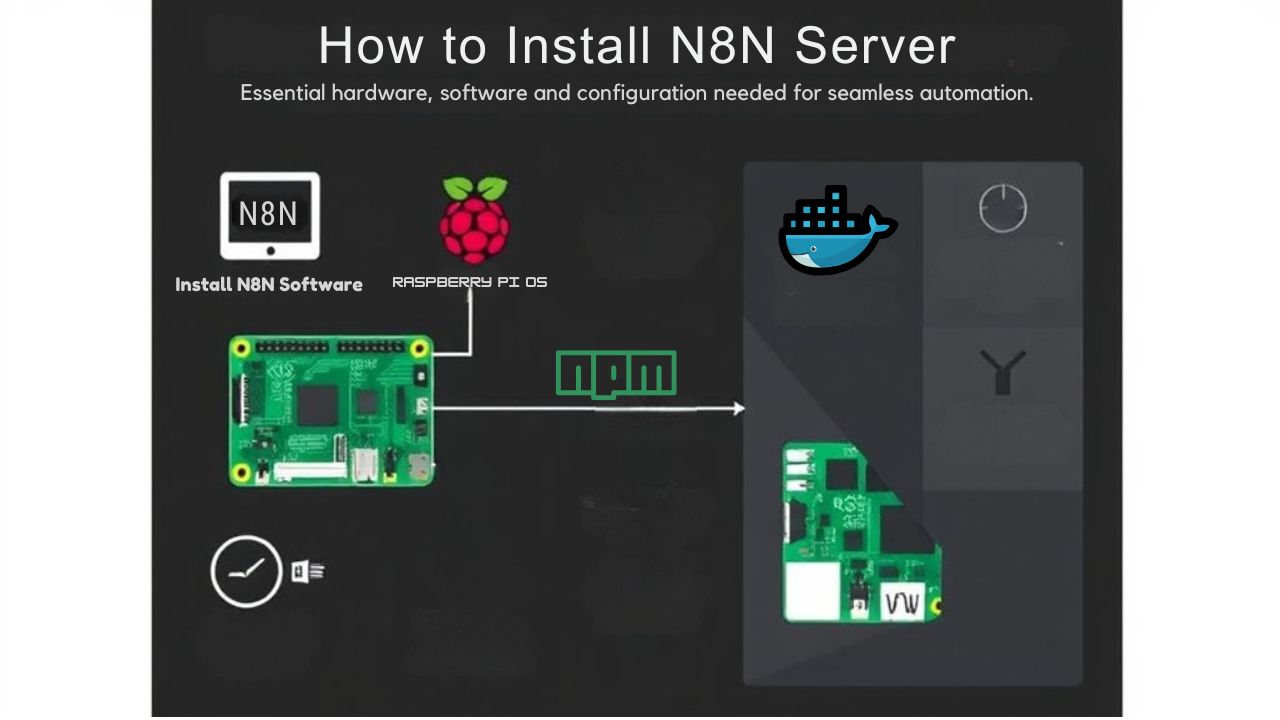
First, grab a Raspberry Pi Zero W or a newer model, ensuring you have a proper power supply (minimum 3A) and a high-speed microSD card with at least 16 GB of storage.
Install N8N Server On A Raspberry Pi Step-by-Step

Next, install the Raspberry Pi OS Lite or full version. Since Docker may not be compatible with the Zero W, it’s best to install n8n using npm. You can do this as follows:
- always start by updating to the latest packages: sudo apt update && sudo apt upgrade -y
- install node js:
curl -sL https://deb.nodesource.com/setup_18.x | sudo -E bash -sudo apt install -y nodejs
- Verify the installation:
- node -v
- npm -v
- Install n8n: sudo npm install -g n8n
- install pm2: sudo npm install -g pm2
- start n8n with pm2: pm2 start n8n
- check the status of n8n: pm2 list
- save the pm2 process list so n8n starts on boot: pm2 save
With these components, you’re ready to explore the innovative world of workflow automation!
Finally, test your setup by accessing the n8n web interface through your Raspberry Pi’s IP address on port 5678, ready to explore workflow automation and execute workflows seamlessly!
Note: if you do this locally it will work. If not you will get the following error message: Your n8n server is configured to use a secure cookie, however you are either visiting this via an insecure URL, or using Safari
If you are on a local network, the way to get around this is to set the environment variable N8N_SECURE_COOKIE to false. Add this line to the end of /etc/profile:
N8N_SECURE_COOKIE=false
Configure a Simple Temperature Check Workflow

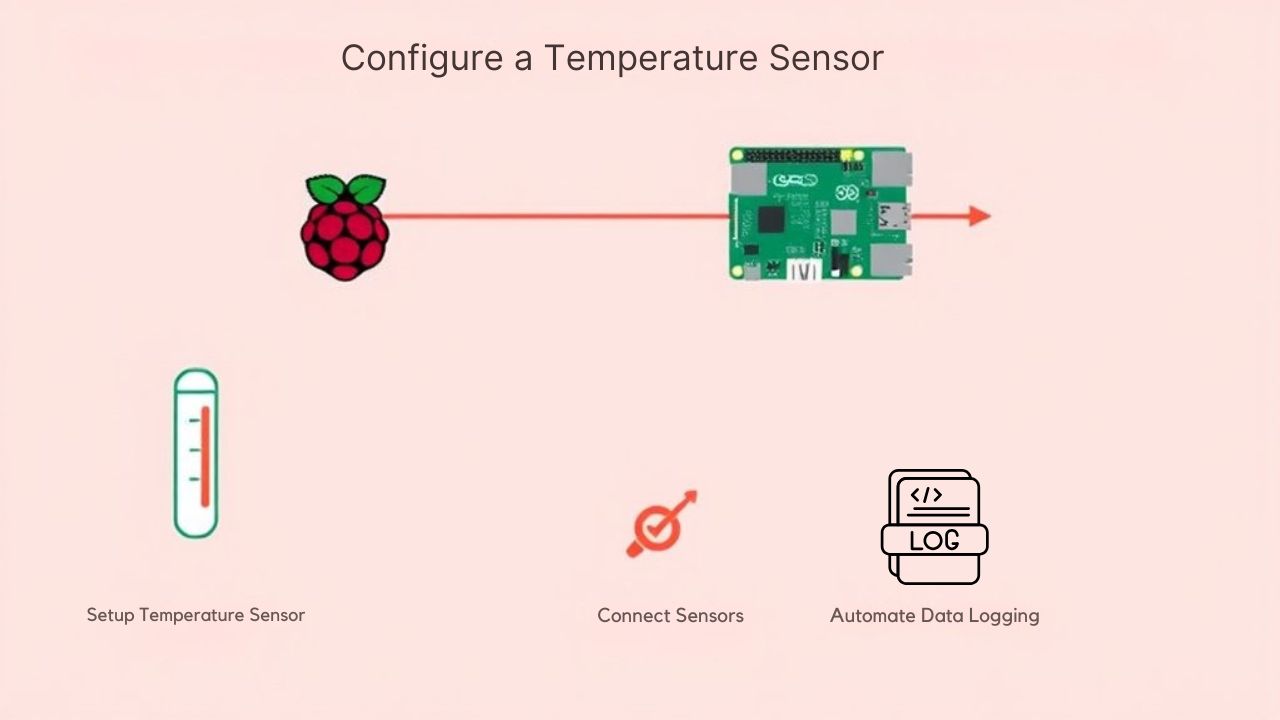
Configuring a simple temperature check workflow in n8n is a great way to monitor your Raspberry Pi’s health automatically.
Start by adding a Cron node to trigger the workflow every 5 minutes. Next, implement a Command Execution node with the command ‘echo $(($(cat /sys/class/thermal/thermal_zone0/temp)/1000))’ to get the current temperature in degrees Celsius.
Use an IF node to compare this temperature against a threshold, like 30 degrees. If the temperature exceeds this limit, set up an email alert using the Exim service by configuring the From and To addresses.
Finally, wrap it up with a NoOp node to guarantee everything’s connected properly. Now you’re equipped to monitor your Raspberry Pi effectively!
How an Iot Enthusiast Uses N8n for Home Automation

As you explore the possibilities of home automation, n8n becomes an invaluable tool for IoT enthusiasts looking to streamline their daily routines.
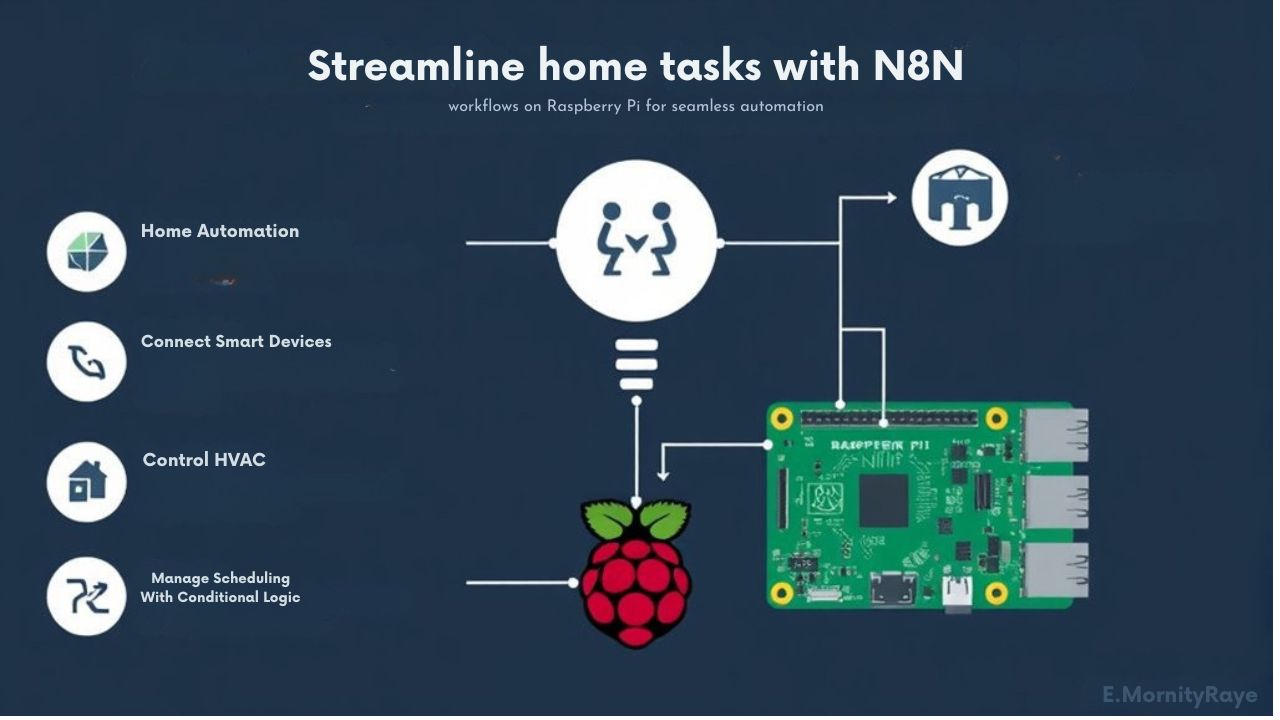
By running n8n on a Raspberry Pi, you can integrate over 200 smart devices seamlessly. Imagine scheduling your lights to turn on at sunset or receiving alerts on your Telegram bot when motion is detected.
Run n8n on a Raspberry Pi to effortlessly connect over 200 smart devices for a truly automated home experience.
You can even execute custom scripts to adjust HVAC settings based on real-time weather data. With n8n’s webhook feature, remote control of your home devices is just an HTTP request away, allowing for ultimate convenience.
Plus, its conditional logic lets you create sophisticated workflows that respond precisely to specific triggers, making your smart home more responsive and efficient.
Resources and Community Support

Running n8n on a Raspberry Pi opens up a wealth of opportunities for automation, but to make the most of your setup, tapping into the resources and community support available can be a game-changer.
The n8n community thrives on sharing installation experiences, offering insights that can streamline your process. You’ll find a treasure trove of resources, from detailed documentation to user-contributed guides, all aimed at solving common installation hurdles.
Engage with forums and GitHub discussions to get real-time solutions and tips from fellow innovators. Plus, feedback from users has led to enhancements that improve compatibility across various Raspberry Pi models.
Collaborating with this vibrant community can elevate your n8n experience to new heights.
Frequently Asked Questions
How to Run NTP Server on a Raspberry Pi?
To run an NTP server on your Raspberry Pi, install the NTP package, configure the settings, guarantee it starts on boot, and verify synchronization with ‘ntpq -p’ for accurate time across your network.
Can You Run a Server off a Raspberry Pi?
Yes, you can definitely run a server off a Raspberry Pi. It’s a compact, cost-effective solution that lets you host lightweight applications, empowering you to explore innovative projects and automate tasks effortlessly.
Can You Run a Home Server on a Raspberry Pi?
Why not transform your Raspberry Pi into a home server? With its compact design and versatility, you can easily host applications, manage data, and streamline automation, all while fostering innovation in your personal projects.
Can a Raspberry Pi Run a Web Server?
Absolutely, a Raspberry Pi can run a web server efficiently. You’ll find it’s perfect for hosting websites or applications, offering versatility and affordability while allowing you to explore innovative projects and harness your creativity.
Conclusion
Setting up an n8n server on a Raspberry Pi is like planting a seed in your garden; with a little nurturing, it can grow into something remarkable. Just as a garden thrives with care, your home automation can flourish with the right workflows. Embrace the endless possibilities of integrating smart devices, making your life easier and more efficient. Immerse yourself in the world of automation, and watch your home transform into a responsive haven that suits your needs.

I am a retired software engineer with experience in a multitude of areas including managing AWS and VMWare development environments. I bought a relative a mini-PC a year ago and have become passionate about the technology and its potential to change how we deploy software.

