
Why Install a Nginx Web Server on a Raspberry Pi?
Did you know that over 30% of websites use Nginx as their server? If you’re looking to set up your Raspberry Pi as a web server, installing Nginx is a smart choice. It’s lightweight and efficient for handling web traffic. In this guide, you’ll learn how to prepare your Raspberry Pi, install Nginx, and configure it to serve your content effectively. Let’s explore the steps you need to take to install a Nginx web server on a Raspberry Pi.
Key Takeaways
- Download and flash a compatible operating system like Raspbian onto the SD card for your Raspberry Pi.
- Update system packages using ‘sudo apt update’ before installing Nginx with ‘sudo apt install nginx’.
- Start Nginx service with ‘sudo systemctl start nginx’ and configure it to start on boot.
- Create a basic HTML page to test the server and access it via your Raspberry Pi’s IP address.
- Secure your server by adjusting firewall settings to allow HTTP and HTTPS traffic only.
Preparing Your Raspberry Pi
Before you plunge into installing Nginx, you’ll want to make certain your Raspberry Pi is properly set up.
First, identify which Raspberry Pi model you’ll be using, as this influences performance and compatibility. Confirm you’re running a suitable operating system; Raspberry Pi OS is a popular choice, but alternatives like Ubuntu Server or DietPi are also excellent for web hosting tasks.
Identify your Raspberry Pi model for optimal performance and ensure you’re using a compatible operating system like Raspberry Pi OS, Ubuntu Server, or DietPi.
Download your preferred OS and flash it onto your SD card. Once booted, connect your Raspberry Pi to the internet, updating the system to the latest packages.
Check your available resources—CPU, RAM, and storage—as Nginx can be resource-intensive depending on traffic. Getting these foundational steps right guarantees a smooth installation process for your web server.
Installing Required Packages to Install Nginx on a Raspberry Pi

Now that your Raspberry Pi is prepared, it’s time to install the required packages for Nginx.
You’ll primarily work with package managers, which streamline the installation process and guarantee that all necessary dependencies are correctly managed. For Raspberry Pi, the APT (Advanced Package Tool) package manager is commonly used.
Start by opening a terminal and enter the command ‘sudo apt-get install nginx’. This command initiates the installation, automatically resolving any dependencies required for Nginx.
Package managers handle dependency management efficiently, allowing you to focus on configuring your server rather than manually tracking down libraries.
Once the installation is complete, you’ll be ready to run and configure your Nginx server.
With these packages in place, innovation is at your fingertips!
Updating the System
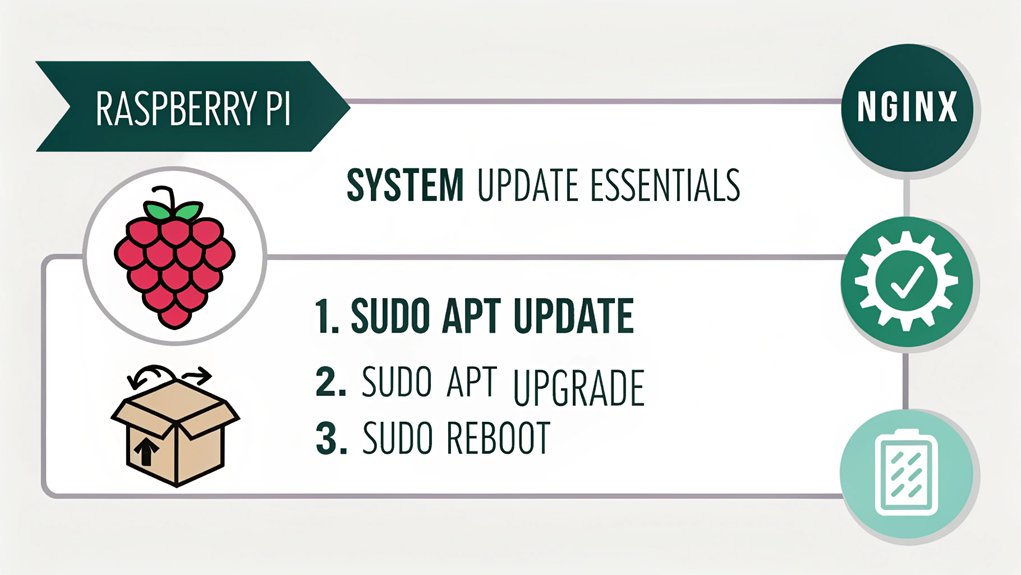
Updating your system is essential to ensuring Nginx runs smoothly on your Raspberry Pi. Regular system upgrades not only enhance performance but also bolster security by patching vulnerabilities.
Start by opening a terminal and using your package management tool. Run the command ‘sudo apt update’ to fetch the latest package lists. Follow this with ‘sudo apt upgrade’ to install the latest versions of the installed packages. This proactive approach keeps your Raspberry Pi equipped with optimized software.
If you’re feeling adventurous, you can also consider ‘sudo apt full-upgrade’, which intelligently handles changing dependencies, ensuring your system remains robust.
Maintaining an up-to-date environment is key in leveraging Nginx’s full potential and optimizing your web server experience.
Installing Nginx
Before installing Nginx on your Raspberry Pi, you need to verify your system meets the requirements.
You’ll follow specific command steps to execute the installation process, and after that, you can configure Nginx based on your needs.
Let’s get started on setting up your server efficiently.
System Requirements Overview
To successfully install Nginx on your Raspberry Pi, you’ll want to guarantee that your device meets certain system requirements.
This isn’t just about getting it up and running; it’s about securing hardware compatibility and performance optimization for that smooth web server experience you crave.
Here are three key considerations:
- Raspberry Pi Model: Preferably a Pi 2 or later, as older models may struggle with performance.
- Operating System: Raspbian or a compatible Linux distro is essential for Nginx functionality.
- RAM and Storage: At least 512 MB of RAM and a microSD with sufficient space to handle the server load.
Meeting these requirements assures you’re setting the stage for a robust and innovative web server environment.
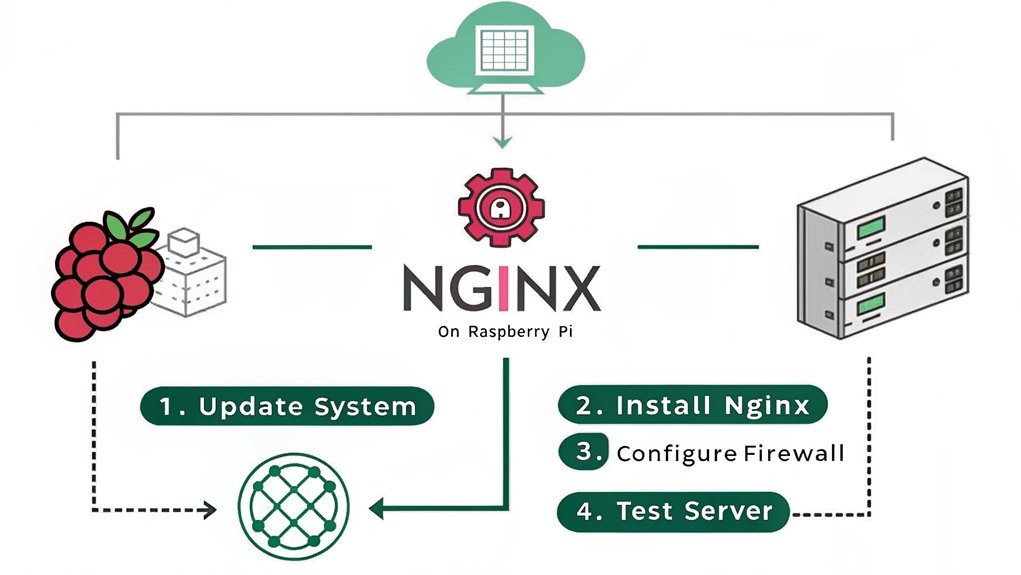
Installation Command Steps
Installing Nginx on your Raspberry Pi requires just a few straightforward command steps.
First, update your package list with ‘sudo apt update’. Once that’s complete, you can install Nginx by executing ‘sudo apt install nginx’. This command not only enhances your Raspberry Pi performance but also guarantees that you have the latest version.
After installation, start Nginx with ‘sudo systemctl start nginx’ and enable it to run on boot using ‘sudo systemctl enable nginx’.
Additionally, for better Nginx security, consider configuring your firewall. Run ‘sudo ufw allow ‘Nginx Full” to allow HTTP and HTTPS traffic.
With these commands, your Raspberry Pi is ready to host web content securely and efficiently.
Configuration Basics Explained
Once Nginx is installed on your Raspberry Pi, configuring it properly is essential to confirm peak performance and security.
You want to make certain your server runs smoothly and withstand potential threats. Here’s what to focus on:
- Optimizing Nginx performance: Fine-tune your configuration file to handle high traffic efficiently without crashing.
- Implementing load balancing: Distribute incoming requests across multiple servers to enhance reliability and speed.
- Establishing security measures: Activate essential features, such as SSL/TLS, to protect your data and users from vulnerabilities.
Configuring Nginx
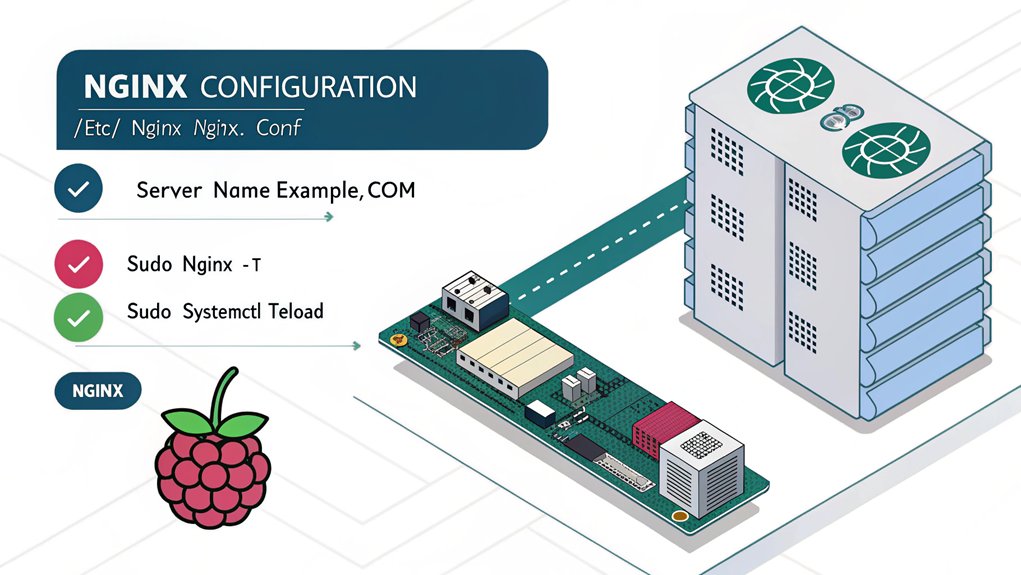
As you start configuring Nginx, it’s vital to understand its default settings and how to adjust them for your specific needs.
Begin by tweaking the nginx.conf file located in /etc/nginx. This file allows you to optimize nginx performance by adjusting worker processes and connections. For better scalability, configure the ‘worker_connections’ directive appropriately.
Next, focus on security settings. Implement basic security measures like restricting access to sensitive files and directories. Use SSL/TLS encryption to secure HTTP traffic; you can obtain free certificates from Let’s Encrypt.
Confirm you employ rate limiting and request throttling to mitigate potential attacks. By making these adjustments, you’ll enhance both the performance and security of your Nginx web server on Raspberry Pi.
Starting and Enabling Nginx

Now that you’ve configured Nginx, it’s time to start the service and enable it to run on boot.
To do this, you’ll use specific commands that guarantee Nginx is active and automatically launches with your Raspberry Pi.
Let’s go through the necessary steps to get everything running smoothly.
Starting Nginx Service
To guarantee Nginx runs smoothly on your Raspberry Pi, you’ll need to start the service and make sure it’s properly managed.
Follow these simple steps for best nginx performance:
- Open your terminal and type ‘sudo systemctl start nginx’ to start the service.
- Check the status with ‘sudo systemctl status nginx’ to confirm it’s running. You’ll love seeing that active response!
- If you’re using Nginx for your innovative projects, starting the service early makes certain your web applications are responsive and fast.
Enabling Nginx at Boot
Ensuring Nginx starts automatically at boot is essential for maintaining uptime on your Raspberry Pi. By enabling auto start, you eliminate the need for manual intervention after rebooting, and you can focus on your projects without worry.
Here’s how you manage service dependencies and set Nginx to start automatically:
”’markdown
| Command | Purpose | Result |
|---|---|---|
| sudo systemctl enable nginx | Enable Nginx to start at boot | Nginx will autostart |
| sudo systemctl start nginx | Start Nginx immediately | Nginx is running now |
| sudo systemctl status nginx | Check Nginx status | Verify it’s active |
”’
After executing these commands, you’ve secured a reliable web environment that thrives on innovation. Enjoy uninterrupted service and let your creativity soar!
Testing the Nginx Installation

How can you confirm that Nginx is running correctly on your Raspberry Pi? Testing your installation is essential for guaranteeing peak performance.
Here’s how you can make certain everything’s set up right:
- Check the status of Nginx by running ‘sudo systemctl status nginx’ in the terminal. A green “active” status means it’s running smoothly.
- Visit your IP address from a web browser. If you see the Nginx welcome page, you’re all set!
- Conduct performance and load testing using tools like ApacheBench or JMeter to evaluate how well your server handles traffic.
These steps guarantee your Nginx is ready for seamless, innovative projects ahead.
Setting Up a Basic HTML Page
Now that your Nginx installation is tested, you can set up a basic HTML page to serve your content.
Start by creating an HTML file that contains your desired content, then configure Nginx to display this file.
This process will help you guarantee that your web server is functioning correctly.
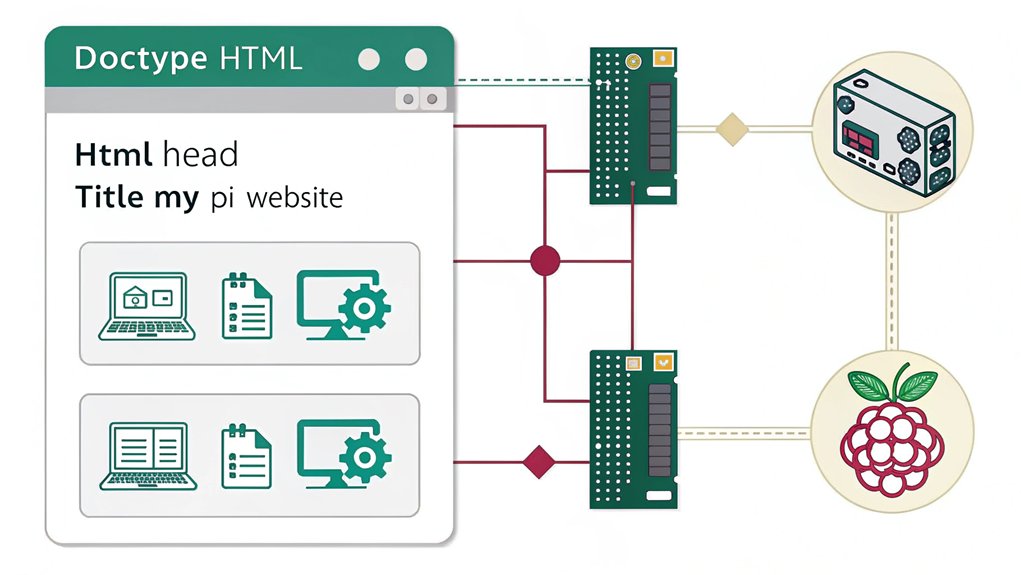
Creating an HTML File
To create a basic HTML page for your Nginx server, you’ll need to set up a simple HTML file that can be served to visitors.
This file is essential for showcasing your project and enhancing user experience.
Here’s how to evoke the right emotions through your content:
- Inspire curiosity: Use engaging headlines to capture attention.
- Convey warmth: Incorporate a welcoming message that connects with your audience.
- Encourage action: Prompt visitors to explore further with clear calls-to-action.
Configuring Nginx for Display
After creating your basic HTML file, the next step involves configuring Nginx to display it effectively.
First, navigate to the Nginx configuration directory, usually found in ‘/etc/nginx/sites-available’. Here, you’ll want to create a new server block file using your preferred text editor. This server block will specify how Nginx handles requests for your HTML page.
Use the following format to define the server block:
”’nginx
server {
listen 80;
server_name yourdomain.com;
location / {
root /path/to/your/html/file;
index index.html;
}
}
”’
Be sure to include relevant Nginx modules, enabling features such as gzip or caching as needed.
Finally, test your configuration and restart Nginx to see your page live!
Configuring Firewall Settings
While configuring your Raspberry Pi for Nginx, adjusting the firewall settings is vital to guarantee secure access.
Properly implementing firewall rules helps protect your server and data. Here’s how to make sure your security settings are robust:
- Allow HTTP (Port 80): Permit traffic for standard web access.
- Allow HTTPS (Port 443): Enable secure connections to foster user trust.
- Deny All Other Traffic: Block unnecessary ports to minimize exposure.
Always verify your firewall configuration after implementing these rules.
Regular updates and modifications to your security settings are important as threats evolve.
Troubleshooting Common Issues

When you encounter issues with Nginx on your Raspberry Pi, diagnosing the root cause promptly can save you time and effort. Common errors like misconfigurations or conflicting services often lead to performance issues. To help you identify these problems, refer to the table below:
| Common Issue | Suggested Fix |
|---|---|
| 502 Bad Gateway | Check backend server status |
| 404 Not Found | Verify file paths and permissions |
| High CPU Usage | Optimize configurations |
| Slow Response Times | Analyze logs for bottlenecks |
| Forbidden Access | Adjust folder/file permissions |
Stay vigilant about logs and configurations; they’ll guide your troubleshooting process. Addressing these concerns guarantees your Nginx web server runs smoothly on your innovative Raspberry Pi setup.
Frequently Asked Questions
Can I Host Multiple Websites on One Raspberry Pi?
You can host multiple websites on one Raspberry Pi. In fact, around 70% of web hosting occurs on shared resources, so effective resource allocation and website management become essential for ideal performance and reliability.
How Do I Secure My Nginx Server?
To secure your Nginx server, implement SSL certificates, configure robust firewall settings, enforce secure configurations, and guarantee regular updates. This dramatically reduces vulnerabilities, enhancing your server’s resilience against potential threats and unauthorized access.
Is Raspberry Pi Suitable for High-Traffic Websites?
A Raspberry Pi isn’t ideal for high-traffic websites. Its limited resources require careful traffic management and resource allocation, making it better suited for smaller projects or low-traffic applications where efficiency and innovation can still thrive.
Can I Use a Domain Name With My Raspberry Pi Server?
Yes, you can use a domain name with your Raspberry Pi server. Just register your domain, and if your IP’s dynamic, utilize a dynamic DNS service to keep your address updated effortlessly.
What Are the Performance Limits of Nginx on a Raspberry Pi?
You’ll find Nginx can perform quite well on a Raspberry Pi, but be cautious. Resource limitations may throttle performance under high traffic, affecting responsiveness and load times, so optimize configurations to maximize efficiency.
Conclusion
By following these steps, you’ve successfully set up an Nginx web server on your Raspberry Pi. Imagine hosting a personal blog or a small online store from your home—sharing your passions or building a community. The satisfaction of seeing your website live, powered by your own hardware, is unmatched. Should issues arise, remember that troubleshooting is part of the journey. Embrace it, and don’t hesitate to search for solutions or reach out to the community for help.

I am a retired software engineer with experience in a multitude of areas including managing AWS and VMWare development environments. I bought a relative a mini-PC a year ago and have become passionate about the technology and its potential to change how we deploy software.