
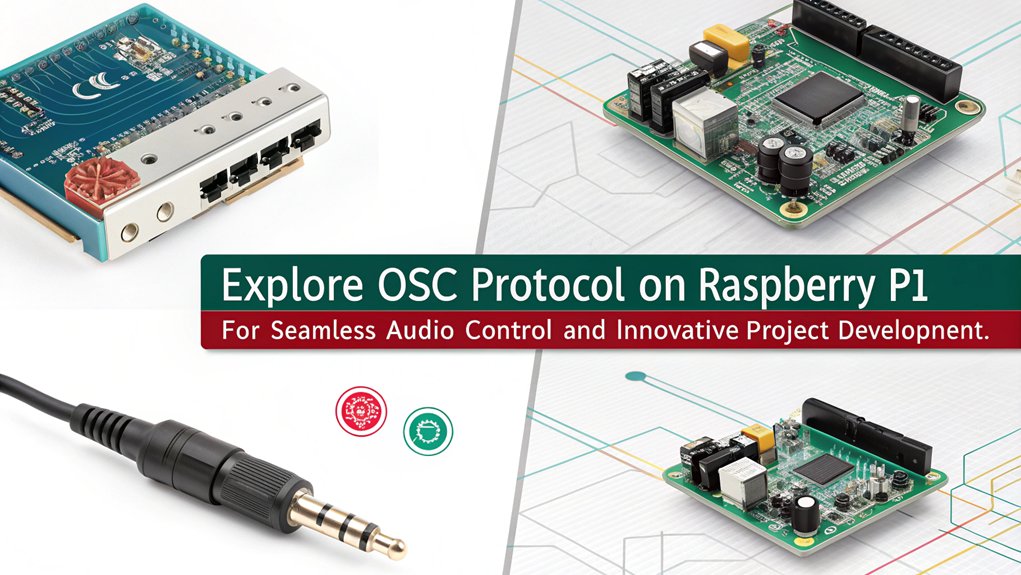
To use the OSC protocol on Raspberry Pi for your advanced audio projects, start by installing Raspberry Pi OS and setting up your network. Verify you install Node.js and essential libraries like ‘liblo’ for OSC communication. OSC messages require a proper structure with symbolic addresses and data types. You’ll also need to configure your networking settings and verify ports are accessible. Integrate OSC with audio software like Pure Data or SuperCollider for real-time control over sound parameters. Troubleshoot common issues by checking IP addresses and firewall settings. Mastering these steps can reveal even more possibilities in your projects.
Key Takeaways
- Install Raspberry Pi OS (formerly known as Raspian), configure network settings, and ensure a reliable static IP address for consistent OSC communication on Raspberry Pi.
- Use libraries like ‘pyOSC’ or ‘liblo’ to enable OSC message handling and integrate with audio processing software such as Pure Data or SuperCollider.
- Follow OSC message formatting by using symbolic addresses and appropriate argument types to avoid communication failures in your audio projects.
- Monitor OSC data using tools like ‘Protokol’ to analyze real-time message transmission and troubleshoot network issues or packet loss effectively.
- Optimize Raspberry Pi performance by regularly updating the OS and ensuring firewall settings allow incoming OSC traffic on the specified ports.
Setup and Installation
To get started with OSC protocol on your Raspberry Pi, you’ll first need to prepare the environment properly.
Begin by installing the latest version of Raspbian on your SD card, either through NOOBS or by directly copying the image. Once that’s done, connect your Raspberry Pi to the local network and obtain its IP address using a tool like Adafruit Pi Finder.
Don’t forget to expand the filesystem via ‘sudo raspi-config’ and then restart your Pi.
Now you’ll face setup challenges, particularly around package dependencies. Install Node.js by following the embedded development guide, then use ‘sudo apt-get install libcairo2-dev’ to add essential libraries. Additionally, make sure to install the required OSC library for messaging functionality. This is important because Open Sound Control can greatly enhance interoperability between your devices.
If you choose Node.js for OSC, clone the OSC examples repository. Alternatively, for Python projects, clone the GIT repository for the pyOSC library.
Finally, verify you’ve set up your library environment correctly. Verify installations by importing libraries and testing with simple code.
Understanding OSC Protocol
To effectively use OSC, you need to understand its data types and how messages are routed. OSC supports various data formats, enabling you to transmit complex information seamlessly. Additionally, OSC serves as an alternative to MIDI for higher resolution and richer parameters, enhancing your audio project capabilities. This protocol is designed for efficient data exchange, ensuring low latency communication in your projects.
OSC Data Types
Understanding OSC data types is vital for effectively working with the OSC protocol on Raspberry Pi. These data types dictate how information is formatted and transmitted, which is fundamental for maintaining binary data alignment. Additionally, it’s important to note that Open Sound Control is primarily utilized in music performance, highlighting its relevance in audio projects. OSC utilizes a customizable address space to enhance high interoperability among different hardware and software systems.
Here are the core data types you’ll encounter:
- Int32: 32-bit two’s complement signed integers, big-endian
- Float32: 32-bit IEEE floating point numbers, big-endian
- String: Null-terminated arrays of eight-bit encoded data; bytes must be a multiple of 4
- Blob: Arbitrarily sized binary data, preceded by a 32-bit size count, total must be a multiple of 4
- Time Tag: 64-bit big-endian fixed-point floating point number
Each of these formats must adhere to specific alignment rules to guarantee seamless communication between devices.
When constructing OSC messages, you’ll also need to use type tag strings to indicate data types accurately, which follow a descriptive format. For instance, a type tag string starting with a comma, such as ‘,fi’, signifies a float32 followed by an Int32.
Understanding these data type formats will enable you to efficiently utilize the OSC protocol for your advanced audio projects.
Routing OSC Messages
Once you grasp the OSC data types, you can effectively manage the routing of OSC messages, a fundamental aspect of the OSC protocol on Raspberry Pi.
Message routing involves directing these messages, composed of addresses and arguments, to the appropriate recipients over the network. By understanding the address structure, such as ‘/foo/freq’, you can use pattern matching to target multiple destinations effortlessly. It is important to note that unique port numbers are not shareable among OSC Servers due to protocol limitations. OSC employs floating-point values which allows more precise parameter manipulation compared to traditional systems.
When configuring routing, it’s essential to select the correct host and port, ensuring that your messages travel to the intended endpoints, either locally or remotely.
You can manipulate message routing based on specific conditions or triggers, allowing for dynamic responses within your applications. Address rewriting further enhances your routing capabilities, enabling you to change the destination address of incoming messages.
Consider using OSC routing events in applications like OSCulator to streamline this process. Here, you can choose whether to route the entire message or just specific arguments, simplifying argument selection based on your project’s requirements.
Configuring OSC Messages

To configure OSC messages effectively, you need to set up your OSC client and create structured messages that match your intended actions. Focus on crafting the correct address patterns, type tags, and arguments to guarantee clear communication with your Raspberry Pi. Once you’ve structured your messages, you can send data efficiently to facilitate real-time interaction or control systems seamlessly. Additionally, it’s beneficial to have a clear understanding of networking practices to maintain consistent UDP communication throughout your project. For optimal performance, also consider configuring your audio settings, like the Audio: Sample Rate, to match your project’s specific requirements.
Setting Up OSC Client
Setting up an OSC client on a Raspberry Pi requires careful configuration to verify efficient message transmission.
To establish a reliable OSC connection, you need to focus on proper osc message routing and client identification. Here’s how to configure your OSC client using Python and the pyOSC library:
- Install the ‘pyOSC’ library to manage your OSC messages.
- Import the OSC library and instantiate your OSC client with ‘c = OSC.OSCClient()’.
- Connect to your target address using ‘c.connect(send_address)’, where ‘send_address’ is defined as ‘(‘192.168.1.1′, 9000)’.
- Confirm you’ve accurately specified the IP address and port of the destination device for message delivery.
- Double-check that your OSC client is correctly set up to send messages to the intended recipient. A successful configuration will ensure that your client can receive OSC messages efficiently, enhancing your project’s functionality. The addition of OSC (Open Sound Control) facilitates real-time communication that can significantly elevate the interactivity of your audio projects.
A well-configured OSC client not only verifies streamlined communication but also enhances performance across your audio projects.
Follow these steps, and you’ll be on your way to harnessing the full potential of OSC on your Raspberry Pi, paving the way for innovative audio solutions.
Creating OSC Messages
Creating OSC messages involves precisely defining the message addresses and their corresponding arguments, vital for effective communication within your application.
Begin with OSC message construction by using specific address formats, typically URL-like, e.g., ‘/hello’. This address is significant, as it must align with expectations in the receiving application. You can enhance your design by implementing partials, allowing for dynamic argument generation, which tailors the final address string to current conditions. Additionally, it’s essential to ensure that OSC activation requires mode and port number configuration to facilitate seamless message transmission.
Next, specify the message arguments after the address. These can include various types like integers, floats, or strings, and they must be separated by commas when multiple arguments are present. Confirm that your argument types meet the requirements of the receiving devices, as mismatched types can lead to communication failures. It’s crucial to ensure correct network addresses to avoid confusion in data transmission.
Employ argument partials to dynamically adjust your message content, updating corresponding values as conditions change. By configuring multiple addresses within the same control, you can efficiently send different types of information without redundancy.
Finally, address triggering conditions to enable or disable messages based on specific value changes, confirming that your OSC messages remain relevant and effective in your innovative audio projects.
Sending Data Effectively
Configuring OSC messages effectively is crucial for achieving seamless communication between your Raspberry Pi and other devices. To streamline this process, utilize various efficiency techniques to optimize your message structure.
Consider the following points:
- Data Compression: Use compact message formats to reduce bandwidth requirements.
- Consistent Path Naming: Establish clear and consistent OSC paths for better organization and easier debugging.
- Batch Messaging: Send multiple OSC messages in a single UDP packet to minimize overhead. Broadcasting OSC can enhance the efficiency of sending commands to multiple devices simultaneously.
- Buffer Management: Implement buffering strategies to handle message spikes without overwhelming your system.
- Monitoring Tools: Employ tools like Wireshark to analyze packet transmission and verify messages are sent and received accurately.
Networking and Communication
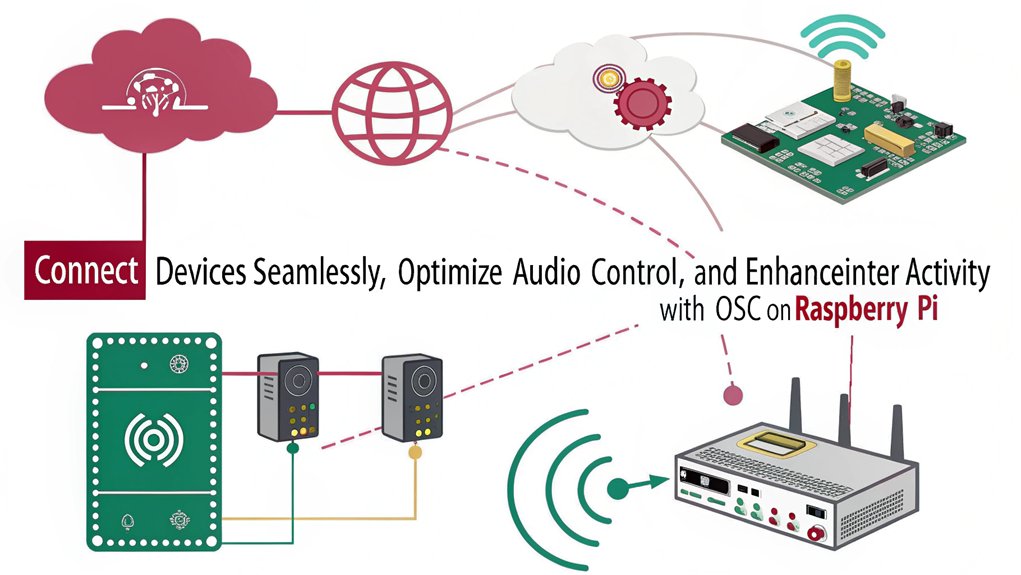
Effective communication in the OSC protocol relies on a client-server architecture that enables real-time interaction between devices. In this model, the client sends OSC data to the server over various network configurations, whether local or internet-based. Each device is identifiable by its specific IP address and port number, ensuring clear data transmission.
The OSC messages, formatted in binary, include a URL-style symbolic address and corresponding arguments—like integers, floats, or strings. This structure supports routing messages to multiple server procedures through pattern matching, enhancing agility in controlling multimedia devices.
Though clients typically initiate communication, servers can also transmit significant notifications back to the clients. You can opt to send individual messages or bundle them for simultaneous execution, incorporating a 64-bit time tag for synchronized processing.
Utilizing IPv4 or IPv6 addresses, OSC facilitates expansion and connectivity, allowing for seamless integration in your projects. On your Raspberry Pi, Python libraries like pyOSC or Node.js empower you to implement OSC effectively, connecting with multiple devices for innovative audio solutions.
SSH access further simplifies setup and testing phases, ensuring a robust development experience.
Integrating With Other Tools

After establishing a solid foundation in networking and communication with OSC, you can enhance your projects by integrating various components through listener management that enables seamless communication with other devices and tools. Utilizing Raspberry Pi video player capabilities, you can create interactive audiovisual installations that respond to user inputs over OSC.
Advanced Applications

Advanced applications of the OSC protocol on Raspberry Pi offer innovative ways to enhance your multimedia and interactive projects. By leveraging OSC for real-time audio configuration, you can dynamically manage JACK settings. For instance, you can easily change the active soundcard and set the sample rate with specific OSC commands, allowing for a refined audio experience that meets your project’s needs. Additionally, proper configuration of ALSA settings is vital for ensuring that your audio services operate without conflict and provide optimal performance. The system’s versatility allows for the integration of 3D audio control systems that enable effective management of spatial audio.
Moreover, integrating Node.js and Socket.io enables real-time interaction via web browsers, facilitating audience engagement during performances. This capability lets you send and receive OSC messages, creating a responsive setup that enhances your performance’s interactivity.
Utilizing tools like Max, Pure Data, or ChucK seamlessly integrates with your OSC messages, promoting multi-device integration across various platforms.
For more complex applications, consider 3D audio control systems. By running an OSC server, you can effectively manage spatial audio and audio effects through various hardware like Raspberry Pi, allowing for unparalleled control and flexibility.
Employing OSC’s structured message format, including atomic data types and time tags, further enhances your ability to create sophisticated audio applications. Embrace these advanced applications to push the boundaries of your audio projects.
Troubleshooting Common Issues
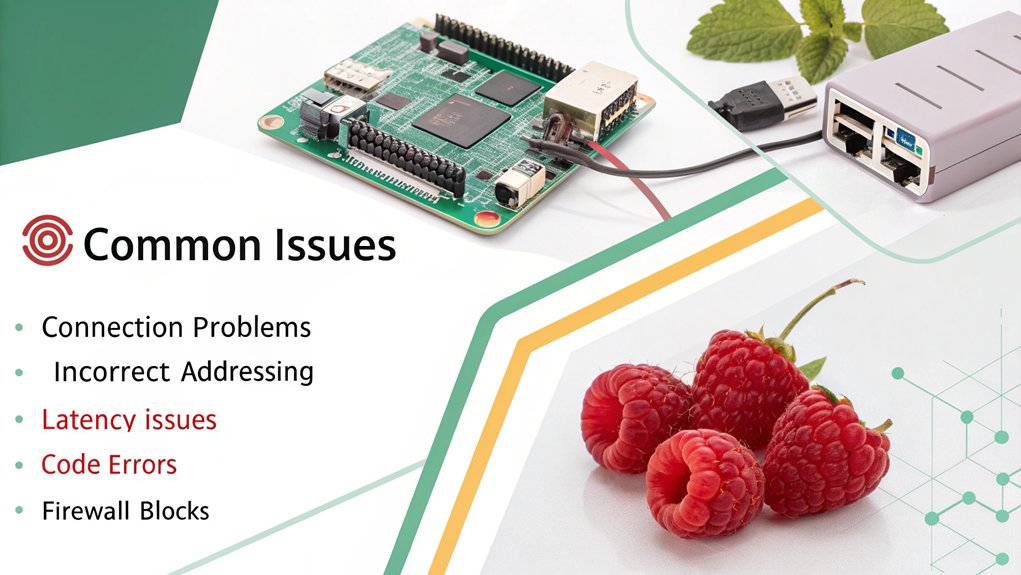
While exploring advanced applications of the OSC protocol can lead to impressive enhancements in your projects, troubleshooting common issues is equally important for maintaining a seamless experience.
Here are several critical areas to address during your OSC troubleshooting on the Raspberry Pi:
- Confirm the correct IP address and port: Verify both the Raspberry Pi’s IP address and the port used in OSC communication.
- Check firewall configuration: Make sure that the firewall allows incoming traffic on the designated port to prevent blockage.
- Message formatting: Properly format OSC messages according to protocol specifications to confirm they reach the server as expected.
- Test client compatibility: Confirm your OSC clients are compatible with your server; mismatched libraries or versions can create errors. Recent reports of OSC listener failure indicate that ensuring this compatibility is crucial for preventing disruptions.
- Monitor network traffic: Utilize tools like ‘Protokol’ and ‘sendosc’ to analyze if OSC messages are accurately reaching the Raspberry Pi.
Pay attention to server startup scripts and keep your system updates current to maintain peak performance.
Frequently Asked Questions
Can I Use OSC With a Wireless Raspberry Pi Setup?
Yes, you can effectively use OSC with a wireless setup on your Raspberry Pi. The OSC advantages include flexibility and real-time communication, allowing seamless interaction between devices in your innovative audio projects.
What Are the Best Practices for Organizing OSC Message Addresses?
Like a well-structured symphony, organize OSC message addresses with clear hierarchy and concise message structure. Use unique, hierarchical names, enhancing clarity and scalability while ensuring each address serves its distinct function in your innovative applications.
How Can I Secure OSC Communication Over the Internet?
To secure OSC communication over the internet, employ encryption techniques like TLS/SSL, configure firewall considerations properly, and guarantee only necessary ports are open, safeguarding against unauthorized access and maintaining data integrity throughout transmission.
Are There Limitations on the Size of OSC Messages?
Yes, OSC messages have size limitations. They should ideally stay below 576 octets to avoid truncation. Larger message sizes can hinder performance, increase latency, and require careful management for effective communication and processing.
Can I Use OSC for Non-Audio Applications?
Absolutely, you can use OSC for non-audio applications, like remote control and data visualization. Its versatility supports interprocess communication, robotics, and multimedia, making it a powerful tool for innovative, interactive projects beyond just audio.
Conclusion
Incorporating the OSC protocol in your Raspberry Pi audio projects opens doors to innovative possibilities. For instance, imagine controlling a live music performance remotely, adjusting sound levels and effects through a custom OSC interface on your tablet. By mastering OSC, you can create dynamic audio environments or automate soundscapes that respond to user interactions in real-time. This flexibility not only enhances your projects but also elevates your skills as a developer. Immerse yourself and experiment!

I am a retired software engineer with experience in a multitude of areas including managing AWS and VMWare development environments. I bought a relative a mini-PC a year ago and have become passionate about the technology and its potential to change how we deploy software.