
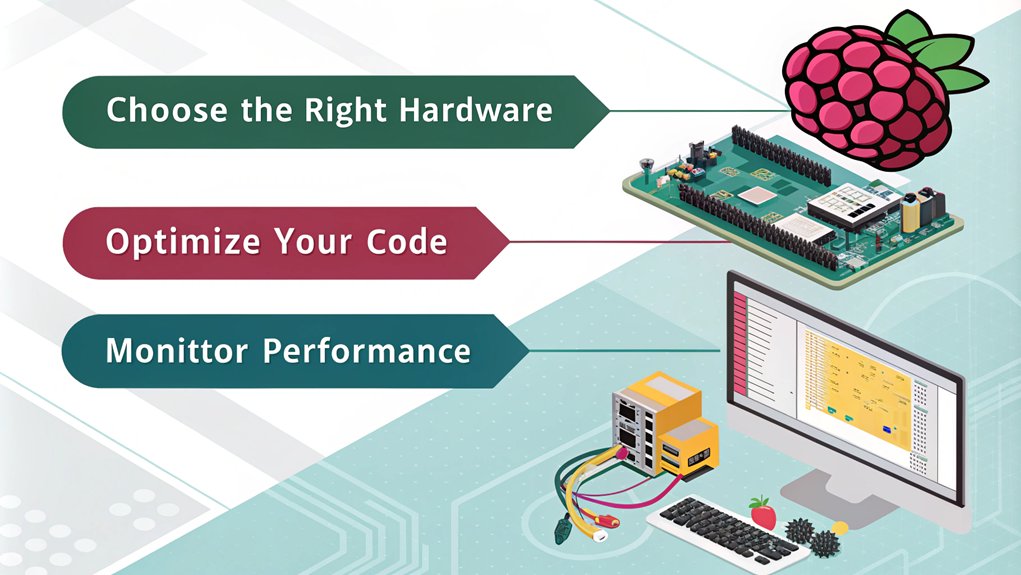
When developing Python projects on Raspberry Pi, you should first choose the right accessories based on your project’s specifications, ensuring the correct power supply and compatible displays. Next, optimize your script performance by simplifying logic, using multi-threading, and leveraging tools like Cython or Numba for critical code sections. Finally, manage resource efficiency by monitoring CPU usage with ‘psutil’ and setting thresholds to prevent overheating. By following these tips, you’ll be well on your way to creating efficient and robust projects. For more detailed insights into data logging, visualization, and cluster management, continue to explore these key areas.
Key Takeaways
- Optimize Loop Performance: Simplify logic, reduce unnecessary computations, and use multi-threading or Cython to enhance loop efficiency in Python scripts.
- Choose Appropriate Accessories: Select the right Raspberry Pi board based on project specifications, ensuring compatibility with displays, sensors, and power supply needs.
- Manage Resources Effectively: Monitor CPU, memory, and disk usage with tools like ‘psutil’ to prevent overheating and ensure optimal performance.
- Utilize Efficient Data Structures: Employ libraries like NumPy for faster operations and consider JIT compilation with Numba or Cython for critical code sections.
- Integrate Sensors and GUIs: Connect sensors to GPIO pins for automation tasks and use GUI libraries like PyQT or Tkinter to create interactive user interfaces.
Choosing the Right Accessories
When starting on a Raspberry Pi project, choosing the right accessories is vital for guaranteeing your setup meets all the necessary requirements. First, you need to select the appropriate Raspberry Pi board. Confirm you choose the correct model that aligns with your project’s specifications, such as processor speed, RAM, and available ports.
Consider the power supply needs of the board and whether it will generate heat that requires cooling. For instance, the Raspberry Pi Pico operates within a power supply range of 1.8V to 5.5V.
For display and output, verify display compatibility with your Raspberry Pi model. Options include LCD screens, LEDs for indicator lights, audio jacks and speakers for audio feedback, and HDMI cables for connecting to monitors.
Breadboards and male headers are handy for prototyping.
Sensor selection is important depending on your project’s goals. Ultrasonic sensors are ideal for distance measurement projects, while temperature modules are best for environmental monitoring. Cameras are necessary for image and video capture, and pushbuttons or switches provide user input.
Grove ports can connect various sensors and actuators seamlessly.
Using the right prototyping tools like breadboards and Dupont wires will streamline your circuit setup. Confirm you have pin headers and USB cables for connectivity and programming needs.
Micro-SD card slots can expand storage, and ESP-01 sockets can add WiFi connectivity. Relays, transistors, and diodes are essential for controlling external devices efficiently.
Ensure that your project also includes a primer on Raspberry Pi setup to help beginners get started quickly.
Optimizing Script Performance
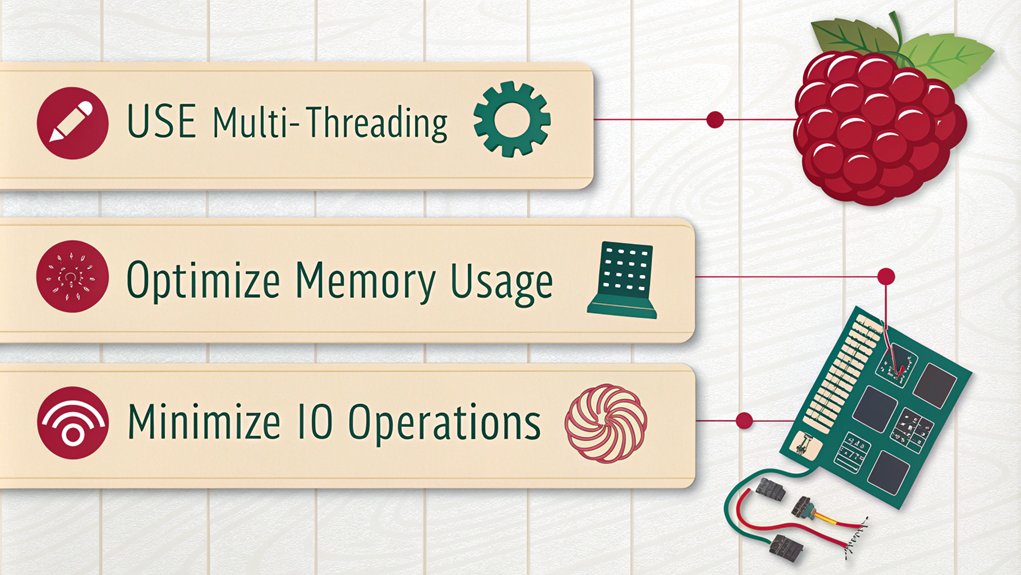
To optimize your Python scripts on the Raspberry Pi, you need to focus on loop optimization and multi-threading techniques.
Simplifying inner loops and reducing unnecessary computations can greatly speed up your code, while assigning C data types in Cython can further enhance performance. For instance, using Cython with explicit data type declarations, such as C data types, significantly reduces computation time.
Additionally, leveraging multi-threading can help utilize the device’s resources more efficiently, especially for tasks that can be parallelized. Monitoring system resources using tools like the ‘free’ command to check memory usage is also crucial to ensure your scripts run within the device’s limitations.
Loop Optimization
Optimizing loop performance is essential for enhancing the efficiency of your Python scripts on Raspberry Pi. To achieve better loop efficiency, start by simplifying the logic within your loops. Remove any redundant calculations and pre-compute values that don’t change during the loop iterations. This reduces the computational overhead and speeds up your script.
Another key strategy is to reduce the number of iterations by limiting the range of loops to only necessary values. Avoid reevaluating function references each time through the loop; instead, assign them to local variables before entering the loop. For complex iterations, use increasing tuples of indices to avoid checking permutations of index combinations already checked, which can greatly reduce iteration reduction.
Utilizing efficient data structures and libraries such as NumPy can also greatly enhance performance. NumPy’s vectorized operations are much faster than simple Python loops and can be used for tasks like finding maximum values efficiently with ‘argmax’ or generating multidimensional grids quickly with ‘mgrid’.
Additionally, consider using Numba or Cython to JIT compile critical sections of your code, which can result in substantial speedups by minimizing interpreter overhead and optimizing for CPU performance. Pre-computing FUNC values for all necessary indices can further minimize redundant calculations and enhance overall algorithm efficiency by reducing time complexity.
Furthermore, optimizing loops in conjunction with multi-threading techniques can significantly enhance FPS in video processing tasks, especially when working with hardware like Raspberry Pi where resources are limited.
Multi-Threading Techniques
After simplifying and optimizing loops in your Python scripts on Raspberry Pi, you can further enhance performance by leveraging multi-threading techniques. The ‘_thread’ package, though still in development, offers low-level control over threads on the Raspberry Pi Pico‘s two processor cores.
To implement multithreading, break your code into separate functions for each thread and wrap them to be called from the main Python thread. This approach allows you to utilize the dual ARM Cortex-M0+ processor cores to run up to 133 MHz, which can significantly boost performance.
Thread synchronization is essential to avoid output overlap and guarantee proper communication between threads. You can use global variables to signal when a task is complete, but be cautious of temporary information left in RAM, which may require explicit garbage collection. Effective use of global variables for inter-thread communication and proper thread synchronization can greatly improve script performance, especially when minimizing context switching overhead.
Implementing locks is another effective way to prevent overlap, especially when printing to the console. Effective use of global variables for inter-thread communication and proper thread synchronization can greatly improve script performance. Given the resource limitations of Raspberry Pi devices, optimizing thread usage is critical to minimize context switching overhead and prevent system crashes or performance degradation. Additionally, ensuring that only one thread can hold the lock at a time using lock mechanisms prevents data overlap and corruption.
Building Interactive Projects
Building interactive projects on the Raspberry Pi involves leveraging a range of powerful tools and libraries to create engaging and functional applications. For instance, you can use popular GUI libraries like PyQT and Tkinter to design user interfaces that are simple yet effective. These libraries are easy to install via the APT package manager and include essential UI components such as buttons and input fields.
When it comes to sensor integration, you can utilize the Raspberry Pi’s GPIO pins to connect sensors like DHT11 or BMP180 for data collection. This allows you to automate tasks such as watering plants or controlling smart home devices based on real-time sensor data. By combining these capabilities with GUI customization, you can create highly interactive and responsive applications that cater to various needs. For example, you can build a smart mirror that displays essential information like time, date, weather, and news using an LCD screen and Python scripts. This versatility makes the Raspberry Pi an ideal platform for innovative project development, especially when utilizing its low power consumption features.
The extensive community support and resources available for Raspberry Pi projects also play a crucial role in facilitating these interactive applications community support.
GUI Customization and Sensor Integration
| Feature | Description | Example Use Case |
|---|---|---|
| GUI Libraries | PyQT, Tkinter | Creating a weather app interface |
| UI Components | Buttons, input fields | User input for smart home devices |
| Sensor Integration | GPIO pins for DHT11, BMP180 sensors | Environmental monitoring in weather stations |
| Custom Interfaces | Display real-time data on LCD screens | Smart mirrors with dynamic information |
| Automation | Automate tasks based on sensor data | Watering plants based on soil moisture
Managing Resource Efficiency
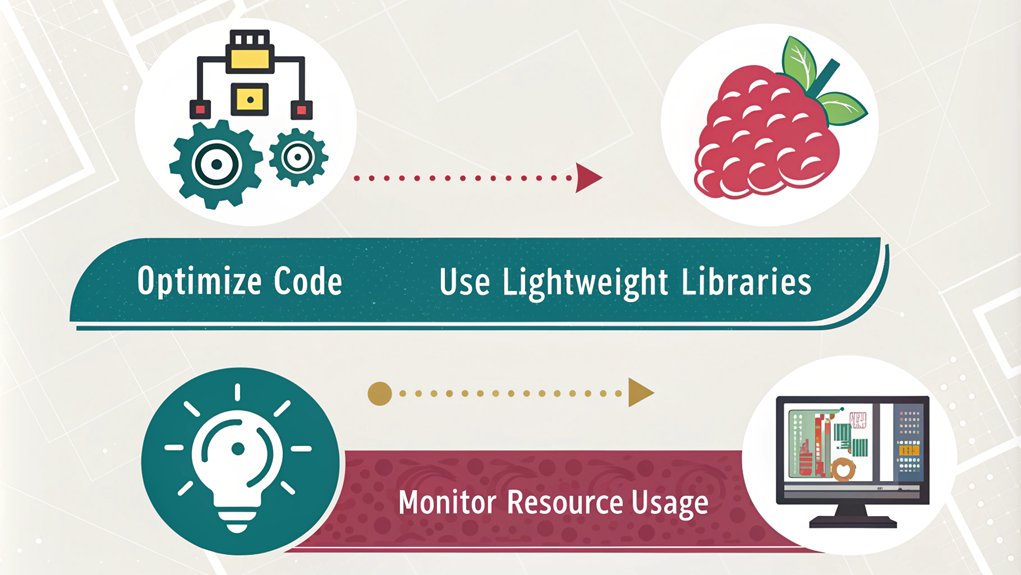
When you’re creating interactive projects on the Raspberry Pi, ensuring that your system resources are managed efficiently is key to maintaining performance and reliability. Effective resource monitoring and performance profiling are essential for optimizing your project’s operation. This can be achieved by installing necessary packages such as Python and the ‘psutil’ library to track key resources.
For instance, utilizing Unix commands via Python can help in retrieving critical system information like CPU temperature.
Key Tips for Managing Resource Efficiency
1. Monitor CPU Usage****
Use the ‘psutil’ library to read CPU usage percentages in real-time. You can also retrieve CPU temperature using the ‘vcgencmd measure_temp’ command.
Set up alerts when CPU usage exceeds a certain threshold to prevent overheating or performance degradation.
2. Track Memory and Disk Usage****
Utilize ‘psutil.virtual_memory()’ and ‘psutil.disk_usage()’ to monitor memory and disk usage respectively.
Convert memory units from bytes to megabytes for better readability. Log this data for future analysis and set alerts if thresholds are exceeded.
3. Analyze Network Activity****
Employ ‘psutil.net_io_counters()’ to monitor network bytes sent and received.
This helps in ensuring system performance by identifying high network usage patterns. Integrate this with other resource metrics for a thorough view of your system’s health. By using Raspberry Pi, you can leverage its compact and affordable nature to implement these monitoring strategies effectively.
Data Logging and Analysis
When collecting sensor data on your Raspberry Pi, you can use Python scripts to log readings at specified intervals and save them to CSV files. This process is facilitated by the ease of implementation and versatility of the Raspberry Pi, making it a quick project suitable as a standalone or integrated into larger systems.
For data visualization, you’ll rely on tools like matplotlib to plot the collected data, such as temperature readings or other sensor outputs, and save the plots as PNG files. The data logged includes timestamps and sensor readings, which are captured every 5 seconds in a loop.
For further analysis, the CSV files can be opened and modified using Microsoft Excel, where chart tools allow for data visualization. The project can also be expanded to include a Real-Time Clock (RTC) for enhanced accuracy. Power options include a power bank or direct plug for Raspberry Pi operation.
Additionally, leveraging libraries like PyTables can enhance your project by enabling efficient data collection and storage in HDF5 format, significantly improving the speed and efficiency of your data logging and analysis tasks.
Sensor Data Collection
Collecting sensor data on a Raspberry Pi involves a systematic approach to guarantee accurate and reliable logging and analysis. Here are three key tips to make certain you get the most out of your sensor data collection:
3 Tips for Sensor Data Collection
- Ensure Proper Hardware Setup
- Connect sensors to the Raspberry Pi using GPIO pins, making sure to establish power and ground connections using the 5V and ground from the Raspberry Pi.
- Using a Qwiic pHat add-on board can simplify this process.
- Use Appropriate Python Scripts
- Write Python scripts to read data from sensors, installing necessary modules like ‘sparkfun-qwiic-bme280’ for environmental sensors.
- Implement loops to continuously collect and log data at set intervals, including timestamps using the ‘datetime’ module. Ensure you use Broadcom chip pin numbering for accuracy in your GPIO pin configurations.
- Validate and Store Data Correctly
- Verify sensor connections using command line tools to ensure proper setup.
- Save collected data in CSV format for easy analysis, using the ‘open’ function in Python to write data to a file and ‘flush’ to guarantee immediate writing.
- Store data logs in a specified directory, such as ‘/home/pi/’, and ensure the file is properly closed after logging to prevent data loss.
Given the extensive community support and resources available for Raspberry Pi projects, you can find numerous tutorials and documentation to help with each step of sensor data collection. This community support is invaluable for troubleshooting and optimizing your project.
Data Visualization Tools
After ensuring your sensor data is accurately collected and logged, the next step is to visualize this data to gain insights and understand trends. For Python projects on Raspberry Pi, you have several powerful data visualization tools at your disposal.
To create interactive, web-based visualizations, consider using Plotly. It supports various graph types like line plots and scatter plots, and it can be integrated with Raspberry Pi for real-time data streaming. Plotly integration allows you to stream data directly from your Raspberry Pi, making it ideal for monitoring sensor data in real-time. This process is particularly straightforward due to the efficient installation of necessary programs.
For more traditional static or animated visualizations, Matplotlib is a versatile choice. Built on NumPy arrays, Matplotlib offers flexibility and is often used in conjunction with Pandas for thorough data analysis. Matplotlib usage is widespread due to its compatibility with various environments, including Jupyter Notebooks. Data scientists often rely on Matplotlib for recognizing trends and patterns effectively in their datasets.
If you need to focus on statistical graphics and data distribution visualizations, Seaborn is an excellent option. Built on top of Matplotlib, Seaborn provides attractive and informative graphs that simplify the process of understanding your dataset’s aesthetics.
For creating interactive dashboards and real-time updates, Bokeh is another strong contender. Bokeh dashboards are elegant and concise, making them perfect for presenting streaming data in a user-friendly manner.
Whether you’re using Plotly, Matplotlib, Seaborn, or Bokeh, these tools will help you transform raw sensor data into actionable insights on your Raspberry Pi projects.
Setting Up Raspberry Pi Clusters
Key Steps for Setting Up a Raspberry Pi Cluster
Setting up a Raspberry Pi cluster involves several key steps to guarantee your miniature computing powerhouse operates efficiently and effectively. Here are three essential tips to get you started:
Hardware and Network Configuration
Make sure you have multiple Raspberry Pi units, with at least three recommended for a minimal setup.
Use an Ethernet switch to connect each Pi, especially if you have more than two nodes.
Assign static IP addresses to each node, and consider installing a DHCP server to manage IP addresses within the cluster. Ensure that all nodes are connected to a single managed switch for internal cluster communication using PoE+ HAT.
Uniform Software Setup
Install the same version of the Raspberry Pi OS on all nodes for smooth communication.
Install MPICH on each node using ‘apt-get’ commands to enable distributed computing.
Utilize tools like Ansible for automated setup and configuration across multiple nodes.
Cluster Management and Enhancement
Create a machine file detailing the IP addresses of all nodes in the cluster for MPICH to reference.
Enhance storage solutions by using SSDs for better performance compared to SD cards or USB flash drives, as seen with the significant speed benefits of SSD performance.
Monitor the performance of the cluster, including disk read/write speeds and network throughput, to guarantee ideal operation. Use tools like ‘parallel-ssh’ for simultaneous commands across compute nodes to streamline management tasks.
Frequently Asked Questions
How Do I Troubleshoot Common GPIO Pin Issues on Raspberry Pi?
To troubleshoot GPIO pin issues on your Raspberry Pi, start by checking the pin configuration using ‘gpio -g mode output’ and verify the state with ‘raspi-gpio get’. Use debug tools like ‘gpio readall’ to identify any inconsistencies. Confirm correct physical connections and power levels, and test each pin individually using a basic Python script or shell commands. If necessary, configure pull-up/down resistors correctly in your code or manually.
Can I Use Older Python Versions for My Raspberry Pi Projects?
Sure, you can use older Python versions for your Raspberry Pi projects, but don’t expect a party. Legacy support and version compatibility are essential; older versions like Python 2.7 are necessary for system dependencies, but they limit access to newer libraries and features. Manage them wisely with ‘update-alternatives’ or PyEnv to avoid compatibility headaches.
What Are the Best Resources for Learning Python on Raspberry Pi?
To learn Python on Raspberry Pi, use the Official Raspberry Pi YouTube Channel and Raspberry Pi Education for tutorials. FutureLearn’s interactive courses and Opensource.com’s project guides are also valuable. Utilize Python libraries and Raspberry Pi tutorials on RaspberryPi.org.
How Can I Ensure My Project Is Compatible With Different Raspberry Pi Models?
“Measure twice, cut once.” Confirm hardware compatibility by using universal GPIO libraries and checking model-specific capabilities. Manage software dependencies with cross-compatible libraries and compatible Python versions to assure seamless operation across different Raspberry Pi models.
Are There Any Safety Precautions When Working With Electrical Components?
When working with electrical components, guarantee you wear safety gear to protect against electrical hazards. Use insulated tools, keep equipment grounded, and avoid faulty or damaged power tools to prevent accidents. Maintain proper air circulation and avoid static buildup
Conclusion
As you wrap up your Python projects on Raspberry Pi, remember that “practice makes perfect.” Choosing the right accessories, optimizing script performance, and building interactive projects are just the beginning. Manage resource efficiency, log and analyze data, and even set up clusters to take your projects to the next level. With each step, you’ll become more proficient and creative in what you can achieve with this powerful little device. Keep experimenting and pushing boundaries

I am a retired software engineer with experience in a multitude of areas including managing AWS and VMWare development environments. I bought a relative a mini-PC a year ago and have become passionate about the technology and its potential to change how we deploy software.