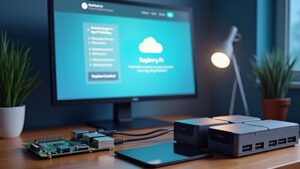
Using a Raspberry Pi as personal cloud storage gives you control over your data and saves money. Start with a Raspberry Pi 4, a microSD card, and an external hard drive for storage. Install a lightweight operating system like DietPi or Raspberry Pi OS Lite. Choose cloud software like NextCloud or OwnCloud for easy file management. Configure your web server and set security measures to protect your data. Finally, automate backups to safeguard your information. Explore the process further to access all the features and customize your personal cloud experience.
Key Takeaways
- Use a Raspberry Pi 4 Model B with at least 2GB RAM and a high-speed microSD card for optimal performance in personal cloud storage.
- Choose between OwnCloud or NextCloud for user-friendly interface and enhanced privacy features during cloud software setup.
- Configure your Raspberry Pi with a stable Ethernet connection and set a static IP for reliable remote access to the cloud.
- Enable SSH for remote access, and secure your setup with encryption, regular updates, and user permissions management.
- Implement automated backup strategies using cron jobs and tools like rsync to ensure your data is consistently protected and restorable.
Hardware Requirements for Setup
When setting up your personal cloud storage with a Raspberry Pi, you’ll need to gather a few essential hardware components first.
Start with the Raspberry Pi 4 Model B, which offers robust specifications including 2GB to 8GB RAM, guaranteeing you have ample processing power. A reliable power supply is vital, so opt for the official USB-C power adapter to maintain consistent performance.
Next, grab a high-speed microSD card of at least 32GB for your operating system. For your storage solutions, consider adding an external hard drive or SSD connected through one of the Raspberry Pi’s USB3.0 ports to facilitate faster data transfers. Integrating your Raspberry Pi with OwnCloud enables personal cloud storage capabilities that allow you to easily manage and access your files securely. NextcloudPi simplifies the installation process to your device with ready-made images available for various single-board computers, making it easier for beginners to set up their cloud solution.
You might also want a powered USB hub if you plan on using multiple external drives.
For network connectivity, use an Ethernet cable for stability, though built-in Wi-Fi is available as an alternative. Establish a static IP address to avoid connectivity issues and guarantee you have internet access for remote operations.
Finally, think about protection; a sturdy case can enhance heat management and prolong the life of your device.
Software Choices for Raspberry Pi
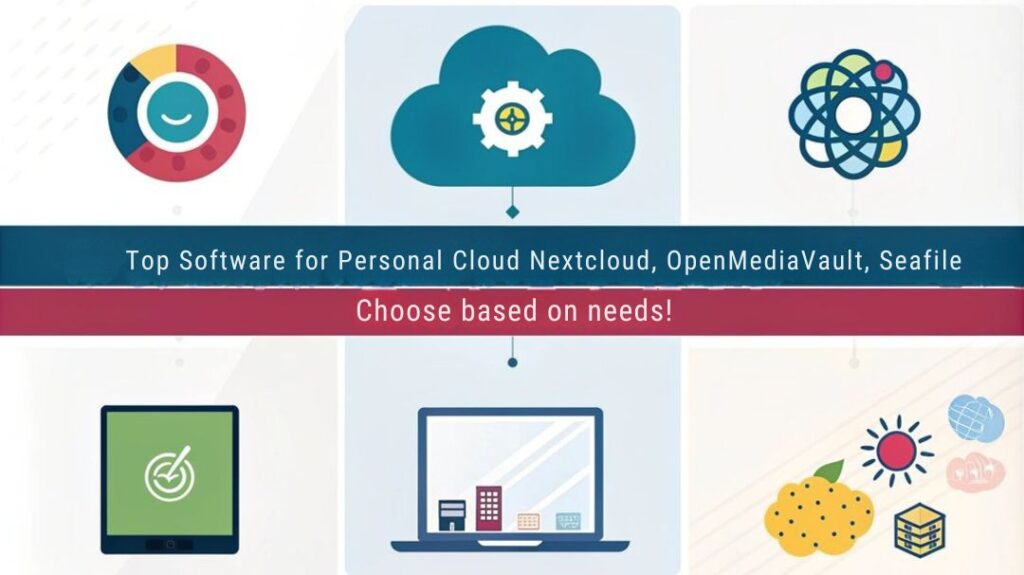
When it comes to setting up your Raspberry Pi for personal cloud storage, choosing the right software is essential. You can compare popular options like OwnCloud and Nextcloud, weighing their features and functionalities against your needs. Additionally, selecting a lightweight operating system like DietPi can streamline your setup process and enhance performance. By using Raspberry Pi as your cloud server platform, you gain an affordable and efficient solution to manage your data without relying on larger corporations. To enhance your experience, consider using Nextcloud for its robust capabilities and ease of configuration on the Raspberry Pi.
Comparison of Cloud Software
Selecting the right cloud software for your Raspberry Pi can greatly enhance your personal cloud storage experience. Each option offers unique features suited to different needs.
OwnCloud is a solid choice, giving you an open-source alternative to commercial services. You can install it on your Raspberry Pi after setting up Raspbian, and it supports external hard drives for added storage. Its web interface and mobile apps streamline data synchronization and cloud security.
If you want an upgraded experience, consider NextCloud. Built on OwnCloud‘s foundation, it enhances user privacy and allows for easy customization. Both services can be installed on Raspberry Pi for local cloud solutions, making it versatile for various users. Setting it up through NextCloudPi is cost-effective, letting you maintain control over your data while accessing files seamlessly via web or mobile. Users benefit significantly from control over data access when using NextCloud, ensuring that personal information remains secure.
For those who prefer a command-line approach, rclone lets you sync files with popular cloud services like Google Drive. It’s excellent for automated management, though it requires some technical setup.
Lastly, Resilio Sync offers a decentralized method, allowing you to sync files directly between your devices. This peer-to-peer solution is flexible, catering to various use cases and enhancing your personal cloud functionality.
Each software choice can elevate your cloud experience remarkably.
Best Lightweight OS Options
Discovering the best lightweight operating systems (OS) for your Raspberry Pi can greatly enhance performance and efficiency, especially for cloud storage applications. Additionally, these operating systems ensure regular updates that improve performance and security, making them suitable for your cloud storage needs. Furthermore, it is important to install required packages to optimize your setup for applications like OwnCloud.
Let’s explore some top choices.
DietPi is a Debian-based option, known for its low footprint and easy installers. It supports various use case scenarios, making it adaptable for specific applications related to cloud storage.
Raspberry Pi OS Lite is the official lightweight version, perfect for those resource-constrained projects. Its minimal setup makes it suitable for headless operations while ensuring easy installation through straightforward guides.
For those seeking flexibility, piCore (Tiny Core Linux) runs entirely in RAM, allowing for lightning-fast performance evaluations and quick customization. This distro is great for minimalistic setups, emphasizing utility over extravagance.
Finally, Ubuntu MATE provides a user-friendly interface along with an array of software packages, ideal for general-purpose computing beyond just cloud storage.
Each of these lightweight OS options offers unique feature highlights and community support, making them worthy contenders.
With the right choice, you can customize your Raspberry Pi effectively and enjoy an innovative personal cloud storage solution.
Installation of the Operating System
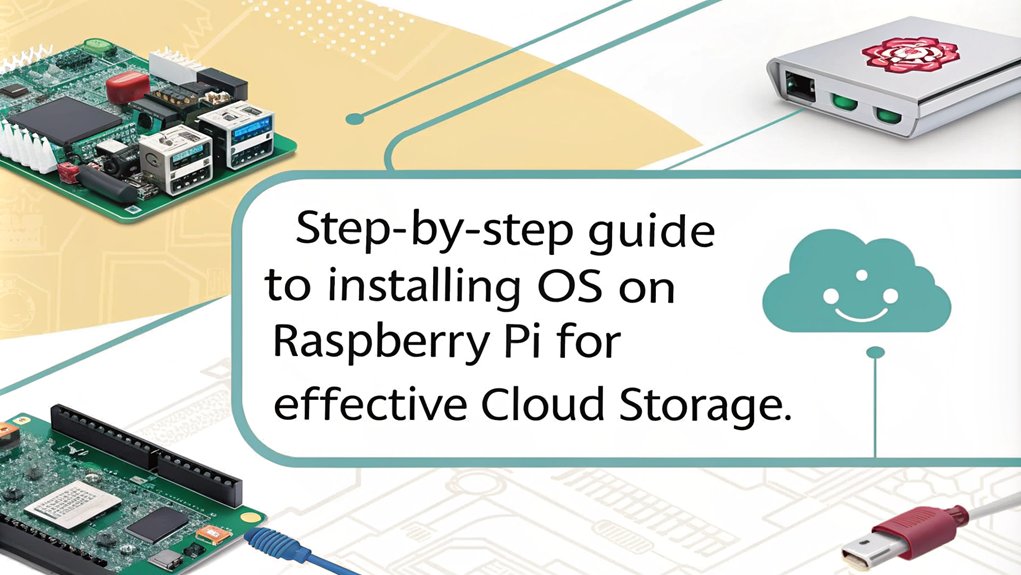
To successfully install the operating system on your Raspberry Pi, you first need to make certain that you have the necessary software and files ready. This includes downloading Raspberry Pi OS from the official Raspberry Pi website, as well as tools like Win32 Disk Imager and SD Card Formatter.
Here’s what you’ll need:
- A reliable microSD card (at least 8GB, class 10)
- Raspbian OS image to release your cloud potential
- Win32 Disk Imager to write the OS with ease
- SD Card Formatter to prepare your SD card
Begin with SD card preparation by inserting the card into a reader and connecting it to your computer. An optimal microSD card should be a Class 10 speed card for best performance, ensuring a smooth installation.
Before you format, keep in mind the importance of formatting to ensure a clean installation, so you can set up your Raspberry Pi without any issues.
Format the SD card using the SD Card Formatter to make sure it’s clean for the Raspbian installation.
Once formatted, open Win32 Disk Imager, select the Raspbian image, and choose your SD card’s drive.
Click write and wait for the process to wrap up.
After the writing is completed, safely eject the SD card.
Now you’re ready to kickstart your Raspberry Pi adventure!
Setting Up Cloud Software
Now that you’ve installed your operating system, it’s time to set up your cloud software. You’ll want to choose a platform that meets your needs, like OwnCloud or Nextcloud, and follow the essential configuration steps. These steps will guarantee your personal cloud runs smoothly and securely on your Raspberry Pi. Implementing a personal cloud with enhanced privacy and security allows you to maintain control over your data compared to traditional cloud solutions. Utilizing a Raspberry Pi as your cloud server offers a cost-effective alternative to commercial cloud services.
Choosing Cloud Software
Choosing the right cloud software for your Raspberry Pi can greatly affect your personal cloud storage experience. With options like OwnCloud and NextCloudPi, you’ll find varied features that cater to your needs. Consider factors such as user experience, mobile access, and data synchronization when making your choice. Additionally, personal cloud storage offers enhanced data security, which is a significant advantage compared to traditional storage methods.
- Enjoy seamless control over your data privacy.
- Experience hassle-free file uploading and sharing.
- Access your files from anywhere, anytime.
- Benefit from robust community support.
Both platforms emphasize user privacy and allow for the mounting of external hard drives to expand storage. However, you’ll encounter some setup challenges and feature differences. Additionally, both solutions support better data management experiences, which enhances security and accessibility.
NextCloudPi is often praised for its straightforward setup, making it a great option for beginners. Meanwhile, OwnCloud offers a rich feature set, appealing to those who crave more complexity.
Ultimately, it’s essential to evaluate performance comparisons between these options. Reviewing documentation and community input can also guide your selection.
Choose a platform that resonates with your vision of innovation and provides the best user experience for your personal cloud storage.
Configuration Steps Overview
Once you’ve selected the cloud software that fits your needs, the next step is to configure your Raspberry Pi for peak performance.
Start by downloading the latest Raspberry Pi OS and use a tool like Balena Etcher to flash it onto a microSD card. After inserting the card, power up your Raspberry Pi and connect a keyboard, monitor, and mouse to complete the initial setup, including enabling SSH for remote access.
Don’t forget to connect to the internet and set a static IP address.
Next, update your system using ‘sudo apt-get update’ and install necessary packages like Apache, PHP, and MariaDB. This is where configuration challenges may arise, particularly with securing your MySQL database and managing file permissions. Additionally, implementing security features such as encryption and user authentication is crucial for maintaining safe access to your data.
Once these steps are complete, download and extract OwnCloud, moving it to the Apache web root.
Finally, access the OwnCloud interface via your browser to set up an admin account and connect it to the database.
To enhance your user experience, consider mounting an external hard drive for more storage and configuring firewall rules to guarantee safe access. A seamless setup awaits!
Configuring the Web Server
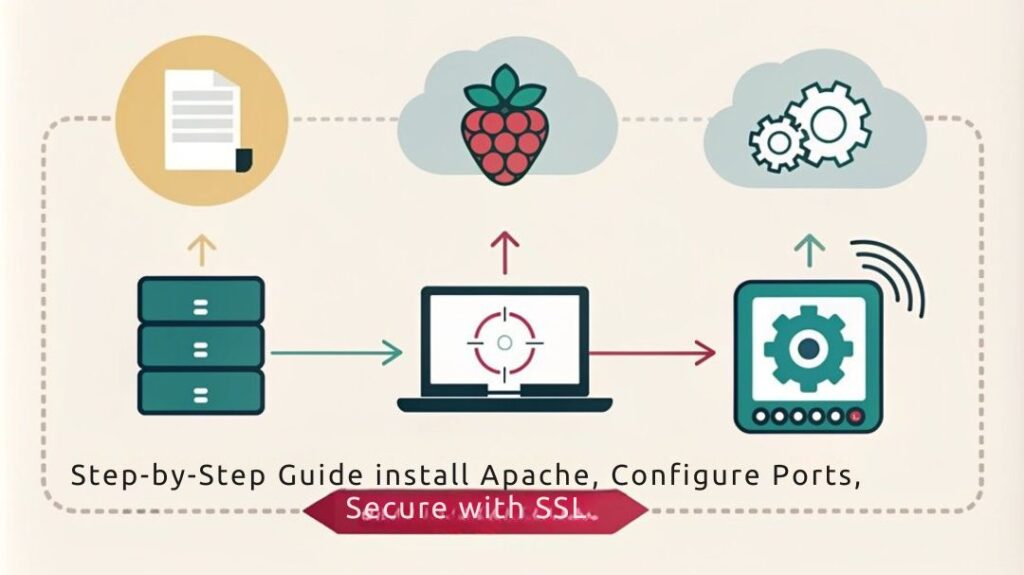
Configuring the web server on your Raspberry Pi is essential for enabling personal cloud storage access.
You’ll want to choose between Apache and Nginx for your web server configuration. Install Apache using the command ‘sudo apt install apache2 -y’ and restart the service if needed. If you prefer Nginx, simply run ‘sudo apt install nginx -y’.
To fully harness the power of your cloud, you’ll need PHP integration. Install PHP with ‘sudo apt install php libapache2-mod-php -y’, ensuring to add the PHP-MySQL module as well. Additionally, a versatile application of your Raspberry Pi web server can include hosting websites or file sharing. Installing nginx web server via ‘sudo apt-get install nginx’ will also provide enhanced performance for your setup.
When setting up your files, navigate to ‘/var/www/html/’ and grant yourself permission to modify these files using ‘sudo chown -R pi_user /var/www/html’.
Here’s what awaits you:
- Access your data from anywhere
- Enhance collaboration with others
- Build a secure data haven
- Experience ultimate control over your files
With everything set up, remember to test your PHP scripts to verify functionality. Achieving this configuration will empower your personalized cloud experience like never before.
Network Setup Essentials
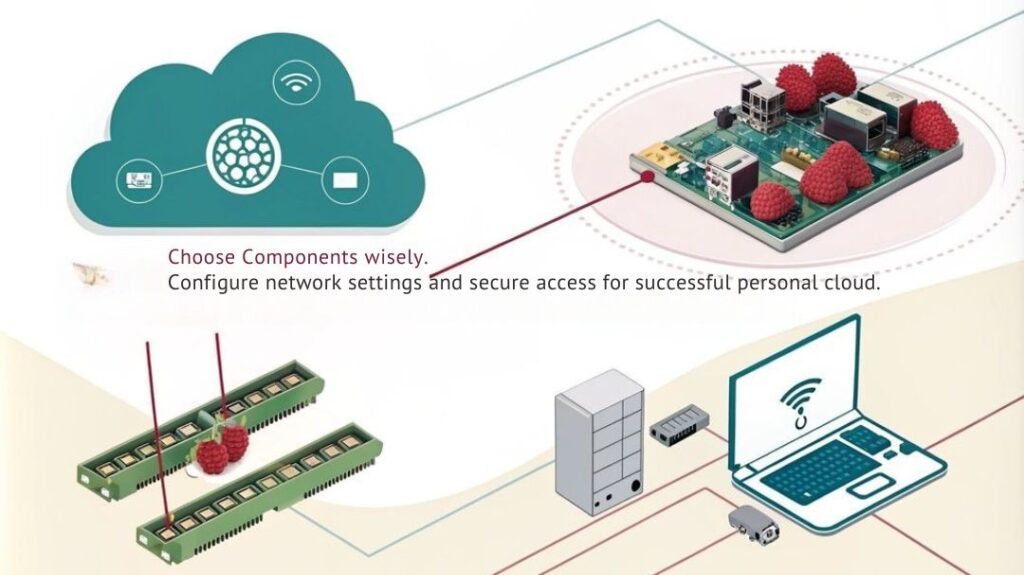
Setting up a reliable network is critical for your Raspberry Pi personal cloud storage. Start by choosing an efficient operating system like Raspberry Pi OS Lite (32-bit), which works perfectly for a headless setup. During installation, configure your hostname, username, and password, and make certain you enable the wireless LAN, entering your network SSID and password. For peak network performance, consider using an Ethernet cable, but if you prefer Wi-Fi, make sure your Raspberry Pi can connect automatically by properly configuring the wireless settings.
To ensure optimal performance and efficiency in storing terabytes of data, consider the storage needs of your current and future media collection. To access your personal cloud remotely, you need external access. Set up port forwarding on your router by accessing its admin interface. Forward the necessary ports, such as port 80 for HTTP, to your Raspberry Pi’s local IP. Additionally, the use of a powered USB hub ensures consistent power to external drives, enhancing storage reliability for your cloud setup.
Update your OwnCloud or NextCloud configuration to include your public IP address in the trusted domains list. If your public IP address isn’t static, utilize a dynamic DNS service to maintain consistent access. This way, you can create a personal URL for easy connections to your Raspberry Pi cloud server, making certain seamless network connectivity for all your needs. Regularly updating the firmware of your setup is also crucial for optimal performance and security.
Ensuring Security and Privacy
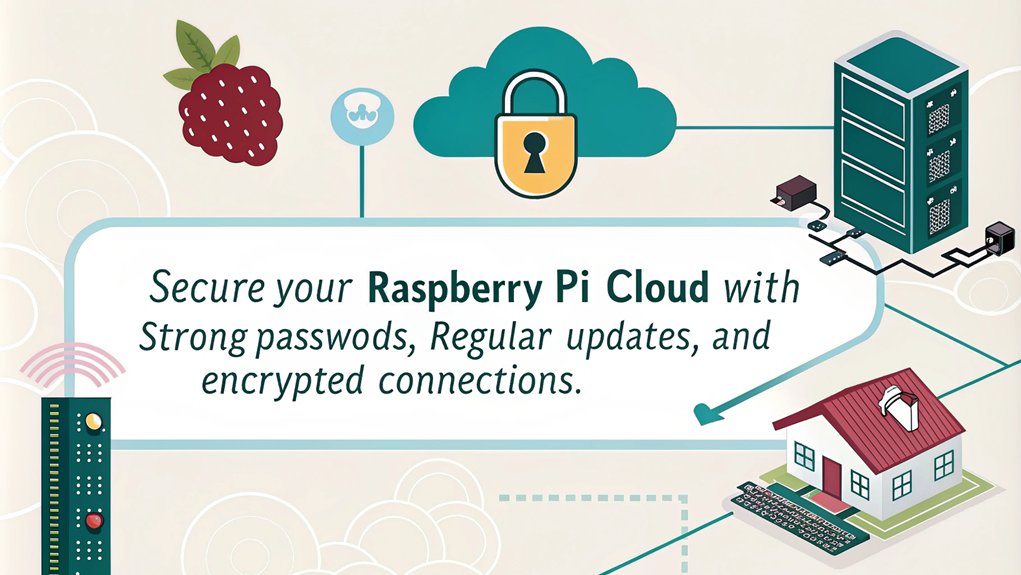
To guarantee security and privacy, you’ll want to implement secure protocols for all data transfers, protecting your information from potential threats. Managing user permissions effectively is vital, so only authorized users have access to sensitive data. Additionally, adopting a cloud storage solution can provide you with enhanced security expertise, as cloud service providers offer professional monitoring and up-to-date security mechanisms. Regular software updates are also essential to patch vulnerabilities and enhance your Raspberry Pi’s defenses. Utilizing a Raspberry Pi can allow you to create your own personal cloud, ensuring that your data remains under your control and away from third-party access.
Use Secure Protocols
Secure protocols are essential for safeguarding data in your personal cloud storage on a Raspberry Pi. By implementing these protocols, you guarantee secure connections and protect your sensitive information from prying eyes.
Here’s what you gain by prioritizing data encryption:
- Your files stay private, even when transferred over the internet.
- You retain complete control over who can access your data.
- You greatly reduce the risk of data breaches.
- You can sleep easier knowing your digital assets are protected.
To achieve this, use HTTPS instead of HTTP to encrypt data-in-transit. Implement SSL/TLS for secure communications between your Raspberry Pi and other devices.
Don’t forget about data-at-rest encryption to keep stored files shielded from unauthorized access. Utilizing robust encryption algorithms like AES enhances your security measures.
Moreover, regularly update and rotate your encryption keys to prevent vulnerabilities. By prioritizing secure protocols, you not only protect your data but also cultivate a trusting environment for your personal cloud storage.
Embrace the innovations available to you, and transform your Raspberry Pi into a secure sanctuary for your digital life.
Manage User Permissions
Effective management of user permissions is essential for maintaining security and privacy in your Raspberry Pi personal cloud storage. By implementing Role-Based Access Control (RBAC), you can assign user roles that dictate permission levels tailored to their needs. This guarantees users only access data necessary for their tasks, bolstering your access control.
Here’s a quick overview of common user roles and their respective permissions:
| User Role | Permission Levels | User Authentication |
|---|---|---|
| Admin | Full access to all data | Multi-factor required |
| Contributor | Can modify and upload content | Single-factor allowed |
| Viewer | Read-only access | Optional MFA |
| Guest | Limited access to shared files | Basic password only |
To enhance security, utilize multi-factor authentication (MFA) for robust user authentication. Regularly review and update user roles to adapt to changing access needs, guaranteeing users can only view, modify, or delete data as authorized. Proper configuration of folder sharing allows you to specify actions like commenting or uploading, keeping your cloud storage ecosystem secure and efficient.
Regular Software Updates
Maintaining user permissions is only one part of safeguarding your Raspberry Pi personal cloud storage. Regular software updates are essential for security and privacy, ensuring you protect your data from vulnerabilities and threats. An effective patch management strategy requires staying on top of update frequency to fortify your system against emerging hazards.
- Release peace of mind knowing your data is safe.
- Stay ahead of cyber threats that could compromise your storage.
- Enjoy a smoother, more secure experience while accessing your cloud.
- Rest easy with automated updates that require little maintenance.
To enhance security, configure your Raspberry Pi for unattended upgrades, ensuring critical security fixes are applied automatically. Regularly check for updates from the Raspbian and Raspberry Pi repositories for timely availability of patches.
Remember, outdated software can leave your system exposed, while consistent updates greatly reduce vulnerabilities.
Additionally, incorporate regular monitoring to catch any update failures, keeping your cloud storage resilient against threats. By embracing these best practices, you’re not just maintaining a cloud server; you’re innovating a secure environment for your data.
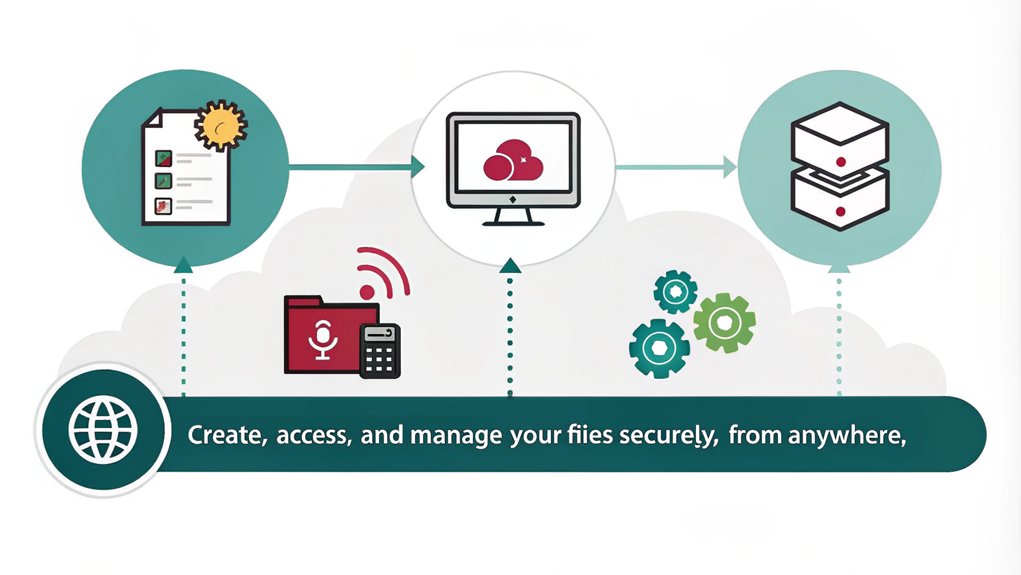
Accessing Your Cloud Storage
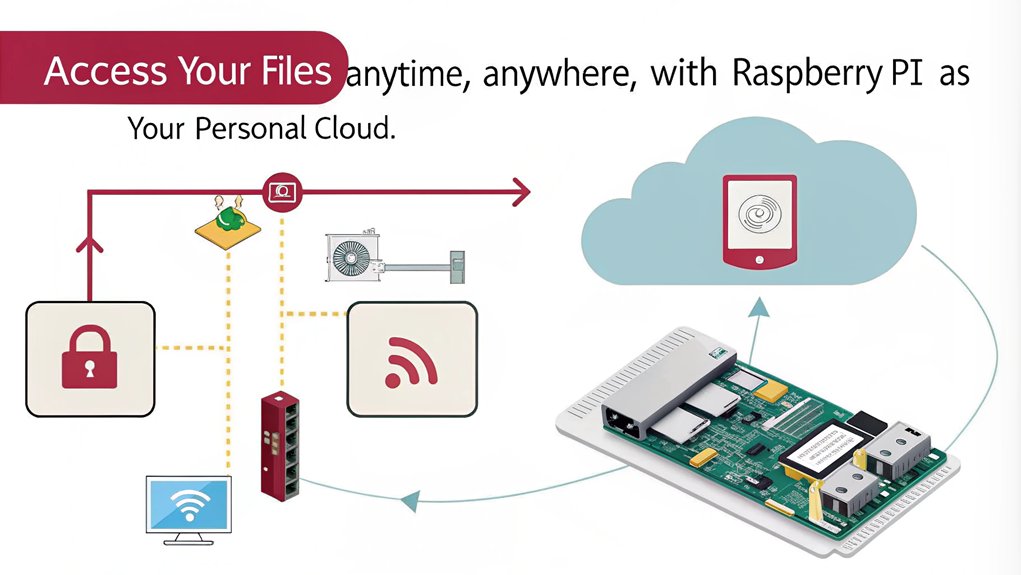
Accessing your personal cloud storage on a Raspberry Pi offers both convenience and flexibility. You can easily reach your OwnCloud server through a web browser on any device connected to your local network. Just enter the Raspberry Pi’s local IP address in your browser, and you’re good to go.
Additionally, if you’re on the move, using the OwnCloud smartphone app grants you mobile access to your files, ensuring you stay connected wherever you are.
To log in, simply use your username and password. Remember, it’s essential to keep your Raspberry Pi powered on for uninterrupted access.
If you want to access your cloud storage externally, you’ll need to set up port forwarding on your router, directing a random port to port 80 on your Raspberry Pi. This allows you to use your public IP address to access the server from outside your local network.
For enhanced security, consider running a VPN server to restrict remote connections and safeguard against potential intrusions. This maintains your innovative cloud setup while keeping your data secure.
With these steps, your Raspberry Pi can serve as a handy personal cloud solution.
Managing Files and Data
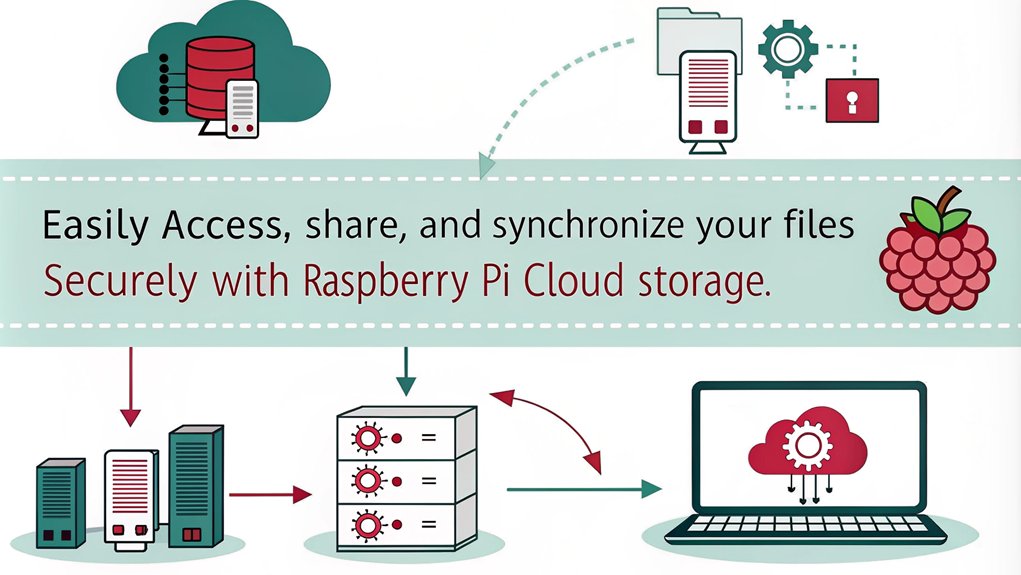
Managing your files and data on a Raspberry Pi can be a seamless experience with the right tools and configurations. By using services like OwnCloud or NextCloudPi, you can easily achieve impressive file synchronization and data organization.
Here’s what you can look forward to:
- Effortlessly access your data from anywhere, at any time.
- Keep your private files secure and away from third-party servers.
- Expand your storage with external drives, adapting to your growing needs, similar to how a NAS supports high-definition streaming.
- Experience the joy of having complete control over your data.
- Ensure reliable streaming performance by considering network stability, similar to setting up a Plex server.
To enhance your setup, format external drives (ext4 or BTRFS) and properly mount them for peak performance.
You’ll also want to configure your fstab file for automatic mounting, ensuring that your additional storage is always at hand. Uploading files is simple, whether you’re using a web interface or your smartphone.
Plus, with proper PHP settings, you can easily handle larger files.
With these tools in place, managing files and data on your Raspberry Pi becomes not just a task, but an innovative way to maintain your digital life. Embrace the power of personal cloud storage today.
Backup Strategies for Raspberry Pi
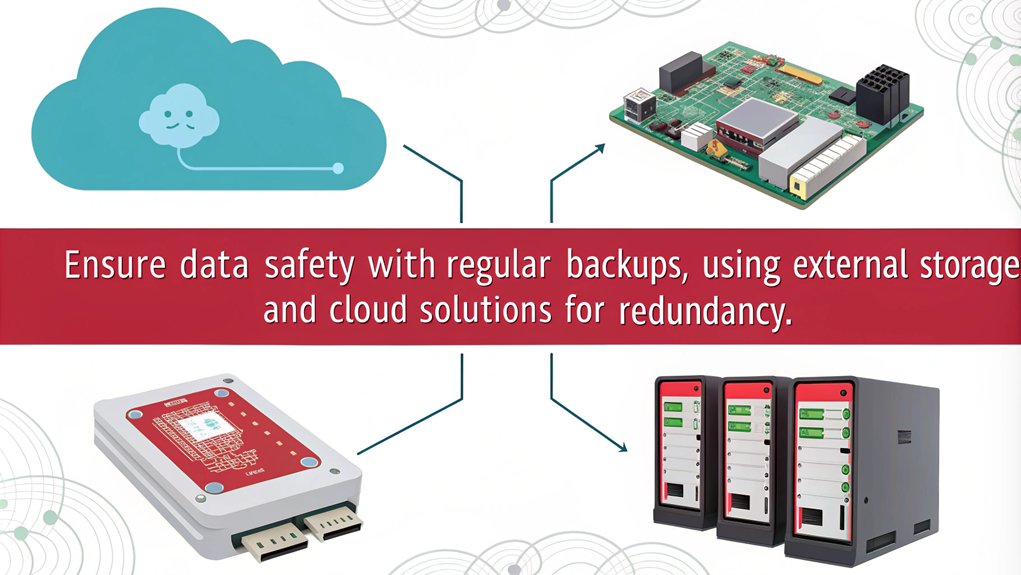
After setting up your personal cloud storage with Raspberry Pi, it’s time to focus on protecting your data. Backups are essential to guarantee that you can restore your system in case of failure. You’ve got various backup strategies to choose from:
| Backup Type | Recommended Tools |
|---|---|
| Full System Backups | dd, Win32 Disk Imager |
| Incremental Backups | rsync |
| Cloud/Network Backups | Google Drive, NAS |
Backup frequency matters. For full backups, schedule them monthly or quarterly; they’ll give you a complete system replica but can be time-consuming. On the other hand, incremental backups using rsync offer efficiency. They save only changes since the last backup, making them suitable for daily or hourly schedules.
Consider utilizing cloud services and network-attached storage for off-site backups. This adds an extra layer of security and accessibility. You can automate backups using cron jobs, simplifying the process.
To guarantee reliability, always test your backups by restoring them to a new SD card. Implementing these strategies will safeguard your precious data and keep your Raspberry Pi running smoothly.
Frequently Asked Questions
Can I Use a Raspberry Pi for Cloud Storage Without Internet Access?
Yes, you can use a Raspberry Pi for cloud storage without internet access. It functions on a local network, allowing offline access to files through connected devices, enabling seamless upload and download without needing a web connection.
What Are the Costs Associated With Maintaining a Raspberry Pi Cloud Server?
Maintaining a Raspberry Pi cloud server involves initial setup costs for hardware and software, along with ongoing maintenance expenses like updates and backups. Despite low energy costs, you’ll invest time and effort over the server’s lifetime.
How Do I Upgrade the Raspberry Pi Firmware for Optimal Performance?
To optimize your Raspberry Pi’s performance, regularly apply firmware updates. Start by running ‘sudo apt full-upgrade’ and ‘sudo rpi-update’. This keeps everything current, enhancing stability and ensuring you benefit from the latest enhancements. Always reboot afterward.
Can I Access My Files When the Raspberry Pi Is Turned Off?
You can’t access your files when the Raspberry Pi’s turned off. Effective power management is essential for file accessibility, as the device acts as the server needed for network connectivity and access to your files.
What File Types Can I Store on My Raspberry Pi Cloud Server?
You can store various file formats on your server, including documents, images, audio, and video. The storage capacity can reach around 20 terabytes practically, depending on your setup and external storage options.
Conclusion
By now, you’ve transformed your Raspberry Pi into a powerful personal cloud storage solution, but the journey doesn’t end here. Think about how you’ll safeguard your data and manage backups—are you truly ready for potential file loss? Keep your security tight and explore effective file management techniques. The real adventure lies just ahead as you continue to tweak and optimize your setup. What will you discover next on this cloud journey? The possibilities are endless.

I am a retired software engineer with experience in a multitude of areas including managing AWS and VMWare development environments. I bought a relative a mini-PC a year ago and have become passionate about the technology and its potential to change how we deploy software.