To master Raspberry Pi audio, you’ve got a world of options at your fingertips. Start by exploring various audio boards like the DAC PRO and DigiAMP+, which provide high-resolution sound for different applications. You’ll want to configure outputs effectively, utilizing HDMI or USB for straightforward setups. Setting up inputs can be done easily with USB microphones or I2S mics. Don’t forget software like Volumio to maximize your experience. Each element enhances your audio journey, making it exciting and accessible. Keep going, and you’ll uncover tips to refine your setup even further.
Key Takeaways
- Raspberry Pi offers various audio boards like DAC PRO and DigiAMP+ for high-resolution audio output and speaker integration.
- For audio input, utilize I2S microphones, while USB devices can enhance compatibility for diverse audio interfaces.
- HDMI audio is the default output, with easy switching to 3.5mm jack or USB audio devices for versatile setups.
- High sampling rates and bit depths improve audio quality; desktop volume control and software equalization help in fine-tuning playback.
- Specialized audio operating systems like Volumio or RuneAudio can enhance your Raspberry Pi audio experience.
Understanding Raspberry Pi Audio Hardware
When diving into Raspberry Pi audio hardware, you’ll discover a wealth of options tailored to different needs and projects. The array of audio board specifications serves various applications, from casual listening to professional setups.
For instance, using the DAC PRO or DAC+ gives you high-resolution audio outputs, while the DigiAMP+ is perfect for powering speakers with impressive audio processing capabilities.
You can easily connect headphones via the 3.5mm jack or utilize HDMI for combining audio with video. If you’re aiming for studio-quality sound, XLR connectors provide balanced output.
With plug-and-play designs and compatibility across models, integrating these boards into your Raspberry Pi audio projects is straightforward and accessible, ensuring innovative audio solutions are just a board away. Additionally, each audio board is powered through the Raspberry Pi GPIO header, ensuring seamless connectivity and convenience.
Furthermore, the Raspberry Pi model 3B features a 3.5mm headphone jack for audio output, making it versatile for various audio applications.
Exploring Audio Codec HAT Features
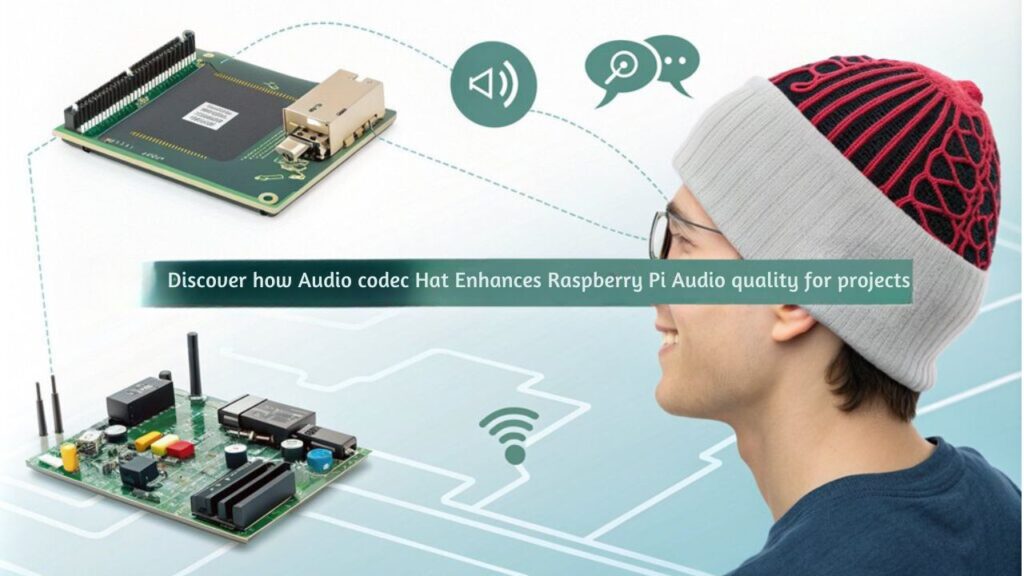
When you’re looking to enhance your Raspberry Pi audio projects, the Audio Codec HAT offers high-quality audio output that truly shines. You’ll also appreciate its integrated microphone capabilities, which make recording a breeze. Notably, it supports stereo speakers with 1W output per channel, ensuring your audio projects produce rich sound.
Plus, with flexible power options, you can tailor your setup to fit your needs perfectly. Additionally, it features Hi-Fi stereo encoding/decoding capabilities for enhanced audio quality.
High-Quality Audio Output
High-quality audio output is now more accessible than ever with the Raspberry Pi Audio Codec HAT, featuring the WM8960 IC. This remarkable codec module supports high fidelity playback, delivering rich stereo sound for all your audio needs. Additionally, the low power consumption of the Audio Codec HAT enhances battery life, making it an ideal choice for portable audio projects. Moreover, integrating this audio solution with Home Assistant’s modular system allows for seamless control and automation of your audio experiences.
Whether you’re connecting headphones via the onboard 3.5mm jack or integrating speakers with the dual channel interface, each option yields powerful audio performance. The WM8960 excels with 1W per channel for speakers and a robust 40mW for earphones, ensuring that your audio experience remains immersive.
Plus, advanced features like pop and click suppression enhance clarity. With straightforward installation and flexible gain settings, you’ll quickly elevate your audio projects to professional-quality levels, making the Raspberry Pi an innovative choice for audiophiles.
Integrated Microphone Capabilities
Integrated microphone capabilities greatly enhance the functionality of the Raspberry Pi Audio Codec HAT, making audio projects more versatile than ever. You’ll find support for various microphone types, including built-in options, MEMS, and electret microphones. The HAT utilizes the I2S interface for seamless digital audio signal transmission, ensuring high-quality performance. USB microphones can be integrated with the Codec HAT for an even broader array of audio applications. Additionally, the HAT is based on WM8960 IC technology, providing a robust foundation for excellent audio quality.
| Microphone Type | Features |
|---|---|
| Built-in | Two microphones using I2S |
| MEMS | Automatically disabled when external mic detected |
| Electret | Additional mono support |
With bi-directional digital audio signals and flexible mixing paths, your projects can achieve professional-level audio configuration and clarity. Embrace these integrated features for innovative audio solutions!
Flexible Power Options
Flexible power options are a key feature of the Raspberry Pi Audio Codec HAT, offering you the ability to tailor power supply setups for various audio projects. You’ll appreciate how these options boost battery efficiency while maintaining robust performance. Key highlights include:
- 5V power supply with low power consumption for portable use.
- Direct battery connection minimizes leakage and enhances efficiency.
- Flexible speaker gain maximizes output power without wasting power supply.
- Pop/click suppression guarantees clear audio playback.
- Compatible with Raspberry Pi’s 40-pin GPIO for easy integration.
Additionally, these features ensure optimal performance by enabling multiple SATA drives to be efficiently connected in various setups. The Raspberry Pi allows for enhanced audio experiences, making it suitable for a range of projects. With these features, you can customize and optimize your Raspberry Pi audio experience, whether you’re deploying in a home setup or a mobile application.
Configuring Audio Outputs

When you’re ready to configure Raspberry Pi audio outputs, you have multiple options to evaluate, including HDMI, the 3.5mm jack, and USB audio devices. Understanding the compatibility and audio quality settings for each connection will help you optimize your listening experience. Switching between outputs can enhance the user experience based on your equipment. It’s worth noting that using a USB sound card is a robust solution to bypass typical onboard sound issues. Let’s explore how to effectively switch between these outputs and achieve the best sound possible.
Output Connections Overview
As you explore configuring audio outputs on your Raspberry Pi, it’s essential to understand the various connections available.
Here’s a quick breakdown of the primary audio output connection types:
- HDMI: Automatic detection and can be set forcibly via ‘/boot/config.txt’.
- Headphone Jack: Default when HDMI isn’t used; adjust with ‘amixer’.
- USB Audio Devices: Offer enhanced audio quality and additional channels; easily selected via desktop controls.
- External Audio Boards: Enhance sound resolution; connect to the 40-pin header.
- Volume Control: Accessible through desktop or command line for fine-tuning. The Raspberry Pi OS supports multiple audio output modes, ensuring an innovative experience with your Raspberry Pi! Additionally, audio output can be changed via desktop volume control or raspi-config for greater convenience.
These connection types allow flexibility in how you enjoy audio output, ensuring an innovative experience with your Raspberry Pi!
Audio Quality Settings
Achieving ideal audio quality on your Raspberry Pi hinges on careful configuration of various settings.
Begin by adjusting the sampling rate and bit depth; higher settings, like 192kHz and 24-bit, enhance sound quality but require more resources. Additionally, using USB microphones is recommended for easy integration and management of audio input. It’s crucial to ensure that your hardware choices reflect compatibility requirements with the Raspberry Pi for optimal performance.
Use desktop volume control to select your audio output device and implement the ‘Pro Audio’ profile for refined control.
Manage audio distortion by balancing your volume control—too high can lead to clipping.
Software equalization will help you achieve frequency balance, smoothing out harsh tones.
For best hardware configuration, consider external sound cards and amplifiers, ensuring they’re compatible.
Finally, tweak your audio settings through the GUI or command line to meet your specific project needs.
Compatibility With Devices
Configuring audio outputs on your Raspberry Pi is essential for ensuring compatibility with various devices.
To optimize device compatibility and streamline audio device pairing, you can choose from a variety of options:
- HDMI Audio Output: The default option, compatible with most models.
- 3.5mm Audio Jack: Easy to set up, needs a simple output selection. This option is available on Raspberry Pi 1, 2, 3, and 4 models.
- USB Audio Devices: Plug-and-play support for diverse USB interfaces.
- External Audio HATs and Boards: Advanced options like DAC Pro for superior sound.
- Volume Control Settings: Adjust from desktop or ‘raspi-config’ for any output. Additionally, ensure to choose the appropriate Audio: Interface option to select your active audio device for optimal performance.
Setting Up Audio Inputs

When setting up Raspberry Pi audio inputs,, you’ll often find I2S microphones to be a popular choice for live sound applications. These microphones offer several advantages, including high-quality sound with minimal setup—just three digital signals and two power connections with no soldering required. Additionally, keep in mind that the 3.5mm port serves only as an output, meaning it cannot be used for audio input or recording functionalities. Therefore, be aware that crackling audio output may occur when using USB audio interfaces if microphone input is enabled.
Alternatively, consider external electret microphone connections via a 3.5mm jack, perfect for simple projects. If you’re looking for versatility, USB audio configurations allow you to connect various audio interfaces directly to the USB ports. Remember to handle AUX IN adjustments carefully to prevent audio distortion, and don’t forget to run audio input testing with commands like ‘arecord’ and ‘aplay’ to verify everything’s working as intended.
Installing Software and Libraries
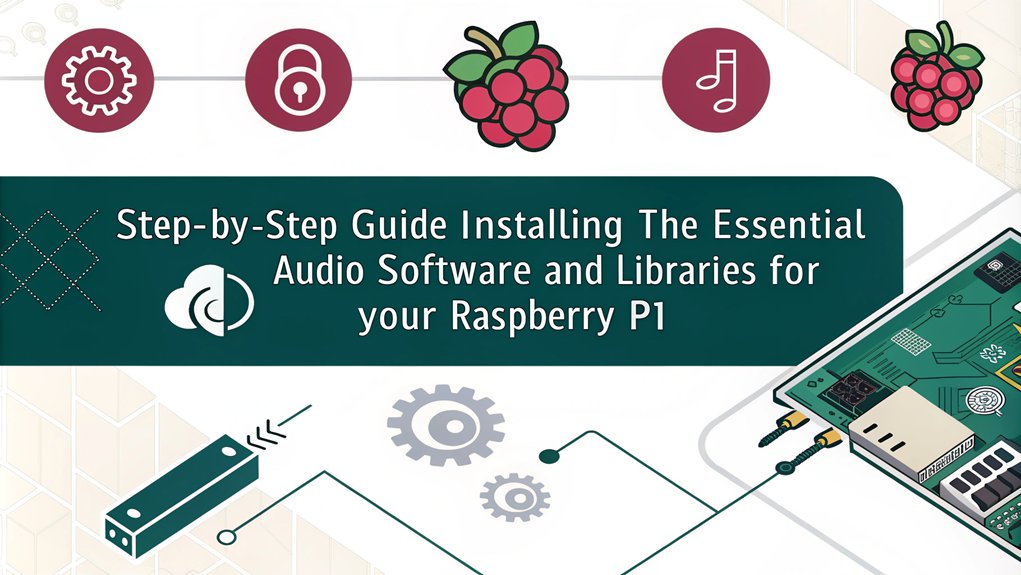
Installing the right Raspberry Pi audio software and libraries on your Raspberry Pi is essential for optimizing your audio projects.
To get started, consider these key steps for effective software installation and library management:
- Connect to the internet for seamless software downloads.
- Use the ‘apt’ command for quick installations and updates.
- Access “Preferences” through the menu to explore available software.
- Utilize command line tools like ‘git’ for cloning audio repositories.
- Explore specialized audio operating systems like Volumio or RuneAudio for enhanced playback.
Popular Audio Applications and Services

Explore top audio apps for your Raspberry Pi! Three standout choices are Volumio, RuneAudio, and Pi MusicBox. Each software solution is designed to optimize your listening experience, whether you’re streaming music, accessing online services, or playing locally stored audio files.
- Volumio offers a user-friendly interface, multi-room support, and robust playback controls. It integrates with many streaming platforms, ensuring a seamless music experience.
- RuneAudio provides a sleek web-based interface, making it easy to manage music libraries and streaming services. Its minimal resource usage keeps your Pi running smoothly.
- Pi MusicBox focuses on quick installation and Spotify integration. It also supports AirPlay and DLNA streaming, making it perfect for diverse listening preferences.
Pair any of these applications with quality hardware, and you’ll transform your Raspberry Pi into a versatile audio hub.
Frequently Asked Questions
Can I Use Raspberry Pi for Home Theater Audio Setups?
Yes, you can use a Raspberry Pi for home theater audio setups. With high audio quality from various audio HATs, it supports multi-zone control and integration, making it an innovative choice for your audio environment.
What Power Supply Is Recommended for Raspberry Pi Audio Projects?
For your Raspberry Pi audio projects, verify you meet the power requirements by selecting power supplies with adequate power ratings. For most models, a 5.1V supply with sufficient amperage is critical for peak performance.
How Do I Troubleshoot Audio Playback Issues on Raspberry Pi?
Imagine you’re playing your favorite retro game, but the audio’s glitchy. You might face audio driver issues. Check your audio configuration settings, update packages, reboot, and verify the correct output device is selected.
Can I Add Multiple Audio Output Devices Simultaneously?
Yes, you can add multiple audio output devices simultaneously by utilizing effective device management. Connect separate amplifiers to each speaker and configure your software to manage concurrent playback for an innovative, multi-room audio experience.
Is Raspberry Pi Compatible With Bluetooth Audio Devices?
Yes, Raspberry Pi’s compatible with Bluetooth audio devices! You can easily achieve Bluetooth pairing for wireless streaming. Just verify your device supports necessary audio codecs for smooth playback and ideal device compatibility for your needs.
Conclusion
Now that you’ve journeyed through the world of Raspberry Pi audio, you’re equipped to craft your own sonic landscapes. Like a skilled conductor, you can harmonize hardware, software, and creativity. Whether you’re streaming, recording, or tinkering, your Raspberry Pi is a versatile tool waiting for your touch. So go ahead, plunge into projects that sound as rich and varied as a symphony, and let your audio dreams take flight!

I am a retired software engineer with experience in a multitude of areas including managing AWS and VMWare development environments. I bought a relative a mini-PC a year ago and have become passionate about the technology and its potential to change how we deploy software.
Hi Michael,
thank you for this informative article.
It seems to be possible to use two different audio output stages e.g. HDMI and I2S to work simultaneously if you only use the propriate software and drivers. But yet I don’t know which ones.
This is a great idea for a post! I will let you know when it’s posted!
Michael
Just released it. Let me know what you think
https://minipctech.com/digital-sound-on-raspberry-pi-with-i2s/