Raspberry Pi configuration is key to optimizing your device for specific tasks. You’ll use the ‘raspi-config’ utility to set up initial preferences, like language and time zone. Configuring boot options lets you choose between console or desktop and manage network settings for Wi-Fi or wired connections. You can improve performance through overclocking, but it’s essential to check cooling options to prevent overheating. Also, customizing startup settings guarantees your applications run seamlessly. With a few tweaks, your Raspberry Pi can cater to your needs. There’s more to explore that can enhance your experience further.
Key Takeaways
- Raspberry Pi config involves initial setup, including language, timezone, and system package updates using the ‘raspi-config’ utility.
- Network configuration options allow for setting up Wi-Fi or Ethernet, including static IP management for reliable connectivity.
- Performance tuning includes overclocking CPU and GPU settings in ‘/boot/config.txt’ to enhance processing capabilities.
- Security measures include changing default passwords, enabling SSH/VNC access, and setting custom hostnames for network identification.
- Boot and startup customization can be managed through ‘/etc/rc.local’ and systemd services for efficient service management upon startup.
System Configuration Options
When you’re diving into the world of Raspberry Pi, understanding the system configuration options is vital for tailoring the device to your needs. These options allow you to customize user management and enhance system security effectively.
First, you can choose to boot directly to the console or desktop, and configure whether to require a login or enable automatic login for convenience. Additionally, you can expand the filesystem to utilize the full storage capacity of your device.
User management begins with changing the default password, ensuring that your Raspberry Pi remains secure from unauthorized access. You can also set a hostname for easy identification on your network, while configuring your default browser and country settings for wireless connectivity. Additionally, it’s important to ensure that your boot configuration prioritizes USB booting to improve system performance and flexibility.
When it comes to network and remote access, enabling SSH and VNC can be important for remote command line control and desktop sharing, respectively. You’ll want to secure these features appropriately to maintain system security.
Additionally, you can specify your wireless LAN SSID and password, and even set your Raspberry Pi to wait for a network connection before booting.
Raspberry Pi Configuration of the Interfaces
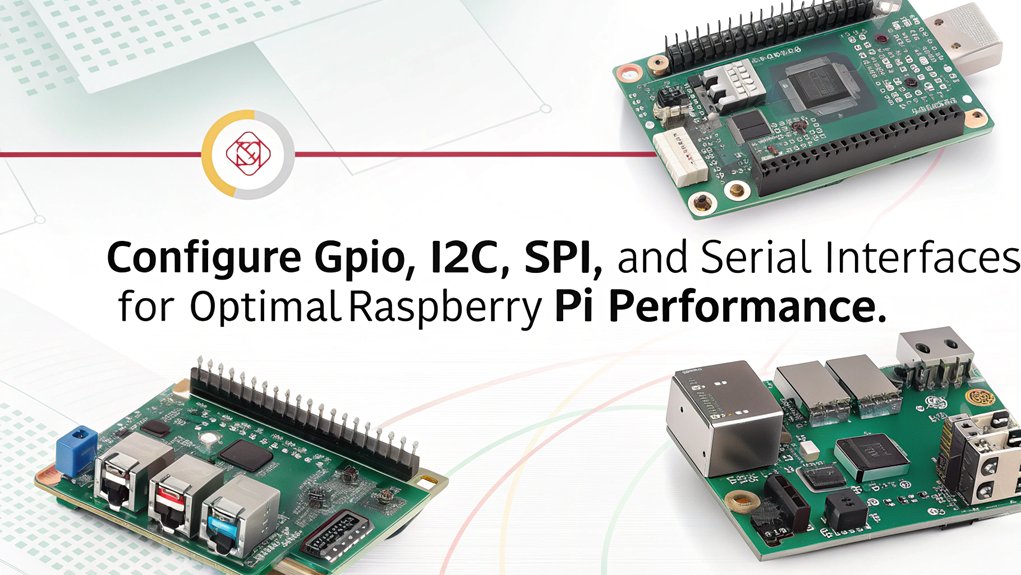
After you’ve configured the system settings, it’s time to focus on interface configuration to optimize your Raspberry Pi’s network connectivity.
Start by reviewing your current network settings using the ‘ifconfig’ command. This will display your current IP address, netmask, and other essential details. Typically, your default network interface will be ‘eth0’ for Ethernet, so keep an eye on that.
Next, create a backup of your ‘dhcpcd.conf’ file with ‘sudo cp /etc/dhcpcd.conf /etc/dhcpcd.backup’ before making any changes.
Open the file using ‘sudo nano /etc/dhcpcd.conf’, where you can set your static IP. Add lines for ‘interface eth0‘, ‘static ip_address’, ‘static routers’, and ‘static domain_name_servers’. Confirm the values match your network settings. This process of configuring static IP ensures your Raspberry Pi has a consistent IP address for easier logins. Additionally, ensure that your configuration reflects the current Raspberry Pi version for optimal performance.
Once you’ve made the necessary edits, save and exit by pressing ‘Ctrl+X’, then ‘Y’, and hit ‘Enter’.
To apply your new static IP configuration, restart your Raspberry Pi with ‘sudo reboot’. After rebooting, test the setup with the ‘ping’ command to verify everything’s working smoothly.
Performance and Overclocking
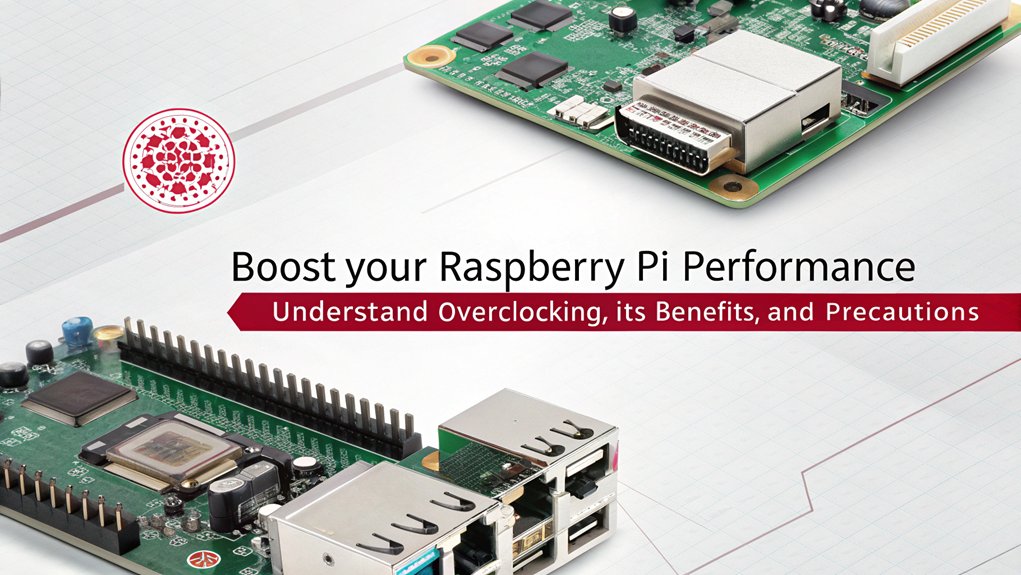
Maximizing the performance of your Raspberry Pi can greatly enhance your projects, whether you’re running a media center, a game emulator, or a home automation system. One powerful method to achieve this is through overclocking. By adjusting settings in the ‘/boot/config.txt’ file, you can boost your CPU and GPU frequencies, revealing significant overclocking benefits.
For instance, with the Raspberry Pi 4, you can push the CPU speed up to 2.147 GHz and the GPU up to 750 MHz, resulting in substantial performance gains. Additionally, the Raspberry Pi 5, announced in September 2023, offers over twice as powerful performance compared to its predecessor, making it an excellent candidate for overclocking. The Raspberry Pi 5 also features a dual-band Wi-Fi for enhanced connectivity, which is beneficial for projects requiring stable internet access. To ensure optimal performance during this process, it is crucial to employ proper cooling methods like heatsinks and fans, as they help prevent overheating.
However, overclocking requires careful handling to avoid damaging your hardware. It’s vital to use heatsinks and fans to maintain stability. Start by monitoring your current CPU speed with commands like ‘vcgencmd measure_clock arm’ to understand your performance benchmarks before and after overclocking.
Testing is essential to guarantee stability; moderate profiles like ‘arm_freq=2000’ and ‘gpu_freq=600’ are a good starting point.
Always refer to the official documentation for detailed guidance and understand the risks involved. With the right settings, your Raspberry Pi can perform at its best, pushing the limits of innovation in your projects.
Boot and Startup Settings
Booting your Raspberry Pi with the right settings can greatly impact how your projects run and interact with the system. One key aspect to evaluate is the boot order. By default, Raspbian boots from the SD card first. If you want to boot from USB instead, you’ll need to modify the ‘BOOT_ORDER’ in the bootloader config.
Use the command ‘vcgencmd bootloader_config’ to check your current settings and ‘vcgencmd set_config boot:0xf41’ to prioritize USB. Additionally, having a reliable Raspberry Pi unit is essential for ensuring smooth boot operations, especially with features like dual-band wireless LAN. Ensuring efficient cooling, similar to the advanced heat dissipation technologies used in other devices, can also enhance performance.
Once you’ve set your boot order, you can customize your startup experience with various startup scripts. For headless setups, adding commands to ‘/etc/rc.local’ can help run programs at boot, while placing scripts in the ‘/etc/init.d/’ directory allows for more control during boot and shutdown. Additionally, using systemd as the standard system for managing services on Linux can streamline the process.
Alternatively, you can leverage systemd by creating a unit file in ‘/lib/systemd/system/’ to manage service startup. Don’t forget to test your scripts thoroughly and set the right permissions to avoid any boot failures. With these configurations in place, you’ll optimize your Raspberry Pi’s performance right from the moment it powers on.
Localization and Network Settings
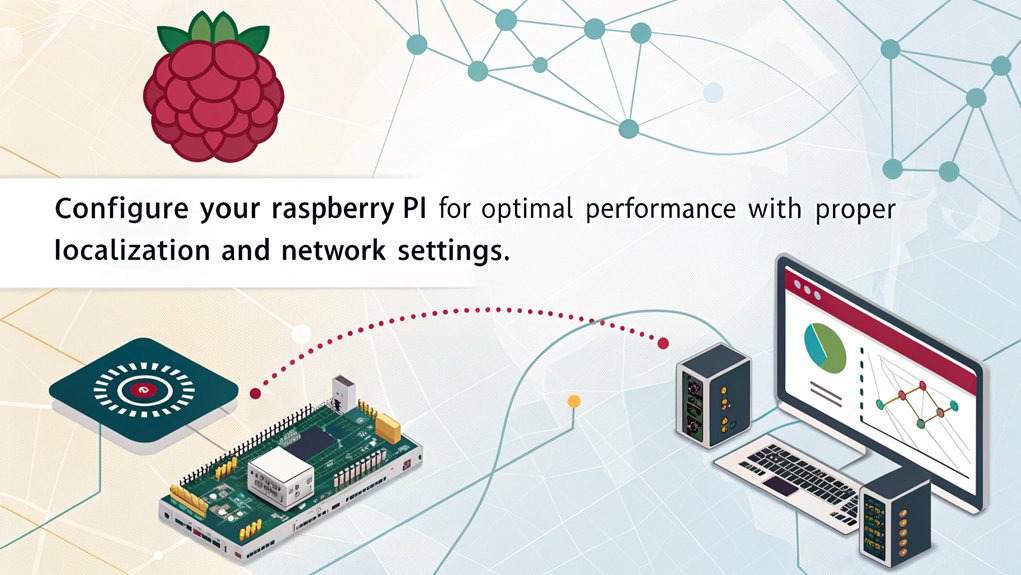
Proper localization and network settings are essential for optimizing your Raspberry Pi experience. By configuring these settings, you guarantee your device operates smoothly in your environment.
Here’s what you need to check:
- Locale Settings: Use ‘raspi-config’ to adjust locale settings and generate new ones if needed. Check available locales with ‘locale -a’. Additionally, the built-in utility “raspi-config” facilitates settings adjustments, making it user-friendly.
- Timezone Configurations: Match your timezone with ‘raspi-config’ to guarantee proper timekeeping, like selecting America/New_York.
- Keyboard Layouts: Set your keyboard layout to match your physical keyboard. Again, ‘raspi-config’ allows you to select the right layout, like U.S. keyboard.
- Wi-Fi Settings: Input your Wi-Fi country code and SSID/password using ‘raspi-config’ to comply with local regulations and connect seamlessly. This step is crucial for ensuring proper WiFi configuration methods.
- Ethernet Configuration: If using Ethernet, edit ‘/etc/dhcpcd.conf’ for DHCP or static IP settings, guaranteeing reliable connectivity.
Frequently Asked Questions
Can I Use Raspberry Pi for Machine Learning Projects?
Absolutely, you can use Raspberry Pi models for machine learning projects! With frameworks like TensorFlow and PyTorch, you’ll leverage its capabilities for tasks like object detection, facial recognition, and even real-time data analysis.
What Operating Systems Can I Install on Raspberry Pi?
You can install various Raspberry Pi distributions, like Raspberry Pi OS, Ubuntu Mate, and DietPi. Verify you check operating system compatibility with your model, as some may offer unique features suited for your innovative projects.
How Do I Connect My Raspberry Pi to a Monitor?
Connecting your Raspberry Pi to a monitor is like finding the perfect puzzle piece. Confirm your HDMI connection matches the monitor’s compatibility, then plug in and power up for a seamless display experience.
What Is the Best Way to Power My Raspberry Pi?
To power your Raspberry Pi, use a suitable power supply that meets the voltage requirements—5.1V. Choose the right amperage based on your model for ideal performance, avoiding standard phone chargers for best results.
How Do I Back up My Raspberry Pi Data?
Think of your Raspberry Pi as a treasure chest; backing up your data guarantees you won’t lose any gems. Explore various backup solutions like ‘dd’ or ‘rsync’ for efficient data transfer and peace of mind.
Conclusion
In wrapping things up, configuring your Raspberry Pi is like giving it a tailored suit—everything fits just right for your needs. By adjusting system settings, interfaces, and performance, you’re not just tweaking a device; you’re unleashing its full potential. So, don’t shy away from exploring those options. Embrace the tweaks and turn your Raspberry Pi into a powerhouse of creativity and innovation. After all, a little customization goes a long way!

I am a retired software engineer with experience in a multitude of areas including managing AWS and VMWare development environments. I bought a relative a mini-PC a year ago and have become passionate about the technology and its potential to change how we deploy software.