
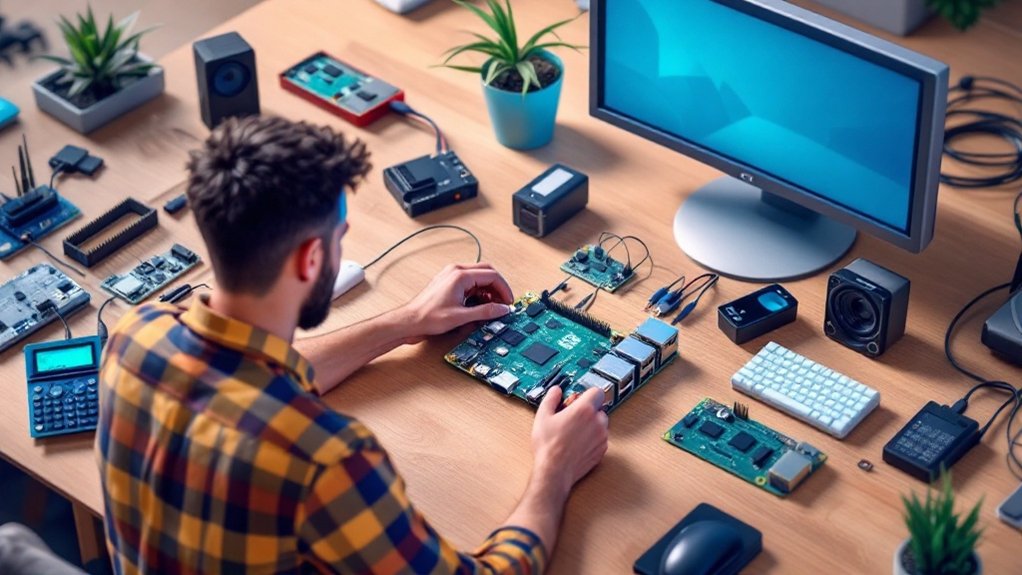
Getting started with a Raspberry Pi is easier than you think! First, you’ll need the board, a suitable power supply, and a microSD card. Set up the microSD card with Raspberry Pi Imager, then connect your monitor, keyboard, and mouse. Once powered on, follow the prompts to configure your settings. You can use it like a home desktop, program in Python, Scratch, or Java, and even tackle simple projects like controlling LEDs. As you grow more comfortable, you can explore advanced applications like IoT and home automation. The possibilities are exciting, and there’s so much more waiting for you to discover! So let’s explore getting started with a Raspberry Pi for beginners.
Key Takeaways
- Choose the right Raspberry Pi model and gather essential components like a power supply and microSD card for setup.
- Use Raspberry Pi Imager to prepare the microSD card and install the Raspbian operating system.
- Connect peripherals such as a monitor, keyboard, and mouse, then power on the Raspberry Pi to complete the initial configuration.
- Start programming with Python using editors like mu or Thonny IDE to explore basic coding concepts through simple projects.
- Utilize online resources and community forums for troubleshooting common issues and finding project inspiration as you learn.
Setting Up the Raspberry Pi for Beginners
Setting up your Raspberry Pi is an exciting step toward exploring the world of computing. Start by preparing your microSD card. Insert it into a card reader connected to your computer. Download the Raspberry Pi Imager and, if necessary, format the card using the SD Card Formatter. Make sure your microSD card is at least 8GB and preferably class 10 for ideal performance. Additionally, ensure that you follow installation steps correctly to avoid any potential issues.
Next, download the Raspberry Pi OS through the Imager. You can customize user management settings, including hostname, username, and password, along with enabling SSH and configuring your network for wireless LAN. If you prefer, use Win32 Disk Imager to write the OS to your microSD card.
Once everything’s ready, insert the microSD card into your Raspberry Pi. Connect it to a monitor, keyboard, and mouse. If you’re using a wired connection, plug in an Ethernet cable. Power it on, and the red LED will light up, indicating it’s ready. Raspberry Pi has no internal storage and boots from a microSD card, so ensure that your card is properly formatted and contains the OS.
Follow any on-screen instructions for initial setup, including network configuration. Your Raspberry Pi should boot up in about 15-20 seconds, and you’ll be one step closer to releasing its potential.
Choosing the Right Hardware
Once your Raspberry Pi is set up and ready to go, the next step is choosing the right hardware to maximize its capabilities. Start with a stable power supply; all models require 5V, with specific current needs—like 2.5A for the Pi 3 and 3A for the Pi 4. Additionally, consider that a MicroSD card with NOOBS is essential for operating system installation. It’s important to ensure that your power supply delivers stable power delivery to prevent any operational issues.
Don’t forget storage options! A Class 10 microSD card with 8-16GB capacity is ideal for your operating system.
Consider your display requirements; you’ll need a monitor or smart tv and an HDMI cable to connect. For user input, a USB keyboard and mouse are essential accessories.
If you’re looking to protect your board, think about case selection, which can also help with heat management.
For those interested in GPIO usage, breadboard basics come into play. Jumper wires, resistors, LEDs, and switches are great for prototyping projects.
Also, factor in hardware compatibility and peripheral considerations when planning your setup.
Finally, keep budget planning in mind as you gather your accessory essentials. With the right hardware, your Raspberry Pi journey will be enjoyable and productive!
Installing the Operating System
Before diving into your projects, you’ll need to install an operating system on your Raspberry Pi to make certain it runs smoothly.
Start by preparing your SD card; make sure it’s at least 8GB and Class 10 or higher. Insert the microSD card into a card reader, connect it to your computer, and use an SD Card Formatter to handle the formatting process without altering other settings.
Next, download the necessary tools. Get the Raspberry Pi Imager from the official website, or if you prefer a manual method, download Win32 Disk Imager and the Raspbian OS image.
Extract the OS image to a convenient location.
Now, it’s time for the writing method. Launch the Raspberry Pi Imager, select your SD card as the target device, and choose the desired OS version. Additionally, ensure that SSH is enabled during setup for remote access.
If using Win32 Disk Imager, write the Raspbian OS image to the SD card. Don’t worry about any warnings—just wait for the verification process to finish.
Once done, remove the SD card and insert it into your Raspberry Pi. Power it up and follow the on-screen instructions for the initial configuration, including setting up Wi-Fi, username, and password. The recommended operating system for beginners is Raspbian Linux, which is designed to perform basic functions and manage hardware effectively.
Basic Programming and Projects

Immersing yourself in basic programming and projects with your Raspberry Pi opens up a world of creativity and learning.
You’ll want to set up your programming environment by booting into Raspbian, then launching the Python console using the mu editor or Thonny IDE. Start with simple scripts that teach you basic syntax and data types in Python. As you gain confidence, explore conditional statements with ‘if’, ‘elif’, and ‘else’ to make your scripts interactive, and utilize loop structures like ‘for’ and ‘while’ for repetitive tasks.
Beginner projects offer a fantastic way to apply your newfound skills. For example, controlling LEDs allows you to engage in hardware interaction using GPIO pins. GPIO pins enable you to read inputs from buttons and sensors, which can elevate your project ideas even further. You could also create a weather station or set up a Twitter bot to automate tweets. Additionally, you can enhance your projects by using data monitoring tools to track system performance and resource usage.
As you tackle more complex projects, like building a distance sensor or an AI assistant, you’ll incorporate function definitions and error handling to enhance your code’s robustness. Each project increases in complexity, providing a sense of accomplishment and community as you share your creations.
Embrace the learning journey, and enjoy every moment of your Raspberry Pi adventure!
Advanced Projects and Uses
Advanced projects with your Raspberry Pi for beginners can truly elevate your skills and creativity. Engaging in these projects not only deepens your understanding but also connects you with a community of makers. Here are some exciting ideas that incorporate IoT Innovations, Home Automation, Security Solutions, and Robotics Applications:
| Project Type | Description | Key Components |
|---|---|---|
| IoT Innovations | Smart Attendance System using RFID and face recognition | Raspberry Pi, RFID tags |
| Home Automation | Real-Time Face Recognition Doorbell | Raspberry Pi, camera |
| Security Solutions | Raspberry Pi Security Camera with OpenCV | Raspberry Pi, OpenCV |
You can design a face recognition AI robot, build a weather station, or create a smart doorbell that enhances your home’s security. Creating a media server is another fantastic project that allows you to stream movies and music to your devices. Want to immerse yourself in robotics? Try building a virtual telepresence robot! Each project invites you to explore new skills, collaborate with others, and share your creations. By leveraging low-cost hardware like the Raspberry Pi, you can implement innovative solutions that optimize your projects. So, gather your components, get started, and let your imagination run wild as you turn your Raspberry Pi into a powerful tool for innovation!
Frequently Asked Questions
Can I Use a Raspberry Pi Without a Monitor?
Absolutely, you can use a Raspberry Pi without a monitor by setting it up headless. Just configure remote access via SSH and VNC, allowing you to control it from your laptop or desktop seamlessly.
What Power Supply Do I Need for Raspberry Pi?
You’ll need a power supply that meets your Raspberry Pi’s voltage specifications of 5.1V and the appropriate current based on the model. Check the power requirements to guarantee peak performance and avoid issues.
How Do I Connect to Wi-Fi on Raspberry Pi?
You might think Wi-Fi configuration is tough, but it’s straightforward. Start by checking your adapter with ‘ifconfig’. If issues arise, use network troubleshooting techniques to guarantee a stable connection. You’ll be online in no time!
Can I Run Windows on a Raspberry Pi?
You can run Windows on a Raspberry Pi, but expect compatibility issues and limited performance. Consider alternative operating systems for better efficiency. Performance comparison shows that other OS options may suit your needs more effectively.
What Are the Best Accessories for Raspberry Pi?
When it comes to accessories, you’ll want to cover all your bases. Raspberry Pi cases, cameras, keyboards, and sensors are essential. They enhance performance, expand functionality, and help you create amazing projects effortlessly.
Conclusion
Now that you’ve set up your Raspberry Pi and explored its basics, you’re ready to release your creativity! Whether you’re coding a simple game or building a smart home device, the possibilities are endless—like having a mini mainframe at your fingertips. Don’t be afraid to plunge into advanced projects and share what you create with others. With your newfound skills, you’re well on your way to becoming a tech wizard in this digital age. Happy tinkering!

I am a retired software engineer with experience in a multitude of areas including managing AWS and VMWare development environments. I bought a relative a mini-PC a year ago and have become passionate about the technology and its potential to change how we deploy software.