How Can You Use a Raspberry Pi Home Security Project?
You can significantly boost your home security with Raspberry Pi by following these seven tips. First, choose the right hardware, like Raspberry Pi 3 or 4, along with sensors for monitoring. Next, set up the operating system and configure your Wi-Fi securely. Incorporate motion detection for immediate alerts and create a smart door lock using RFID technology. Build a reliable home alarm system to deter intruders, and don’t forget to enhance your network security using firewalls and secure protocols. Explore additional features like cloud storage for surveillance footage. Stick around to uncover even more innovative security ideas!
Key Takeaways
- Use a Raspberry Pi 3 or 4 for better GPIO access and compatibility with various sensors and modules.
- Integrate motion sensors and cameras for real-time monitoring and alert systems using the gpiozero library.
- Implement RFID technology with a relay module for secure smart door locks and user access management.
- Ensure network security by using SSH, firewalls, and regular audits to protect against intrusions.
- Store surveillance footage securely in the cloud for easy remote access and enhance user privacy.
Choose the Right Hardware
When embarking on your Raspberry Pi home security project, selecting the right hardware is crucial for building a reliable and effective system. Start with your Raspberry Pi board, as it serves as the central processing unit. Models like the Raspberry Pi 3 or 4 provide GPIO pins for connecting various sensors and cameras. The integration of hardware and software components is essential for a successful setup.
For sensor selection, consider integrating a PIR motion sensor to detect movement and trigger alerts. Its adjustable sensitivity ensures you can tailor the system to your environment.
A magnetic door sensor is another essential choice, providing real-time monitoring of door openings. If you’re aiming for comprehensive safety, don’t overlook smoke detectors; they can easily integrate with your Raspberry Pi for added protection. Additionally, using a Raspberry Pi for security applications allows you to create a more customizable and cost-effective solution.
Regarding camera options, you can opt for the Raspberry Pi Camera Module, perfect for capturing images and video for surveillance. Alternatively, a USB webcam offers another approach, connecting seamlessly to your Raspberry Pi.
Both camera options can be paired with motion detection algorithms for enhanced security. By carefully selecting your sensors and cameras, you’ll be well on your way to creating an innovative home security system.
Set Up the Operating System
Setting up the operating system on your Raspberry Pi is a crucial step that lays the foundation for your home security project.
To kick things off, you’ll want to focus on three main areas: Raspberry Pi installation, Wi-Fi configuration, and user management.
Here’s how to get started:
- Install the OS: Use the Raspberry Pi Imager to install your desired operating system on the microSD card. Select the model, pick the OS, and click write to finalize the installation.
- Configure Wi-Fi: Edit the ‘wpa_supplicant.conf’ file on the microSD card. Add your country code, SSID, and Wi-Fi password, ensuring it saves correctly for seamless connectivity on the first boot.
- Set Up User Management: Avoid using the default username and password for security enhancements. Create a custom username and password during the installation or on first boot, and enable SSH for secure remote access. Enabling SSH is important as it allows for secure remote management of your Raspberry Pi. A customizable security solution is essential as it allows for better integration with platforms like Home Assistant.
Implement Motion Detection
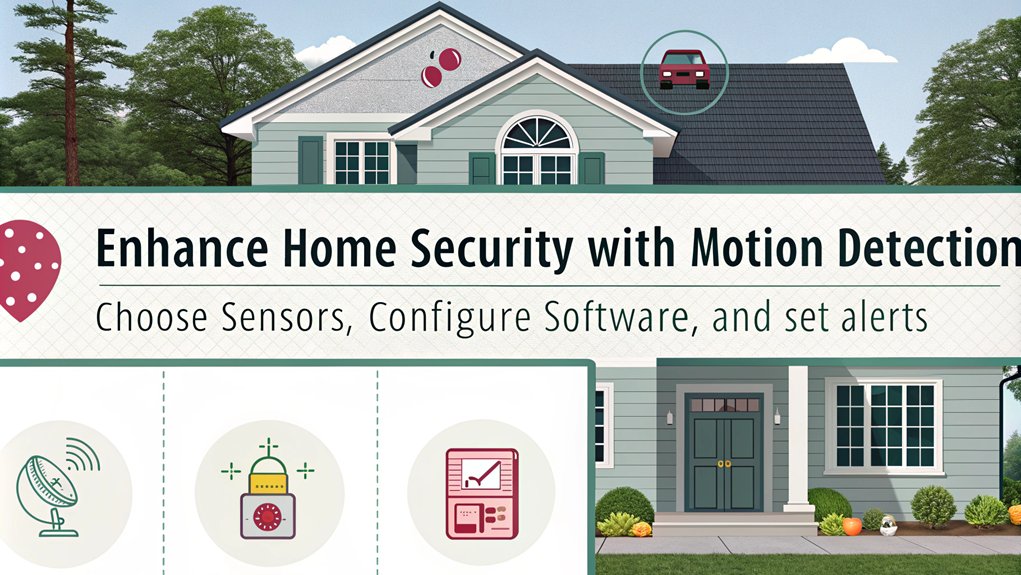
To implement motion detection, you’ll first need to choose the right detection software that suits your needs. Once you’ve made your selection, configure alert notifications to keep you informed of any activity. This setup ensures you’ll always stay updated on what’s happening around your home. Utilizing a PIR motion sensor can enhance your system’s effectiveness by detecting changes in infrared light. Additionally, consider using a Raspberry Pi security camera for a cost-effective and customizable solution to monitor your property.
Choose Detection Software
Implementing motion detection for your Raspberry Pi home security system is an exciting step toward enhancing your surveillance capabilities. Choosing the right detection software is crucial for effective sensor calibration and seamless software integration. You’ve got a couple of solid options, but let’s focus on a straightforward approach using the gpiozero library. Notably, Raspberry Pi serves as the main controller for this project, enabling you to connect various components easily.
Here’s how to set it up:
- Install gpiozero: If you haven’t already, install it by running ‘python3 -m pip install gpiozero’.
- Define your motion sensor: Import the MotionSensor interface and specify the GPIO pin connected to your PIR sensor.
- Set event handlers: Utilize event handlers like ‘when_motion’ and ‘when_no_motion’ to detect activity and respond accordingly. This setup allows you to leverage motion detection capabilities with the help of the GPIO pins to read signals from the PIR sensor.
With these steps, you can easily create a motion detection script. Just remember to run it continuously to monitor the sensor’s output. This setup not only improves your home security but also showcases your innovative spirit in utilizing Raspberry Pi for practical applications.
Dive into the code, and watch your surveillance capabilities expand!
Configure Alert Notifications
When motion is detected by your Raspberry Pi home security system, configuring alert notifications ensures you stay informed in real-time. You can set up various notification types to suit your preferences, whether it’s through SMS, email, or even pop-up messages on your Raspberry Pi’s monitor.
Start by connecting the PIR motion sensor and ensuring it’s correctly wired to your Raspberry Pi. Then, install the necessary libraries like ‘gpiozero’ for GPIO control. It is essential to enable the camera software for better functionality if you plan to incorporate photo capture alongside motion alerts.
Next, write a Python script that utilizes the motion detection capabilities of the PIR sensor. Trigger specific alert methods in response to motion events. For instance, you could configure your script to send an SMS via an LTE modem or display a pop-up message using ‘tkinter’. Additionally, ensure that you have installed the open-source motion library to enhance your motion detection functionality.
Don’t forget to test your notification system thoroughly. Ensure it reliably alerts you without false positives or negatives.
Create a Smart Door Lock
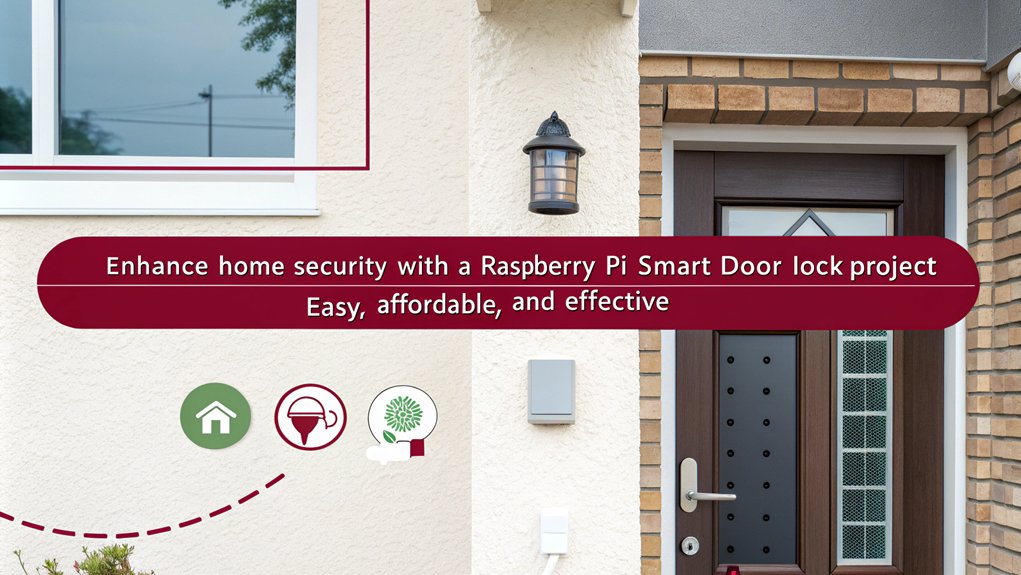
To create a smart door lock with your Raspberry Pi, you’ll need essential components like a high torque servo or solenoid lock, a relay module, and connections for power and control. A smartphone-controlled deadbolt actuator can also be integrated into your lock system to enhance convenience. Integrating RFID can enhance your security system, allowing you to unlock your door with a simple key fob. Additionally, implementing three-factor authentication can significantly increase the security of your access control system. Let’s explore the hardware components and the steps for implementing RFID for seamless access control.
Components Needed Overview
Building a smart door lock with a Raspberry Pi is an exciting way to enhance your home security. To get started, you’ll need to focus on component selection and wiring techniques to ensure a seamless setup. Here’s a quick overview of the essential components:
- Raspberry Pi Board: This is your central processing unit.
- Relay Module: It manages external power for the lock.
- Solenoid or Servo Motor: This handles the locking and unlocking mechanism.
In addition to these, consider adding a keypad module for PIN-based entry and an LCD screen for user interaction. It’s important to remember that multiple solenoid locks can be controlled with a single relay setup, allowing for greater flexibility in your security system. Furthermore, ensure that your components are energy-efficient to minimize power consumption during operation.
Don’t forget the power requirements; you’ll need an external power source (9V-12V) for the solenoid lock. Jumper wires, a breadboard, and a GPIO extension board will aid your wiring techniques, allowing for easy connections and testing.
Once you’ve gathered these components, you’ll be ready to prototype your smart door lock. This innovative project not only secures your home but also gives you hands-on experience with electronics and programming. Let your creativity shine as you design a locking system tailored to your needs!
RFID Integration Steps
Integrating RFID technology into your smart door lock project elevates both convenience and security. Begin by connecting your RFID module to the Raspberry Pi using SPI communication, ensuring proper pin alignment for SCK, MOSI, MISO, and CS. Additionally, it is essential to have a Raspberry Pi board as the central processing unit for your project. SafetyLock utilizes fingerprint, RFID badge, and web interface access methods, enhancing the overall security of your system.
Next, integrate a relay module to control the electromagnetic door lock, connecting it with a reliable 12V power supply. Incorporate a buzzer and LED indicators for real-time feedback on access attempts.
For software, install necessary libraries like ‘mfrc522’ and ‘spidev’ using pip3. Enable I2C and SPI on the Raspberry Pi to support RFID protocols effectively. Write Python scripts for reading RFID tags, authenticating users, and controlling the relay.
For added functionality, consider a database to store user data and access logs. Implement RFID security by comparing read tag IDs against stored IDs.
To enhance security further, you might add PIN codes or temporary passcodes. Optionally, integrate a PIR sensor for motion detection to trigger the RFID reader.
Lastly, ensure the system automatically locks after a set period, maintaining robust security for your home.
Build a Home Alarm System

A home alarm system built with a Raspberry Pi offers an effective and customizable solution for enhancing your home security. By utilizing various components, you can create a system tailored to your specific needs.
Here’s a quick overview of the essential steps:
- Set Up Your Hardware: Connect PIR sensors to the Raspberry Pi’s GPIO pins and integrate Arduino boards for controlling sirens.
- Software Configuration: Use OpenHAB for automation and Python scripts for alarm functions. Ensure robust communication with MQTT and Ethernet support. Additionally, the system employs the OpenCV library for image capture from the USB web camera, allowing for enhanced surveillance capabilities.
- Sensor Calibration and Testing: Properly calibrate your sensors to avoid false alarms. Regularly perform alarm troubleshooting to ensure everything works seamlessly. Additionally, the system features include motion detection, camera integration, and remote monitoring, which allows your system to alert you via email or SMS upon detecting intrusions.
You can configure zones and set alarm modes based on your preferences. Don’t forget to implement fail-safe mechanisms and regular system checks to maintain optimal performance.
With a Raspberry Pi, you’re well-equipped to build a reliable home alarm system that keeps your property secure.
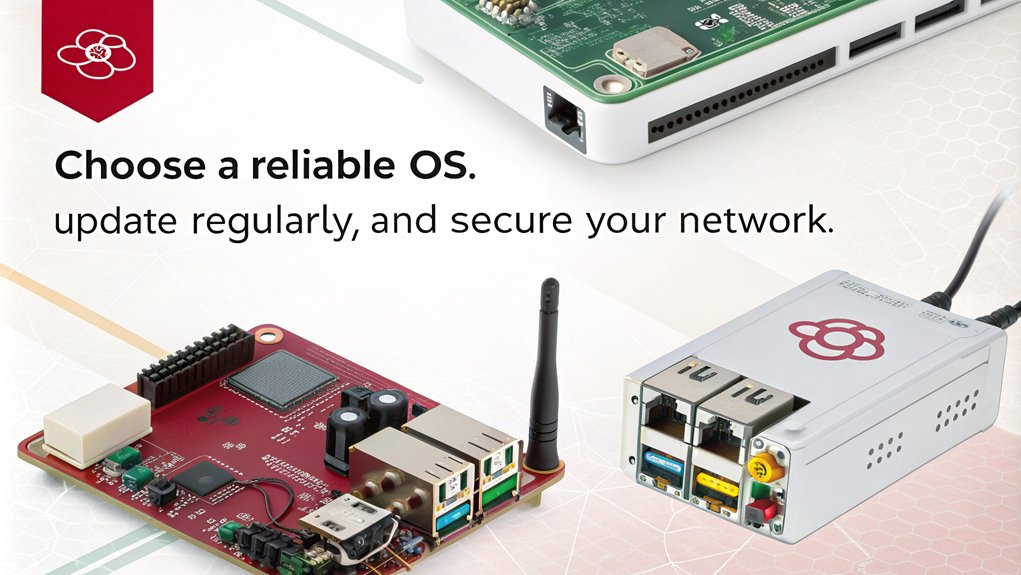
Enhance Network Security
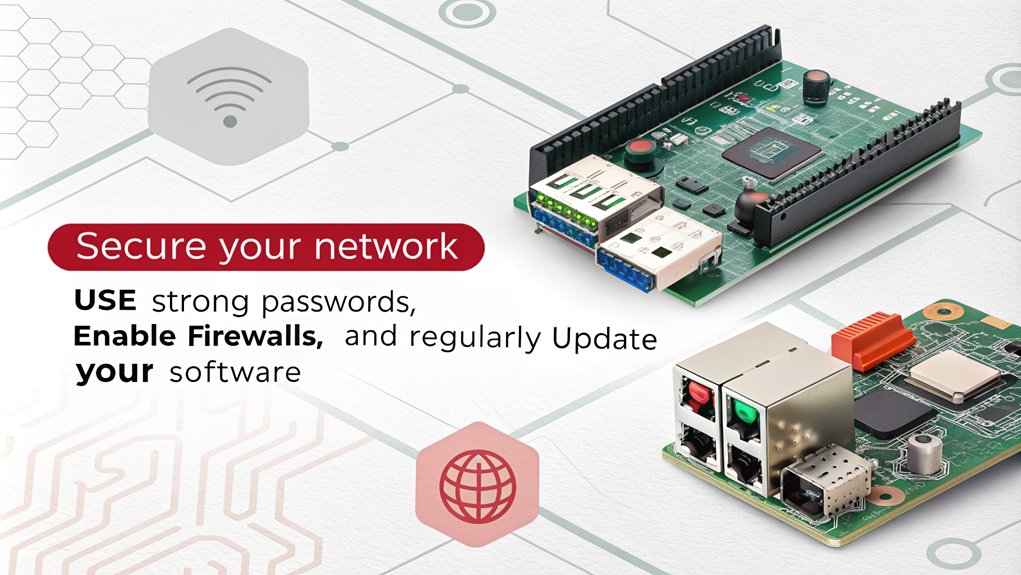
Enhancing network security is crucial for protecting your Raspberry Pi and the devices connected to it. Start by utilizing secure protocols like SSH for remote access, SFTP for file transfers, and HTTPS for web services. This ensures that your data remains encrypted and safe from prying eyes. Implementing a VPN server with tools like OpenVPN or WireGuard can further encrypt your data and mask your IP address.
Next, consider network segmentation. By isolating your Raspberry Pi from other devices, you can limit the spread of potential intrusions. Use built-in firewalls such as UFW to control traffic and disable any unused ports to reduce vulnerabilities. Regular audits of your network can also help identify and address potential security weaknesses. Additionally, installing software for specific projects like Pi-hole can help filter unwanted traffic and enhance your security posture.
To bolster defenses against brute force attacks, utilize tools like Fail2Ban, which block suspicious IP addresses. Regularly update your system and installed packages to ensure you have the latest security patches.
Explore Additional Features

When exploring additional features for your Raspberry Pi home security system, you’ll find a diverse range of options that can significantly enhance its capabilities.
By integrating these features, you can create a robust and efficient security setup that prioritizes both user privacy and accessibility.
Here are three standout enhancements to consider:
- Cloud Storage: Store your surveillance footage securely in the cloud. This not only ensures that your data is safe from local theft but also allows you to access past recordings from anywhere, anytime.
- Smart Access Control: Use RFID readers and facial recognition systems to create a seamless entry experience for authorized users. By logging access attempts, you can keep a close eye on who enters and exits your home.
- Advanced Alarm Systems: Implement various alarm modes and panic features to react swiftly to potential threats. Combining wired and wireless sensors ensures comprehensive coverage throughout your property.
These innovations not only bolster your security but also enhance your home automation experience, making your Raspberry Pi setup truly cutting-edge.
Frequently Asked Questions
How Do I Power My Raspberry Pi Securely?
To power your Raspberry Pi securely, use reliable power sources like official adapters or USB-C connections. Consider adding a battery backup to ensure continuous operation during outages, enhancing both stability and reliability for your projects.
Can I Use Multiple Cameras With One Raspberry Pi?
Can you imagine a single Raspberry Pi capturing multiple perspectives? With the right camera configuration, you can connect several cameras for seamless video streaming, expanding your creative possibilities and enhancing your projects like never before.
What Are the Best Practices for Securing My Wireless Network?
To secure your wireless network, implement strong network encryption like WPA3 and enforce device authentication through multi-factor methods. Regularly update protocols and isolate guest access, ensuring your data and devices remain protected from unauthorized users.
How Can I Access My Raspberry Pi Remotely?
Imagine unlocking a digital fortress! To access your Raspberry Pi remotely, dive into SSH configuration for secure command-line control or set up a remote desktop for a visual experience, transforming your Pi into a powerhouse at your fingertips.
What Should I Do if My System Is Hacked?
If your system’s hacked, immediately back up your data and disconnect from the internet. Then, run a full system scan, change passwords, and focus on system recovery by updating software and restoring from a good backup.
Conclusion
As you dive into these Raspberry Pi home security projects, remember that each step you take not only fortifies your home but also sharpens your skills. With every motion detected and door locked, you’re crafting a safer environment. But what if you miss a crucial detail? The stakes are higher than they seem, and the peace of mind you seek is just a project away. So, gear up—your journey into enhanced security starts now, and the possibilities are endless.

I am a retired software engineer with experience in a multitude of areas including managing AWS and VMWare development environments. I bought a relative a mini-PC a year ago and have become passionate about the technology and its potential to change how we deploy software.