
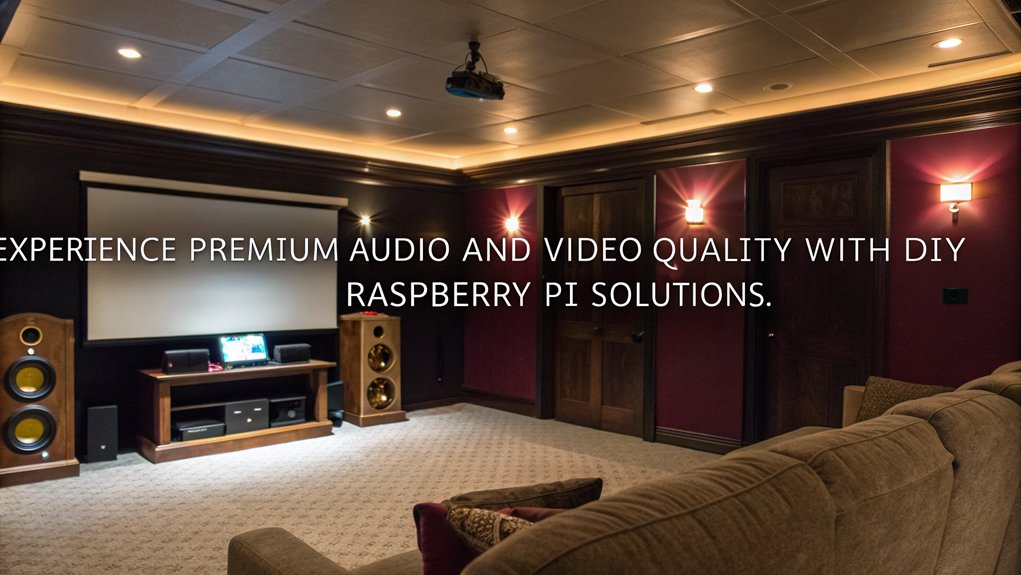
You can build the ultimate home theater using a Raspberry Pi by selecting the right model, like the Raspberry Pi 5 for enhanced performance. Connect it to your TV with an HDMI cable and set up a media center software like LibreELEC or OSMC. Enhance your Raspberry Pi Home Theater experience by integrating streaming services and customizing audio output through quality speakers. Don’t forget to optimize performance with cooling solutions and hardware acceleration. With smart remote options and user-friendly interfaces, you’ll have seamless control. Keep going to discover tips that will take your home theater setup to the next level!
Key Takeaways
- Choose a Raspberry Pi model that fits your needs, with Raspberry Pi 5 offering superior performance and PCIe support for faster data access.
- Install media center software like LibreELEC or OSMC for a seamless streaming experience, especially for 4K content with Raspberry Pi 4 or 5.
- Connect your Raspberry Pi to the TV using HDMI and configure audio settings for optimal sound output, ensuring high-quality cables are utilized.
- Enhance your home theater experience with user-friendly interfaces, ambient lighting setups, and integration of streaming services and home automation solutions.
- Utilize additional cooling solutions like heatsinks and fans to prevent overheating, especially during high-demand streaming and gaming activities.
Choosing the Right Raspberry Pi Model
When you’re setting up a home theater, choosing the right Raspberry Pi model is fundamental for getting the best performance tailored to your needs.
With the recent advancements in Raspberry Pi specifications, it’s imperative to evaluate performance benchmarks, specifically comparing the Raspberry Pi 4 and 5. The Raspberry Pi 5 exhibits a remarkable 2.4 to 3 times increase in processing capabilities, making it more suitable for demanding tasks like streaming and gaming. Additionally, the Pi 5 supports PCIe NVMe SSDs, allowing for faster data access and improved media performance. This model also shows substantial improvements in performance metrics, achieving scores of 1041 for single-core and 4165 for multi-core, making it 150 times faster than the Raspberry Pi from 2012.
Budget considerations play an essential role in your decision. While the Pi 4 is more budget-friendly, the enhanced performance of the Pi 5 may justify the cost for demanding applications. The Raspberry Pi 5 also features dual-band 802.11ac Wi-Fi and Bluetooth 5.0, ensuring robust connectivity.
RAM upgrades can also enhance the experience, especially for advanced users requiring efficient memory processing.
Don’t overlook cooling solutions; the Raspberry Pi 5 may need additional cooling due to higher power consumption, such as its active cooling system with an aluminum heatsink and a temperature-controlled blower fan. Consider your connectivity options too—both models support 802.11ac Wi-Fi, but the Pi 5 might offer improved features.
Evaluate use case scenarios to determine which model aligns best with your home theater aspirations. Balancing cost and performance guarantees you make the right choice for your innovative setup.
Setting Up the Raspberry Pi Home Theater
Setting up your Raspberry Pi for an exceptional home theater experience is an exciting journey that combines technology and entertainment.
First, you’ll need a Raspberry Pi 3 or newer for peak performance, along with a compatible power supply—2.5A for the 3, and 3A for models 4 and beyond. Connect the Raspberry Pi to your TV via an HDMI cable and hook up your speakers to the audio jack. It’s important to note that all Raspberry Pi models require a 5.1V supply to function properly. Verify your internet connection is ready, either through Ethernet or a USB Wi-Fi dongle. As you power on all devices, your Raspberry Pi will boot up. This is where the magic happens!
For seamless navigation, consider utilizing remote control options. You can transform your smartphone or tablet into a remote controller by configuring Kodi settings. This allows you to access the remote interface easily through a browser, making your viewing experience interactive and convenient. Additionally, the ability to integrate IoT and automation features can enhance your overall setup and functionality.
Remember to keep an eye on power supply ratings to avoid instability due to peripheral draw and consider using externally-powered USB hubs for high-power devices.
With everything set up, you’re well on your way to enjoying innovation-driven Raspberry Pi setups in your home theater!
Installing Media Center Software
Installing media center software on your Raspberry Pi opens up a world of entertainment possibilities. Start by choosing the right distribution: LibreELEC is perfect for a lightweight, efficient Kodi experience, while OSMC gives you flexibility with command line access. If you’re looking to set up a Plex Media Server, opt for Raspbian and manually install Kodi for a robust server-client model. This is essential as many distributions like OSMC and LibreELEC also support streaming services natively, making it easier to access your favorite media.
Once you’ve chosen your platform, installations are typically straightforward. LibreELEC and OSMC boot directly into Kodi, easing your setup process. Don’t miss out on pre-installed add-ons, like Netflix and Plex, which many distributions provide. Notably, both OSMC and LibreELEC support 4K video capabilities on the latest Raspberry Pi models, enhancing your viewing experience significantly. The Raspberry Pi 4 is the ideal choice if you’re aiming for 4K video output, thanks to its enhanced hardware configurations.
Media center integration isn’t just about installation; it’s also about crafting a user-friendly experience. Customize your user interface with various skins and layouts to suit your taste, leveraging the user-friendly PIXEL desktop environment provided by Raspbian. Consider enhancing your control options by using HDMI-CEC, smartphone apps, or wireless keyboards, similar to how you might use an Android OS on a mini PC for enhanced media consumption.
This level of customization allows you to create a personalized and innovative media experience, putting you in charge of your entertainment journey.
Connecting and Configuring Peripherals
Connecting and configuring peripherals is essential for optimizing your home theater experience with the Raspberry Pi. Start by connecting your Raspberry Pi to the TV using an HDMI cable—if you’re using a Raspberry Pi 4, grab a micro-HDMI cable. Be sure your TV is switched on and set to the correct HDMI input to avoid display issues. Once the connection is made, verify your display settings on the Raspberry Pi if needed.
Next, focus on your audio peripherals. Connect the audio output of the Raspberry Pi to your speakers or sound system, choosing either wired or wireless options based on your preferences. Confirm your HDMI settings are configured properly for audio output, using ‘hdmi_drive=2’ for standard HDMI sound. In addition, due to the inability to handle high-definition content seamlessly, ensure you have the appropriate essential components like a USB power supply for optimal performance.
Testing the audio guarantees everything’s functioning correctly, so don’t forget to adjust the audio settings within your media center software.
To get online, connect via an Ethernet cable or USB Wi-Fi dongle for seamless network stability.
Finally, add input devices like a USB wireless keyboard and mouse or use a smartphone as a remote. Always check for peripheral compatibility to enhance usability in your innovative home theater setup.
Enhancing the Home Theater Experience
Enhancing your home theater experience with a Raspberry Pi opens up a world of possibilities for entertainment and customization. You can create a visually stunning setup that captivates your ambiance while delivering an immersive experience. With the right configurations, your home theater can seamlessly pull content from multiple streaming services, your local media library, and online platforms like YouTube and Twitch. Additionally, the Raspberry Pi supports streaming from popular services like Netflix and Hulu, ensuring a diverse range of content at your fingertips. Moreover, the Raspberry Pi features an open-source community that continuously enhances streaming capabilities and applications.
Consider these enhancements:
- Audio Quality: Connect external audio devices for superior sound, utilizing high-quality DACs and audio plugins like EqualizerAPO to fine-tune your settings.
- Smart Home Integration: Control your theater environment effortlessly with voice command integration, automating lights, temperature, and more for a cohesive experience. This setup can also benefit from using a Plex Media Server to centralize and organize your media files.
- Customization: Use Kodi or other lightweight operating systems to tailor your media library, supporting various content sources, including classic gaming systems for nostalgic entertainment. This setup can also leverage a NAS (Network Attached Storage) to centralize and streamline access to your media files.
With these elements combined, you’re not just watching a movie; you’re creating a multifaceted experience. The visual aesthetics and sound enhancements will transport you to another world, making every movie night feel like a cinematic journey.
Explore the endless possibilities with your Raspberry Pi and transform your home theater into a true entertainment hub.
Controlling the Media Center

Now that you’ve set up an enchanting Raspberry Pi home theater experience, managing your media center effectively becomes key to enjoying it fully.
With various remote options at your fingertips, controlling your Raspberry Pi-powered Kodi setup is easier than ever. Ensure your mini PC has sufficient processing power for diverse applications, such as streaming services, to maintain a smooth experience. You can also connect your mini PC to the smart TV using an HDMI cable for a reliable and high-quality connection.
Start with Smartphone Control; download apps from your device’s app store for intuitive navigation of Kodi menus. These apps often come packed with additional features like streaming content directly from your phone, providing a seamless experience when a physical remote isn’t handy. An added benefit is that you can easily connect to a TV or monitor for a full cinematic experience.
If you have a compatible TV, consider using HDMI-CEC. This nifty feature allows your TV remote to control the Raspberry Pi via the HDMI connection, eliminating the need for extra remotes.
For those who prefer a classic approach, IR remotes offer another option. By setting up an IR receiver and using software like LIRC, you can customize commands for various functions, making it incredibly versatile for controlling older devices with the ANAVI Infrared pHAT.
Lastly, using universal or dedicated remotes can enhance your control. These remotes often feature more buttons than standard TV remotes, giving you precise access to every facet of your media center.
Embrace these options to guarantee you’re always in command of your home theater experience Regularly update your software to keep up with evolving technology and ensure optimal performance.
Optimizing Performance and Quality
Release the full potential of your Raspberry Pi home theater by optimizing its performance and quality. Start by focusing on essential hardware tweaks and software enhancements that’ll elevate your streaming experience.
- Choose the Right Model: Opt for the Raspberry Pi 4 to support 4K video along with adequate RAM options—1GB, 2GB, or 4GB. Additionally, this model’s capability for hardware decoding ensures seamless playback of 4K videos.
- Ensure Stable Connectivity: Utilize a gigabit ethernet connection for seamless streaming without interruptions.
- Implement Cooling Solutions: Enhance longevity and sustain performance by employing cooling systems, like Pimoroni’s Fan SHIM. Additionally, consider the 4K performance of newer models like the Raspberry Pi 5 for future upgrades.
Next, improve your media playback experience through software optimizations. Enable hardware acceleration in Kodi for efficient decoding of high-definition content.
Using X265/HEVC codecs will maximize performance while maintaining minimal resource usage. If you’re adventurous, consider overclocking your Raspberry Pi for further performance enhancements, but remember to monitor its temperature closely.
Troubleshooting Common Issues With Raspberry Pi Home Theater Setups
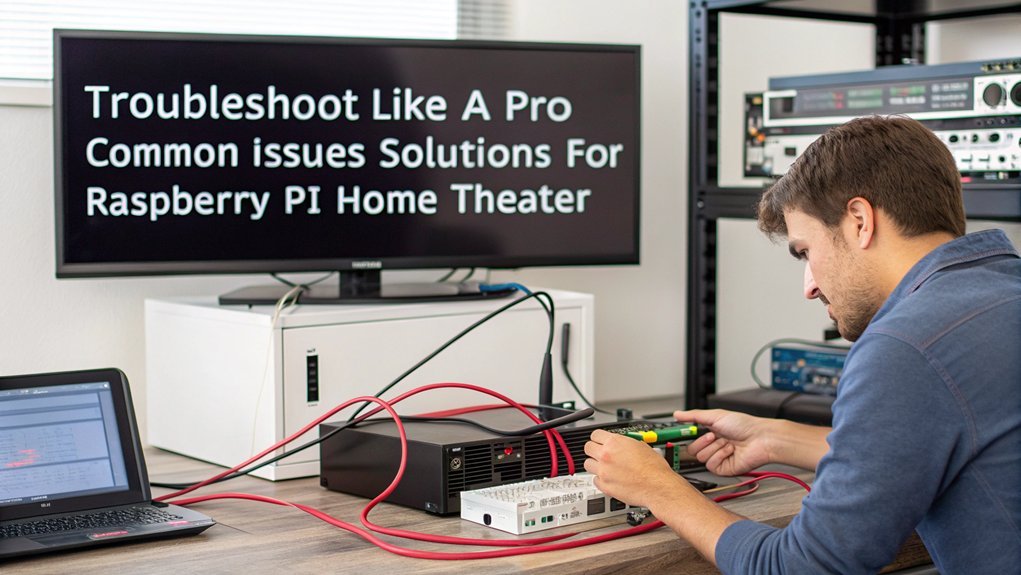
When setting up your Raspberry Pi home theater, you might encounter some common challenges like HDMI connectivity problems, audio output issues, or software installation errors. Don’t worry; these obstacles are usually easy to fix with a few troubleshooting steps. One common issue to be aware of is HDMI audio output malfunction, which can sometimes be resolved by adjusting the configurations or testing different hardware setups. Additionally, ensuring that you use a Raspberry Pi 4 with 5.1 and 7.1 audio configurations is crucial for optimal audio performance. It’s also important to ensure you have a stable network connection for seamless media streaming. Utilizing tools like raspi-config can help in configuring and troubleshooting these issues effectively. Let’s explore how to resolve these issues effectively so you can enjoy your media without interruptions.
HDMI Connectivity Problems
HDMI connectivity problems can be frustrating, especially when setting up your Raspberry Pi home theater. Fortunately, with the right HDMI troubleshooting tips, you can quickly resolve these issues. Here are some essential steps to guarantee a seamless connection:
- Use the correct HDMI port: The Raspberry Pi 4 has two HDMI ports; make sure you’re using the primary port marked ‘HDMI0’.
- Check monitor settings: Confirm that your monitor is set to the right HDMI input, and disconnect any other devices from other ports to avoid confusion. Additionally, ensure you have the essential line in your ‘config.txt’ file that says ‘hdmi_force_hotplug=1‘, which is crucial for proper detection of HDMI displays.
- HDMI cable quality: A high-quality or shorter HDMI cable can notably improve signal strength and reduce interference. Additionally, ensure that your Raspberry Pi is powered with a supply that delivers at least 1A; lower amperage can lead to connectivity woes.
If necessary, re-seat the SD card, as an incorrectly positioned card might hinder performance.
Finally, remember to tweak the ‘config.txt’ file to adjust resolution settings specific to your display.
Audio Output Issues
After tackling HDMI connectivity challenges, you may run into audio output issues while setting up your Raspberry Pi home theater. One of the first things to check is the default audio output setting, often set to HDMI on a fresh installation. You can easily change this through the desktop interface by clicking the audio icon at the top-right corner, or by using the command line with ‘sudo raspi-config‘ to overcome any audio configuration challenges. Ensuring a reliable power supply is crucial for stable audio performance.
Don’t forget to update your system regularly using ‘sudo apt update’ and ‘sudo apt upgrade’ to fix potential bugs. If problems persist, look into your audio drivers—removing PulseAudio might alleviate conflicts with JACK. Additionally, ensure you have selected the correct audio output option based on your setup, as this is crucial for sound functionality.
Make sure your hardware, like USB sound cards, is compatible with Raspberry Pi OS to avoid device compatibility concerns. Additionally, running JACK before SuperCollider can significantly enhance audio performance, especially in a Raspberry Pi environment.
Finally, inspect your power supply and audio cables to rule out noise interference, and adjust audio settings in ‘/boot/config.txt’ to enhance output quality. If you’re still having trouble, a simple reboot can often resolve lingering issues, ensuring a seamless audio experience in your innovative home theater setup.
Software Installation Errors
Setting up your Raspberry Pi home theater can be a rewarding experience, but software installation errors can throw a wrench in the process. You may encounter issues like package conflicts or unmet software dependencies that might halt installation. Fortunately, there are common troubleshooting steps you can take.
- Verify OS Compatibility: Confirm your Raspberry Pi runs a compatible OS version. It’s vital to check if you’re using the appropriate 32-bit or 64-bit version, especially since the Pi 4 supports 64-bit. Ensure you have the necessary Bluetooth services active for any Bluetooth-related installations.
- Use Correct Architectures: When installing packages, like FAHClient, make sure you’re utilizing the correct architecture, such as arm64 for a 64-bit Pi.
- Inspect Error Reports: Pay close attention to detailed reports that can guide you to specific error messages, which might reveal dependency issues, particularly regarding Python.
Additionally, verify that your SD card is properly formatted, and consider the reliability of your power supply. Ensure you have a reliable 5V DC power supply to prevent system crashes during installation. Regularly update and upgrade your system using ‘sudo apt update’ and ‘sudo apt upgrade’ to ensure all packages are up-to-date.
Frequently Asked Questions
Can I Use Raspberry Pi for Gaming as Well?
Yes, you can definitely plunge into Raspberry Pi gaming! It’s perfect for retro gaming, letting you emulate classic consoles like NES and PlayStation 2 while enjoying improved performance with the latest Raspberry Pi 5.
What Storage Options Are Available for Media Files?
When considering storage for your media files, USB drives offer convenience, while Network Attached Storage provides greater capacity and flexibility. Combining both can elevate your experience, ensuring your collection is always accessible and organized.
How Do I Secure My Raspberry Pi Media Center?
To secure your Raspberry Pi media center, prioritize network security by implementing firewalls and using secure protocols. Regular software updates guarantee you’re protected against vulnerabilities, keeping your system safe and efficient for streaming innovative content.
Can I Access My Media Remotely Over the Internet?
Yes, you can access your media remotely over the internet using remote access tools like SSH or VNC. This allows you to enjoy streaming services securely from anywhere, enhancing your media experience on the go.
Is It Possible to Use Multiple Raspberry Pis in a Home Theater Setup?
Absolutely, you can use multiple Raspberry Pis in your home theater setup! With careful network configuration and multi-device synchronization, each Pi can control different audio systems, delivering an innovative, synchronized experience throughout your home.
Conclusion
With your ultimate home theater now up and running on a Raspberry Pi, you’ve turned your living room into a cinematic haven. By choosing the right components and software, you’ve created an experience that rivals the best theaters. Just like a good movie, your home theater journey doesn’t end here. Keep refining and exploring new features to keep the magic alive. Enjoy the show, and let every viewing transport you to a world of entertainment.

I am a retired software engineer with experience in a multitude of areas including managing AWS and VMWare development environments. I bought a relative a mini-PC a year ago and have become passionate about the technology and its potential to change how we deploy software.