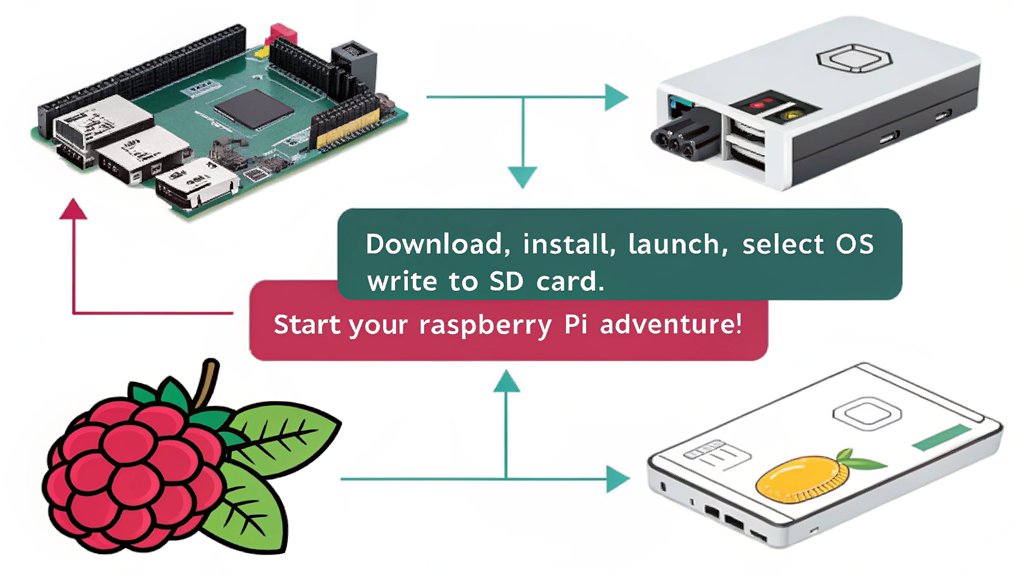
Raspberry Pi Imager simplifies your Raspberry Pi setup with its user-friendly interface. You can easily install various operating systems, like Raspberry Pi OS and Ubuntu MATE. Start by downloading the software, selecting your device, and choosing the OS. Customize settings, like WiFi credentials, and watch for the “Write Successful” notification once the imaging is complete. It also lets you flash custom OS images directly without extracrtion, ensuring quick setups. Make sure to use quality storage like SanDisk or Samsung for superior performance. This Raspberry Pi Imager deep dive will uncover all the tips and tricks for maximizing your Raspberry Pi Imager experience!
Key Takeaways
- Raspberry Pi Imager simplifies the installation of various operating systems onto Raspberry Pi devices with a user-friendly interface and tailored options for each model.
- Users can customize OS settings, including network credentials and locale, before flashing the image directly onto a microSD card or USB drive.
- The software supports flashing both officially supported OS options and custom images in formats like ‘.img’ and ‘.zip’ for versatile usage.
- Regular updates enhance performance, compatibility, and feature improvements, ensuring users have access to the latest tools and options.
- Ensuring the compatibility of storage devices and Raspberry Pi models is crucial for successful installation and optimal device performance.
Installation and Availability
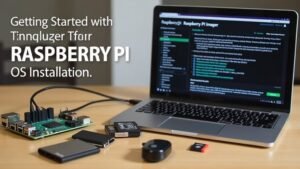
When you’re ready to get started with the Raspberry Pi Imager, downloading and installing it’s a straightforward process. You can find the latest version directly on the Raspberry Pi website under the software section. Just make certain you’re downloading the installer for your respective operating system, and remember, the installation is free!
Once you’ve got the installer, simply run it and follow the prompts to complete the setup. If you’re using Linux, installation is a breeze: just type ‘sudo apt install rpi-imager’ in your terminal. To guarantee a seamless experience, it’s helpful to check your system requirements beforehand. You’ll need a computer with internet access, a microSD card reader, and compatible storage devices. Additionally, ensure you’re using the correct power supply requirement for your Raspberry Pi model to avoid any boot issues after installation.
After installation, launch the Raspberry Pi Imager and select your Raspberry Pi model. Ubuntu MATE Desktop is compatible with Raspberry Pi models which ensures a smooth installation process.
Here’s an installation tip: double-check which storage device you’re writing to, as this prevents accidental data loss.
Many users appreciate the customization options, like setting usernames and passwords. User feedback highlights how quick and intuitive the process is, making Raspberry Pi Imager an excellent tool for users enthusiastic to plunge into innovative projects.
Supported Operating Systems
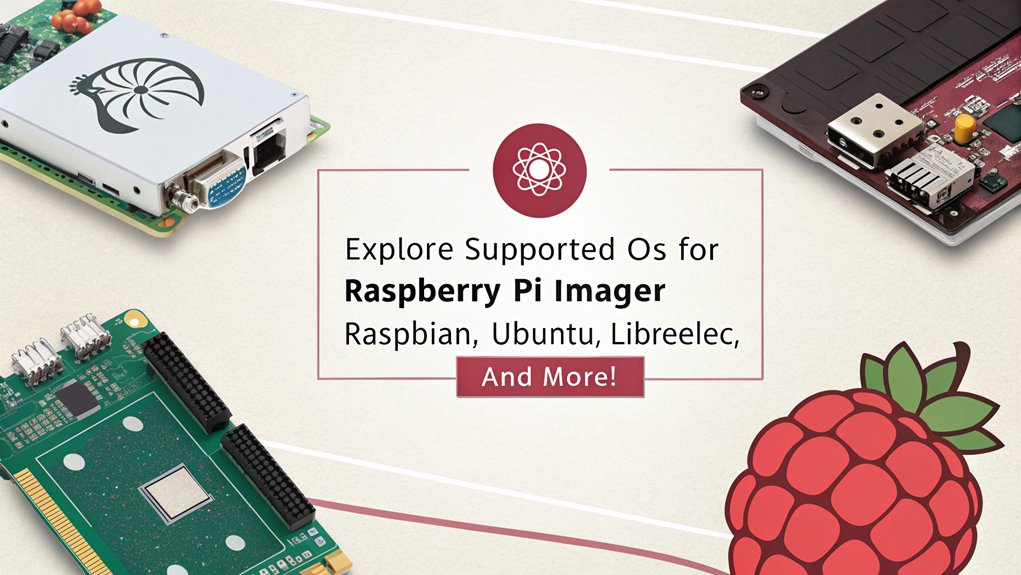
When using the Raspberry Pi Imager, you’ll find a variety of supported operating systems, including both official options like Raspberry Pi OS and popular alternatives like Ubuntu. You can also flash custom images, ensuring you have the flexibility to personalize your setup. Plus, the download management features help streamline the process, making it easy to install the right OS for your Raspberry Pi model. This versatility allows it to cater to different users, whether in education or hobbyist projects. Additionally, the imager now requests your specific Pi model to ensure you receive only compatible OS versions. The imager also supports lightweight options such as DietPi, which is beneficial for minimizing resource usage.
Official OS Options
Raspberry Pi Imager offers a diverse range of supported operating systems, guaranteeing you can find the perfect fit for your project. One of the standout options is Raspberry Pi OS, based on Debian. Available in both 32-bit and 64-bit versions, it features the PIXEL user interface, optimizing performance for your Raspberry Pi with seamless updates via the APT package manager. This OS has been regularly updated since its initial release, ensuring it remains a reliable choice for various applications, especially those requiring desktop-class performance. The tool also allows you to install systems easily on SD cards and USB drives directly from your computer.
If you’re looking for a user-friendly experience, Ubuntu Mate also shines. Optimized specifically for ARM architecture, it provides robust community support and consistent updates, making it a reliable choice for a variety of applications.
For media enthusiasts, OSMC excels as a dedicated media center operating system. It simplifies media management with its intuitive interface and offers powerful streaming capabilities, enhanced through ongoing community-driven development.
On the gaming front, RetroPie transforms your Raspberry Pi into a retro gaming console, supporting a vast array of classic titles. Its customizable themes and easy setup guarantee a delightful gaming experience, while the active community keeps it updated and enriched.
With this variety, you’re sure to find an OS that meets your needs and drives innovation in your projects.
Custom Image Support
With Raspberry Pi Imager‘s custom image support, you can easily flash a variety of operating systems tailored to your specific needs. It supports any image compatible with the Raspberry Pi, including custom image formats like ‘.img’ and container formats such as ‘.zip’. The beauty of this feature is that you don’t even need to extract compressed files; just select your image and let the Imager do the work. This enhancement significantly improves the initial setup experience for new users, making it more accessible.
Flashing a custom image is straightforward. Simply click on “Choose OS,” then select “Use Custom Image” at the bottom of the list. From there, you’ll pick your image file, choose the media, and click “Write” to initiate the process. Make sure your image is compatible with your Raspberry Pi model—this guarantees a smooth operation. Additionally, the Imager’s ability to flash various operating systems, including supported operating systems, ensures you can find the right fit for your projects.
For those seeking advanced customization, press CTRL + SHIFT + X to reveal additional configuration options. Here, you can adjust settings like overscan, hostname, SSH access, WiFi, and locale right during the imaging process. This allows you to preconfigure the Raspberry Pi with the necessary credentials and access settings, streamlining your setup and innovation journey.
Download Management Features
After customizing your Raspberry Pi experience with tailored images, you’ll want to understand the download management features. The Raspberry Pi Imager is compatible with Windows, macOS, and various Linux distributions, including Ubuntu and Raspberry Pi OS. This broad support guarantees that no matter which operating system you use, you can effortlessly manage downloads.
When you install the imager, the process is straightforward, whether you’re following a setup wizard on Windows or using a terminal command on Linux. The user-friendly interface makes it easy to select your desired operating system and storage device. Additionally, the Imager simplifies OS installation on microSD cards, allowing for a quick setup that gets you started right away.
Plus, the tool efficiently caches downloaded images, enhancing download performance and making future installations faster and smoother. With image caching, you won’t have to wait for downloads each time you install an OS; instead, you can quickly access previously downloaded images.
The tool also protects you from accidental data loss by hiding system drives, making sure that you focus solely on the correct storage device. Overall, these download management features empower you to innovate and explore the vast possibilities of Raspberry Pi, all while providing a seamless experience tailored to your needs.
Raspberry Pi Imager Deep Dive into the Imaging Process
The imaging process is an essential step for setting up your Raspberry Pi effectively.
You’ll want to start by downloading the Raspberry Pi Imager from raspberrypi.com/software, available for Windows, macOS, and Linux. After installation, launch the software and select your Raspberry Pi model by clicking Choose Device. Next, pick your operating system by clicking Choose OS; recommended versions naturally appear at the top for convenience.
Once you’ve selected your operating system—like Raspberry Pi OS Full (64-bit)—connect your storage device, such as a microSD card, to the computer via an SD card reader. Make certain you choose the correct storage by verifying its size. Ensure that the microSD card is compatible with exFAT or FAT32 formats for successful flashing.
Customize your OS settings by clicking Edit Settings, where you’ll configure network credentials and enable SSH and other preferences. This customization provides precise control over image contents and configuration.
After confirming settings, you can initiate the imaging process by clicking Next and then Yes. This part includes critical imaging techniques, combining writing and image verification to ascertain everything has been correctly applied.
Wait for the “Write Successful” popup, signaling that your imaging journey is complete. Finally, safely remove the storage device, and you’re all set to power up your Raspberry Pi
Advanced Options
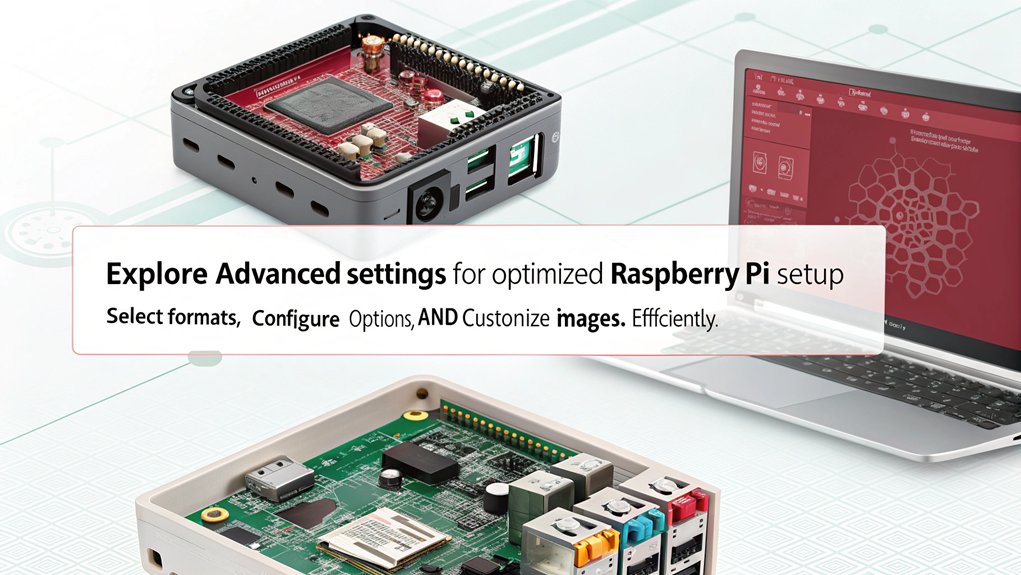
Accessing advanced options in the Raspberry Pi Imager can greatly enhance your setup experience. By pressing CTRL + SHIFT + X after selecting your operating system and storage device, you’ll reveal a hidden menu that allows you to customize various OS settings before writing to your micro SD card. This is a game changer for those looking to streamline their Raspberry Pi’s functionality. The latest update introduces advanced configuration options, which further improve the setup process. Additionally, utilizing the Secret Menu provides access to even more customization features that enhance user experience.
Here’s a quick overview of some advanced options you can configure:
| Option | Description |
|---|---|
| SSH Configuration | Set up SSH on boot for remote access and headless use. |
| WiFi Setup | Customize your SSID, password, and WiFi country settings. |
| Locale Settings | Adjust language and regional settings for usability. |
| Overscan Adjustment | Remove screen borders for a complete view. |
| User Authentication | Choose between password protection or public key for the default ‘pi’ user. |
With these settings, you can also engage security enhancements, enable telemetry options for data feedback, and determine whether your adjustments are persistent. Leveraging these advanced options transforms your Raspberry Pi’s capabilities, making it an even more powerful innovation tool.
Compatibility and Hardware
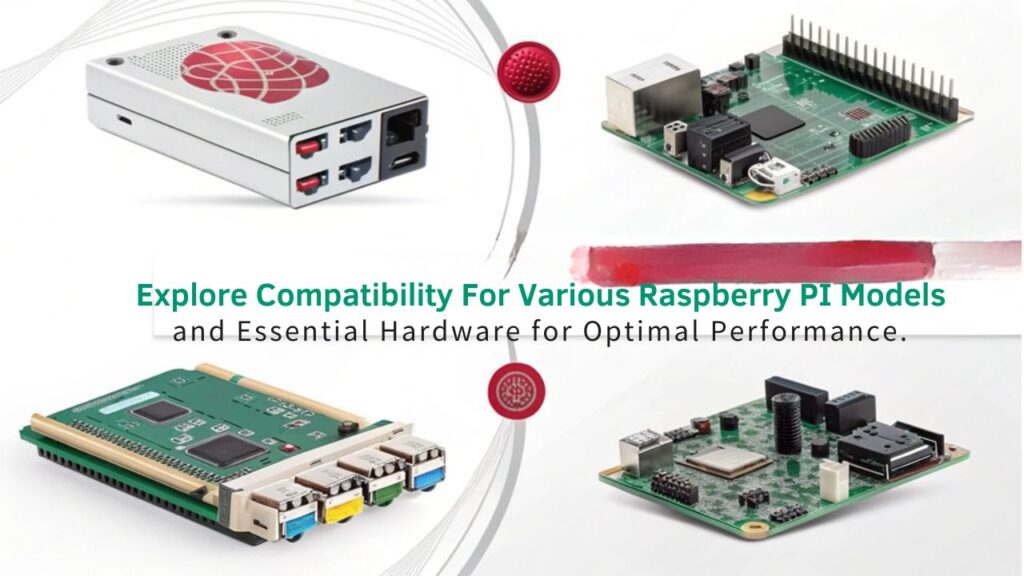
When using the Raspberry Pi Imager, you’ll want to take into account the supported Raspberry Pi models to guarantee compatibility with your chosen operating system. Additionally, pay attention to the MicroSD card requirements and the possibility of using USB drives, as these can affect your setup’s performance. Understanding these hardware aspects will make your experience smoother and more efficient. Furthermore, ensure that you are using the official tool from the Raspberry Pi Foundation to maximize compatibility and support for various operating systems. Additionally, ensure you have a stable internet connection, as the Imager requires internet access to download the OS list.
Supported Raspberry Pi Models
Many Raspberry Pi models are supported by the latest versions of Raspberry Pi OS, ensuring a range of options for your projects. This compatibility opens up exciting avenues for innovation, whether you’re a beginner or a seasoned pro.
Here’s a quick look at some notable supported models:
- Raspberry Pi 4: With variants featuring 1GB, 2GB, 4GB, or 8GB of LPDDR4-3200 SDRAM, it’s perfect for demanding tasks. Additionally, the Broadcom BCM2711 in the Raspberry Pi 4 allows for high-performance processing at up to 1.8GHz.
- Raspberry Pi 400: This compact keyboard contains a powerful quad-core processor and 4GB of RAM—great for on-the-go coding! The dual-band wireless LAN connectivity enables seamless internet access and project collaboration.
- Raspberry Pi 3A+: Just the right balance of performance and size for various applications.
- Raspberry Pi Zero: A highly versatile option, ideal for projects where space and power consumption are critical.
While the Raspberry Pi 1B has support from older OS versions like Bullseye, its compatibility with the latest Bookworm version is uncertain.
Each model suits different needs, so exploring these options fuels your creativity and reveals endless project possibilities!
MicroSD Card Requirements
Choosing the right microSD card is just as important as selecting the appropriate Raspberry Pi model for your projects. You’ll want a card that supports microSDHC and microSDXC formats, has a minimum recommended capacity of 16GB, and is preferably high-quality. It’s vital to take into account microSD longevity; cards with wear leveling tend to last longer. Additionally, selecting a high-quality microSD card enhances Raspberry Pi’s versatility and provides a reliable foundation for your applications. The use of tools like Pi Imager can also facilitate the installation of the operating system onto your microSD card, ensuring a smooth setup process.
Here’s a quick guide to help you choose:
| Feature | Recommendation |
|---|---|
| Minimum Capacity | 16GB (8GB for basic use) |
| Quality Brands | SanDisk, Samsung |
| Speed Class Ratings | C10, U3, V30, A2 |
| Ideal IOPS for Raspberry Pi 4 | 3200 IOPS |
| Ideal IOPS for Raspberry Pi 5 | 5000 IOPS |
Utilizing high-performance cards will enhance your experience by meeting performance benchmarks and guaranteeing smoother operations. Avoid using 4GB cards to prevent enabling swap files, which can decrease a card’s lifespan. Always format your microSD before installation and store it properly to maximize its longevity. By focusing on these aspects, you can secure that your Raspberry Pi experiences peak performance and reliability.
USB Drive Compatibility
USB drives serve as reliable companions for your Raspberry Pi projects, guaranteeing seamless operation with the Raspberry Pi Imager.
When it comes to selecting the right drive, keep in mind:
- Quality Matters: Opt for good quality USB 2 or USB 3 drives to avoid performance hiccups.
- USB 3.0 Boost: Plugging into USB 3.0 ports can greatly enhance your usb performance, making your projects quicker and more efficient.
- Adaptation Woes: Most compatibility issues stem from poor-quality adapters rather than the drives themselves—choose wisely! Additionally, be aware that USB 3.0 ports can operate as USB 2.0 when using older devices, thus potentially impacting performance.
- Larger Storage: For heavy-duty tasks, consider a USB 3.0-to-SATA adapter with an SSD for maximum storage and speed.
You won’t find an exhaustive list of compatible drives, as many compliant options work seamlessly.
Just remember to check adapter compatibility, especially if you plan to boot from your drive.
Updating the Raspberry Pi Imager guarantees you’ve got the latest fixes, so always keep your software current.
Setup and Usage
Getting started with the Raspberry Pi Imager is straightforward and user-friendly, making it an excellent choice for both beginners and seasoned users.
First, you’ll want to download the latest version from raspberrypi.com/software, compatible with Windows, macOS, and Ubuntu. Simply follow the installer prompts or use your package manager for a terminal installation.
Once you’ve installed the imager, launch the application and click Choose device to select your Raspberry Pi model. Next, click Choose OS to access a range of operating systems, with the recommended Raspberry Pi OS right at the top.
Be certain to connect your storage device, usually a microSD card, and select it under Choose storage, keeping setup tips like double-checking your selection to avoid accidental data loss in mind.
You can customize your OS settings via the Edit Settings button, adding your username, password, and wireless LAN details. After confirming your configurations, click Save and start writing the image.
The built-in validation guarantees everything’s set correctly, making it ideal for various usage scenarios, from home projects to advanced applications.
Frequently Asked Questions
Can I Use Raspberry Pi Imager Without an Internet Connection?
Yes, you can use Raspberry Pi Imager without an internet connection, but you’ll face software limitations. Offline imaging relies on previously cached images, restricting access to custom options and the latest OS lists.
How Do I Troubleshoot Issues During the Imaging Process?
When imaging your SD card, watch for error messages appearing like warning lights. Follow troubleshooting steps: check hardware, use debug mode, and reinstall if needed. Each action brings you closer to successful imaging.
Is Raspberry Pi Imager Available in Multiple Languages?
Yes, Raspberry Pi Imager offers multilingual support with various language options, including English, French, Spanish, and more. This enhances accessibility, ensuring you can customize your experience based on your preferred language seamlessly.
Does Raspberry Pi Imager Support Old Raspberry Pi Models?
Steering through the domain of technology’s past, you’ll find Raspberry Pi Imager embraces old model compatibility. While imaging speed differs, it guarantees even legacy devices can access the latest offerings, bridging innovation with nostalgia seamlessly.
Can I Create a Backup of My Current SD Card Using the Software?
Yes, you can create a backup of your current SD card using various methods. Whether you choose ‘dd’ on a Raspberry Pi or Win32DiskImager on Windows, the backup process guarantees your data’s safety and accessibility.
Conclusion
In the world of DIY tech enthusiasts, the Raspberry Pi Imager stands out as your key to releasing creativity. With its user-friendly interface and versatile options, you can easily transform your ideas into reality. So, whether you’re a beginner or a seasoned pro, the Imager simplifies the process, making it accessible to everyone. Isn’t it time you explored the endless possibilities it offers? Jump in and start your next project today!

I am a retired software engineer with experience in a multitude of areas including managing AWS and VMWare development environments. I bought a relative a mini-PC a year ago and have become passionate about the technology and its potential to change how we deploy software.