Raspberry Pi Imager is essential for your next DIY project because it simplifies OS installation with its user-friendly interface and streamlined processes. You’ll save time with automated imaging, avoiding tedious manual setups, while enjoying flexibility with various OS options and custom configurations. Advanced settings allow you to manage network connections effortlessly, even without a monitor. Plus, the tool verifies image integrity to guarantee reliability, letting you focus on your project instead of troubleshooting. With its cross-platform compatibility, it fits seamlessly into your workflow, making it a must-have. Discover even more benefits and tips to enhance your projects!
Key Takeaways
- The Raspberry Pi Imager simplifies OS installation with an intuitive interface, making it accessible for users of all skill levels in DIY projects.
- Advanced configuration options, like customizable Wi-Fi settings and SSH access, streamline setup for headless projects, enabling remote management.
- Automated imaging processes save time by eliminating manual downloads, allowing users to focus on more intricate aspects of their projects.
- With support for various operating systems and custom images, the Imager offers flexibility for diverse project needs and personal preferences.
- Verifying image integrity and utilizing practical tips ensures reliable performance and enhances the overall success of your DIY Raspberry Pi projects.
Streamlined OS Installation
When you’re keen to get your Raspberry Pi up and running, the Raspberry Pi Imager makes streamlined OS installation simple and hassle-free. Thanks to its intuitive interface and user-friendly design, you don’t need to be a tech whiz to navigate the process.
Selecting your desired OS and formatting the microSD card is straightforward, greatly enhancing your OS image management experience. The Imager automates image downloads and writing, eliminating the hassle of manual downloads and zip file extractions. You’ll find a built-in list of all major OS options, allowing you to kick-start your project without delay. Additionally, the Imager helps you prepare the necessary boot media for your specific Raspberry Pi model, ensuring compatibility from the start. This is particularly important when working with new hardware like the Raspberry Pi 5.
Whenever you insert a storage device, the software automatically detects it, making the selection process efficient and error-free. Furthermore, the Raspberry Pi Imager boasts cross-platform compatibility, seamlessly working across Windows, macOS, and Linux. This ensures that you can easily connect your Raspberry Pi to various networks using methods such as Internet Connection Sharing (ICS).
This guarantees you enjoy consistent user experience optimization, regardless of your operating system. Within minutes, you can have your Pi ready to go, minimizing installation time while boosting reliability. With a clear “Write Successful” message, you’ll know your OS installation has been completed perfectly.
Advanced Configuration Options
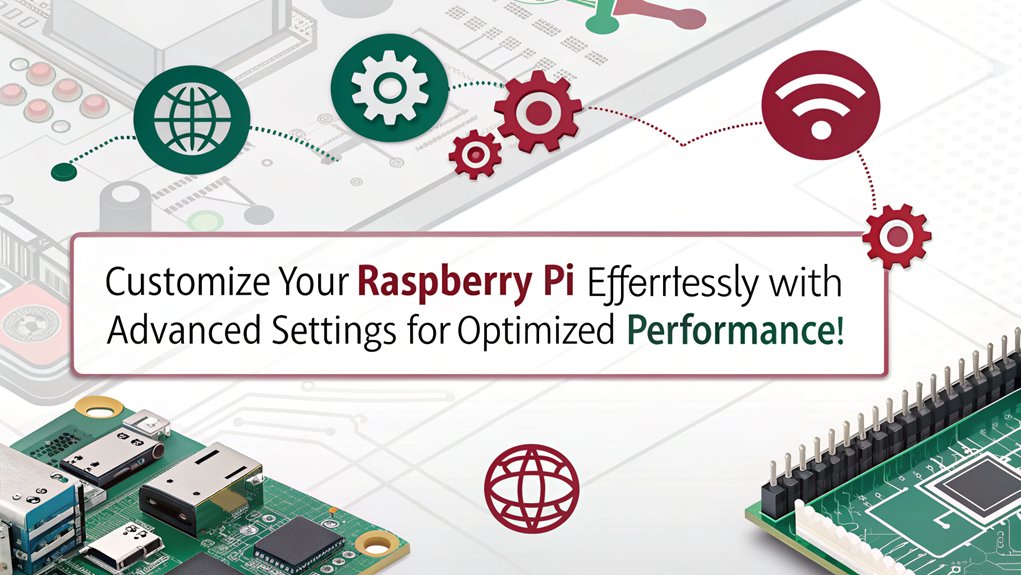
How can you enhance your Raspberry Pi experience? By diving into the advanced configuration options offered by Raspberry Pi Imager, you can release an expanse of advanced features that cater to your unique project needs.
Access these hidden gems by pressing ‘CTRL + SHIFT + X’ after selecting your OS and storage device; the advanced menu isn’t visible in the main UI, but it’s well worth it!
Here’s what you can do with configuration customization:
- Network & Connectivity: Configure your WiFi settings, enable SSH on boot, and define hostnames to streamline remote access. This ensures you can connect to your Raspberry Pi using Wi-Fi SSID and password for network connectivity. This feature is particularly useful when leveraging the OS’s support for dual-band WiFi.
- Display Settings: Adjust overscan settings to optimize your display and set locale parameters for proper language and regional preferences. The new update introduces advanced configuration options to further enhance your user experience. Furthermore, these features help ensure compatibility with a wide range of operating systems available for the Raspberry Pi.
- Persistent Options: Create settings that last beyond a single session, like customizing SSH authentication methods or enabling telemetry. This allows you to maintain consistent configurations across multiple boots without needing manual reconfiguration each time, making it ideal for headless operations with Raspbian Lite.
- Speed Up Setup: Use these advanced options to quickly configure multiple Raspberry Pi units, allowing you to focus on innovation rather than setup time. The imager’s ability to download OS images directly from trusted sources simplifies the process significantly.
With these options at your disposal, your Raspberry Pi projects can truly stand out and operate efficiently.
Time and Efficiency Savings
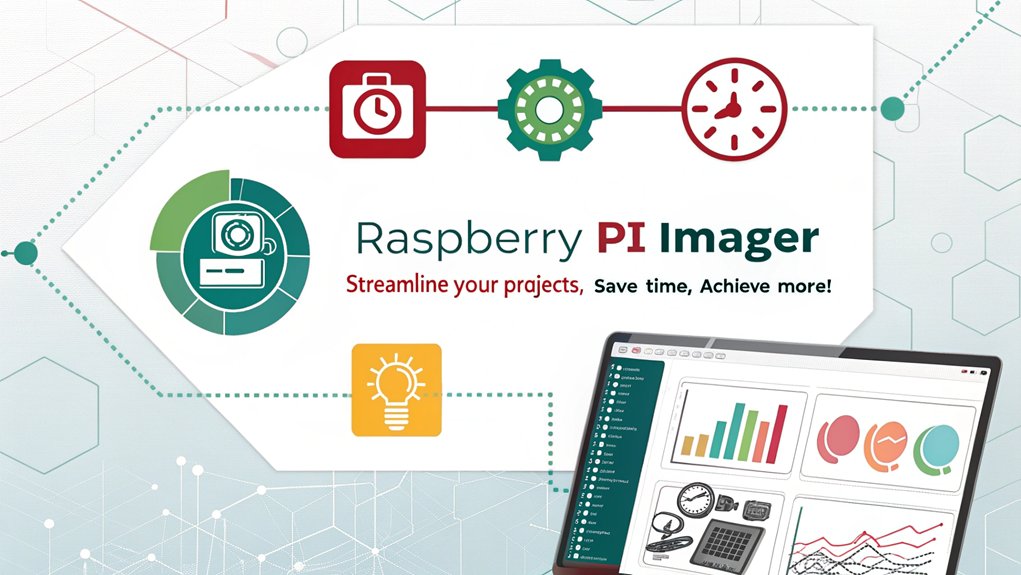
Releasing the potential of your Raspberry Pi has never been easier, thanks to the impressive time and efficiency savings provided by the Raspberry Pi Imager. This straightforward tool streamlines the imaging process, downloading the latest version directly from the web and writing it to your microSD card without unnecessary intermediate steps.
By eliminating manual downloads and complex transfers, it enhances your time management dramatically. You’ll appreciate how it minimizes hard drive space usage and optimizes resource utilization, particularly under Linux. By reducing memory usage and avoiding taxing your system, you can focus on your creative projects instead of fiddling with setup. However, be mindful that issues like canceled writes can lead to unexpected progress reports, which may confuse users during the imaging process.
The user-friendly interface and automated setup make the experience accessible, regardless of your technical know-how. The wizard-like guidance walks you through imaging efficiently, turning what used to be a complicated ordeal into a quick task. Moreover, ensuring you have a reliable micro-SD card is crucial for a smooth installation process, especially when connecting to devices via HDMI cable.
In just moments, you can start your projects, leaving behind the tedious setup. With the Raspberry Pi Imager, you’ve got a powerful ally in achieving your DIY goals faster and smarter, putting effective efficiency techniques right at your fingertips. Additionally, this tool allows you to quickly configure network settings for WiFi connections or static IP configurations as needed for stable network connectivity.
Flexibility in OS Choices

- Raspberry Pi OS: The most stable option includes a desktop version, Lite version for command-line use, and specialized versions. Raspberry Pi OS is recommended for general use due to its stability and comprehensive testing. The initial installation process may take longer for first-time downloads due to image caching.
- Diverse Linux Distributions: Ubuntu, Ubuntu Mate, and Manjaro are just a few of the supported distributions, catering to different user preferences.
- Custom Images: You can load specialized images like OctoPi for 3D printing or RetroPie for gaming, enhancing your OS customization options.
- Advanced Configuration: Raspberry Pi Imager v1.6 allows pre-setup configurations such as overscan adjustments, SSH on boot, and WiFi settings, making it easy to meet your specific needs.
With this level of flexibility, the Raspberry Pi Imager empowers you to create a personalized environment that fits your unique project requirements, driving innovation and efficiency in your DIY endeavors.
Headless Setup Capabilities
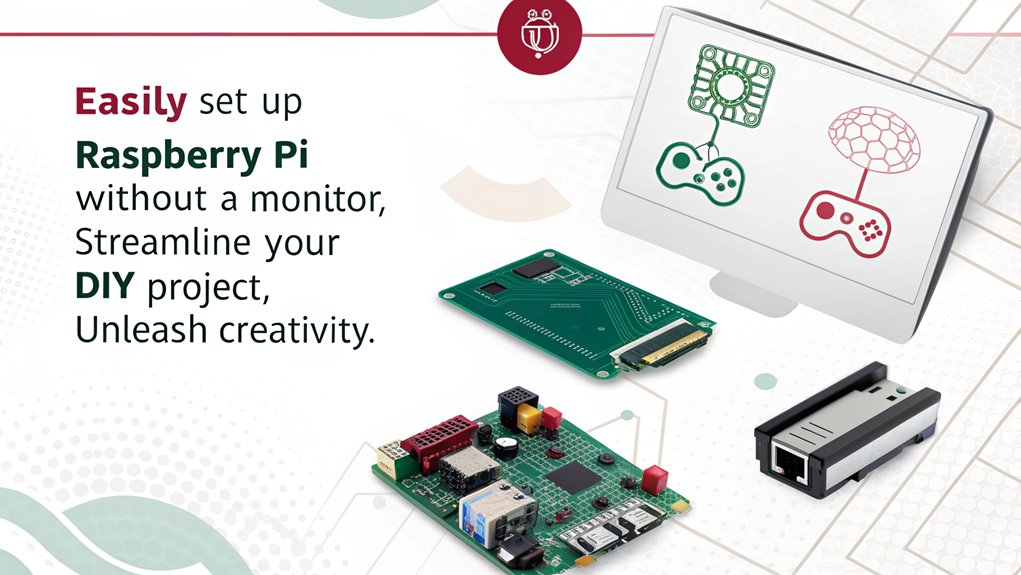
Setting up your Raspberry Pi without a monitor is easier than you think. With the right configurations in the SD card, you can effortlessly connect to your device over the network and start managing it remotely. This headless setup gives you the flexibility to configure your Pi from anywhere, opening up endless possibilities for your DIY projects. Additionally, enabling SSH access by creating an empty file on the boot volume allows for smooth remote management. Ensuring proper network settings is crucial for seamless connectivity during this process. Furthermore, default hostname protocols ensure your device can be easily identified during the setup process. The Raspberry Pi’s built-in Wi-Fi capability makes wireless setup straightforward, allowing you to connect using built-in Wi-Fi.
Simple Remote Configuration
For those looking to streamline the Raspberry Pi setup process, using headless configuration enables you to get your device up and running without the need for a monitor or keyboard.
Raspberry Pi Imager makes this easy by allowing you to preconfigure essential settings before writing to the SD card. Here’s how it works:
- Enable SSH: Activate SSH to access your Raspberry Pi remotely, allowing for seamless administration from a remote server.
- Set Hostname: Specify the hostname for your device, making it easier to identify on your network.
- Create Security Measures: Change the default password and consider using SSH keys for enhanced security during your remote sessions. This ensures a smoother experience as SSH is enabled during the configuration process.
- Simplify WiFi Setup: Utilize a ‘wpa_supplicant.conf’ file to automatically configure your WiFi settings. A headless setup lacks a monitor, making it ideal for server applications.
With these simple steps, you can minimize manual configurations and guarantee your Raspberry Pi connects to the network right from the start.
This headless setup not only saves time but also opens up numerous possibilities for future projects, making your Raspberry Pi experience efficient and enjoyable.
Effortless Network Setup
Effortless network setup with Raspberry Pi Imager transforms the way you configure your device, allowing you to immerse yourself in your projects without delay. You’ll appreciate the network setup benefits of preconfigured connections, making tedious configuration challenges a thing of the past. This ease of setup is particularly advantageous for headless operation, as it enables access without the need for a monitor or keyboard, streamlining the initiation process for various projects. With the latest version of the Imager, you can access new features that enhance usability even further.
With just a few clicks, you can enable SSH, set the hostname, and configure your WiFi settings without fiddling with text files. This streamlined process also allows you to focus on more complex aspects like audio configurations. Additionally, this method ensures that your Raspberry Pi is securely connected using public-key authentication, protecting your device from unauthorized access.
Here’s a quick overview of the advanced options available:
| Feature | Description | Benefits |
|---|---|---|
| SSH Access | Enables remote access | Manage your Raspberry Pi from anywhere |
| Hostname Setup | Configure a unique name for your device | Easily identify your Raspberry Pi on the network |
| WiFi Connection | Input SSID and password directly | Automatic connection at boot |
| Security Options | Use key files for enhanced SSH security | Protects your device from unauthorized access |
User-Friendly Interface

When you open the Raspberry Pi Imager, you’ll notice its intuitive navigation design that makes the setup process a breeze. You won’t get lost in complicated menus; instead, you’ll receive step-by-step guidance tailored for any skill level. Plus, practical tips pop up to enhance your experience, ensuring you get started on your DIY projects with confidence. This tool also features a selection of built-in Raspberry Pi operating systems directly within the imager, providing users with multiple OS options to choose from. Additionally, its cross-platform compatibility means you can use the Imager on Windows, macOS, and Linux, making it accessible to a wide audience. The Imager also ensures that the microSD card is formatted correctly for installation, which is crucial for preventing corruption and ensuring stable performance with proper formatting.
Intuitive Navigation Design
Streamlining the Raspberry Pi Imager’s navigation design transforms the user experience into a truly intuitive process.
You’ll appreciate how the simplified navigation flow makes it easy to get started with your projects, enhancing your productivity right from the start. This is particularly beneficial when working with different models, such as the Raspberry Pi 5, which offers significant performance enhancements like a 2.4 times increase in single-core performance over the Pi 4.
Here are some key features that contribute to this intuitive user experience:
- Device Selection: Start by selecting your Raspberry Pi model, automatically filtering the OS options to show only those compatible.
- Tabbed OS Customization: Access advanced settings through a clean tabbed interface, ensuring that options like WiFi setup and overscan adjustments are easily navigable. This interface also helps in configuring Bluetooth settings for seamless connectivity.
- Drag and Drop Functionality: Flashing image files becomes effortless when you can simply drag and drop them into the application.
- Progress Reports: Get real-time updates on the flashing process, as the imager provides accurate progress reports based on file sizes. Furthermore, the latest release enhances support for the new Raspberry Pi 5 model. This is particularly helpful as the Raspberry Pi 4 Model B is the latest and most powerful model available.
This thoughtful design minimizes complexity, allowing you to focus on creativity without getting bogged down by technical hassles, especially when considering important factors like proper heat management for device longevity.
With its user-friendly features, Raspberry Pi Imager is an essential tool for anyone looking to innovate in DIY projects.
Step-by-Step Guidance
There’s no need to feel overwhelmed by the Raspberry Pi Imager; its user-friendly interface guides you through each step of the process with ease. From downloading the software to writing your image, every action is intuitive and straightforward. Furthermore, the Imager allows for easy custom configurations tailored for advanced users. Additionally, the Imager integrates essential .json files to ensure seamless installation and functionality of Raspberry Pi operating systems. This tool is particularly useful for those working on projects that require hardware integration techniques, as it simplifies the initial setup.
When you launch the Imager, you can effortlessly choose your device and operating system, including preconfigured options like Raspberry Pi OS and Ubuntu. Need something unique? You can also opt for a custom image tailored for specific projects. For instance, if you’re planning a media center or gaming setup, selecting a model like the Raspberry Pi 4 would be ideal.
After connecting your microSD card, simply select your storage device. The Imager handles formatting and writing with minimal fuss. Plus, you can tweak OS settings before writing. A verification step guarantees everything’s perfect, leaving you with peace of mind and a “Write Successful” message. With the Raspberry Pi Imager, you’ll have all the tools at your fingertips to innovate and create.
Quick Steps Overview:
| Step | Details |
|---|---|
| Download & Install | Get it from the official site for your OS. |
| Select Device & OS | Choose your Raspberry Pi model and OS. |
| Write Image | Confirm and write with a single click. |
Practical Tips Offered
How can you make the most of the Raspberry Pi Imager‘s user-friendly interface? This tool is designed for users of all skill levels, simplifying your project inspiration process. Here are four practical tips to enhance your experience:
- Navigate with Ease: Take advantage of the intuitive design. Quickly select from preconfigured operating systems, whether you’re starting as a beginner or diving into advanced parameters.
- Quick Installation: Enjoy the simplified formatting and writing process to microSD cards. It saves you from the hassle, letting you focus on your DIY project. Ensure your microSD card meets the recommended 8GB capacity for optimal performance.
- Stay Updated: Utilize the real-time updates feature. The Imager caches downloaded OS images, ensuring you have the latest versions without repeated downloads, plus essential security patches.
- Cross-Platform Access: Whether you’re on Windows, macOS, or Linux, the Imager maintains a consistent interface across all systems. This versatility makes it an excellent resource for anyone exploring new projects.
Verifying Image Integrity
Verifying the integrity of images written to your SD card is essential for ensuring your Raspberry Pi project runs smoothly. A verification failure can stem from issues like bad sectors on your SD card, even if it’s brand new. Instead of relying solely on tools like Win32DiskImager, which can write images without checking their integrity, it’s vital to perform thorough data verification.
Utilizing SHA-256 signatures is a reliable way to confirm the downloaded image’s integrity before installation. By employing the ‘sha256sum’ command, you can compute and compare the image checksum against the original file. This step provides peace of mind that the file hasn’t been corrupted during download. Ensuring proper power management with a charge controller is also crucial for maintaining system stability.
After writing to the SD card, always verify the image. If you encounter verification errors, consider potential issues with your card reader or USB port. Switching ports or using a different card reader can sometimes resolve the problem.
Additionally, ensuring proper voltage levels on your Raspberry Pi’s GPIO pins is crucial to avoid hardware damage and maintain system stability.
Keep in mind that retaining the original image file allows for future comparisons, ensuring the installed OS remains intact. By implementing these practices, you’ll maintain the integrity of your Raspberry Pi projects and enhance your overall DIY experience.
Supporting Various Platforms
Guaranteeing your Raspberry Pi project functions flawlessly involves not just image integrity but also the versatility of the tools you use. The Raspberry Pi Imager shines in supporting various platforms, making it a must-have for DIY enthusiasts.
With its cross-platform compatibility, you can seamlessly incorporate it into your workflow, regardless of your preferred operating system. This is particularly useful when setting up a home theater system, where HDMI-CEC compatibility can enhance the user experience. Additionally, ensuring strong Wi-Fi connectivity, such as that required for mini PCs, is crucial for a stable connection.
Here are some key features of Raspberry Pi Imager that you’ll love:
- Operating System Support: Install Raspbian Desktop, Ubuntu Mate, Retro Pie, or custom images in formats like .zip and .img.
- Device Compatibility: Works with various Raspberry Pi models and supports both SD cards and USB drives for image writing.
- Ease of Installation: Available for macOS, Windows, and Linux, it offers straightforward installation processes across these platforms.
- Preconfiguration Options: Customize credentials and remote access settings, aligning perfectly with your project’s needs, similar to how mini PCs allow for versatile configurations.
Whether you’re flashing a new OS or configuring hardware, Raspberry Pi Imager guarantees device support and an efficient experience.
Get ready to innovate and make your projects come to life.
Frequently Asked Questions
Can I Use Raspberry Pi Imager on Different SD Card Sizes?
Yes, you can use Raspberry Pi Imager on various SD card sizes. Just make certain the cards are formatted correctly for best SD card performance and compatible file system formats, allowing your projects to thrive efficiently and effectively.
Is Raspberry Pi Imager Available for Mobile Devices?
Imagine reaching for your favorite tool and finding it’s simply not there. That’s how Raspberry Pi Imager is on mobile devices—no official app availability. Explore third-party options for mobile compatibility instead.
What Troubleshooting Options Are Included in Raspberry Pi Imager?
Raspberry Pi Imager offers error resolution through user guidance, including debug mode for diagnosing issues, version compatibility checks, and system log analysis. These tools empower you to troubleshoot installation problems efficiently and effectively.
Does Raspberry Pi Imager Support Custom OS Builds From Any Source?
Oh, sure, you can always whip up a custom OS for your Raspberry Pi! With the Imager’s custom OS compatibility, it supports various image file formats, letting you easily load and install your unique creations.
How Often Is Raspberry Pi Imager Updated With New Features?
Raspberry Pi Imager’s release frequency isn’t fixed; updates with new features occur when needed, often addressing security patches or enhancing user experience. You’ll find it evolving rapidly to meet the changing demands of your projects.
Conclusion
Incorporating the Raspberry Pi Imager into your DIY projects is like adding a turbocharger to your engine—it supercharges your creativity and efficiency. With its streamlined installation and varied OS options, you’ll find that setup is a breeze. It’s not just user-friendly; it opens doors to headless configurations and advanced settings, making your projects as versatile as your imagination allows. So, gear up and plunge into your next adventure with the power of Raspberry Pi Imager at your fingertips!

I am a retired software engineer with experience in a multitude of areas including managing AWS and VMWare development environments. I bought a relative a mini-PC a year ago and have become passionate about the technology and its potential to change how we deploy software.