
Building a Raspberry Pi media center is fun and straightforward! Start by choosing the right model, like the Raspberry Pi 4 or 5 for better performance. Next, pick an ideal operating system like LibreELEC for seamless Kodi integration. Set up your Raspberry Pi with essential components, such as a reliable power supply and cooling solutions. Install Kodi and customize its interface for easy navigation. Optimize performance by adjusting settings and consider using wired connections for streaming. Finally, explore add-ons to enhance your media experience. Keep going, and you’ll uncover even more tips for maximizing your setup!
Key Takeaways
- Choose the Raspberry Pi 5 for better performance and 4K video playback; consider at least 8GB RAM for multitasking capabilities.
- Use a reliable operating system like LibreELEC or OSMC for a smooth media experience tailored to Raspberry Pi.
- Install Kodi using simple commands, ensuring to allocate sufficient RAM for optimal performance and set it to auto-start.
- Organize your media files properly and consider using an external SSD for improved access speed and performance.
- Explore various add-ons for Kodi to enhance your media center with streaming services, music platforms, and gaming options.
Choose the Right Model for a Raspberry Pi Media Center
When it comes to building your Raspberry Pi media center, choosing the right model is essential for ideal performance and functionality.
You’ll want to weigh the Raspberry Pi comparisons between the 4 Model B and the newer Raspberry Pi 5. The 5 offers a significant performance boost with its up to 2.4 GHz quad-core ARM Cortex-A76 processor, compared to the 1.5 GHz quad-core ARM Cortex-A72 of the 4 Model B. This translates into faster loading times and smoother streaming. Additionally, disk performance is crucial when considering storage options, as using an external SSD with the Raspberry Pi can significantly improve file transfer speeds.
Consider your RAM needs too—both models come in options up to 8GB, but higher RAM is recommended for multitasking and running resource-intensive applications. The maximum RAM capacity of the Raspberry Pi 4 and 5 allows for improved performance in demanding tasks.
The improved GPU capabilities of the Raspberry Pi 5, boasting a VideoCore VII GPU, enhance your media center benefits, especially for 4K video playback.
Connection options matter as well; the Raspberry Pi 4 Model B has ample USB 3.0 ports and Gigabit Ethernet for reliable streaming.
If you’re serious about performance and flexibility, the Raspberry Pi 5 is the way to go.
Ultimately, selecting the right model sets the foundation for an innovative media center experience.
Select an Optimal Operating System
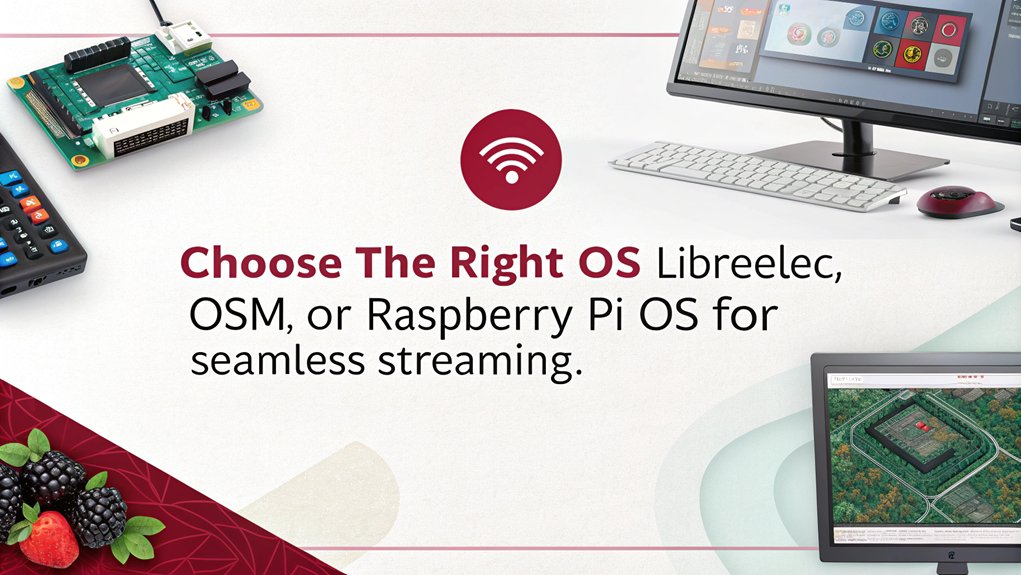
Selecting a suitable operating system is essential for maximizing your Raspberry Pi media center’s performance and user experience. For a seamless media playback experience, consider LibreELEC, which boots directly into Kodi and supports 4K 60 FPS video on Raspberry Pi 4. It’s user-friendly and regularly updated, ensuring you have the latest features. Additionally, a wide range of operating systems is available for various functions, allowing you to choose one that fits your specific needs. Furthermore, users may encounter unique quirks specific to Raspberry Pi OS that can affect media playback performance. To enhance your streaming experience, ensure you have a stable network connection, as this is crucial for uninterrupted media playback.
If you prefer a Debian-based option, OSMC is another great choice. Though it doesn’t support Raspberry Pi 4 at the moment, it’s highly optimized for smooth media playback and offers easy installation.
For those who want cutting-edge features, XBian provides a rolling release model that keeps you on the forefront of updates. It’s compatible with all Raspberry Pi models and includes handy pre-installed packages for enhanced functionality.
Finally, if you want flexibility, Raspberry Pi OS can run Kodi as an application. While it’s not solely dedicated to media playback, it offers a robust user interface and supports all Raspberry Pi models, making it a versatile option for various tasks.
Choosing the right OS will transform your Raspberry Pi into a powerful media center tailored to your needs.
Set Up Your Raspberry Pi Media Center
To set up your Raspberry Pi, you’ll need specific hardware components like a microSD card, power supply, and HDMI cable. Once you have everything ready, you can connect the peripherals and power it up for the initial configuration. This step is essential for selecting the right operating system and ensuring your media center runs smoothly. The Raspberry Pi 4 Model B is the preferred model for optimal performance, especially when using Kodi for your media needs. With the right setup, your Raspberry Pi can transform into a home media center, offering various multimedia capabilities.
Required Hardware Components
Setting up your Raspberry Pi media center requires a few vital hardware components to guarantee top performance. First, choose your Raspberry Pi model, like the 3B+ or 4, each boasting powerful quad-core processors. You’ll need a suitable power supply, typically a 2.5-5A USB adapter, to keep everything running smoothly. For ideal cooling solutions, consider cases that allow airflow or even active cooling options. Additionally, the Raspberry Pi operates on Linux-based systems, providing flexibility for various media center software.
Display connections are important; any HDMI-compatible monitor or TV will work, and you can use a VGA to HDMI converter if needed. Pair it with a USB keyboard and mouse for easy navigation. Don’t forget about audio output—integrate speakers or amplifiers for an enhanced auditory experience, and consider using a HiFi DAC for superior sound quality.
For storage options, an 8GB or larger microSD card is vital to house your operating system and media formats. External storage can expand your capacity if needed. If you want remote control functionality, an IR reader is a great addition. Finally, explore various case designs that suit your style while protecting your Raspberry Pi.
These components will set you on the path to a fantastic media center experience!
Initial Configuration Steps
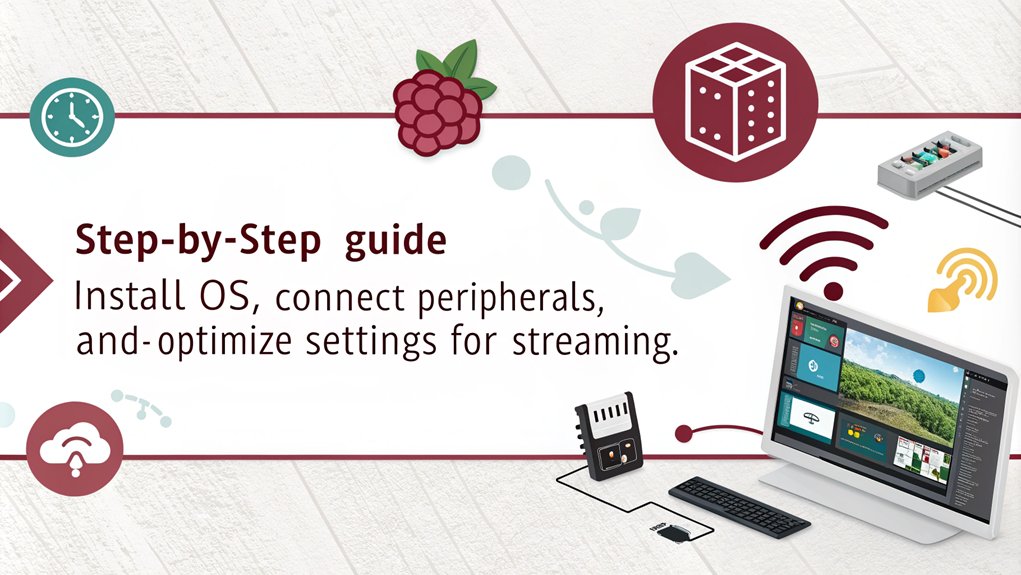
With your hardware components ready, you can now start the initial configuration of your Raspberry Pi media center.
First, download the latest Raspberry Pi operating system from the official website or choose OSMC or LibreELEC for a media-focused experience. Use a tool like Raspberry Pi Imager or Etcher to transfer the OS onto a microSD card.
Insert the card into your Raspberry Pi, connect peripherals like the keyboard, mouse, and HDMI cable, and don’t forget the power supply. The Raspberry Pi 3 Model B is ten times more powerful than the original Pi 1, allowing for a smoother media experience.
As the system boots up, follow the on-screen prompts to set your language, country, and time zone. For network configuration, either connect via Ethernet or set up Wi-Fi access to get online.
During this setup, you’ll also set up passwords and security measures, ensuring proper user permissions to protect your media center. Additionally, the Raspberry Pi is a compact computer that delivers excellent value for building a custom media center.
Once the initial setup is complete, consider expanding the file system on the SD card to maximize storage.
You’re now ready to install your media center software and engage in customizing your Raspberry Pi for a seamless entertainment experience.
Enjoy the journey of transforming your Raspberry Pi into a powerful media hub!
Operating System Selection
Choosing the right operating system can make or break your Raspberry Pi media center experience. When it comes to media center optimization, several popular options stand out.
LibreELEC is a lightweight, just-enough OS that boots directly into Kodi, offering exceptional support and 4K capabilities, making it perfect for streaming service integration.
If you prefer a more user-friendly approach, OSMC provides an easy installation process and command line access, but it doesn’t support Raspberry Pi 4 at this time. OSMC supports most filesystems, allowing you to connect various external drives seamlessly.
Xbian is your go-to for those who love cutting-edge updates, featuring weekly releases and pre-installed packages for enhanced functionality. Additionally, many distributions are designed to run on low-powered devices like Raspberry Pi, ensuring efficient performance.
On the other hand, RaspEX gives you a full Debian desktop experience with Kodi and various HTPC programs like Plex and Netflix pre-installed, catering to diverse media needs.
Before you choose, consider your specific requirements and which Raspberry Pi model you own. Each OS has unique strengths, so pick the one that aligns with your media streaming and management goals.
With the right OS in place, you’ll be well on your way to building a powerful and efficient media center.
Install and Configure Kodi
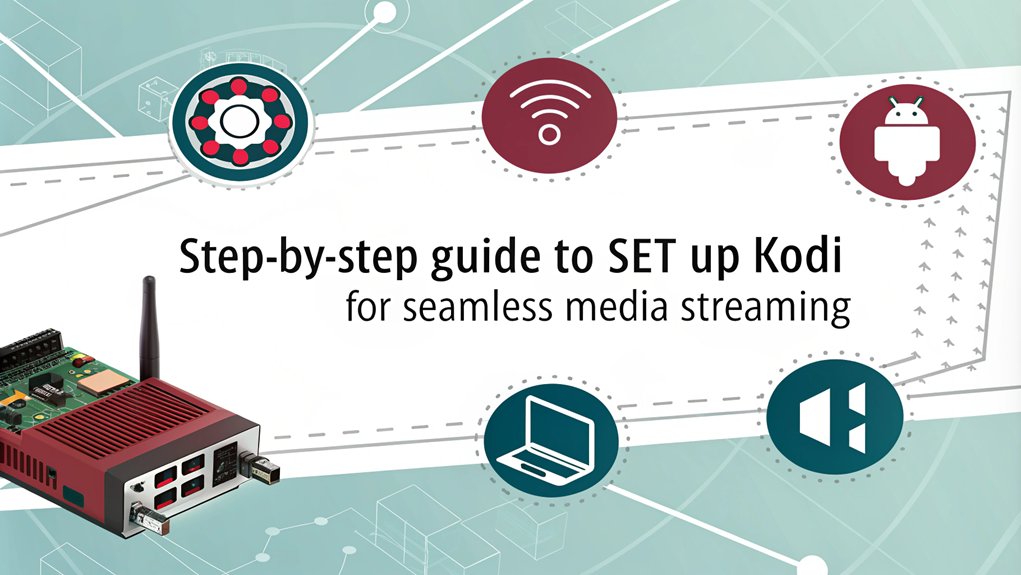
When you’re ready to transform your Raspberry Pi into a powerful media center, installing and configuring Kodi is the next essential step. This versatile media player offers a user-friendly interface and countless customization options. Here’s how to get started:
- Install Kodi: If you’re using Raspberry Pi OS, run ‘sudo apt update’ followed by ‘sudo apt install kodi’. For other operating systems, follow their specific installation guides. Additionally, you can enhance your experience by installing PVR addons to integrate live TV functionality into Kodi.
- Configure Settings: Allocate at least 160 MB of RAM to the GPU to guarantee smooth performance. You can adjust this in the advanced settings of your operating system. Ensure that your GPU supports OpenGL 2.1 for better compatibility with Kodi.
- Auto-Start Kodi: Create a systemd service file to auto-start Kodi on boot. This way, you can launch Kodi seamlessly and control it with your remote control, making your media experience effortless.
After installation, follow the on-screen prompts to finalize your setup, including Wi-Fi configuration.
Spend some time exploring the settings menu to customize Kodi to your liking. With these steps, you’ll be on your way to enjoying your favorite media on your Raspberry Pi!
Navigate Kodi’s Interface
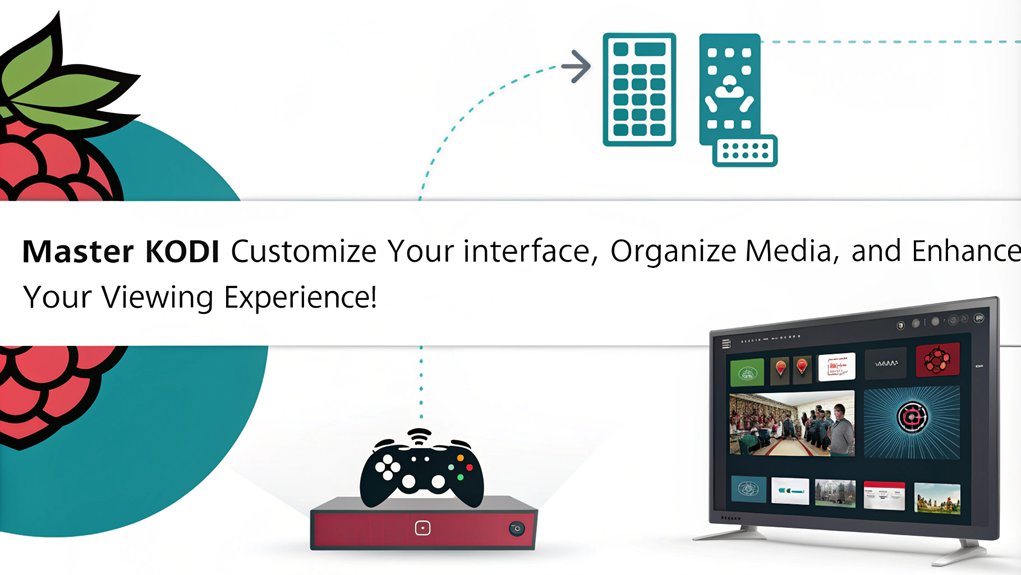
Maneuvering Kodi’s interface is often straightforward, making it easy for you to access your media library. The home screen displays your content, whether it’s movies, TV shows, or music, and the main menu lets you quickly traverse through different media categories and settings. You’ll find poster views that help you sort titles by in-progress, recently added, and unwatched options, enhancing your media organization.
Additionally, you can enable remote control to access your media from a web interface, providing even more flexibility in managing your library. For quick access, utilize the Sideblade Menu by pressing the ‘←’ key on your remote. This menu integrates seamlessly across most screens, providing a consistent way to browse your library. Steering through media is a breeze with directional keys (‘←’, ‘→’, ‘↑’, ‘↓’), allowing you to explore genres and studios effortlessly. With the help of a customizable main menu, you can further enhance your experience by relocating frequently used options for easier access.
Optimize Performance Settings
To fully enjoy your media center experience, optimizing performance settings on your Raspberry Pi is key. Implementing some strategic performance tweaks can markedly enhance your system’s efficiency, especially when it comes to video playback and streaming.
Here are three essential adjustments you should consider:
- Overclocking Techniques: Boost your CPU and GPU clock speeds by editing ‘/boot/config.txt’. Set ‘arm_freq’ to around 2000 MHz and ‘gpu_freq’ to 700 MHz. Just make sure you have adequate cooling solutions in place to prevent overheating. Overclocking potential can lead to significant performance gains when done correctly. Ensuring proper cooling solutions is essential to maintain system stability during overclocking.
- Enable Hardware Transcoding: If your Pi supports it, turn on hardware transcoding. This offloads video processing to the GPU, relieving the CPU and improving playback performance.
- Optimize Network and Storage: Use a wired Ethernet connection for more reliable streaming, and consider external storage solutions like SSDs for faster access times. Organizing your media files properly also enhances server performance.
Explore Add-ons and Features For Your Raspberry Pi Media Center
A wide array of add-ons and features can transform your Raspberry Pi into a versatile media powerhouse. By harnessing add-on compatibility, you can easily install video streaming services like Plex, Funimation, and YouTube directly from the Kodi repository.
For music lovers, add-ons for Spotify and SoundCloud bring your favorite tracks to life. If you’re into gaming, RetroPie lets you turn your Raspberry Pi into a retro gaming console—talk about feature enhancements! Additionally, Kodi’s open-source nature allows for a constantly evolving library of add-ons tailored to user preferences. With a small footprint and low power consumption, the Raspberry Pi provides an efficient media consumption solution without the bulk of traditional HTPCs. Furthermore, its powerful performance ensures smooth playback of high-resolution content, enhancing your overall media experience.
Installation is straightforward; just navigate to Add-ons > Download in the Kodi interface. Some add-ons may require you to sign in, like Plex, while others let you access network shares using protocols like SMB or UPnP/DLNA.
Support for 4K video and high-definition audio formats means you won’t compromise on quality. Plus, with a customizable UI and a plethora of plugins, you can tailor your media experience to fit your style.
Regular updates keep everything running smoothly, allowing you to enjoy seamless streaming and enhanced features. Immerse yourself in the world of add-ons, and elevate your Raspberry Pi media center to new heights!
Frequently Asked Questions
Can I Use a Raspberry Pi for Live TV Streaming?
Yes, you can use a Raspberry Pi for live TV streaming. By configuring your network properly and exploring various live streaming options, you’ll reveal exciting capabilities for watching and recording your favorite shows seamlessly.
What Type of External Storage Is Best for Media Files?
For media files, external hard drives offer high capacity and speed, while USB flash drives provide portability. Network storage enhances accessibility. Conduct a performance comparison to find the best option that suits your needs and setup.
Is It Possible to Connect Multiple Raspberry Pis for a Networked Setup?
Did you know that over 30% of Raspberry Pi users explore networking? You can easily connect multiple Raspberry Pis for seamless networking, enabling multi-device synchronization, enhancing your projects through collaborative processing and shared resources.
How Do I Backup My Kodi Settings and Media Library?
To back up your Kodi settings and media library configuration, use the Kodi Backup add-on. Schedule regular Kodi backups, automate with scripts, and exclude unnecessary folders to streamline your backup process efficiently.
Can I Control Kodi Remotely Without a Keyboard or Mouse?
Controlling Kodi remotely is as easy as using a TV remote. You can explore various remote control options or download the Kodi mobile app for seamless navigation, making your media experience innovative and user-friendly without a keyboard or mouse.
Conclusion
By following these tips, you’ll transform your Raspberry Pi into a powerful media center, like turning a simple canvas into a vibrant masterpiece. With the right model, OS, and Kodi setup, you’re well on your way to enjoying your favorite shows and movies in style. Don’t forget to explore add-ons to enhance your experience further. Immerse yourself, experiment, and let your creativity flow as you build the perfect entertainment hub right at home!

I am a retired software engineer with experience in a multitude of areas including managing AWS and VMWare development environments. I bought a relative a mini-PC a year ago and have become passionate about the technology and its potential to change how we deploy software.
Very informative article with strong points. Thank you for helping me understand more about the Raspberry Pi and for providing tips on how to build my own media center, with suggestions for improvement.
Michael
Yes the Raspberry Pi is a very versatile device. I currently run an n8n server on one and am experimenting with the GPIO on another. For a media center, you can just throw one of these on the back of a TV for a little more than the price of a Roku and have a full function computer with 4K streaming!