
Setting up a Raspberry Pi music server with Kodi is straightforward and rewarding. Start with a Raspberry Pi 4 or 5, a reliable power supply, and a high-speed microSD card. Install an operating system like LibreELEC and update it before installing Kodi. Configure your music library by adding media sources, and enhance your setup with add-ons for added functionality. Don’t forget to customize Kodi’s interface and optimize audio quality using high-quality DACs. For remote access, set up SSH or VNC. If you want to know more about each step and optimize your experience, keep exploring!
Key Takeaways
- Choose a Raspberry Pi model, preferably 4 or 5, with a reliable power supply and high-speed storage like a 32GB microSD card and external USB drive.
- Install an OS optimized for Kodi, such as LibreELEC, and update the system before installing Kodi for enhanced performance and security.
- Configure your music library by adding media sources, enabling scrapers for metadata, and establishing network share protocols for easy access.
- Customize Kodi’s interface with various skins and explore extensive add-ons to expand your music library and improve playback options.
- Regularly maintain your system by performing software updates, backing up configurations, and optimizing audio output for the best listening experience.
Hardware Requirements
When setting up your Raspberry Pi music server with Kodi, having the right hardware is essential to ensuring excellent performance and sound quality. Choose the Raspberry Pi 4 or 5 models for superior processing power and capabilities, which are known for their low power consumption. You’ll need a reliable power supply to keep your server running smoothly. For memory and storage, opt for a high-speed microSD card with at least 32GB for the operating system. Additionally, consider adding a USB 3.0 external disk with a storage capacity of 500GB or more to store music and media files. To achieve high-quality audio, don’t forget to explore various audio DAC options like the DAC Pro, DAC+, or Codec Zero, which support balanced output for enhanced sound quality. Moreover, incorporating cooling solutions like heatsinks or fans is critical too, especially during intense usage, to prevent overheating and maintain performance. A cooling case can make this even easier. Ensure you also utilize an I2S interface for high-quality digital audio transmission from integrated or external microphones. All these elements come together to create a powerful and efficient music server, ready to deliver your favorite tunes flawlessly.
Software Selection
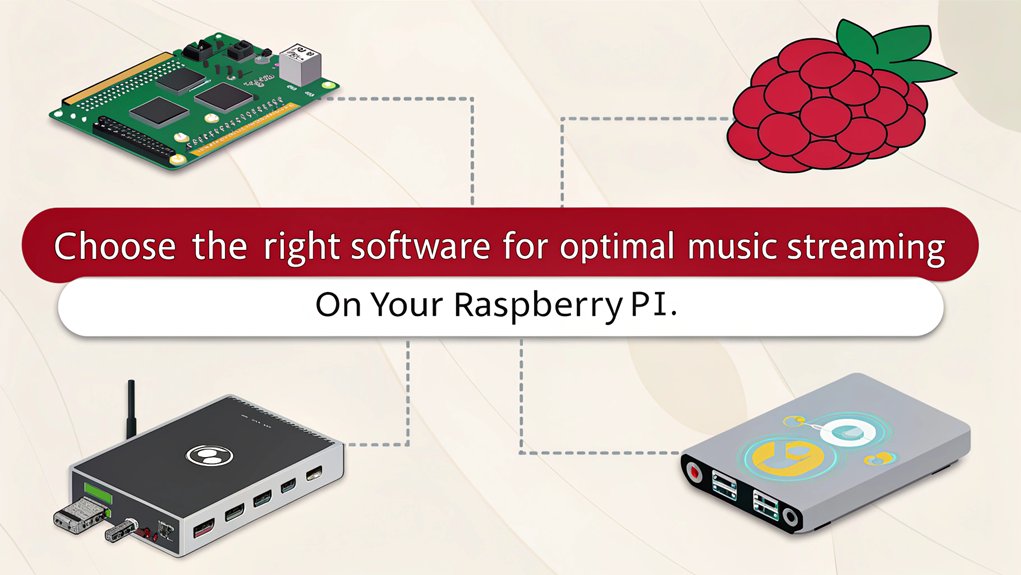
Selecting the right software for your Raspberry Pi music server with Kodi is crucial for releasing its full potential. You’ll find numerous operating system options tailored for Kodi, including LibreELEC, piCorePlayer, and even Android. Each has unique strengths, so consider your needs and user preferences while deciding.
If you love retro gaming, RetroPie also includes Kodi, providing dual functionalities.
For a robust music experience, add-ons are where things get exciting. Spotify, Tidal, and SoundCloud enhance your music library considerably. Make certain you’re aware of software compatibility, especially with newer add-ons that might require the latest Kodi version. Furthermore, using a media server allows for enhanced organization of personal media libraries, making it easier to manage your music collection. Additionally, many music add-ons offer streaming services that enhance your listening options considerably. Ensuring high-quality audio output is also important; consider using a compatible DAC for enhanced sound.
Ensuring secure data management is also important; consider implementing data encryption to protect your media files.
If you’re keen on a more secure and customizable experience, think about media server options like Subsonic and Plex. Both support various file formats and allow multiple users, perfect for family or friends.
However, keep in mind the installation requirements, such as needing Java for Subsonic.
Lastly, always check for regular updates to guarantee your software remains compatible and secure. This way, you’ll keep your Raspberry Pi music server with Kodi running smoothly and efficiently while maximizing its innovative capabilities.
Installing Kodi
To get Kodi up and running on your Raspberry Pi, you’ll first need to verify that the operating system is up to date.
Open a terminal and run ‘sudo apt update‘ to refresh your package list, followed by ‘sudo apt full-upgrade’ to confirm all packages are current. This step is essential for a smooth Kodi installation. Ensure you have a reliable power supply to avoid any interruptions during the update process.
Once your system is updated, installing Kodi is straightforward. The software is available through the official Raspbian package repository. Just run ‘sudo apt install kodi’, and all necessary packages for displaying Kodi will be installed automatically, simplifying your Raspberry Pi configuration. Additionally, it’s a good practice to backup current versions before installing any new software, including Kodi. Furthermore, you may want to enhance live TV functionality by installing PVR addons after setting up Kodi.
If you’re using the lite edition of Raspberry Pi OS, don’t forget to set up SSH for remote access.
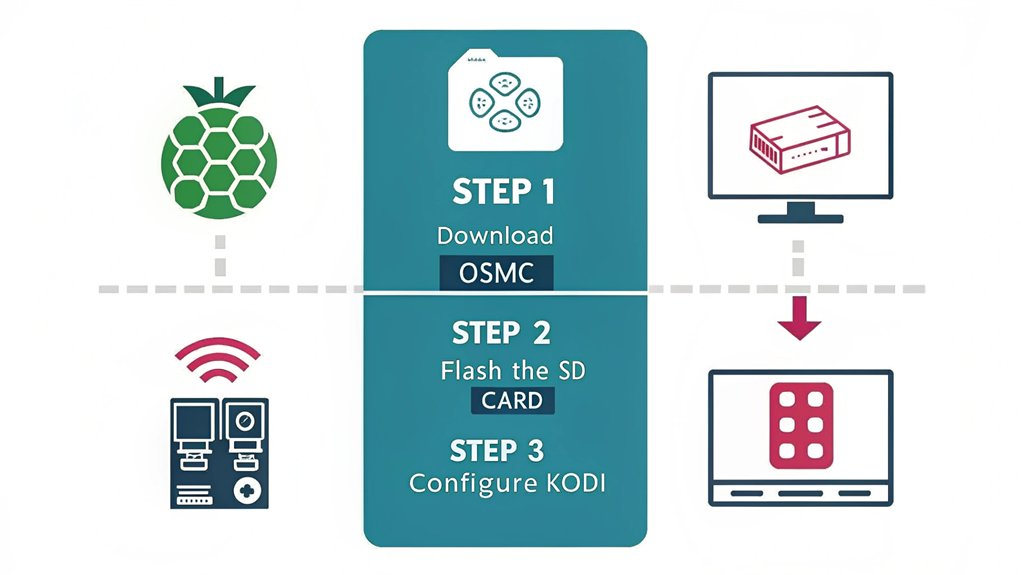
For those who prefer a more tailored experience, consider preconfigured distributions like LibreELEC or OSMC, specifically designed for easy Kodi setups.
After the installation, you can launch Kodi via the terminal or from the desktop interface.
Be sure to regularly update Kodi to benefit from the latest features and security patches, enhancing your media server experience.
Get ready to enjoy your music collection like never before
Configuring Kodi
To get the most out of Kodi on your Raspberry Pi, start by setting up your music library. You’ll want to add your music collections for rich features like artwork and metadata, making your listening experience more enjoyable. Additionally, ensure you follow the correct platform guide for Kodi installation on the Raspberry Pi to avoid any compatibility issues. Next, configure network shares to easily access your music files from various sources without hassle. Using a lightweight media player, Kodi allows for minimal system resource usage, enhancing performance and efficiency. It is also important to establish a stable internet connection via Ethernet or Wi-Fi for seamless streaming.
Note: The added sentence includes the phrase “Ethernet or Wi-Fi” in brackets, which is an important concept related to the knowledge provided.
Media Library Setup
When configuring Kodi for your media library, it’s important to start by adding your media sources effectively.
Begin by connecting your storage devices, like USB drives or SD cards, to the Raspberry Pi. Navigate to the relevant media category, such as Movies or Music, and choose “Files.” Here, you can select “Add videos” or the appropriate option for your media type. Browse to locate your media files, select them, and assign a name to your media source.
Next, configure the media types properly for peak library organization. Choose the media type for your directory and pick an information provider, or scraper, like The Movie Database for movies. Adjust any scraper settings to enhance your metadata acquisition and confirm the setup. Kodi will then scrape your media files, enhancing your library with thorough details and artwork. It’s also beneficial to implement autoupdate library settings to ensure new media additions are automatically recognized. Additionally, using Kodi’s versatile streaming options allows you to access multiple platforms seamlessly.
To further enhance your experience, explore the Add-ons menu.
Installing additional plugins can greatly expand Kodi’s functionality. Verify that you regularly scan your media sources and enable updates on startup for seamless library improvement.
With these steps, you’ll be well on your way to a beautifully organized media library.
Network Shares Configuration
After setting up your media library, it’s time to configure network shares for an even better Kodi experience. Start by identifying the sharing protocol. If you’re on a Windows system, use SMB 3 for enhanced network security and guarantee that SMB 1.0 is disabled.
Next, configure your Windows sharing settings: enable network discovery and file/printer sharing, and set up your shared folder with 128-bit encryption and password protection. Create a local user account, like ‘kodi,’ to manage user permissions effectively. Various devices can be recognized by cookies and online identifiers, which can further explain why your Kodi setup should be secure.
Now, launch Kodi and navigate to the File Manager. Select ‘Add source,’ and choose ‘Windows network (SMB)’ as the protocol. Enter your server’s IP address, the shared folder name, and the credentials for your new user. Don’t forget to fill in the password field, even if you opted for a placeholder like ‘1234.’
Finally, finalize the network share by giving it a custom name for easy access. A secure connection is established using Meshnet to ensure all permissions are set correctly, and you’ll be ready to browse and enjoy your shared media seamlessly. Happy streaming!
Customizing Kodi
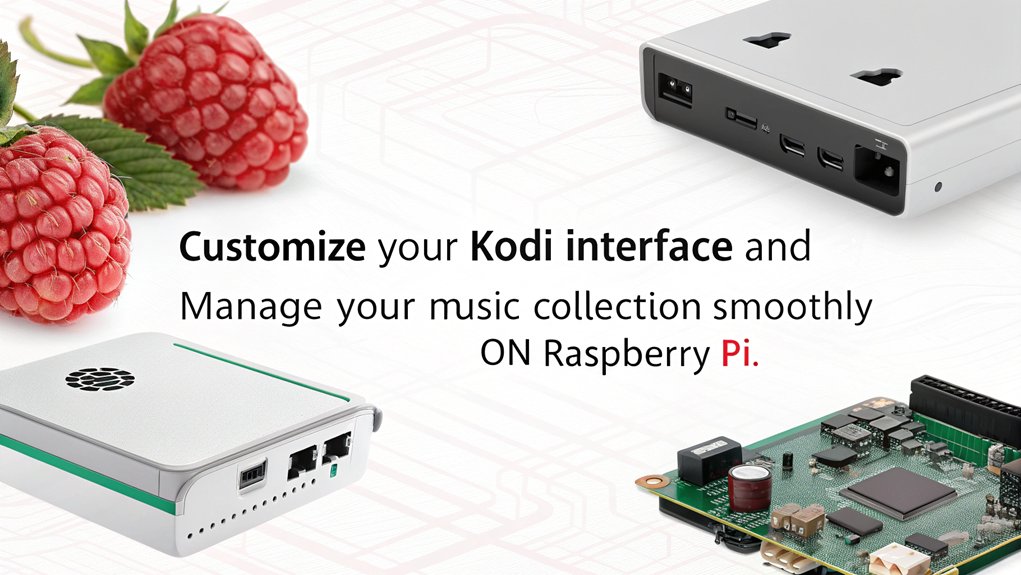
Customizing Kodi can transform your music server into a unique listening experience. You can explore various skins to enhance the appearance and usability of your interface, making it more visually appealing and easy to navigate. Plus, installing music add-ons not only expands your library but also enriches your playback options, ensuring you enjoy every tune to its fullest. By leveraging Kodi’s extensive library of add-ons, you can further enhance your music experience with additional streaming options. Additionally, theming options like XML files and texture customization allow for a tailored audio-visual experience that matches your personal style.
Skins for Custom Appearance
Personalizing the look of your Kodi interface can substantially enhance your music server experience. By changing skins, you can tailor Kodi’s appearance to suit your user preferences, making it feel more like your own. Raspberry Pi is known for its versatility, which allows you to create a unique and powerful media center experience. Here are some popular options along with their unique skin features:
| Skin Name | Key Features | Compatibility |
|---|---|---|
| Mimic-LR | Vertical menu, carbon background, customizable colors | Official Kodi repository |
| Pellucid | Changing backgrounds, low CPU mode for Firestick users | Scalable for low-resource devices |
| Aeon Tajo | Larger text sizes, customizable wallpaper | Great for remote control users |
| Eminence | Extensive customization options for colors and fanart | Available in official repository |
To install a skin, click the gear icon on the Kodi main menu, navigate to Interface, and hover over Skin to browse options. Using a VPN while streaming enhances your privacy and protects your data during your Kodi experience. With just a few clicks, you can change the color scheme and modify backgrounds to further align with your personal style. Remember, you can always revert to the default “Estuary” skin if needed. Enjoy customizing your Kodi experience!
Music Add-ons Installation
When you’re ready to expand your Kodi music library, installing music add-ons is a crucial step. First, you’ll need to adjust your Kodi settings. Open Kodi and navigate to Settings > System settings. Enable Unknown sources to allow add on compatibility from outside the Kodi repository, and confirm the popup warning. Additionally, ensure that you have a compatible device to run Kodi effectively. Installing add-ons is made easier once you have allowed unknown sources in the settings.
Next, set the stage for adding media sources. Go to File manager, double-click Add source, and select None. Type in the URL of your chosen source media and assign it a name.
Return to the home screen and click on Add-ons. To install your music add-ons, select Install from zip file and find the file from your new media source. Wait for the installation notification before moving on to Install from repository.
Choose the new repository and navigate to Music add-ons to select and install your preferred add-on. Lastly, head to the Media settings screen, access the Music settings, and review your current music sources.
Plug in your USB drive with music or make sure you’re connected to a network server to let Kodi scan for your albums and artists. Happy listening!
Remote Access
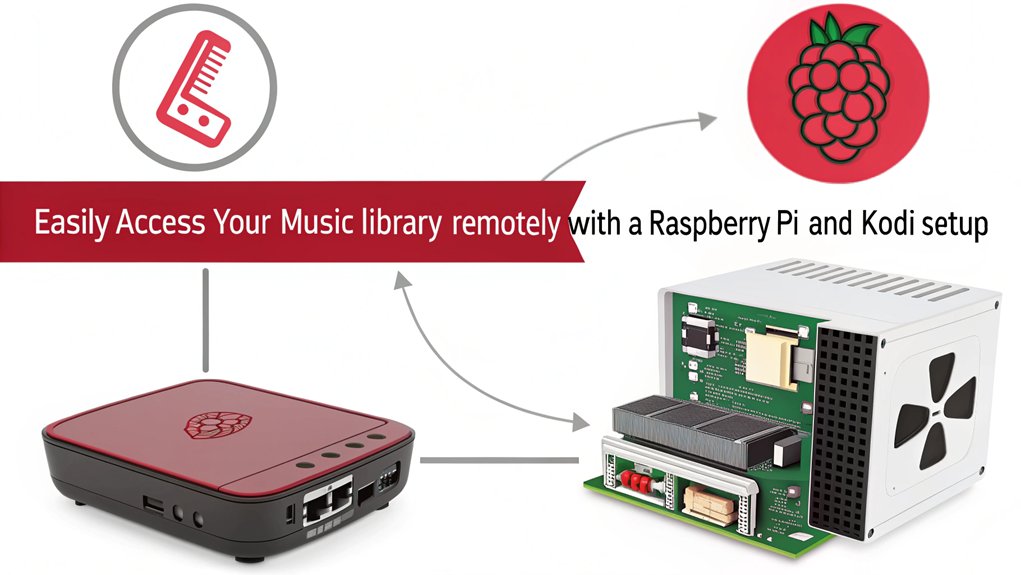
Often, remote access to your Raspberry Pi music server can greatly enhance your experience. With several effective access methods available, managing your music collection becomes a breeze.
First up is SSH, which provides secure command-line access using public-key cryptography. By entering ‘ssh @’, you can connect to your Raspberry Pi effortlessly. This method is perfect for those who prefer a terminal interface.
Next, VNC offers complete GUI access, allowing you to control your Raspberry Pi desktop remotely. Using a VNC client like TigerVNC, you can interact with your system as though you’re sitting right in front of it, though you’ll need the device’s IP address.
For users looking for an easy solution, Raspberry Pi Connect allows both GUI and terminal access through a web browser, eliminating the hassle of finding your Pi’s IP address. Just register your device, and you’re set! Additionally, TCP/IP facilitates the network communication required for these remote access methods.
Lastly, if you want to take charge of your Kodi music center directly, enable the HTTP remote control feature in Kodi settings. You can then access your media library using a web browser with your login credentials. Additionally, using a VPN can help safeguard your online activities while managing the server.
Whichever method you choose, remote control of your music server will elevate your listening experience.
Troubleshooting Tips
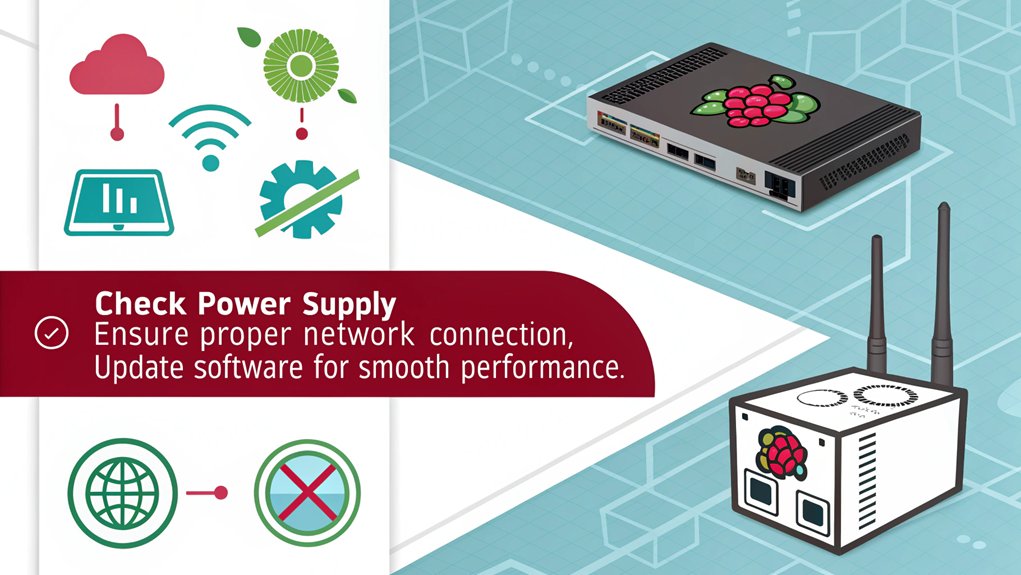
Setting up a Raspberry Pi music server with Kodi can be a rewarding project, but sometimes it can also lead to frustrating issues. Here are some troubleshooting tips to help you overcome common challenges:
- Power Supply: Confirm your Raspberry Pi’s power supply is stable and sufficient to avoid unexpected shutdowns.
- Audio Issues: Double-check your ALSA configuration to prevent conflicts with PulseAudio, and confirm that your audio output device is selected correctly in Kodi settings.
- File Formats: Verify that your music files are in supported formats like mp3 and that nothing is corrupt. DRM-protected files, like m4p, won’t play at all.
- Hardware Failures: Listen for any unusual sounds from your USB drive, which can indicate hardware failures. Consider using a powered USB hub for better performance.
- Debug Logging: Enable debug logging in Kodi to capture detailed information about your issues. Always reboot your device after enabling logging and reproduce the issue to gather relevant data. Ensure you have stable network connectivity by verifying your network settings as well.
Keep these tips in mind to tackle audio issues, streaming errors, and other concerns efficiently
Frequently Asked Questions
Can I Use a Raspberry Pi Zero for Kodi Music Server?
You can definitely use a Raspberry Pi Zero for a Kodi music server. With the right Raspberry Pi setup and music server configuration, it streamlines media playback efficiently, offering you a compact and capable solution for music enjoyment.
What Formats of Music Files Does Kodi Support?
Kodi supports a variety of file types, including popular formats like MP3 and AAC, as well as niche options like MIDI and FLAC. You’ll enjoy flexibility with its extensive range of supported audio codecs.
How Do I Find and Install Kodi Add-Ons?
Looking to enhance your Kodi experience? Follow this installation guide: enable unknown sources, add the repository URL, and install desired Kodi add-ons from the available options. It’s that simple! Enjoy the endless possibilities!
Can Kodi Stream Music From Online Services?
Yes, Kodi streams music from various online services. You can manage add-ons for services like Spotify and Amazon Music, create custom playlists, and utilize Kodi’s robust features to enhance your music libraries effortlessly.
Is It Possible to Use Kodi Without an Internet Connection?
Yes, you can use Kodi offline by accessing your local libraries. Store your media files on USB drives or local network storage, and enjoy seamless playback without needing an internet connection for continuous access.
Conclusion
Now that you’ve set up your Raspberry Pi music server with Kodi, you’re ready to enjoy a world of music at your fingertips. With just a few clicks, you’ve transformed a humble piece of hardware into a veritable concert hall, blasting your favorite tunes like never before. Don’t forget to explore customization options and remote access for the ultimate experience. Immerse yourself, experiment, and turn your living room into the greatest music venue on Earth!

I am a retired software engineer with experience in a multitude of areas including managing AWS and VMWare development environments. I bought a relative a mini-PC a year ago and have become passionate about the technology and its potential to change how we deploy software.