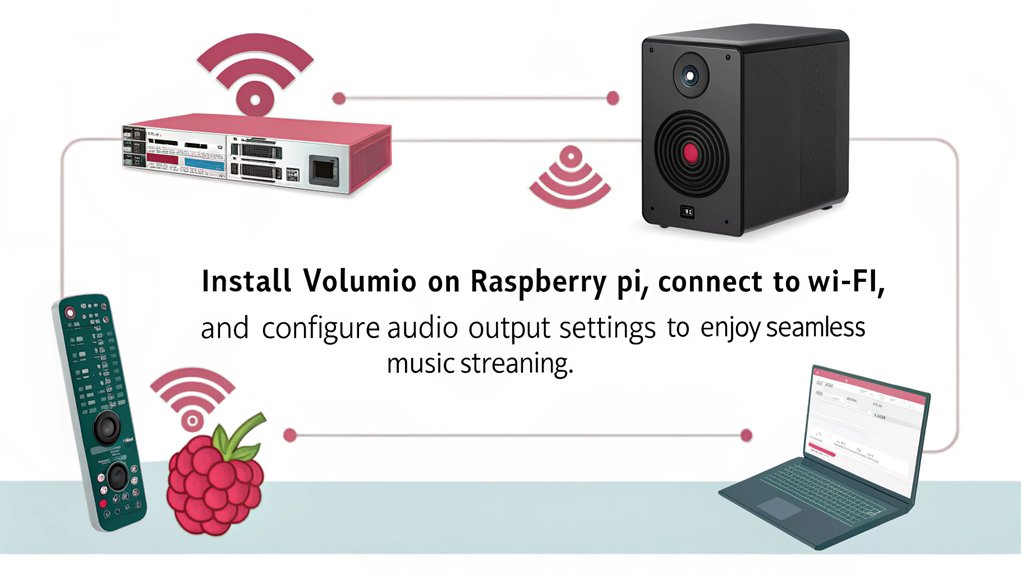
To set up a Raspberry Pi music server with Volumio, start by selecting a Raspberry Pi model, ideally the 4 or 5, and guarantee you have a reliable power supply and an 8GB MicroSD card. Download the latest Volumio image and use Balena Etcher to flash it onto the card. Once you insert the card and power up the Pi, connect to the Volumio hotspot to configure Wi-Fi and audio settings. You can then organize your music library and enjoy streaming services like Spotify or Tidal. Stick around to discover tips on optimizing your music experience further.
Key Takeaways
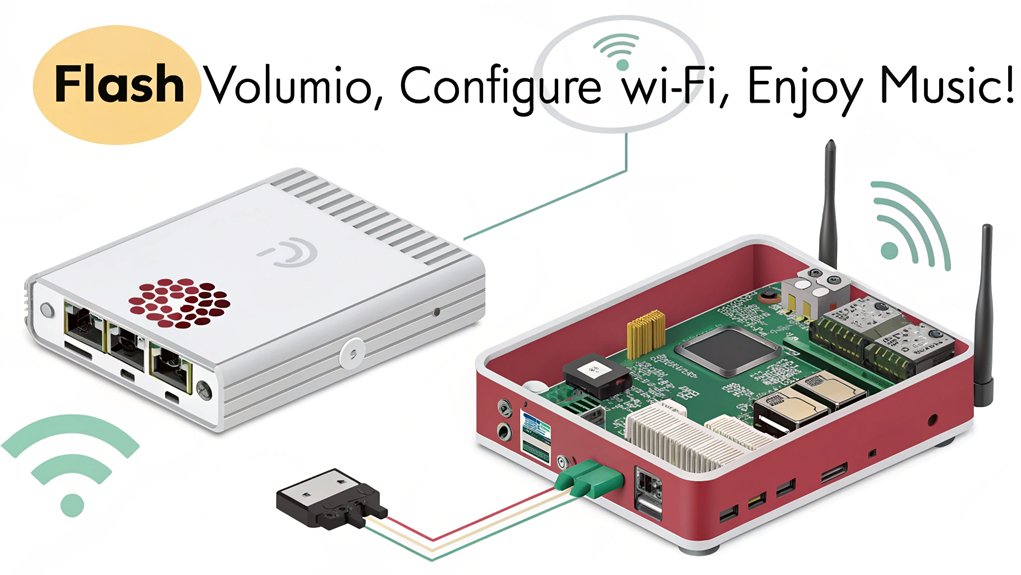
- Download the latest Volumio image for Raspberry Pi and use Balena Etcher to flash it onto at least an 8GB MicroSD card.
- Insert the flashed MicroSD card into the Raspberry Pi, connect a power supply, and boot to initialize the Volumio system.
- Connect to the Volumio hotspot, navigate to Network settings, and set up your Wi-Fi connection for internet access.
- Add music to the library via external drives or network shares, ensuring files are organized and ready for playback within Volumio.
- Explore streaming services compatibility, Bluetooth connectivity, and advanced playback features to enhance your music server experience.
Hardware Requirements For Raspberry Pi Music Server With Volumio
When setting up a Raspberry Pi music server with Volumio, you’ll need to gather the right hardware to guarantee peak performance.
Start with the Raspberry Pi models: the Raspberry Pi 4 with 2GB of RAM is ideal, while the 3 serves as a solid alternative, especially during hardware shortages. If you’re looking for something different, consider the Tinkerboard S or an Intel NUC for more complex configurations. For even more powerful options, the new Raspberry Pi 5 offers significant performance gains with its 64-bit Arm Cortex-A76 CPU.
Next, focus on power supply options. The recommended official Raspberry Pi power supply guarantees stability, with a minimum of 3A at 5V to prevent issues like SD card corruption. Raspberry Pis require adequate power consumption to function reliably, especially when using Volumio to play music from various sources.
If you’re using external devices, consider a powered USB hub and separate power sources for your Raspberry Pi and any external displays.
For storage choices, use a MicroSD card with at least 8GB—up to 32GB for improved performance is best. You might also want an external USB drive based on your data needs, or even NAS storage for local file playback. The Raspberry Pi 5 also supports high-speed M.2 NVMe SSDs for enhanced storage speed.
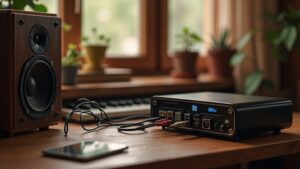
Finally, don’t overlook audio interfaces. A good DAC is essential for high-quality audio; the HiFiberry DAC+ Pro is a great choice.
Make sure the DAC is compatible with your Raspberry Pi model for seamless integration.
Installation Process For Volumio
Typically, setting up your Raspberry Pi music server with Volumio involves a straightforward installation process that can be broken down into several key steps.
First, head over to Volumio’s “Get Started” page and select the Raspberry Pi option to download the latest Volumio image. Once the download completes, you’ll need to note the image’s location.
Next, for the image flashing process, download and install Balena Etcher from its official website. Launch Etcher, click “Select Image,” and choose the Volumio image file. Then, click “Select Drive” to verify you’ve picked the correct MicroSD card before hitting the “Flash” button.
Now that you’ve flashed the MicroSD card, insert it into your Raspberry Pi, power it on, and wait up to six minutes for Volumio to boot. This process allows the Raspberry Pi to read all Volumio files and prepare for setup. You may also want to ensure that your Raspberry Pi is connected to a reliable power supply to prevent interruptions during the booting process.
If you’re using Wi-Fi connectivity, connect to the temporary hotspot named “Volumio.” Access the Volumio web interface by entering ‘http://volumio.local’ or the IP address shown, and get ready to configure your new music server!
Initial Configuration of a Raspberry Pi Music Server With Volumio
Configuring your Raspberry Pi music server with Volumio is an essential step to get the serverrunning smoothly.
Begin with the initial setup by downloading the latest Volumio image from the official website. Use a tool like Balena Etcher or Raspberry Pi Imager to write the image to your SD card. Once done, insert the SD card into your Raspberry Pi, power it on, and wait up to six minutes for the first boot as Volumio initializes.
After the initial setup, Volumio generates a temporary Wi-Fi hotspot named “Volumio.” Connect to this hotspot using a computer or mobile device. Access the Volumio web interface via ‘http://volumio.local’ or the device’s IP address.
Once there, navigate to the Network settings to connect to your desired Wi-Fi network, entering the password and clicking Connect. You should confirm whether Volumio is effectively connected to the wireless network after setup to ensure seamless operation without any reliance on an Ethernet cable.
To enhance your listening experience, it is advisable to use a USB audio card as this can improve audio quality and optimize playback.
With your Raspberry Pi connected to the network, it’s time to configure your audio settings. In the web interface, select your language, set regional preferences, and choose the correct audio output device, like USB DACs or Raspberry Pi DACs via I2S.
Adjust the audio quality settings as necessary to guarantee the best playback for your new music server.
Managing Music Library

With your Raspberry Pi music server with Volumio configured and connected to your network, it’s time to focus on managing your music library effectively. You can easily add music via an external hard drive or by connecting to a file share on your network. Volumio also supports plugins for cloud services like Spotify and Tidal, keeping your options open for music organization. To maintain a clean library, guarantee that music files are well-structured and tracklists are correct. A well-organized digital music library enhances your listening experience and makes it easier to find your favorite tracks. Here’s a quick reference table to help you manage your library:
| Action | Method | Tool/Feature |
|---|---|---|
| Add Music | External hard drive or file share | Volumio Interface |
| Organize Artwork | Store images with specific names | Manual file naming |
| Update Library | Use three dots menu in Music Library | Volumio Web Interface |
| Rescan for Changes | Full rescan of library path | Library Maintenance |
Regularly check for missing cover art and inconsistencies—using tools like bliss can simplify this. With the option to connect to reliable network-attached storage for music sources, don’t forget to perform periodic rescans to maintain library integrity, guaranteeing that any changes are reflected promptly. Happy organizing!
Streaming and Playback Features

When it comes to streaming and playback features, your Raspberry Pi music server offers an impressive array of options to enhance your listening experience.
You’ll find compatibility with major streaming services like Spotify, Tidal, and Qobuz, allowing you to access premium content seamlessly. Not only that, but it integrates with web radio services such as Shoutcast and Icecast, and enables streaming from various online sources like YouTube Music and Bandcamp.
Your server supports a wide range of music formats, including FLAC, MP3, AAC, WAV, DSD, and ALAC, catering to all audiophiles’ needs. For high-quality audio, enjoy bit-perfect Hi-Res playback and DSD over PCM (DoP) support. Volumio is compatible with various devices, allowing for flexible setup options that suit your preferences. Additionally, with OpenAI’s ChatGPT technology enhancing user interaction, finding your preferred tunes becomes even more engaging.
Additionally, features like Infinity Playback keep the music flowing by loading related tracks as your queue ends. You’ll appreciate the advanced playback modes too, including Supersearch, which curates playlists based on your preferences.
Plus, with multiroom sync playback and Bluetooth connectivity, controlling your music across devices couldn’t be easier. This setup guarantees your Raspberry Pi music server isn’t just a player, but a thorough streaming hub for all your audio needs.
Frequently Asked Questions
Can I Use Volumio Without an Internet Connection?
Yes, you can use Volumio without an internet connection. Once you’ve set it up, you can enjoy local music and offline playback, managing your library directly through the interface or using alternative control methods.
What File Formats Are Supported by Volumio for Music Playback?
Volumio supports various music formats, including FLAC, MP3, ALAC, AAC, and WAV. You’ll enjoy seamless playback with these supported codecs, enhancing your audio experience while maintaining rich sound quality across your music library.
Can I Control Volumio With My Smartphone?
Yes, you can control Volumio with your smartphone using the Volumio app. It’s fully compatible with both iOS and Android, allowing you to manage playback, volume, and playlists seamlessly from your device.
Is It Possible to Use Volumio With a Bluetooth Speaker?
You can’t use Volumio directly with Bluetooth speakers due to its lack of Bluetooth output compatibility. Alternative solutions exist, but sound quality may vary depending on the workaround you choose for connecting your audio devices.
How Do I Update Volumio After Installation?
To update Volumio after installation, download the latest update file, copy it to a FAT32 USB drive, turn off your device, insert the drive, then power it on and follow the update prompts.
Conclusion
Setting up a Raspberry Pi music server with Volumio not only enhances your listening experience but also gives you complete control over your music library. Did you know that Volumio supports over 50 audio formats? That’s impressive! With its intuitive interface and seamless streaming capabilities, you can enjoy high-quality sound from any source. Now that you’ve got everything set up, immerse yourself in your music collection and explore new tunes effortlessly! Happy listening!

I am a retired software engineer with experience in a multitude of areas including managing AWS and VMWare development environments. I bought a relative a mini-PC a year ago and have become passionate about the technology and its potential to change how we deploy software.