
To optimize your Raspberry Pi setup with Raspberry Pi Imager, start by selecting the right model and OS, like Raspberry Pi OS. Connect your microSD card, enable SSH for headless operation, and customize your settings in the advanced menu. Make sure to preconfigure your Wi-Fi and set up SSH for easy remote access. Choose high-speed microSD cards for better performance and check for compatibility with your Raspberry Pi model. Remember to regularly update your system for key optimizations and maintain proper cooling. Stick around for more tips on maximizing your Raspberry Pi’s capabilities!
Key Takeaways
- Choose the appropriate Raspberry Pi model and preferred OS, ensuring compatibility for optimal performance during initial setup with Raspberry Pi Imager.
- Utilize the advanced menu via CTRL + SHIFT + X to customize settings like hostname, SSH activation, and boot preferences for an enhanced user experience.
- Predefine network settings such as SSID and password during setup to ensure immediate connectivity and easy remote access through SSH.
- Opt for high-speed microSD cards and consider a 64-bit Raspberry Pi OS to maximize processing capabilities and overall system performance.
- Regularly update the OS and implement proper heat management to maintain device performance and longevity, ensuring efficient operation.
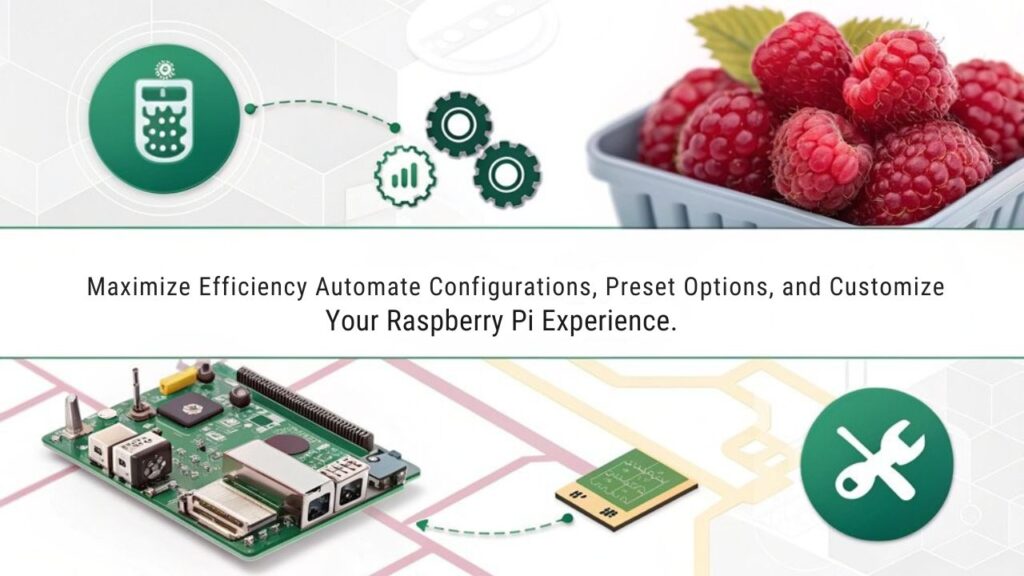
Simplifying the Setup Process
Setting up your Raspberry Pi can be a breeze with the right tools and steps. The Raspberry Pi Imager simplifies the setup process, allowing you to achieve impressive customization options tailored to your needs. For the best performance, ensure you are using a suitable power supply to avoid any boot issues. Additionally, using the Raspberry Pi 5 model provides enhanced performance and connectivity options, such as dual-band Wi-Fi, making it ideal for more demanding applications. It is also crucial to consider cooling solutions to prevent overheating and maintain optimal performance.
Advanced Configuration Options
When you explore the advanced configuration options for your Raspberry Pi, you’ll access powerful features that simplify your setup. You can predefine network settings for quick connectivity and take advantage of headless configuration to manage your device remotely. This process is further streamlined by ensuring the correct power supply, such as using an official power supply, to prevent damage and ensure optimal performance. Plus, these user customization options allow you to tailor the experience to fit your specific needs with ease. The latest update introduces advanced configuration features that enhance flexibility for specific project requirements. Additionally, utilizing the Raspberry Pi allows for a wide range of applications like (STEM promotion) in education, enabling users to create innovative projects. Ensuring regular updates via APT package management is crucial for maintaining system integrity and optimizing performance.
Predefined Network Settings
Many users find that predefined network settings are crucial for optimizing their Raspberry Pi setup. By configuring these settings in advance, you enhance wireless security and streamline device connectivity, making your setup more efficient.
Here are key aspects to take into account when utilizing the Raspberry Pi Imager:
- SSID and Password: Input your network name and password for immediate access.
- Hidden SSID: If your Wi-Fi network isn’t broadcasting its name, enable this option to connect seamlessly.
- Wireless LAN Country: Select your country to comply with local regulations and optimize your use of network protocols.
- Hostname Definition: Customize the hostname so other devices can easily identify your Raspberry Pi on the network.
Furthermore, you can enable SSH during the setup process for remote access to your device. This step not only makes remote management convenient but also ensures that you can streamline initial configuration effectively. It is also important to know how to find the IP address of your Raspberry Pi for easier management.
With these predefined settings, you won’t need to edit config files manually, making it easier to guarantee proper communication and safety.
As you move forward in your innovative projects, take advantage of these options to maximize the performance of your Raspberry Pi and create a refined and secure wireless experience. Each detail in the setup contributes markedly to your overall success. Regular documentation of IP settings is recommended to avoid connectivity issues, especially with dynamic IPs.
Headless Configuration Benefits
Maximizing the benefits of headless configuration can greatly simplify your Raspberry Pi experience.
By enabling SSH on boot, you gain immediate remote management capabilities, allowing you to operate your Raspberry Pi without needing a monitor, keyboard, or mouse. Setting a hostname makes identifying your device on the network hassle-free, and you can easily connect from your laptop or other devices. Additionally, the lack of Fedora-based pre-boot configuration tools highlights the need for improved setup options that could further enhance this process.
Preconfiguring settings with Raspberry Pi Imager speeds up the entire setup process, letting you customize the OS before writing it to the SD card. This efficiency is a game changer, especially for server applications where quick deployment is essential. Moreover, the new version of Raspberry Pi OS streamlines these processes even further with updated features, such as enhanced performance metrics on the Raspberry Pi 5.
You can also implement automated updates, ensuring your system stays current without constant manual checks.
Security is another vital aspect. Change the default password for the ‘pi’ user and consider deleting the account for enhanced protection. Regularly applying the latest security patches and utilizing encrypted OS options will help safeguard your device from vulnerabilities.
With these headless configuration benefits, you’re not just optimizing your Raspberry Pi; you’re paving the way for a streamlined, innovative digital experience that puts you in control. This setup is particularly beneficial when using Ubuntu, which requires at least 4GB RAM but performs well on 2GB models with proper configuration using community support.
User Customization Options
Accessing the full potential of your Raspberry Pi involves diving into its advanced configuration options. By activating these features, you can greatly enhance your user interface customization and streamline your workflow for an improved user experience.
To access the advanced menu, simply press CTRL + SHIFT + X in Raspberry Pi Imager, as it’s hidden by default to keep things user-friendly.
Here are some key customization options you can leverage:
- Set the hostname to easily identify your Raspberry Pi on a network.
- Enable SSH for secure remote access, ideal for headless setups.
- Adjust display settings, like overscan, for a clean output on your screen.
- Choose your boot preferences, including auto-login directly into the desktop. Additionally, ensuring the boot order is configured correctly can help improve startup efficiency and reduce boot time. This step is crucial as it aligns with the Imager’s ability to download OS images directly from trusted sources.
These advanced options let you apply specific configurations every time you use the Imager or just for a single session. Moreover, utilizing customizable features can allow you to create a digital experience tailored to your unique preferences.
Whether you’re adjusting system-level settings or enhancing connectivity, taking advantage of these user customization options will optimize your Raspberry Pi experience. For instance, configuring Wi-Fi SSID and password during the setup process ensures immediate network connectivity upon boot.
Embrace the power of personalization to make your projects truly your own
Headless Setup Benefits
Setting up your Raspberry Pi headless offers simplified remote access, so you can manage it without needing a monitor. With preconfigured network settings, connecting to your device becomes hassle-free, streamlining the entire process. This efficient resource management guarantees your Pi runs smoothly, allowing you to focus on your projects rather than the setup. Additionally, using a headless system ensures higher reliability and performance due to reduced background processes. Moreover, this setup is particularly advantageous for facilitating experimentation with configurations, making it a versatile option for various projects.
Simplified Remote Access
When you want to control your Raspberry Pi without the hassle of a monitor or keyboard, a headless setup offers a streamlined solution. By leveraging remote access methods like secure shell (SSH) and remote desktop (VNC), you can easily manage your device from another computer. This flexibility is especially advantageous if your Raspberry Pi is in a hard-to-reach location, or if you want to integrate it into an existing system effortlessly. Moreover, ensuring that SSH is enabled during initial setup allows for immediate remote access from the start.
Here are some key benefits of simplified remote access with a headless setup:
- Cost-Effectiveness: No need for additional monitors, keyboards, or mice.
- Improved Reliability: A minimalist approach reduces software bugs and service conflicts.
- Enhanced Performance: Dedicating resources to applications rather than a graphical interface boosts performance.
- Convenient Remote Management: Troubleshoot or deploy updates easily from anywhere using systemctl commands. Additionally, a headless setup supports various applications like web servers and IoT devices seamlessly.
Preconfigured Network Settings
Often, preconfiguring network settings before you power up your Raspberry Pi can considerably simplify the headless setup process.
By using the Raspberry Pi Imager, you can set a clear hostname, making it easier to identify and connect to your Pi on the network via mDNS. Just think—no need to remember IP addresses when you can use ‘.local’ instead. This approach is similar to how the Apple Mac Mini 2024 enhances connectivity with its diverse port options, including Thunderbolt and HDMI.
You’ll also want to enter your Wi-Fi SSID and password directly in the Imager, ensuring your Raspberry Pi connects automatically at boot. This saves you from the hassle of running around setting up connections, all while maintaining robust Wi-Fi security.
Plus, if your network’s hidden, the option is right there for you to configure it effortlessly.
Equally important is enabling SSH right from the start. This allows secure remote access, integrating SSH encryption for a safer experience, much like how the Mac Mini’s compact design supports energy efficiency.
You can choose password or public-key authentication, making it straightforward to manage your devices. By preconfiguring these network settings, you streamline your headless setup, paving the way for an innovative Raspberry Pi experience that’s both efficient and secure.
Additionally, this approach ensures compatibility with various home automation solutions, enhancing the overall functionality of your Raspberry Pi setup.
Efficient Resource Management
After you’ve configured your network settings for headless operation, you’ll quickly discover the advantages of efficient resource management. With a headless setup, you can implement effective resource allocation strategies, optimizing how your Raspberry Pi operates. This minimalistic approach guarantees that you’re using your device’s capabilities to the fullest.
Consider the benefits:
- Smaller Footprint: A reduced size not only makes backups quicker but also decreases the chances of software bugs.
- Enhanced Reliability: Minimal operating systems mean fewer conflicts, leading to longer uninterrupted operation—some devices report running for as long as nine months! Additionally, enabling SSH for remote access ensures you can manage your device without being physically present. This approach highlights the significance of SSH for secure remote management.
- Improved Performance: By eliminating GUI-related tasks, you free up CPU and memory, allowing your applications to run smoother.
- Space and Cost Efficiency: Without the need for extra peripherals, you can deploy your Pi in tighter spaces, saving costs and streamlining your environment.
Compatibility With Operating Systems
Many users find that the Raspberry Pi’s compatibility with various operating systems enhances its versatility. With Raspberry Pi Imager, you can easily select OS images tailored to your specific model, ensuring maximum performance. The image compatibility extends across all Raspberry Pi models—except for the Pi Pico—so you can confidently run RPiOS Bookworm images on either the Pi 4B or Pi 5. Additionally, make sure to note that specific Pi model compatibility is crucial when selecting the right OS image for your setup.
When it comes to OS selection, remember that 32-bit images work seamlessly with earlier models, while 64-bit images are necessary for those supporting 64-bit architecture, like the Pi 4 and 5. If you’re looking to run applications such as PyTorch on your Pi 4, a 64-bit image is a must. The importance of 64-bit OS installation ensures compatibility with performance-intensive libraries and frameworks.
Raspberry Pi Imager makes it simple; it filters out incompatible OS versions based on your selected model. You’ll find popular options like Raspbian Desktop, Raspberry Pi OS Lite, and even custom images available for installation. Just keep in mind that some OSs mightn’t function on older models due to hardware limitations, so always double-check compatibility before diving into your next project!
Initial Setup and Integrity Verification
Getting your Raspberry Pi up and running involves a straightforward initial setup process, making it accessible for users of all experience levels.
Start by downloading and installing the Raspberry Pi Imager from the official website, or use a package manager for Linux. Launch the application and follow these essential steps:
- Select Device and OS: Choose your Raspberry Pi model and the desired operating system, preferably the recommended Raspberry Pi OS.
- Prepare Storage Device: Connect your microSD card or preferred storage device, guaranteeing you select the correct one from the options.
- Customize Settings: Enable SSH for a headless setup, configure credentials, and apply any additional customization settings.
- Initiate Write Process: Hit “Write” to transfer the OS to your storage device, monitoring the process until you see the “Write Successful” notification.
Don’t skip integrity verification to ascertain your setup is free from errors. Authentic OS ensures that your Raspberry Pi operates with stability and security, as any counterfeit software could hinder performance. Additionally, it’s critical to verify the checksums from the download to confirm the integrity of the image file.
Download SHA-256 signatures, compute the signature of your image, and compare it with what’s provided on the Raspberry Pi website.
Following these steps will guarantee a smooth start to your Raspberry Pi journey!
Streamlining Post-Setup Configuration
How can you make the most of your Raspberry Pi’s capabilities right after the initial setup? Start by leveraging the advanced configuration options in Raspberry Pi Imager. You can customize settings like the hostname, time zone, and keyboard layout while imaging, making for a streamlined boot when you power it up.
Preconfigure your Wi-Fi connection, so the Raspberry Pi connects seamlessly to your network without additional fuss. Setting up SSH during imaging allows for remote access, eliminating the need for manual configuration later.
By automating your first boot processes, including skipping the initial wizard, you’ll make the changeover smoother and faster. Don’t forget to enable automated updates as part of your setup—this guarantees your software stays current without requiring constant oversight.
Also, consider adjusting memory and GPU settings right from the start to optimize performance based on your intended use. By thoughtfully organizing these configurations, you reveal the full potential of your Raspberry Pi, making sure it runs efficiently and effectively. Ensure proper cooling solutions are in place to prevent overheating during overclocking.
With these steps, you’ll experience a next-level setup, bringing innovation straight to your projects.
Troubleshooting Common Issues
When issues arise during your Raspberry Pi setup, troubleshooting can feel intimidating, but many problems have straightforward solutions. Common install issues and interface errors can disrupt your experience, but with a few steps, you’ll be back on track.
Here are some quick tips to help you troubleshoot:
- Check Version Compatibility: Different versions of Raspberry Pi Imager may cause issues, so try an older version if necessary.
- Clean Reinstallation: Uninstall the Imager, use CCleaner to clean your registry, and then reinstall it to resolve blank window errors or non-responsive buttons.
- Test Your Hardware: Address potential card reader problems by using a different reader or verifying proper SD card quality to enhance success rates. Ensuring the SD card is compatible with the Raspberry Pi model you are using is crucial.
- Monitor System Updates: Keeping your system up-to-date can often mitigate compatibility issues with the Imager.
- Ensure that your Raspberry Pi model is compatible with the tasks you’re trying to perform, such as using a Raspberry Pi 4 for desktop-class performance.
If you still encounter obstacles, consider revisiting official guides or using debug mode for further diagnostics. Proper heat management and regular maintenance practices can extend the lifespan and performance of your device.
Don’t hesitate to take screenshots of any error messages; they’re invaluable for troubleshooting.
Tips for Enhanced Performance
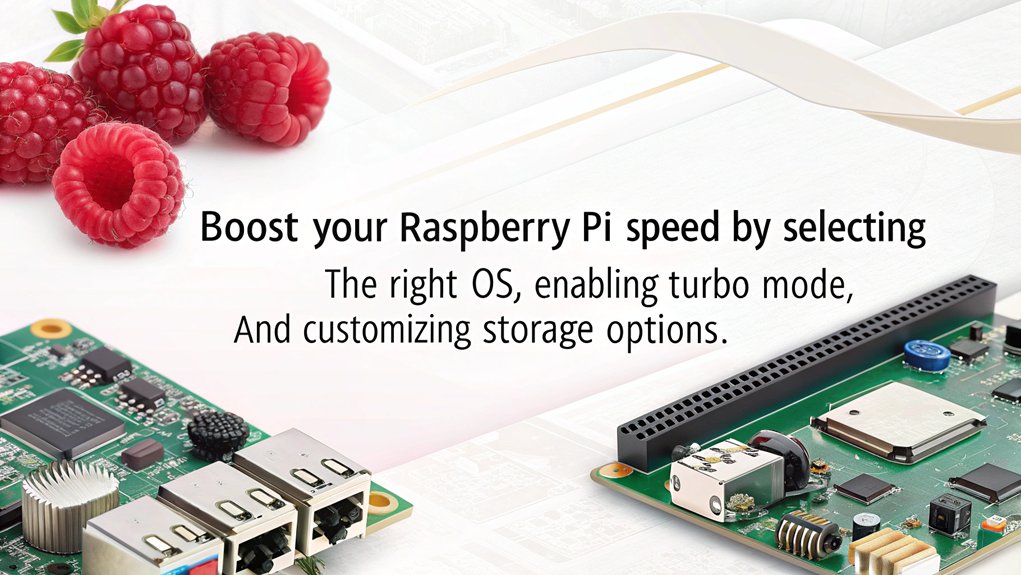
Enhancing performance on your Raspberry Pi can markedly elevate your computing experience, making tasks smoother and more efficient. To kick off your journey in performance enhancements, start with hardware.
Opt for a high-speed microSD card, like the SanDisk Extreme or Samsung EVO Plus. If you need even faster write speeds, consider using an external USB 3 card reader with full SDHC/SDXC compatibility.
For software and OS configuration, switch to a 64-bit version of Raspberry Pi OS and utilize the pre-configuration features in Raspberry Pi Imager. This saves time and optimizes your setup from the get-go.
Don’t forget to update your OS regularly, as these updates often bring important system optimizations.
When it comes to networking, enter your Wi-Fi credentials during imaging for instant connectivity, and consider enabling VNC for remote access.
Finally, choose the right hardware for your tasks and monitor resource usage, fine-tuning system settings to eliminate bottlenecks.
Frequently Asked Questions
Can Raspberry Pi Imager Be Used on Mobile Devices?
Raspberry Pi Imager isn’t directly compatible with mobile devices, so you can’t use it for the installation process. Explore alternative apps like Pi SD Card Imager for mobile compatibility and easier OS setup on your Raspberry Pi.
Is There a Limit to the Number of OS Images I Can Download?
There’s no strict limit to the number of OS images you can download. However, consider your storage capacity and the variety of OS images available, as excessive downloads could consume your resources quickly.
Can I Customize the Raspberry Pi Imager Interface?
Imagine customizing the Raspberry Pi Imager’s interface like a fashionista chooses outfits. Unfortunately, you can’t change themes or user interface styles. It’s functional, but it won’t win any design awards anytime soon!
What do I do if I encounter a corrupted image file when using the Raspberry Pi Imager?
If you’ve got a corrupted image file, start by checking its integrity using checksums. Follow key troubleshooting steps like trying alternative downloads, extracting it again, or using different tools to guarantee you recover the image effectively.
Are There Any Alternative Tools for OS Installation on Raspberry Pi?
When considering alternative installation methods, you’ve got third-party software options like Etcher, Win32DiskImager, and BalenaEtcher. Each provides unique features, ensuring flexibility for installing OS images on your Raspberry Pi efficiently and innovatively.
Conclusion
By optimizing your Raspberry Pi setup with the Raspberry Pi Imager, you’re crafting a digital canvas, ready for your creativity to flourish. Each configuration option you choose paints a stroke of personalization, turning a simple board into a powerful tool. As you immerse yourself in advanced features and troubleshoot bumps along the way, you’re not just building a machine; you’re sculpting a hub of innovation. Embrace the journey, and watch your ideas take flight on your unique masterpiece.

I am a retired software engineer with experience in a multitude of areas including managing AWS and VMWare development environments. I bought a relative a mini-PC a year ago and have become passionate about the technology and its potential to change how we deploy software.