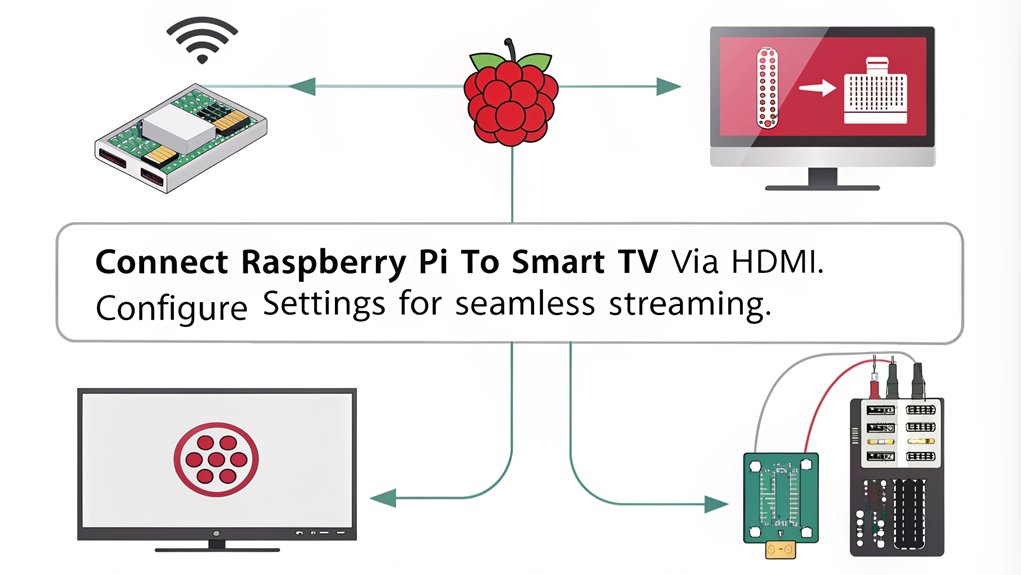
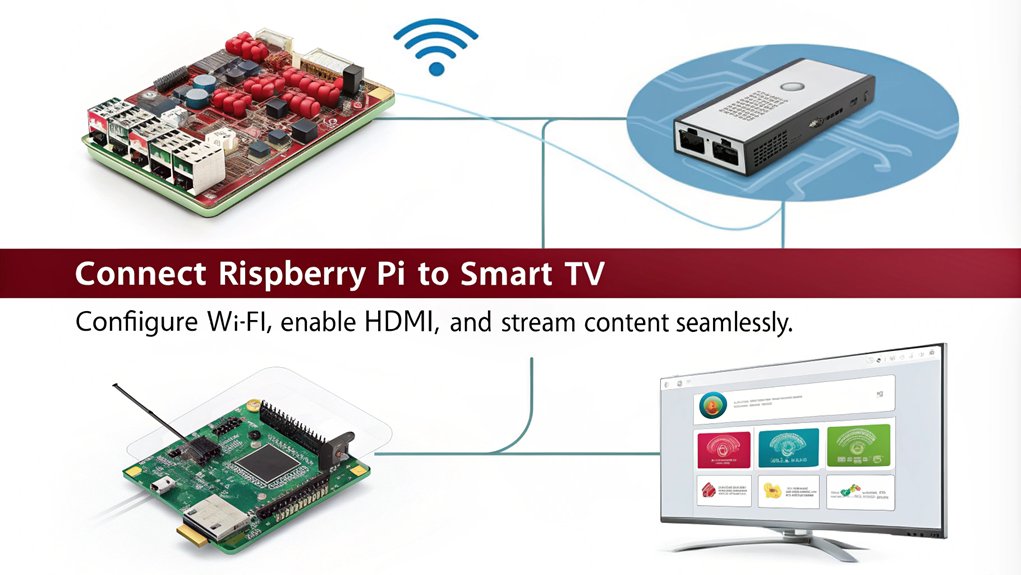
To connect your Raspberry Pi to a Smart TV, start by using a reliable HDMI cable connected from the Raspberry Pi to the TV’s HDMI input. Confirm the TV is set to the correct input. Power on the Raspberry Pi and your TV; you may need to adjust display settings for peak resolution and audio output. If you’re using WiFi, connect to your network through the Raspberry Pi’s menu. Finally, consider installing media center software like Kodi for enhanced functionality. With these steps, you’re set up to enjoy a richer viewing experience, and there’s more to explore for customization!
Key Takeaways
- Connect the Raspberry Pi to the Smart TV using an HDMI cable and ensure the correct HDMI input is selected on the TV.
- Power the Raspberry Pi with a dedicated 5V/3A USB-C power supply for optimal performance.
- Download and install an operating system on the micro SD card using Raspberry Pi Imager before inserting it into the Raspberry Pi.
- Configure the Raspberry Pi’s network settings to connect to WiFi and enable SSH for remote access if needed.
- Install media center software like Kodi to organize and stream media content through the Smart TV.
Hardware Requirements To Connect a Raspberry Pi to a Smart TV
To successfully connect your Raspberry Pi to a smart TV, you’ll need a few essential hardware components.
First off, an HDMI cable is important for establishing a connection between your Raspberry Pi and the TV. Make sure to select the correct HDMI input on your TV; you might find labels like Video 2 or HDMI-2. If your Raspberry Pi uses a micro-HDMI port, don’t forget a high-quality HDMI to micro-HDMI cable adapter to guarantee compatibility. A high-quality HDMI connection can help prevent boot issues that may arise during setup.
Next, you’ll need a reliable power supply. Opt for a dedicated 5V power supply, as USB sockets on newer TVs often can’t deliver enough amperage for your Raspberry Pi. Using a low-quality or underpowered adapter could lead to frustrating power issues, so it’s best to invest in a good one.
While not strictly hardware, remember that a stable network connection is essential for streaming media. If your Raspberry Pi doesn’t have built-in WiFi, consider getting a WiFi dongle, which is recommended for wireless connectivity to enhance your setup.
With the right cables, a dependable power supply, and network connectivity, you’ll be on your way to enjoying your Raspberry Pi on your smart TV!
Setting Up the Raspberry Pi

Setting up your Raspberry Pi is a straightforward process that gets you ready to enjoy all its capabilities on your smart TV. Start by downloading and installing the official Raspberry Pi Imager on your computer. Use this tool to install the latest Raspberry Pi OS on a microSD card, ensuring it’s at least 8 GB, preferably with NOOBS pre-loaded. Once that’s done, insert the microSD card into your Raspberry Pi.
Before you power it up, connect your Raspberry Pi to an HDMI monitor, keyboard, and mouse. If you prefer a wired Internet connection, plug in an Ethernet cable. Additionally, ensure you have a 5V/3A power supply to properly power your Raspberry Pi. This setup is essential for a smooth operation as you will need Raspberry Pi Configuration to adjust settings later.
Now, plug in the power supply; you should see the status LED light up, followed by the boot screen. If you’re using NOOBS, follow the on-screen instructions for the initial setup, which takes about 20 minutes. During this process, you’ll create user accounts and set your username and password.
Don’t forget to configure your wireless LAN settings if you’re going wireless. Finally, enable SSH for remote access if needed. Once set up, your Raspberry Pi will be ready for exciting projects!
Connecting the Raspberry Pi to a Smart TV

Connecting a Raspberry Pi to your smart TV is a simple process that enhances your viewing experience. The most straightforward method is using an HDMI connection. Just plug one end of the HDMI cable into the Raspberry Pi and the other into your TV’s HDMI port. This connection method allows for high-definition video and audio transmission, making it a preferred choice for many users.
Make sure your TV is set to the correct HDMI input, and you’ll enjoy both video and audio through a single cable, thanks to the HDMI advantages. For additional connectivity options, you can use a Samsung Wireless LAN Adapter to access the internet on your Raspberry Pi, allowing for more interactive features. Additionally, you can configure the Raspberry Pi to simulate a second display using DPI mode, further expanding your display options. The Raspberry Pi can also be utilized for streaming media directly to your smart TV.
If your TV doesn’t have HDMI, you can resort to composite video. Connect the yellow RCA cable from the Raspberry Pi to the matching yellow input on your TV for video. For audio, use the white and red RCA cables.
However, composite has limitations, including lower picture quality and the need for extra cables. For those who need multiple inputs, consider using an HDMI splitter, allowing you to switch between various devices easily.
You could even install media center software like OSMC or LibreElec on your Raspberry Pi, enhancing its functionality. This connection process isn’t only effective but also fosters a sense of community as you explore the endless possibilities of your smart TV setup.
Network Configuration when you Connect a Raspberry Pi to a Smart TV

Once you’ve established the physical connection between your Raspberry Pi and smart TV, the next step involves configuring the network settings.
Start by selecting your wireless network using the network icon on the right-hand side of the menu bar. Click the icon to view available networks, choose your desired one, and enter the network key if it’s secured. Wait for the icon to stop flashing, indicating a successful connection.
Next, make sure that your country code is set correctly in the Raspberry Pi Configuration application under Localisation. This is important for regulatory compliance and enables wireless networking. Additionally, ensure your Raspberry Pi has built-in WiFi if you are using a model 3 or later, as this simplifies the connection process. A solid understanding of analog vs. digital signals can help troubleshoot any connectivity issues effectively.
If you encounter issues, engage in some wireless troubleshooting. Double-check your network name (SSID) and password, restart the Raspberry Pi, or verify that your router is broadcasting the network. If problems persist, consider using the command line for a more hands-on approach.
For a more stable connection, you might opt for a static configuration. Edit the ‘dhcpcd.conf’ file to set a static IP address, netmask, and gateway, then restart your Raspberry Pi to apply the changes.
This guarantees a reliable network connection.
Media Center Setup

To kick off your media center setup, start by ensuring your Raspberry Pi is properly connected to your smart TV and powered on. Use an HDMI cable for the connection and don’t forget to plug in a suitable power source. If you have any external devices, like an aerial antenna or an external hard drive, attach those too. A keyboard will be handy for the initial setup. Additionally, make sure to power on all connected devices to ensure a seamless connection.
Next, you’ll want to install the media center software. Open the terminal and run the command ‘sudo apt install kodi’. Once Kodi is installed, launch it and follow the on-screen instructions for setup. Customize your video and audio settings to suit your preferences. Additionally, ensure you have a static IP for your Raspberry Pi to maintain a consistent connection when accessing network resources.
Now it’s time for media library organization. Use the Kodi interface to add your video files. Specify where these files are located, whether on your hard drive or network shares. Organize them into folders by title, genre, or year.
Don’t forget about add-on installation! Enhance your experience by installing add-ons for additional features.
With everything set up, you’re ready to plunge into your new media center and enjoy endless entertainment!
Frequently Asked Questions
Can I Use a Raspberry Pi Without a Monitor?
Yes, you can use a Raspberry Pi without a monitor by setting up a headless configuration. This allows you to complete various Raspberry Pi projects remotely, accessing it through SSH or VNC for seamless management.
What Power Supply Specifications Are Needed for Raspberry Pi?
For your Raspberry Pi, check its power requirements. Most models need a 5.1V supply, with varying current ratings: Pi 5 requires 5A, while Pi 4 and 400 need 3A. Verify proper voltage ratings for maximum performance.
How Can I Control the Raspberry Pi Remotely?
You’ll feel like a tech wizard controlling your Raspberry Pi remotely! Use SSH access for terminal tasks or VNC server for remote desktop. Don’t forget Pi-hole management for an unbeatable network experience.
Is It Possible to Use Raspberry Pi for Gaming?
Yes, you can definitely use Raspberry Pi for gaming! It excels at retro gaming, allowing you to play classic titles smoothly. With the right setup, you’ll enjoy an impressive gaming experience on a budget.
Can I Use a Raspberry Pi for Video Conferencing?
Did you know that 90% of remote workers use video conferencing software? You can definitely use your Raspberry Pi for video calls, ensuring your camera’s compatibility with applications like Zoom for a seamless experience.
Conclusion
To sum up, connecting your Raspberry Pi to a smart TV opens up a world of possibilities, transforming your viewing experience into something extraordinary. With just a few simple steps, you can turn your humble setup into a multimedia powerhouse. So, jump in and explore the endless entertainment options at your fingertips. Embrace the journey, and let your creativity shine as you enjoy the seamless blend of technology and leisure right in your living room.

I am a retired software engineer with experience in a multitude of areas including managing AWS and VMWare development environments. I bought a relative a mini-PC a year ago and have become passionate about the technology and its potential to change how we deploy software.

